Bitter Water Canyon is located during the construction of
The King's Road and the canyon's unique enviroment immediately attracts the attention of the Marquis. Between Mount
Pallid and Lizard Tail Ridge, is a 6 mile wide flat, dry, stretch of land which is the entrance to Bitter Water Canyon.
Effectively blocked by the alluvial flow from Flaming Grotto Canyon on the east side of Mount Pallid, the opening of Bitter
Water Canyon was hidden by those high plains from the rest of Ash Vapor Valley. Bitter Water Canyon is
a vast, deep, and empty place shaded on all sides by tall mountain walls. Without water, Bitter Water Canyon can only
harbor the toughest and fiercest of life.
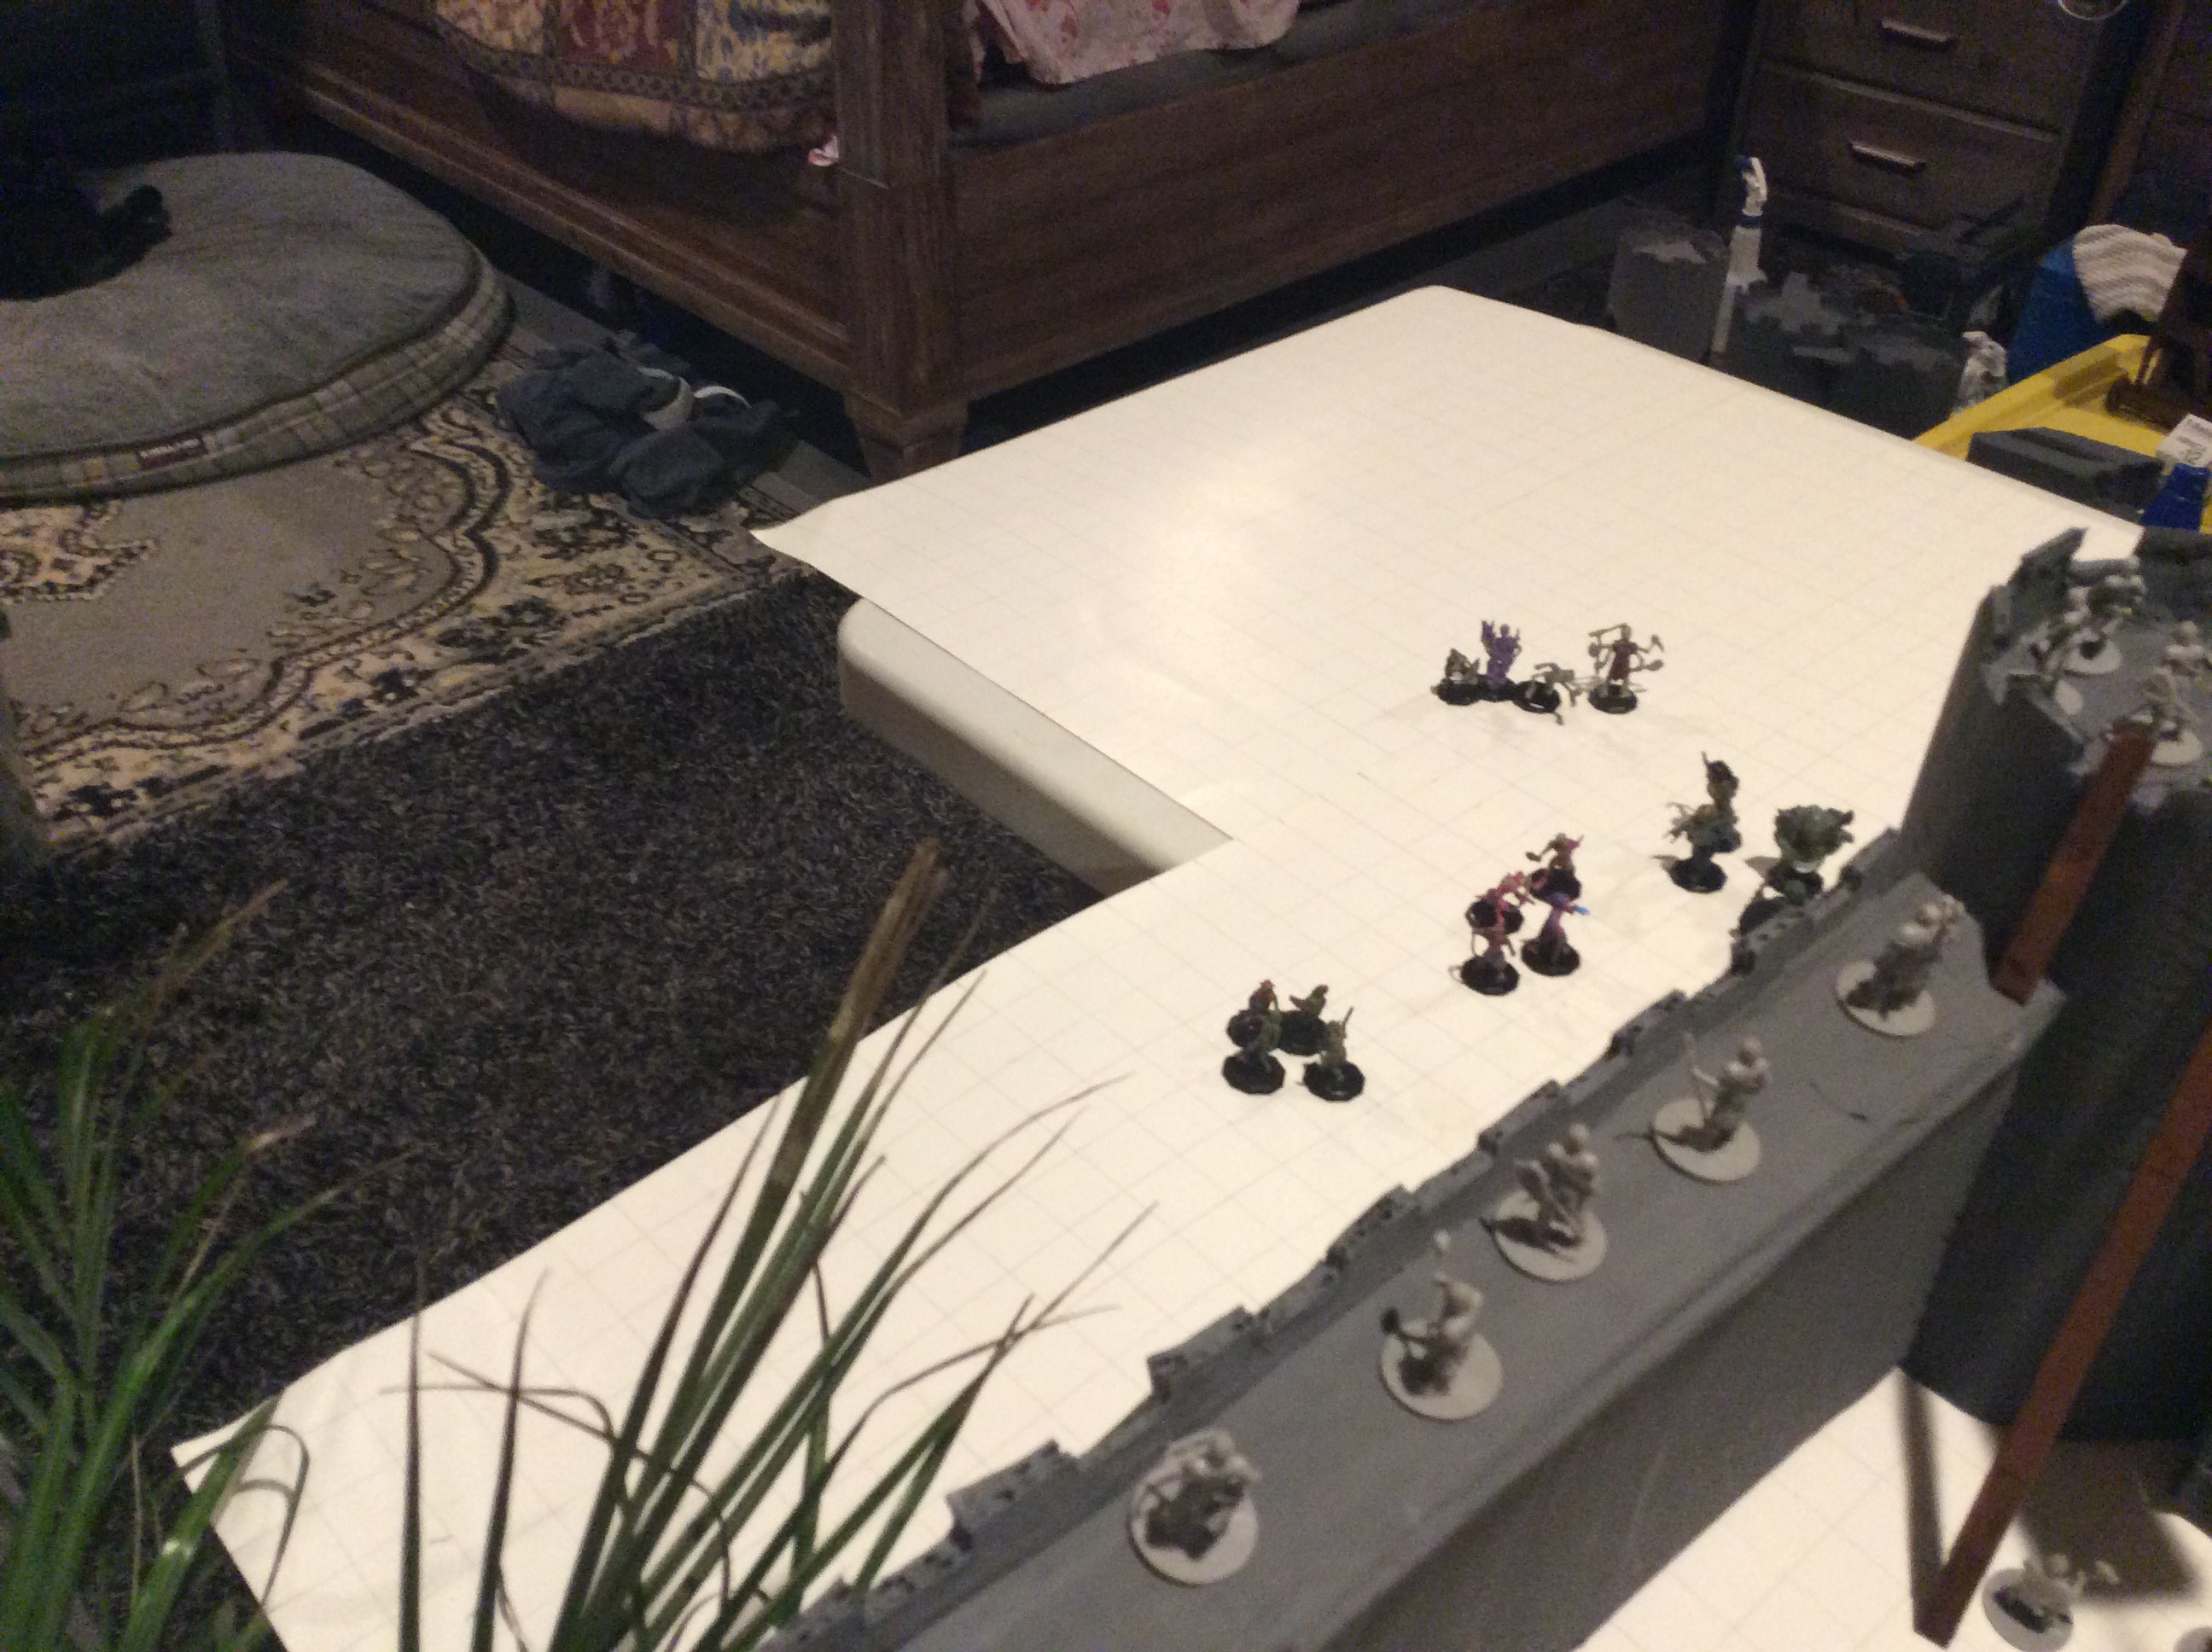
Kahar
Kahar
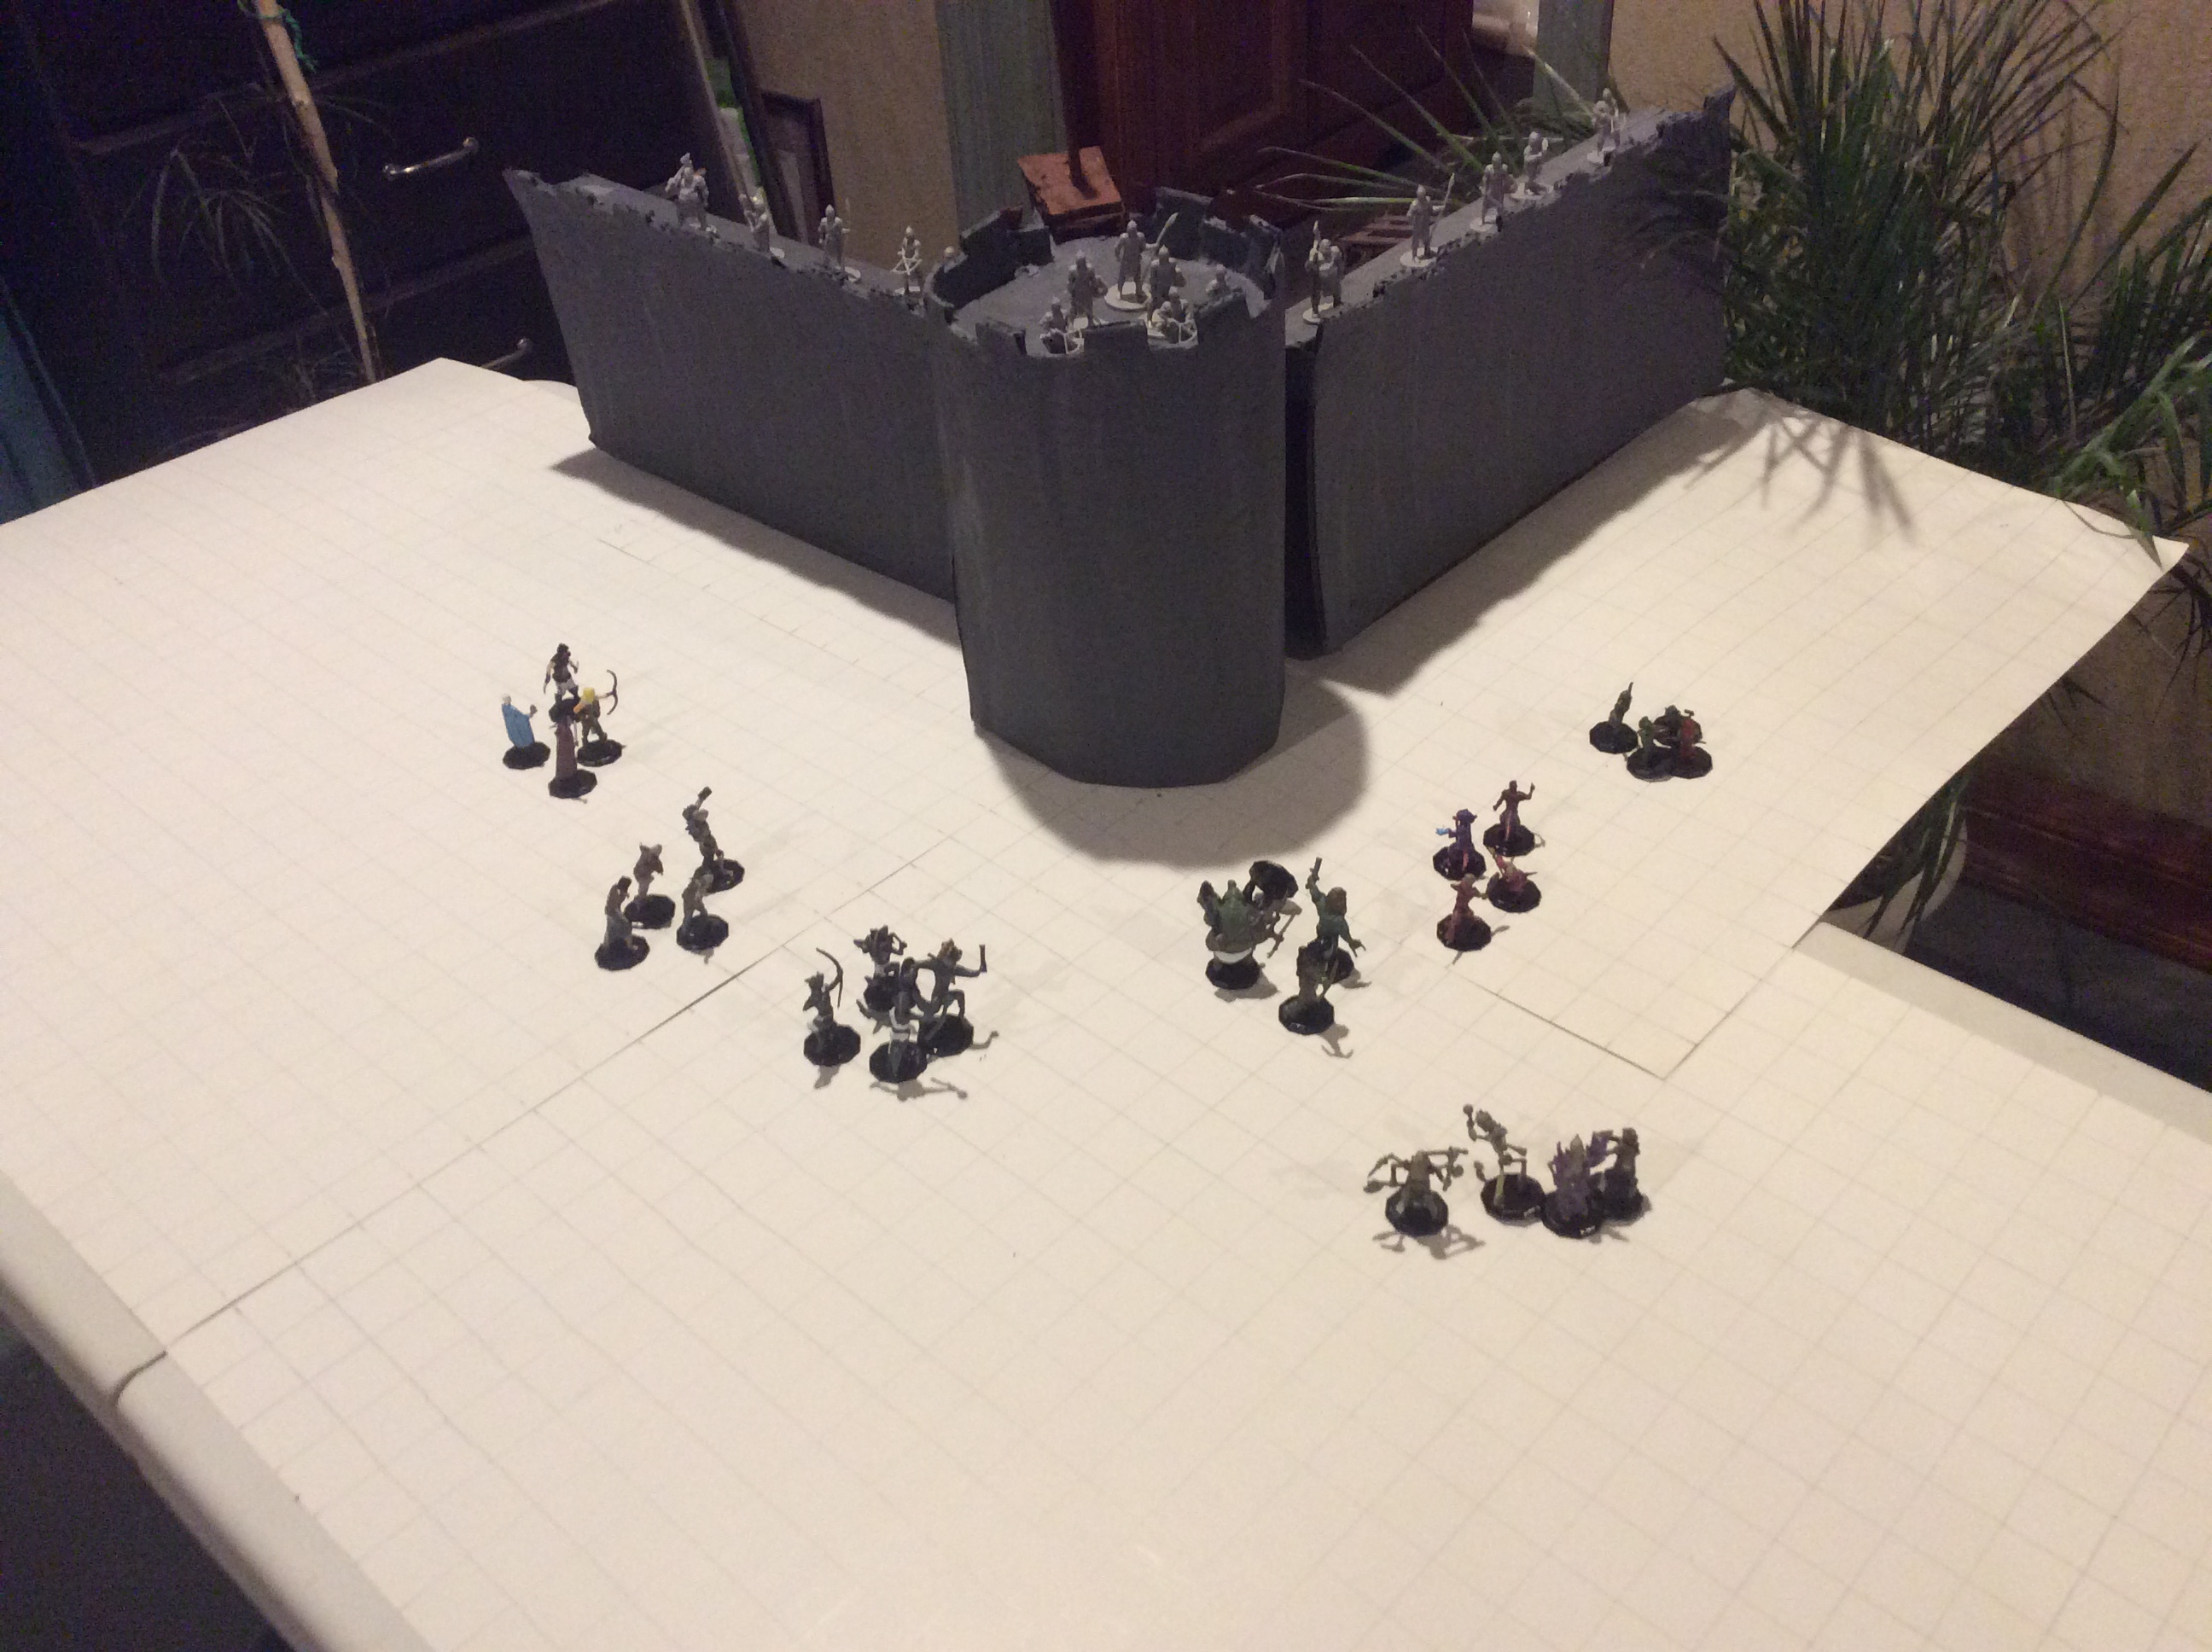
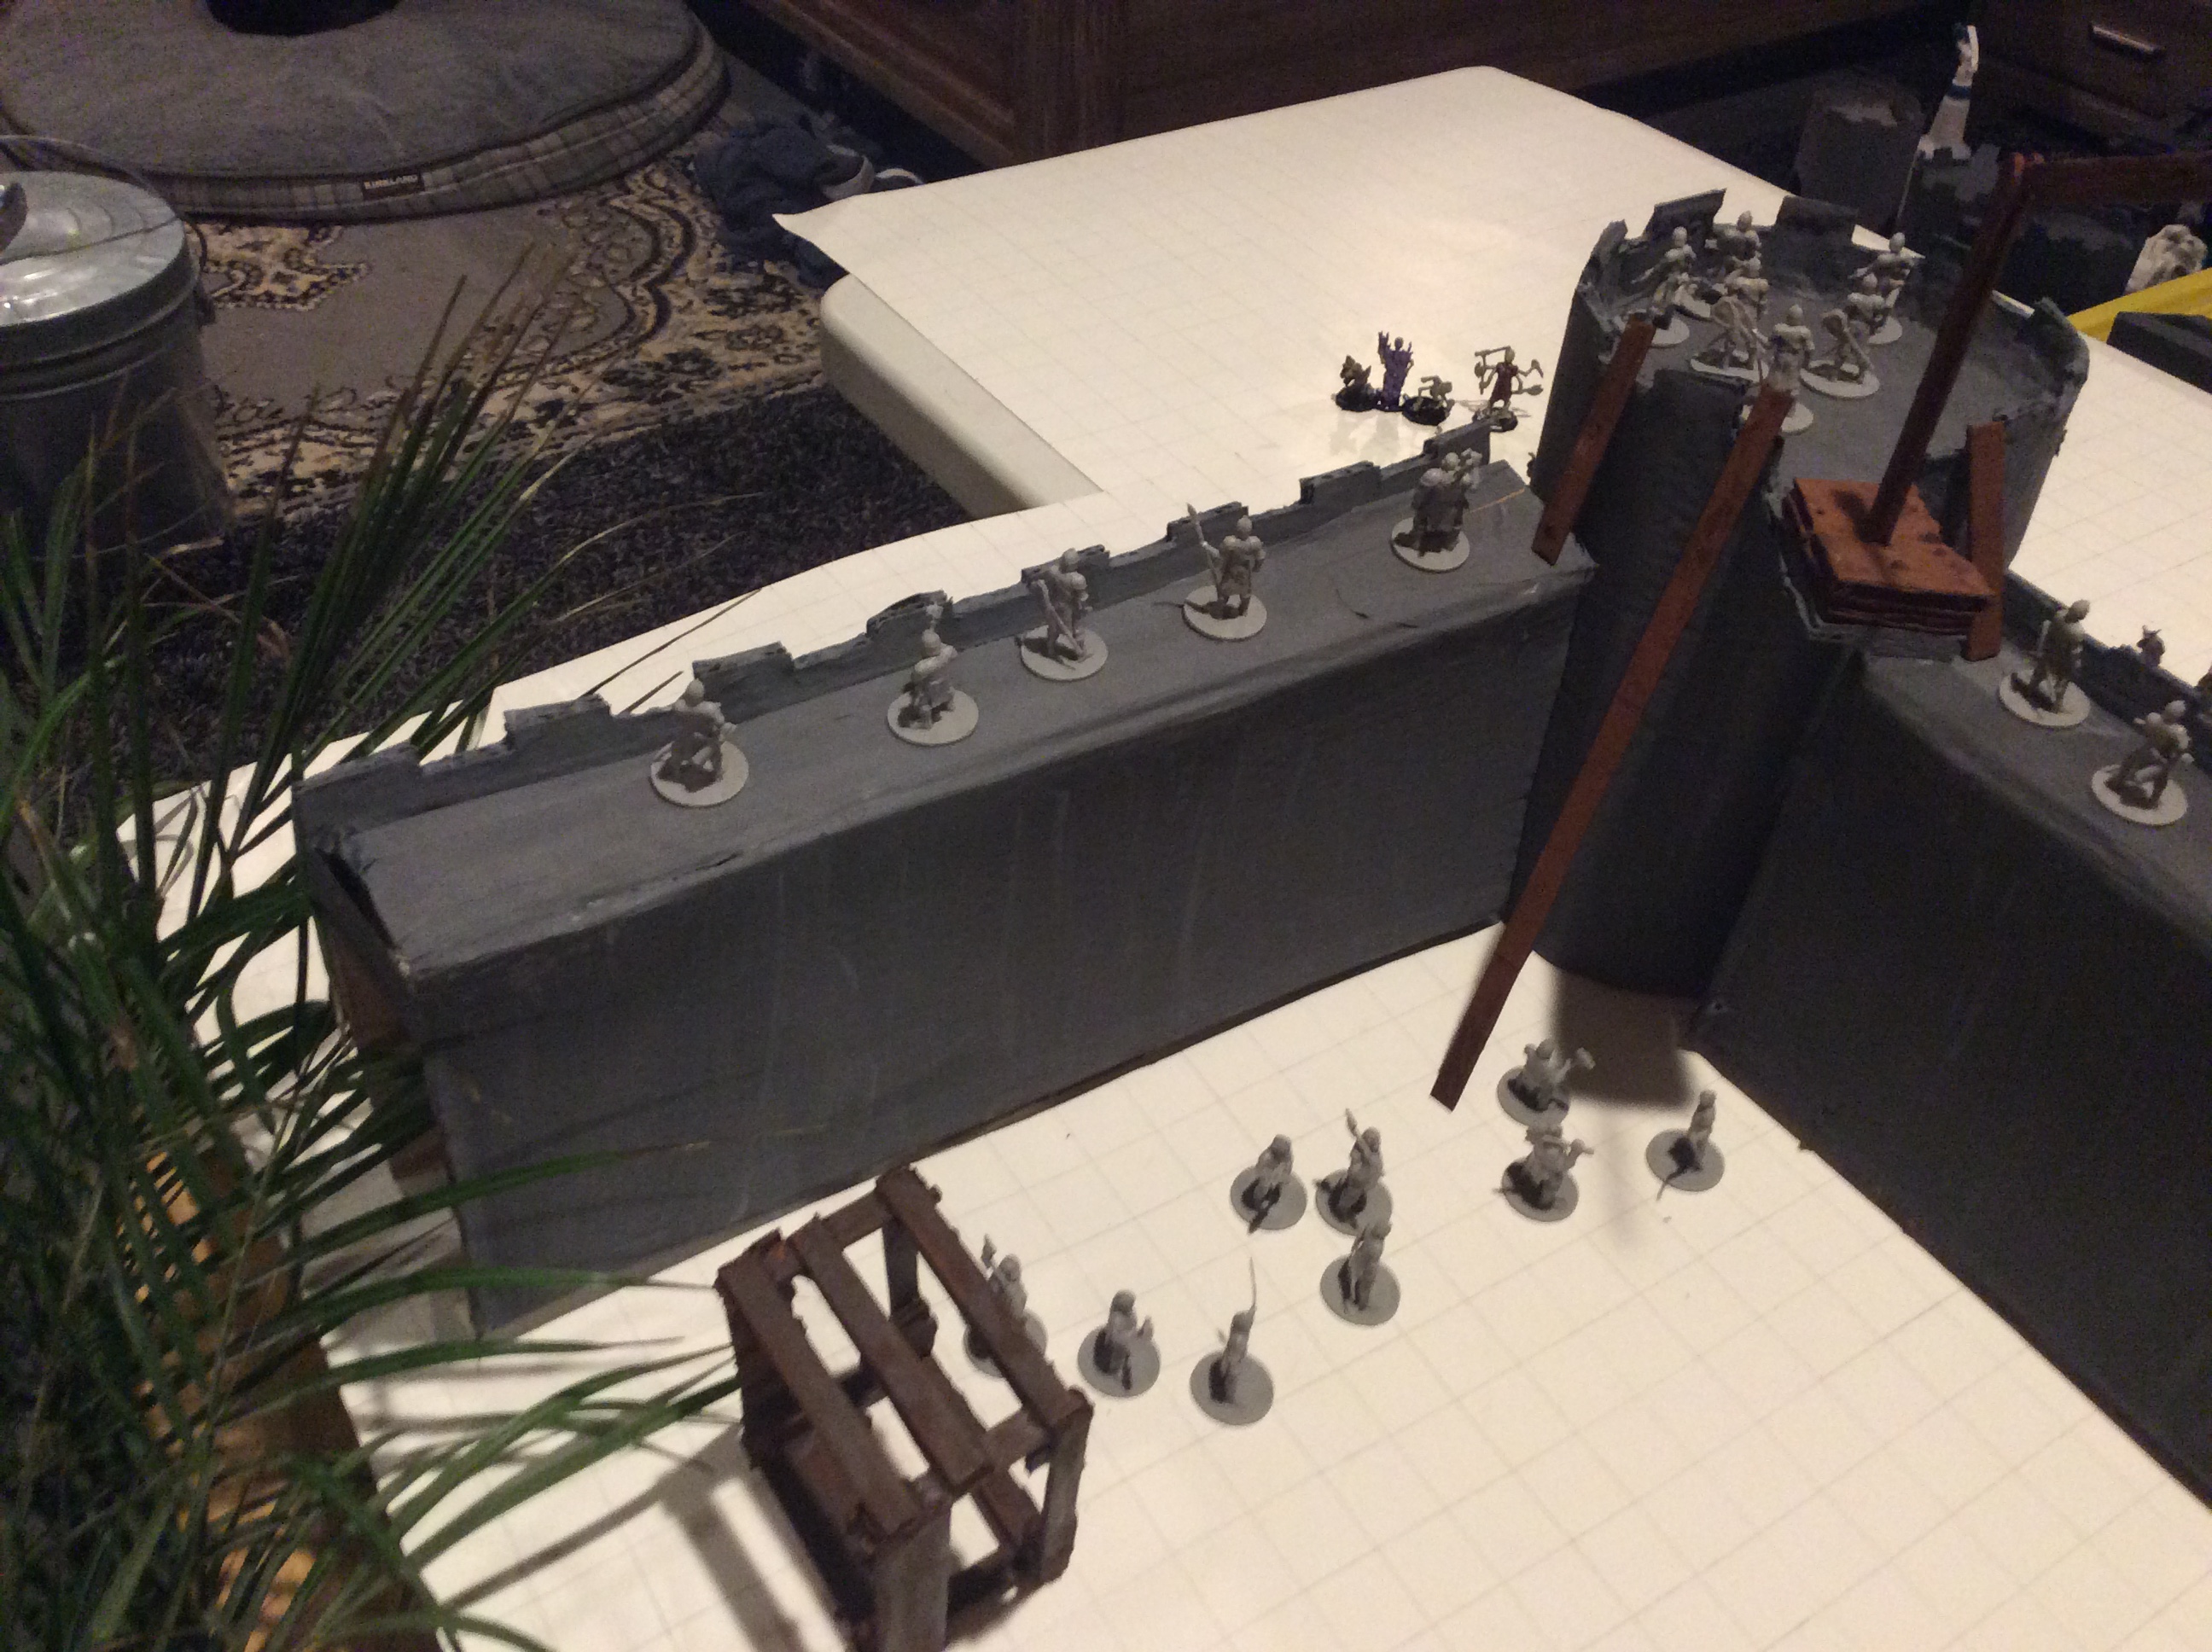
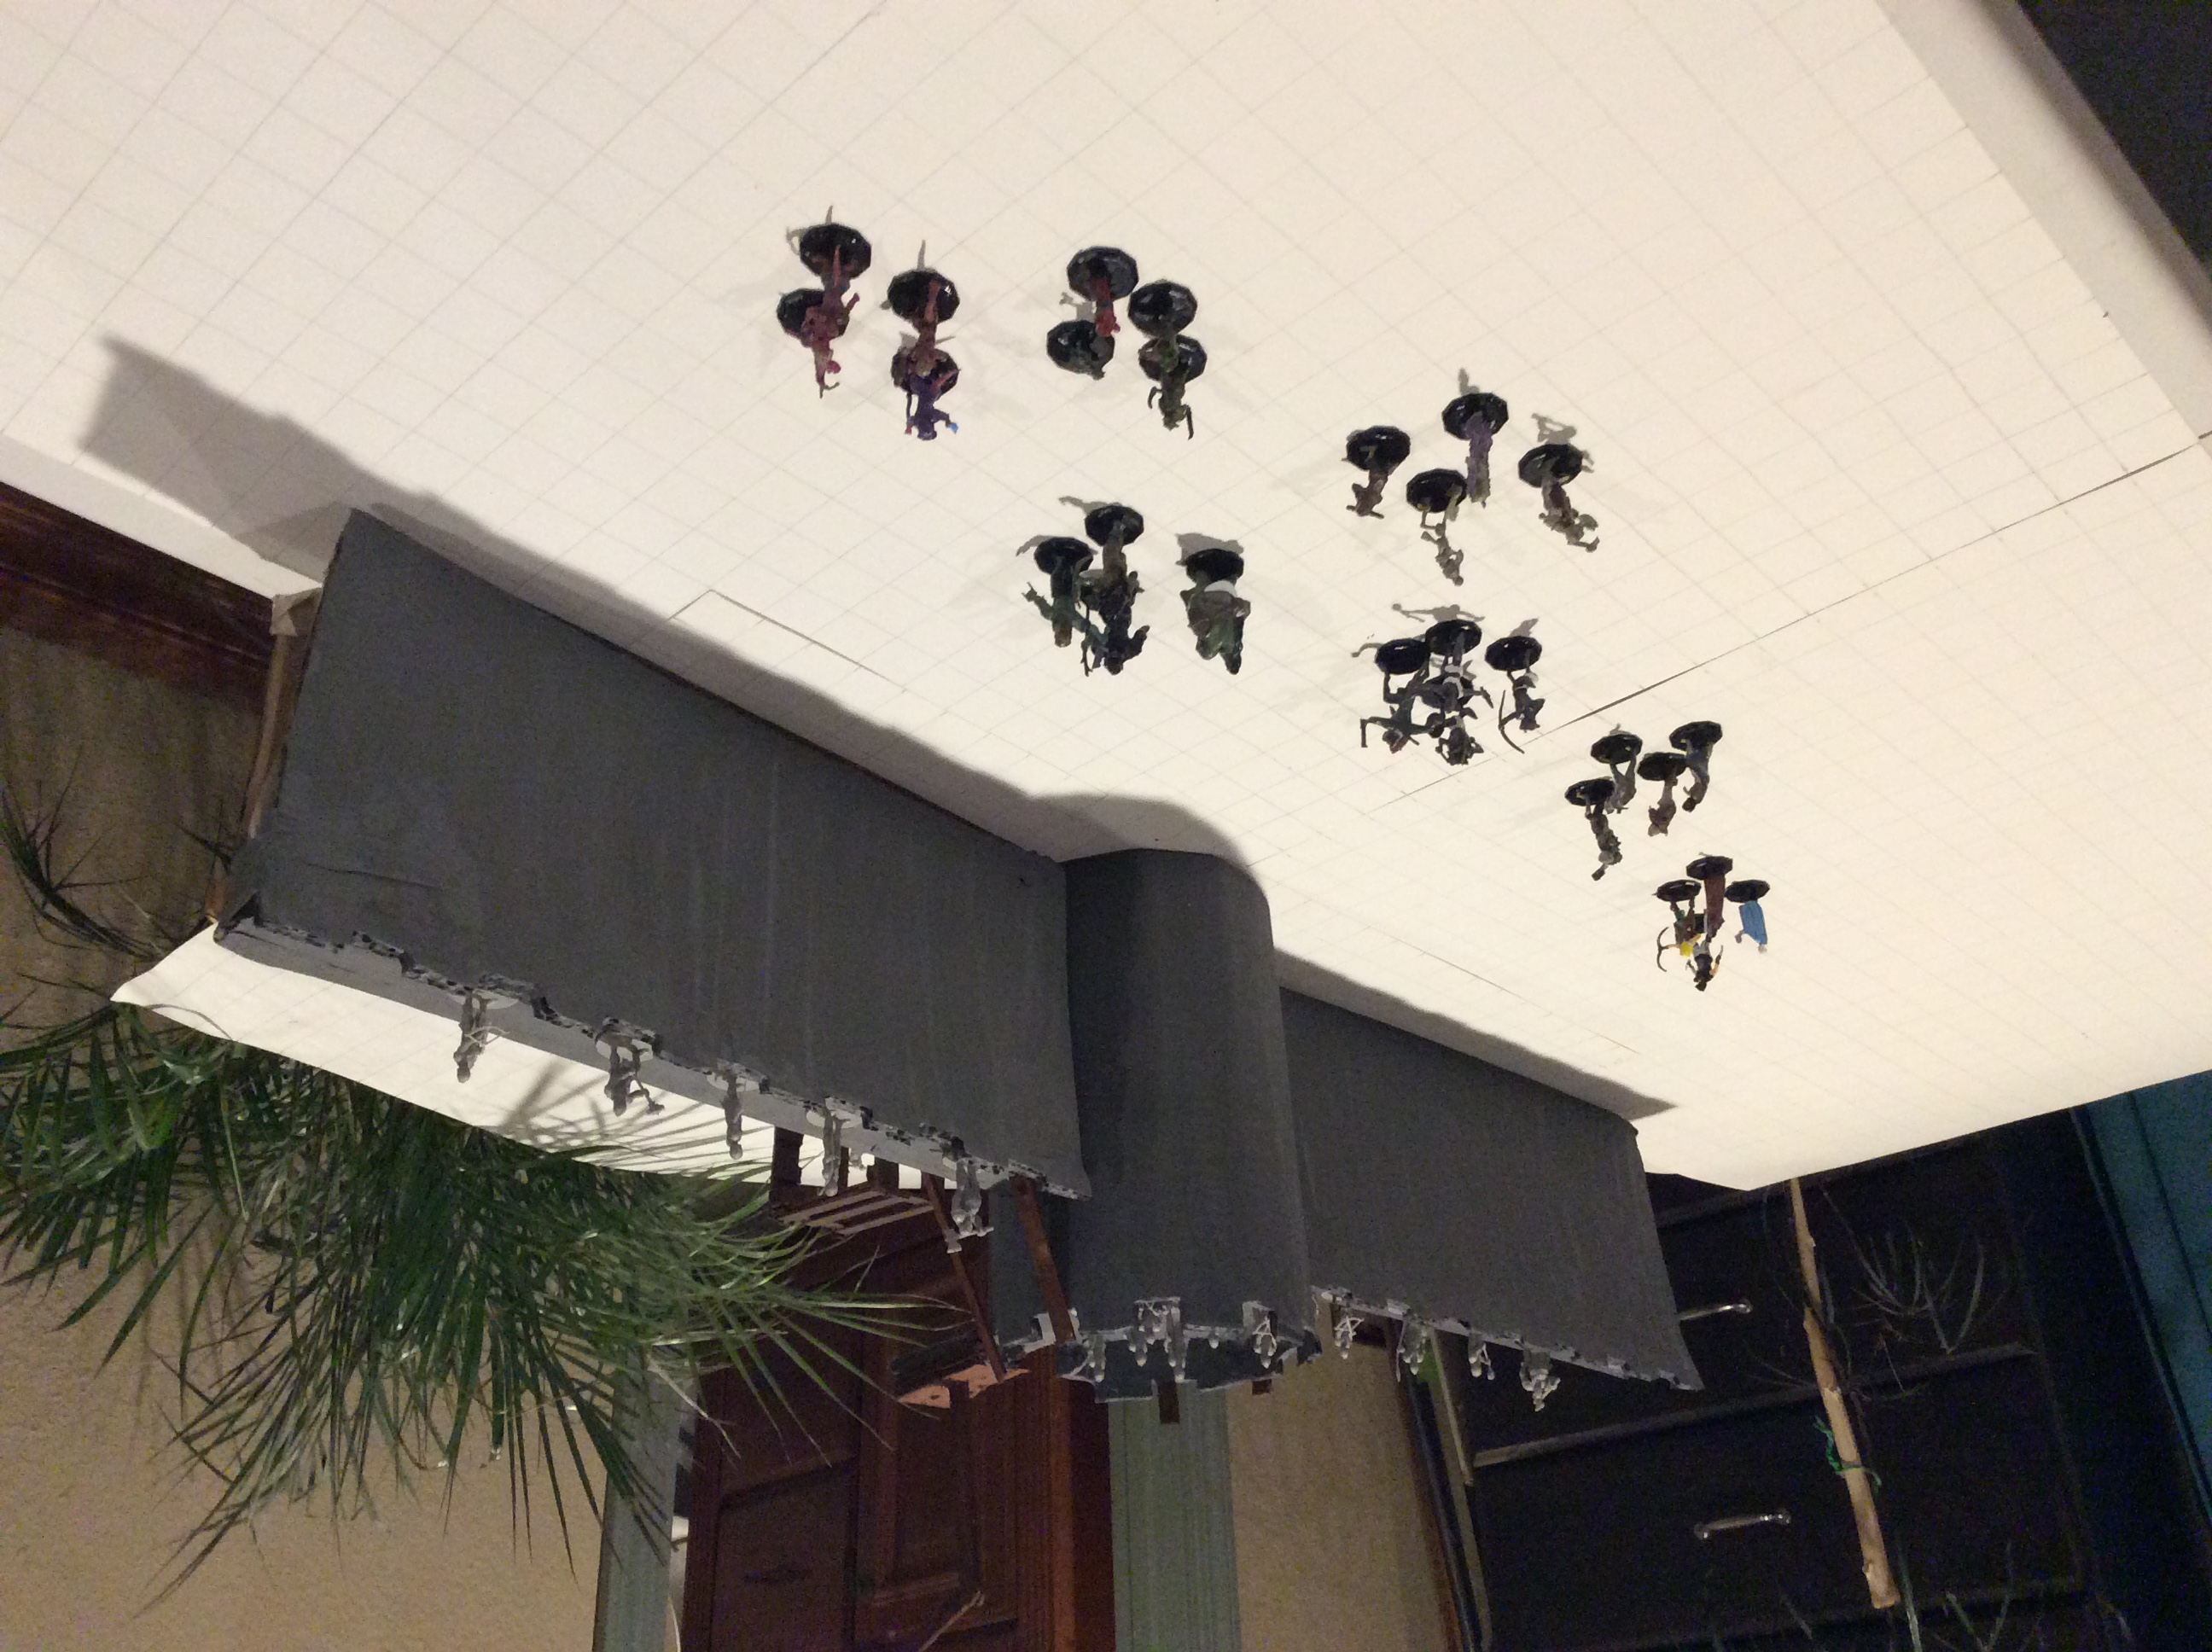
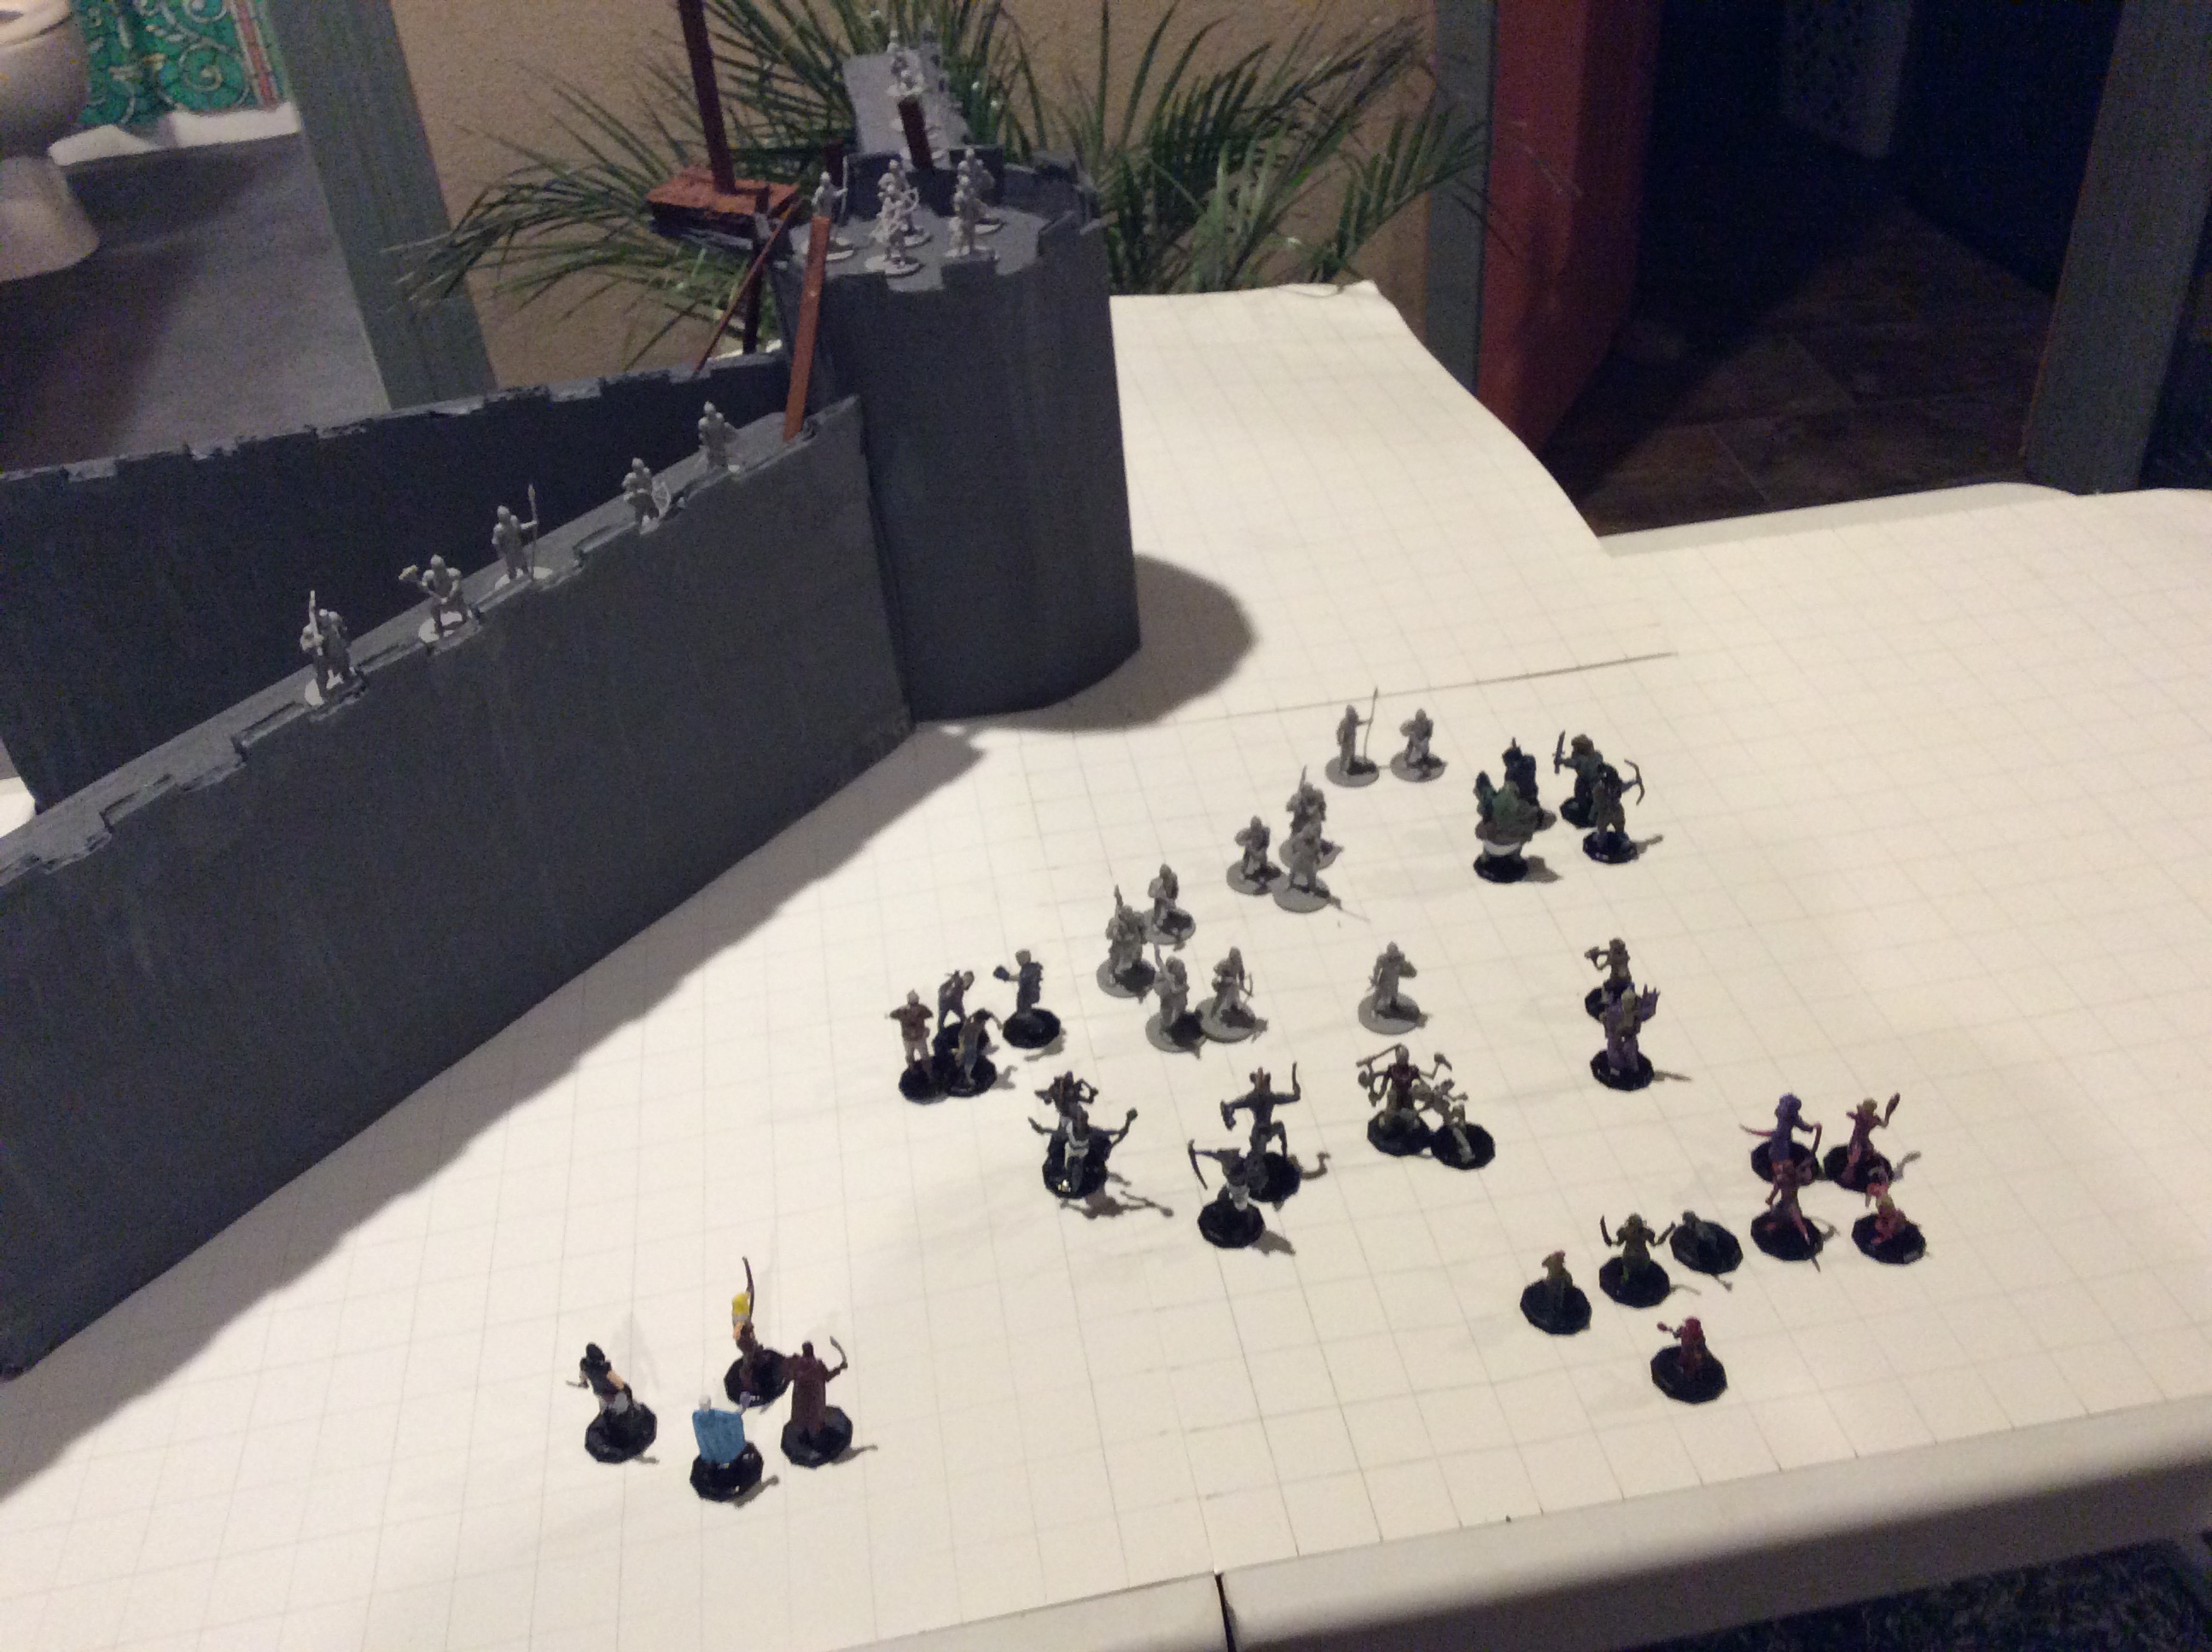
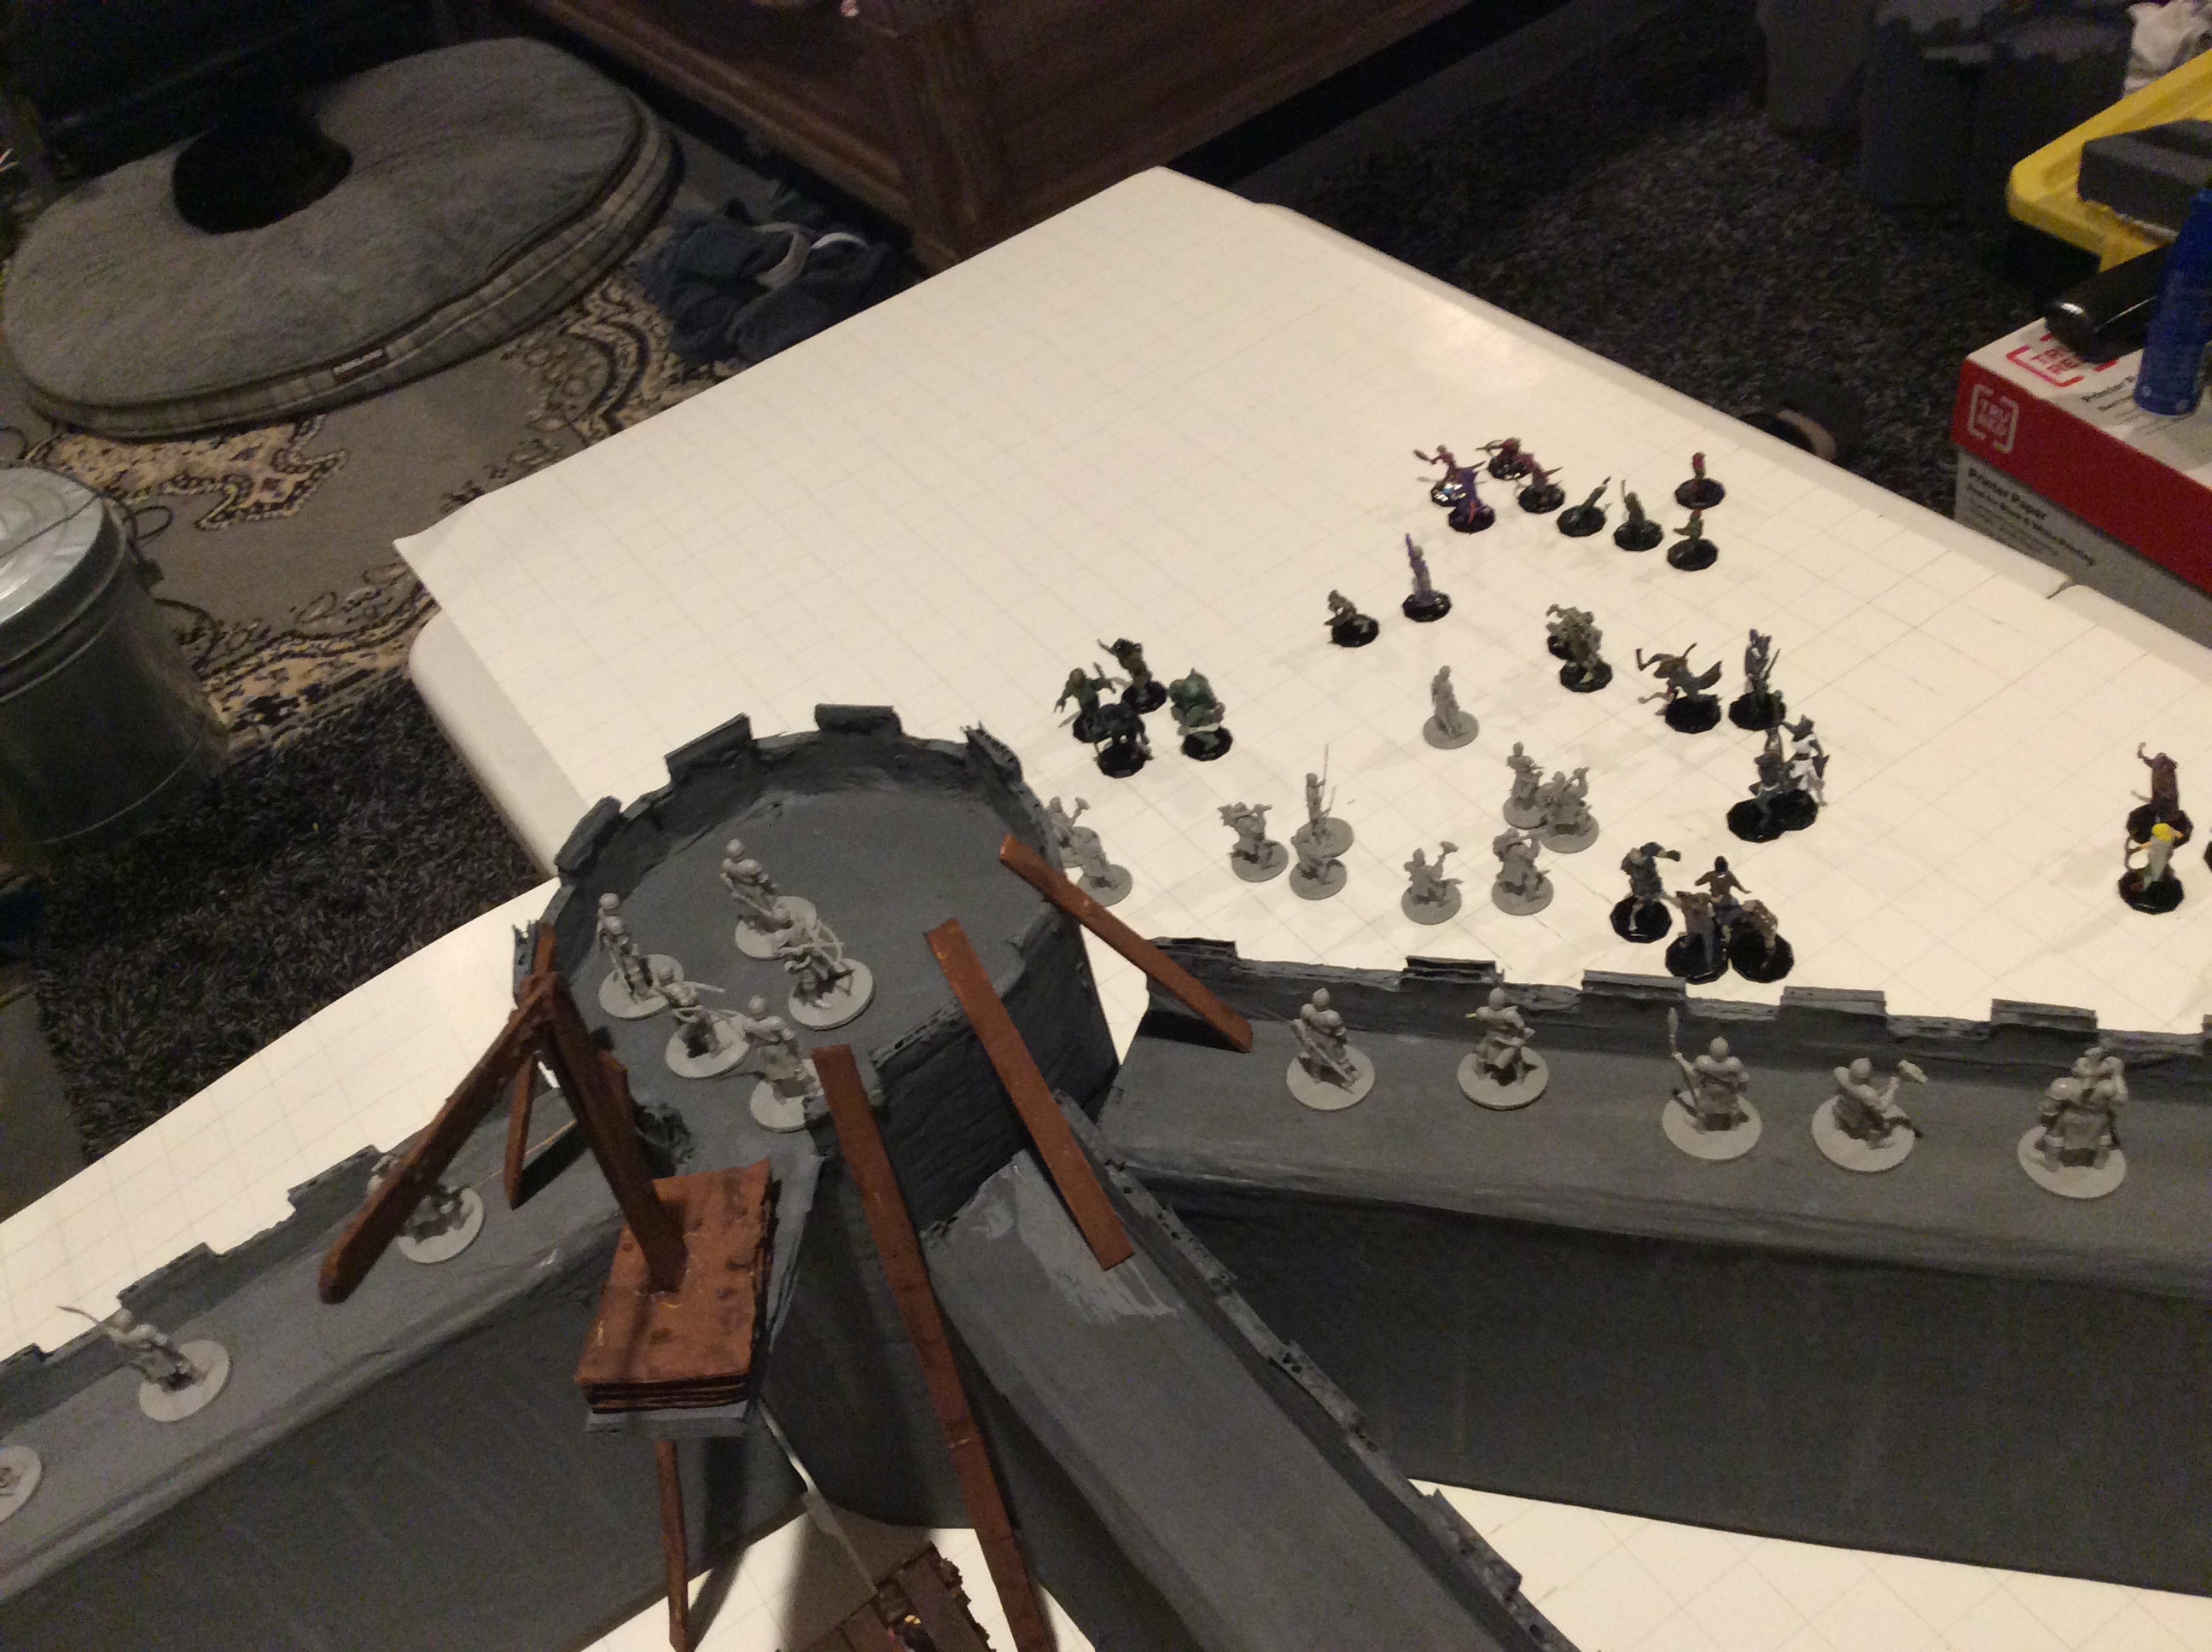
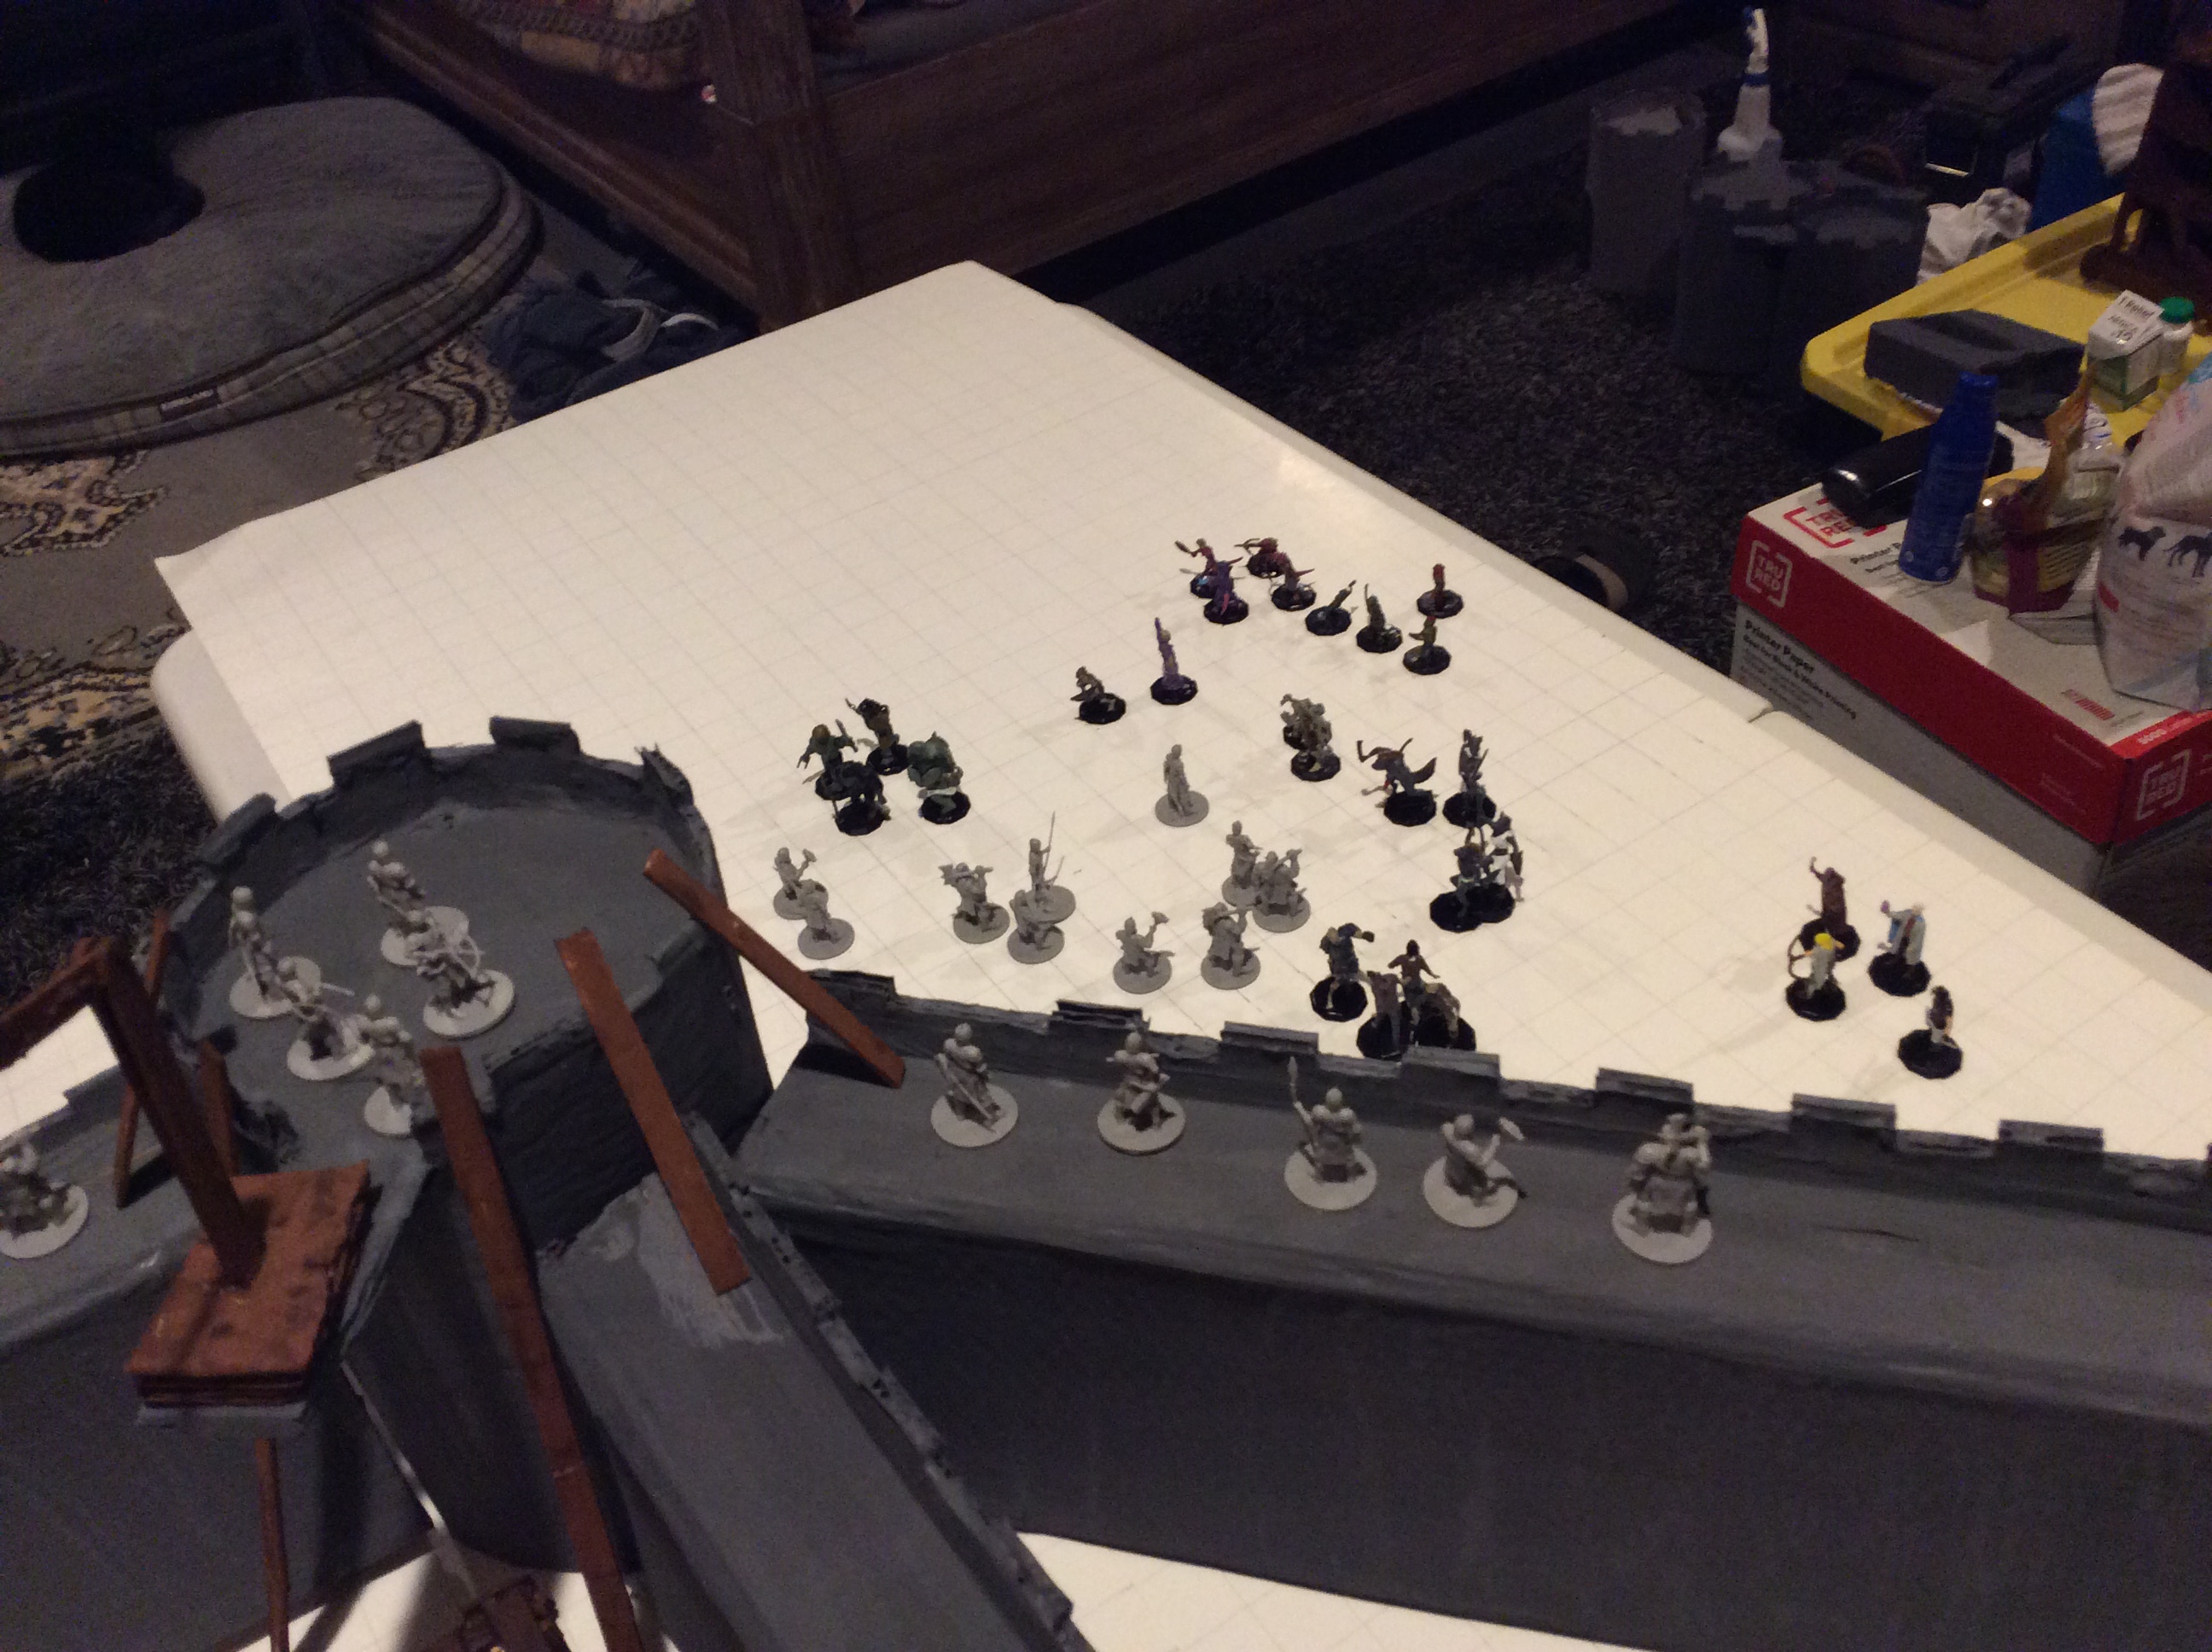
The Towers of Kahar
Eight Towers of sun dried brick are the first buildings to be constructed and rise in front of the
6 mile opening to Bitter Water Canyon. Strategically placed several miles apart in front of the valley, the Towers are
the begining of the Fortress of Kahar. The sole purpose of the Towers is to house soldiers in simple and safe but easily
defended barracks. Since water is such a precious commodity, having to be transported by caravan along the existing parts of The
King's Road, the Marquis orders a secondary project begun: three fire teams dig for water in a lower area a few miles in front
of the mouth Bitter Water Canyon. There is an accident. At 30' deep they find water, but the ignorant Sergeant does
not stop his teams from digging. They dig too deep and expose a confined aquifer
under pressure. This results in an explosion of water that floods just a little over 475 acres and sends a good size river
rushing into the depths of Bitter Water Canyon. The creation of Surgebuilt Lake spawns the formation of a lush Oasis which,
in turn, causes 9 military establishments to expand into hamlets within only a few generations. During these same generations,
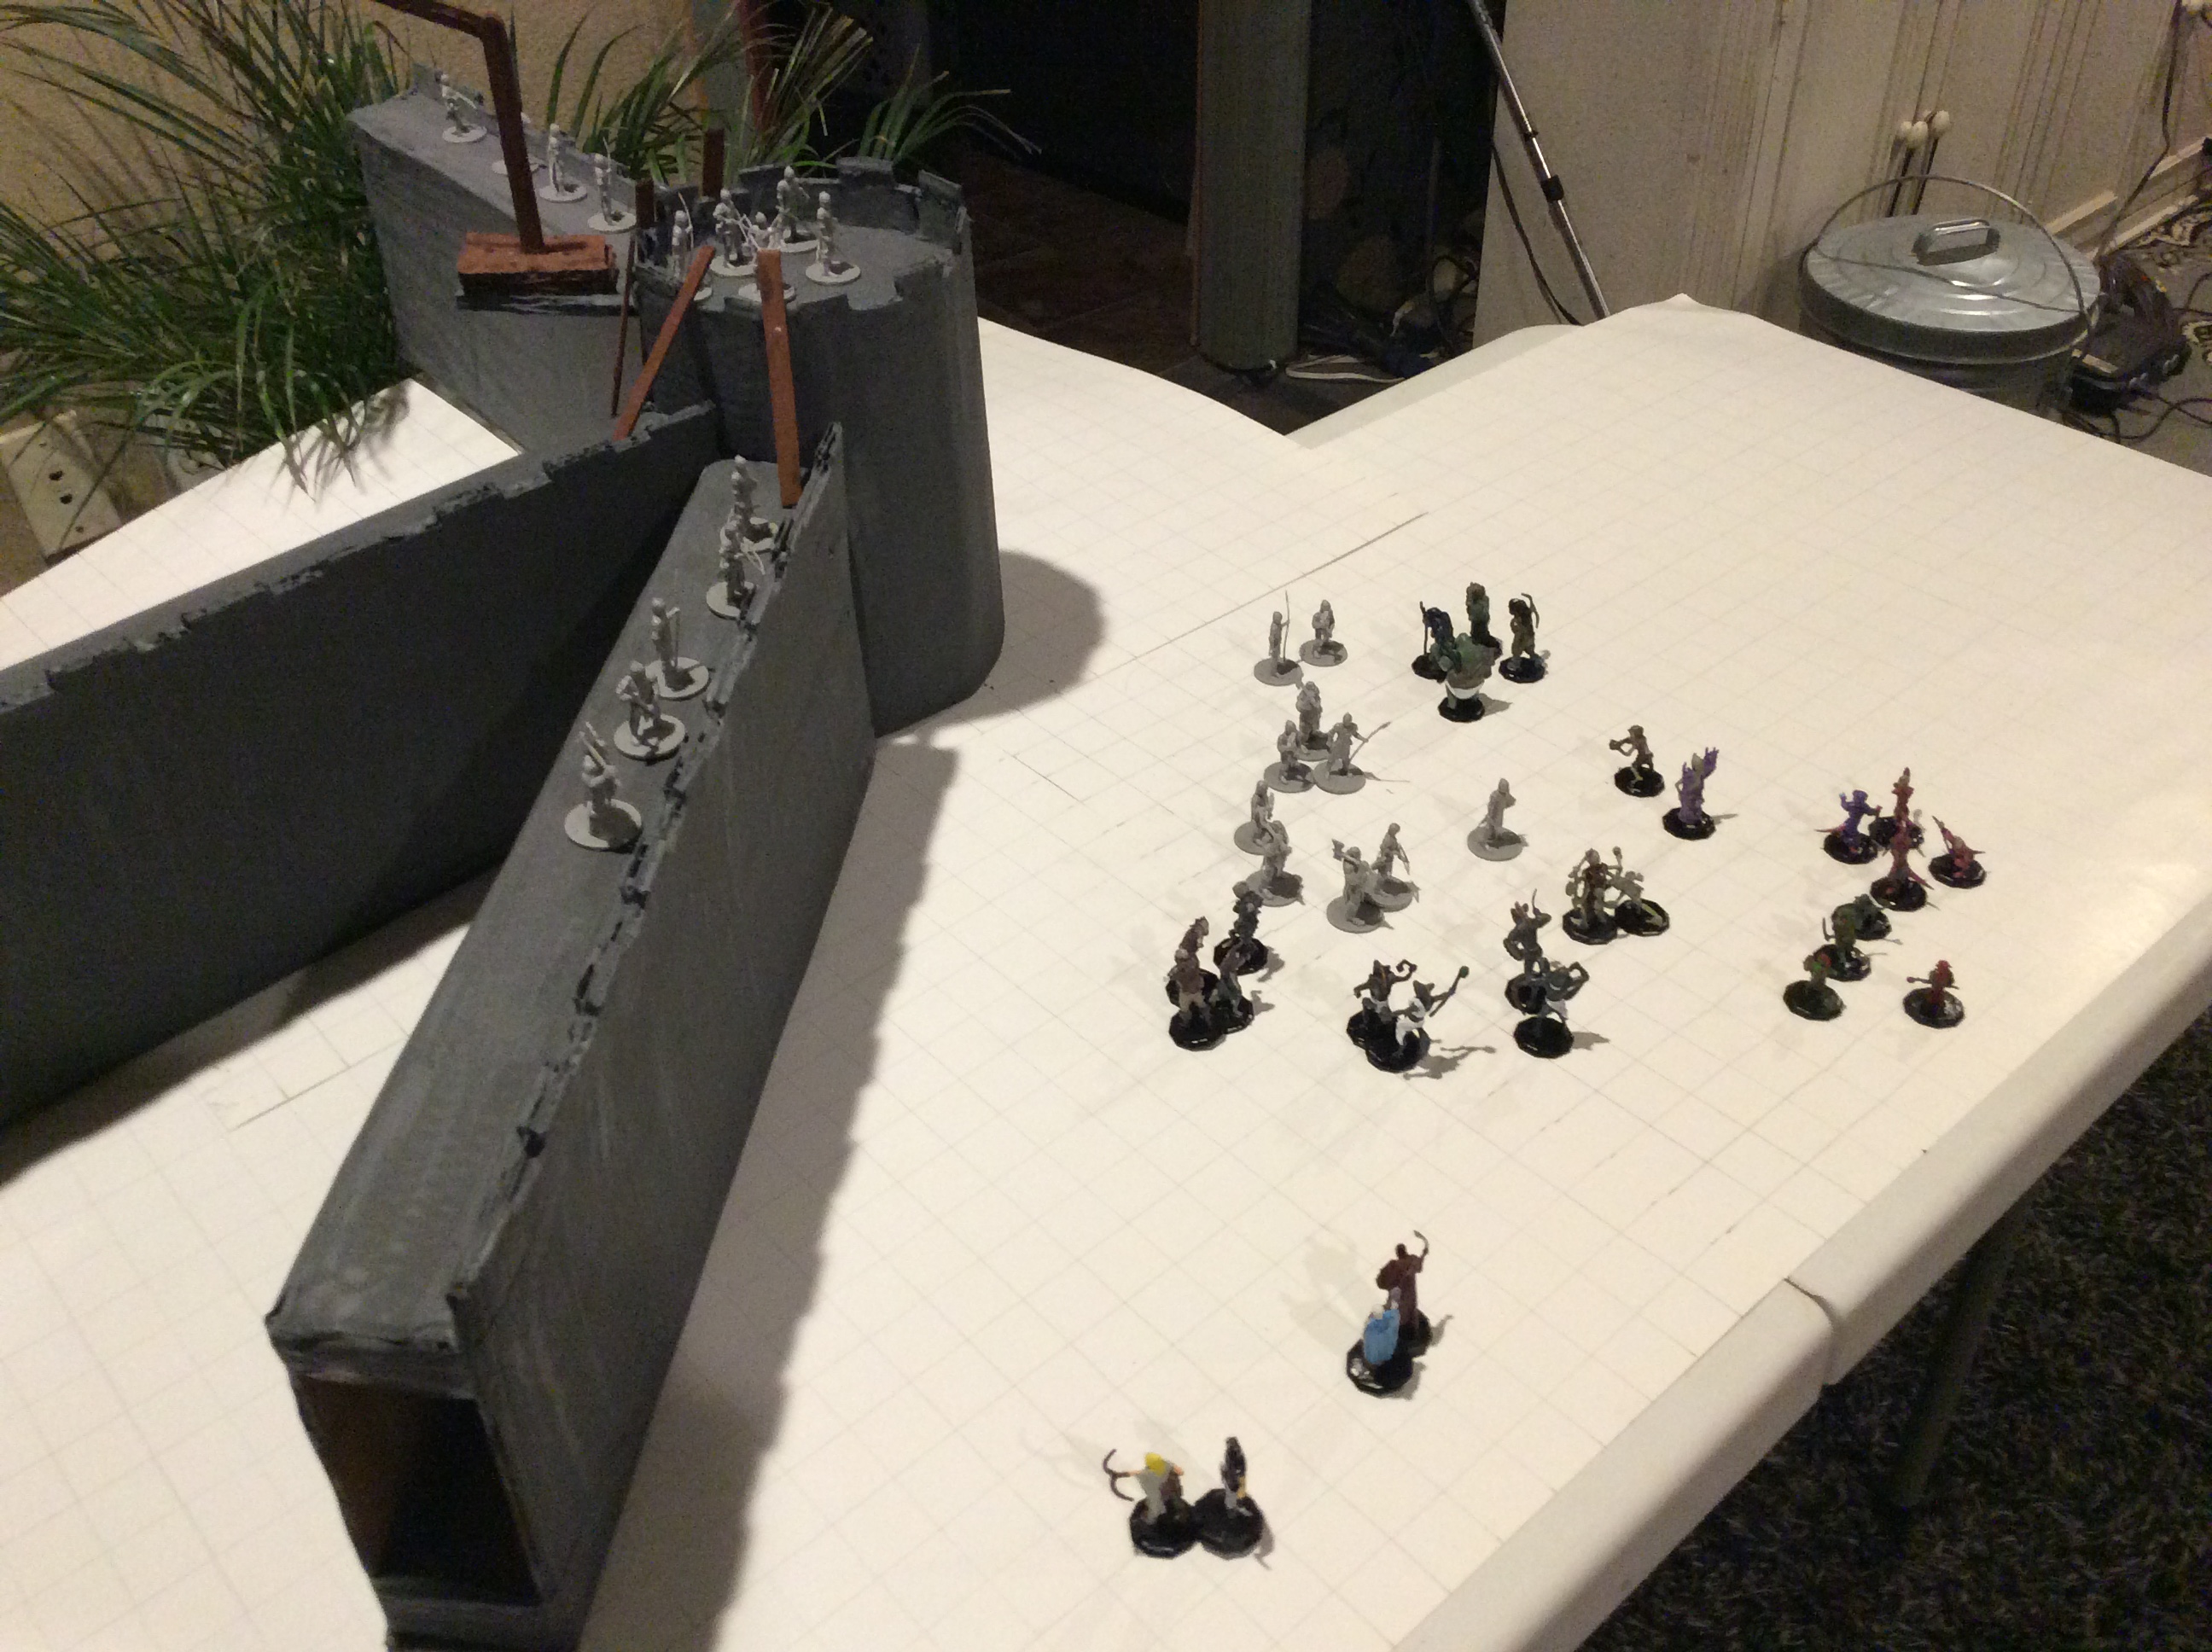
The Walls of Kahar are built and the Towers are connected by The Walls. The 2 buildings are added to Tower 5 even as the bottom
of Tower 5 is hollowed out in order to make room for 2 portcullises. Upon completion, Tower 5 becomes the Rear Gate.
Finally, Tower 1 is moved over so that The Front Gate House and Tower 9 can be added. It takes a few generations for The
Walls to be complete.
A Tower of Kahar
Some Schematics of The Towers of Kahar
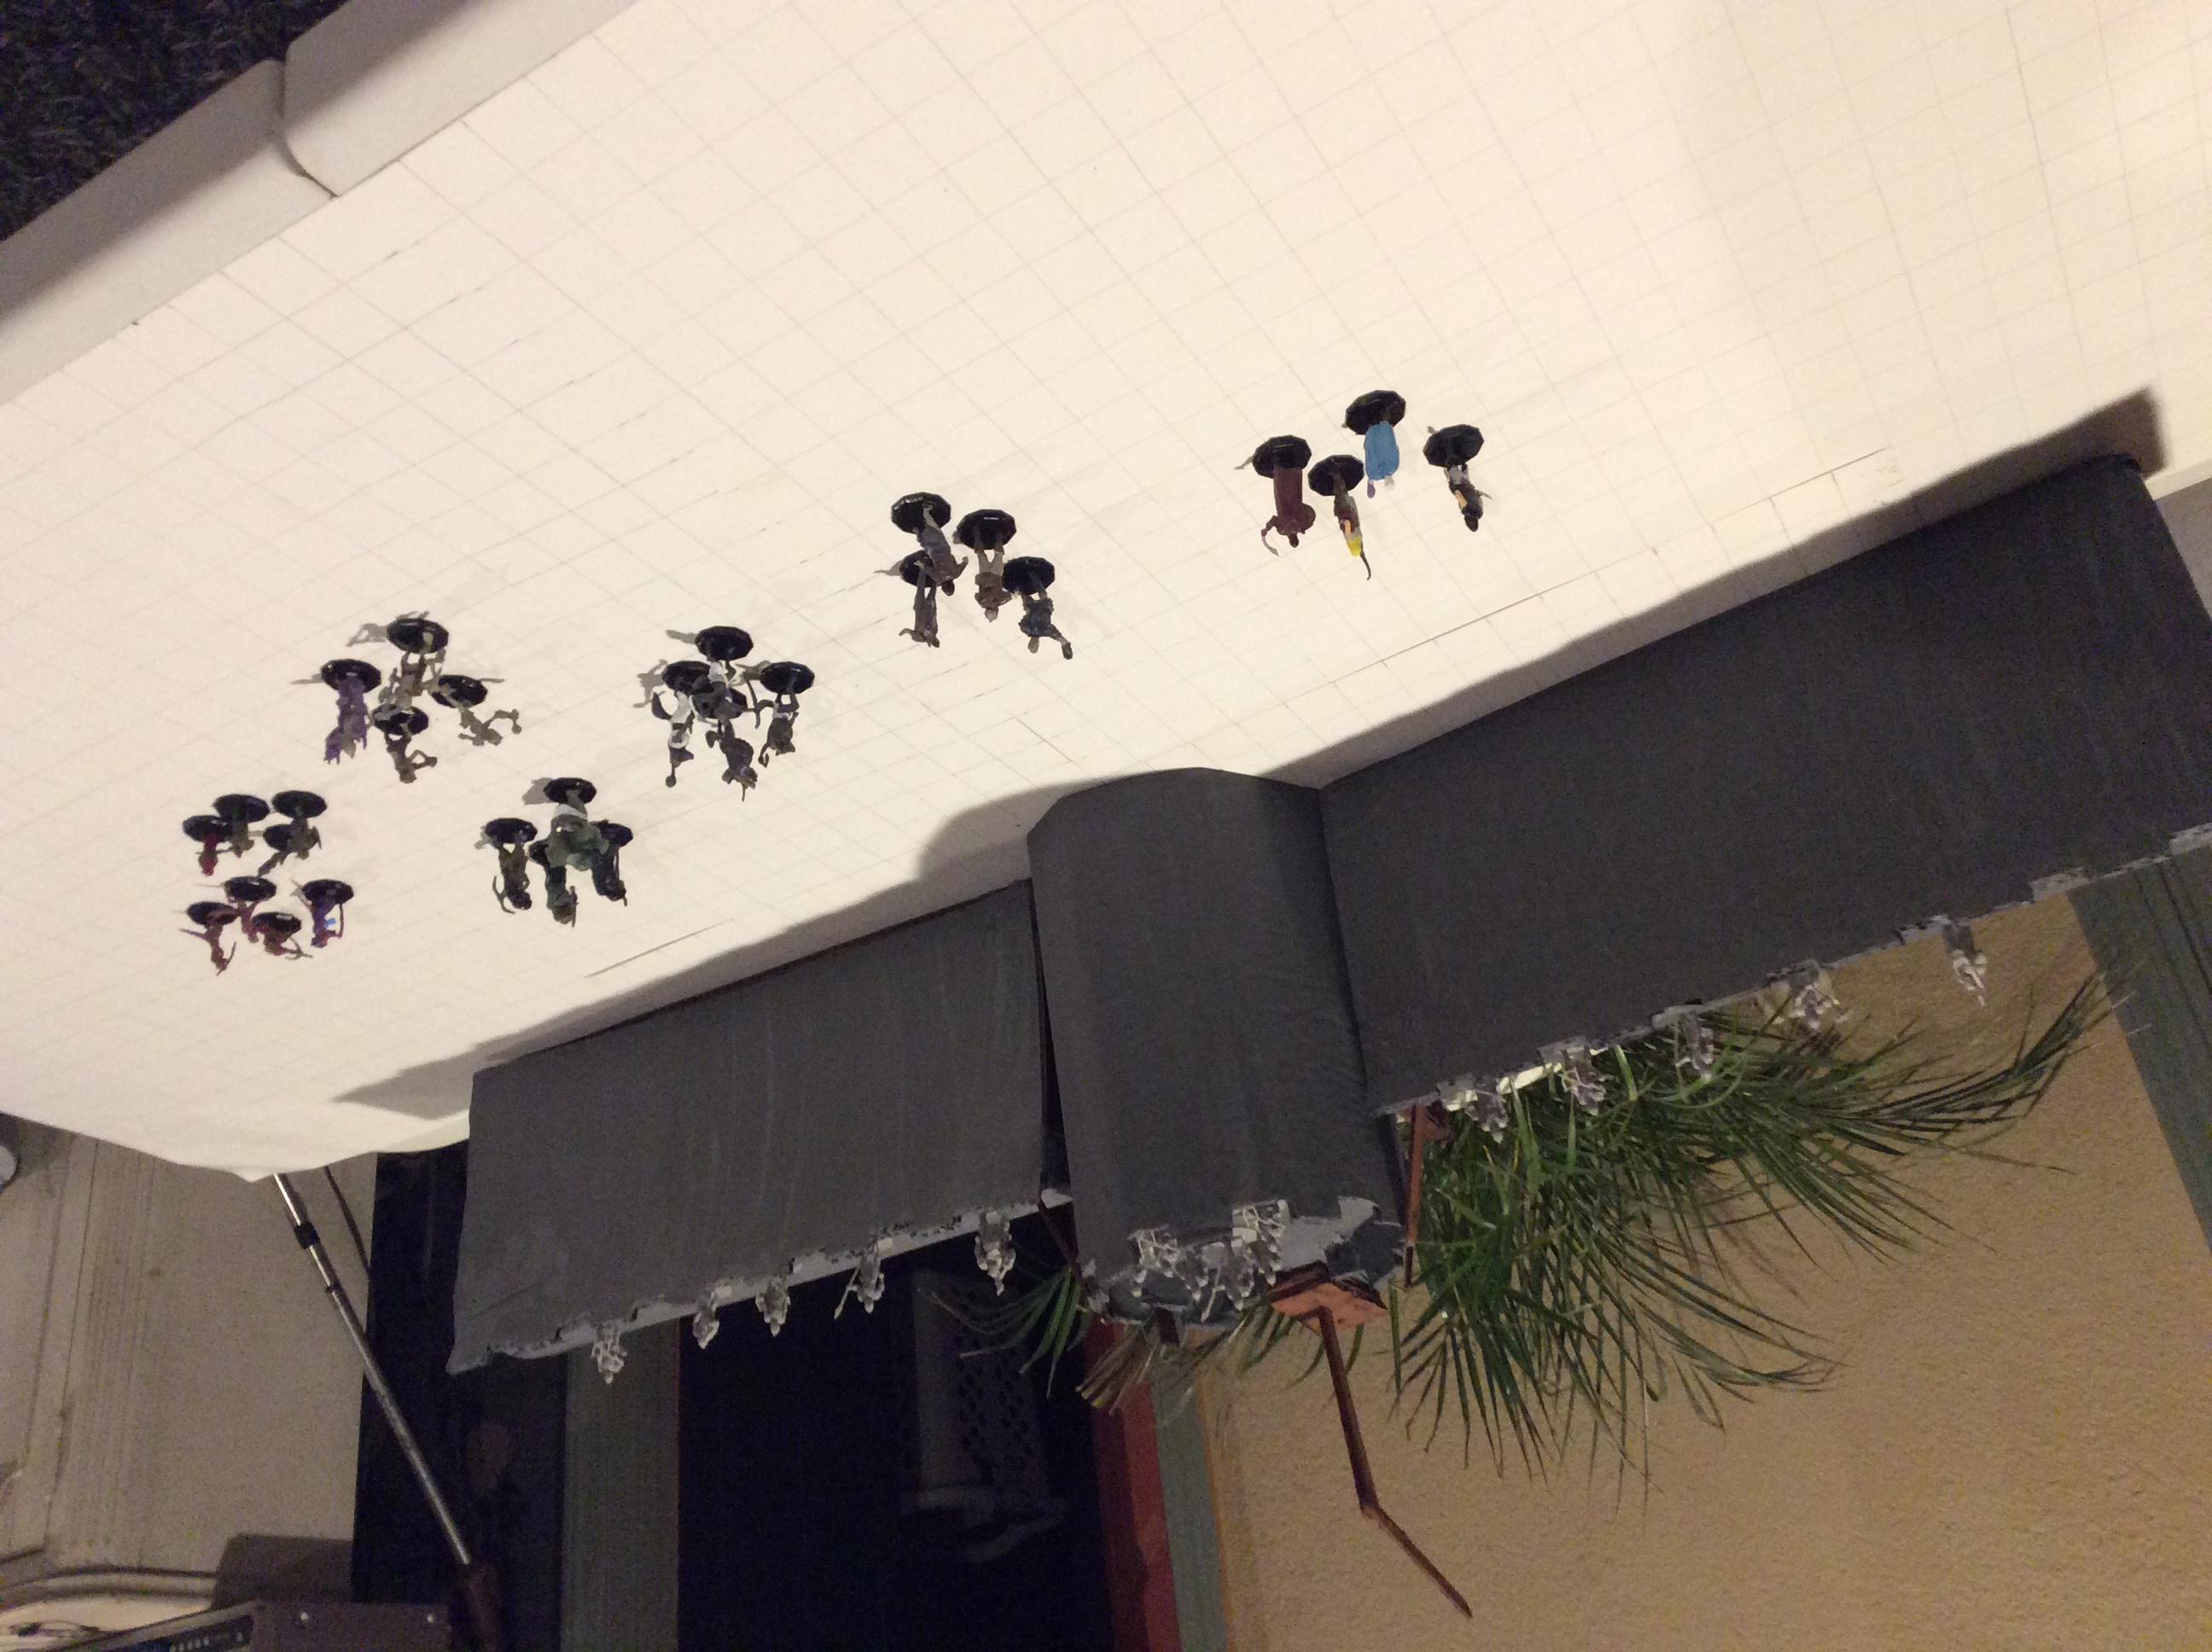
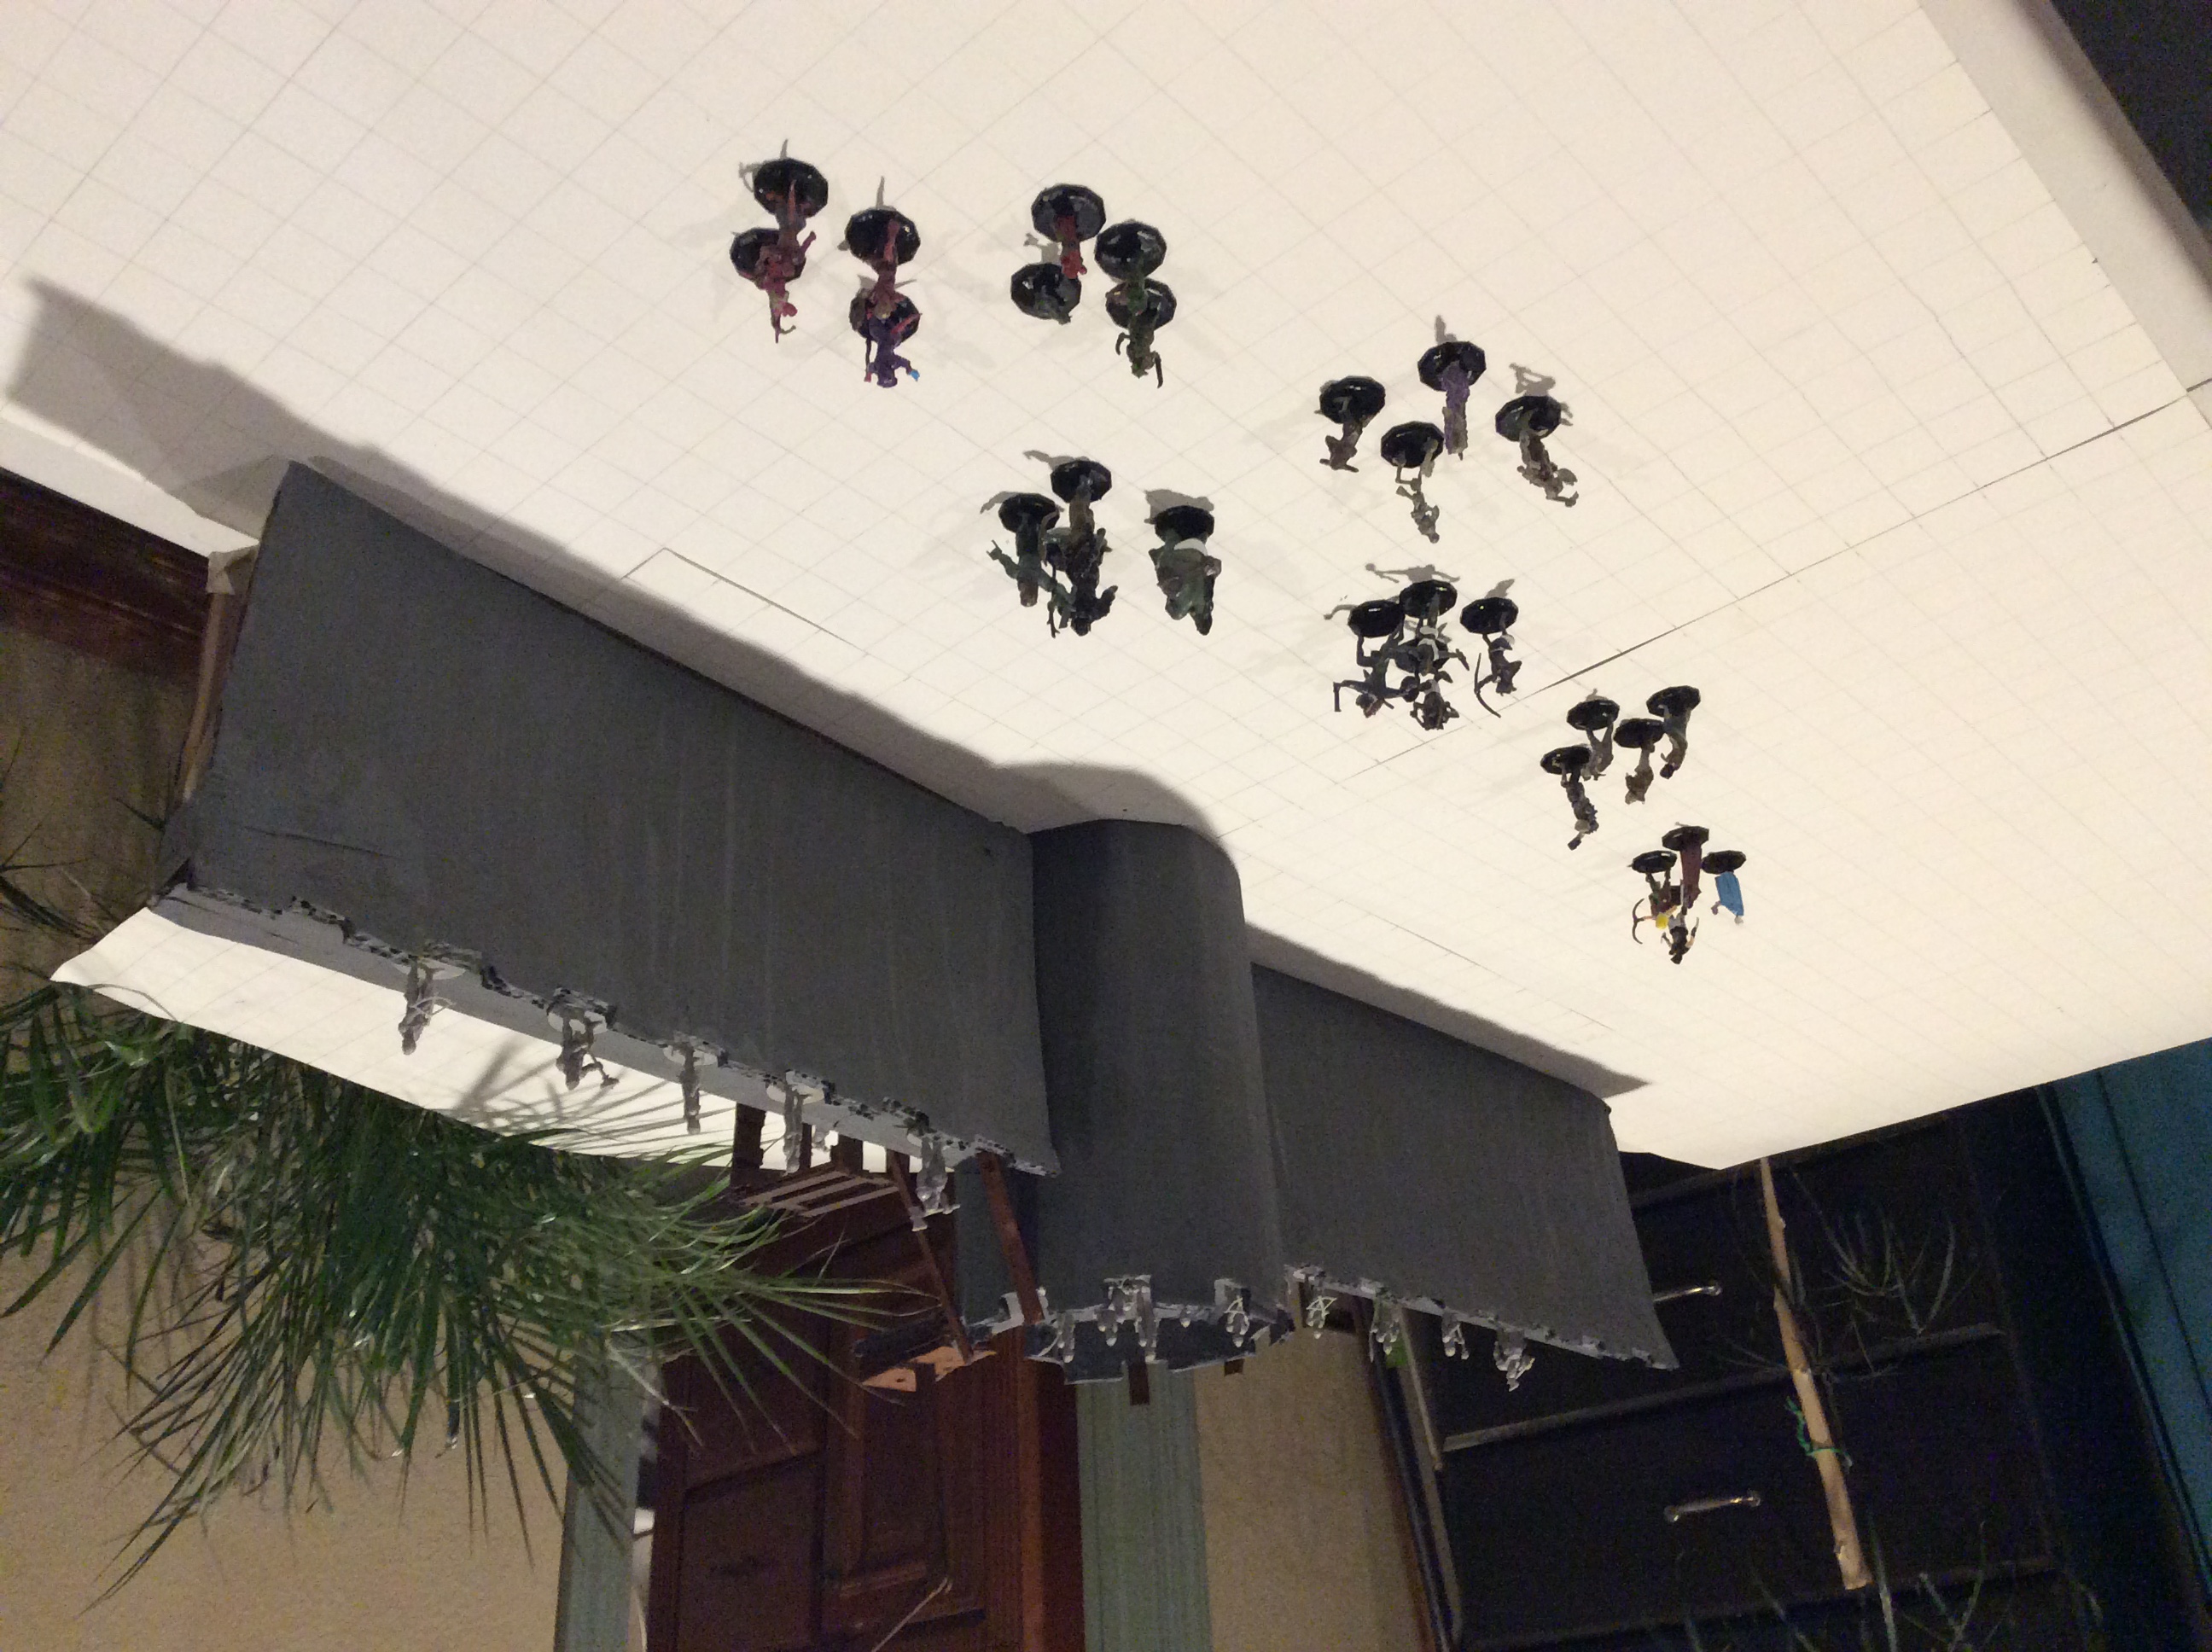
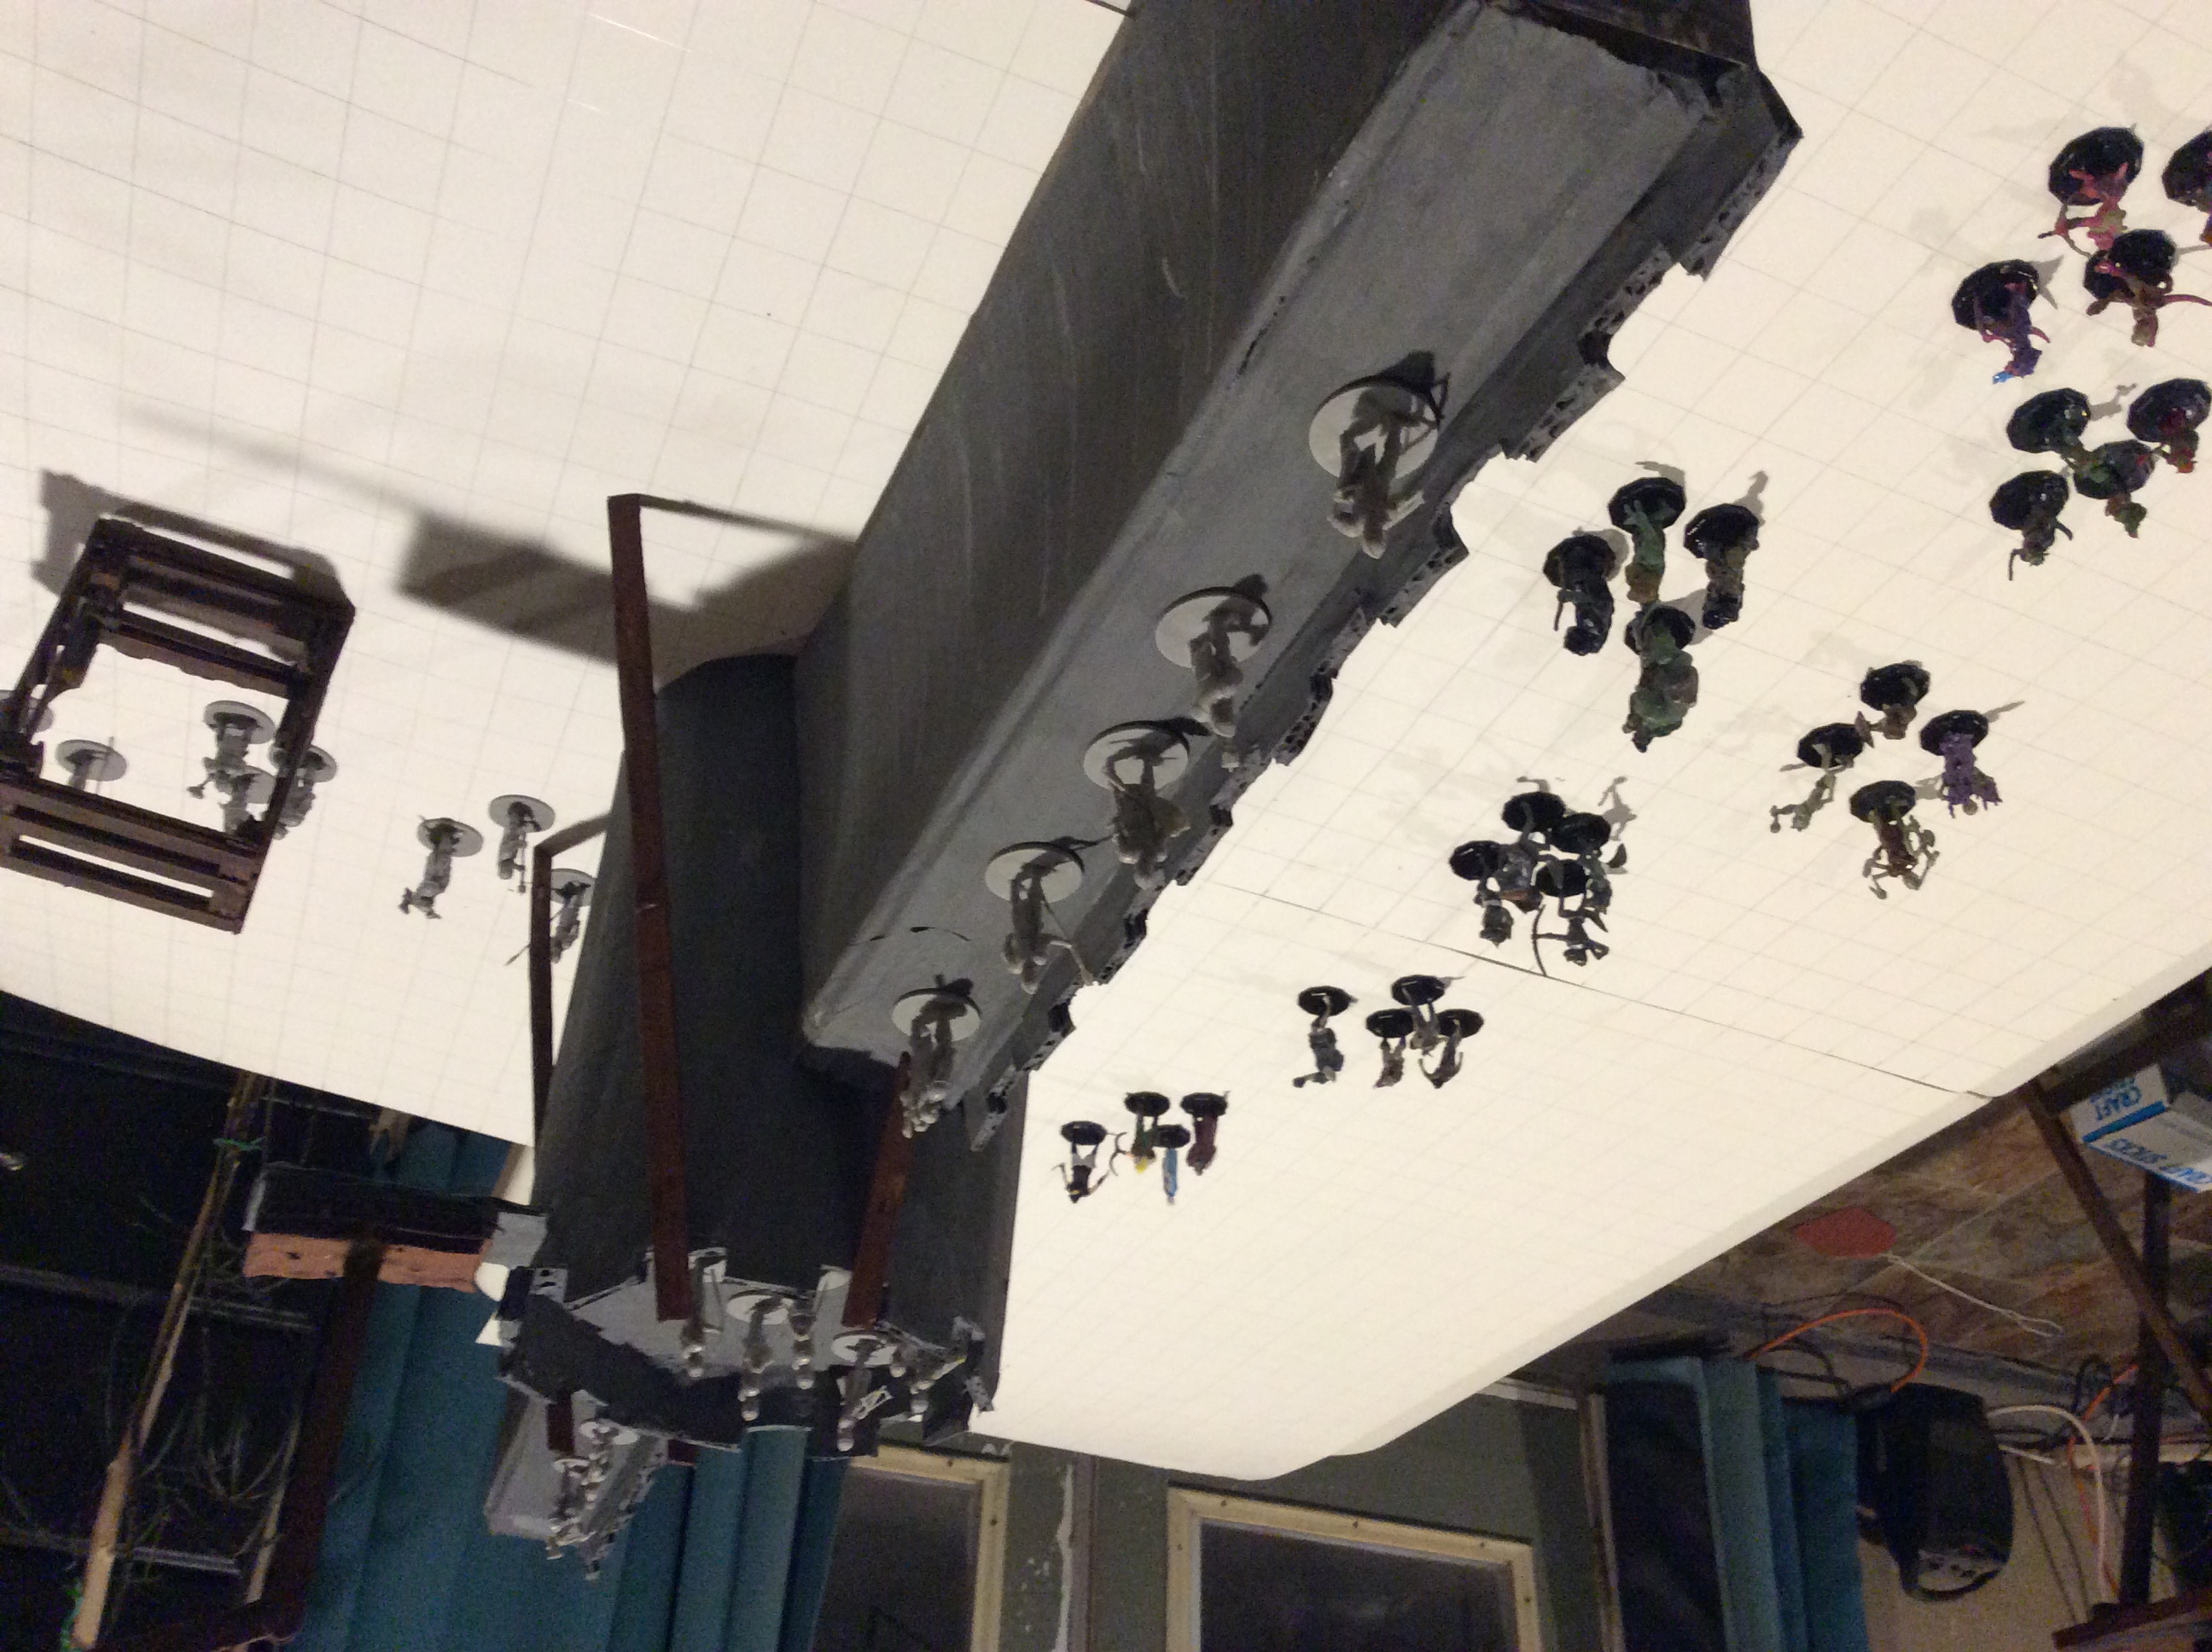
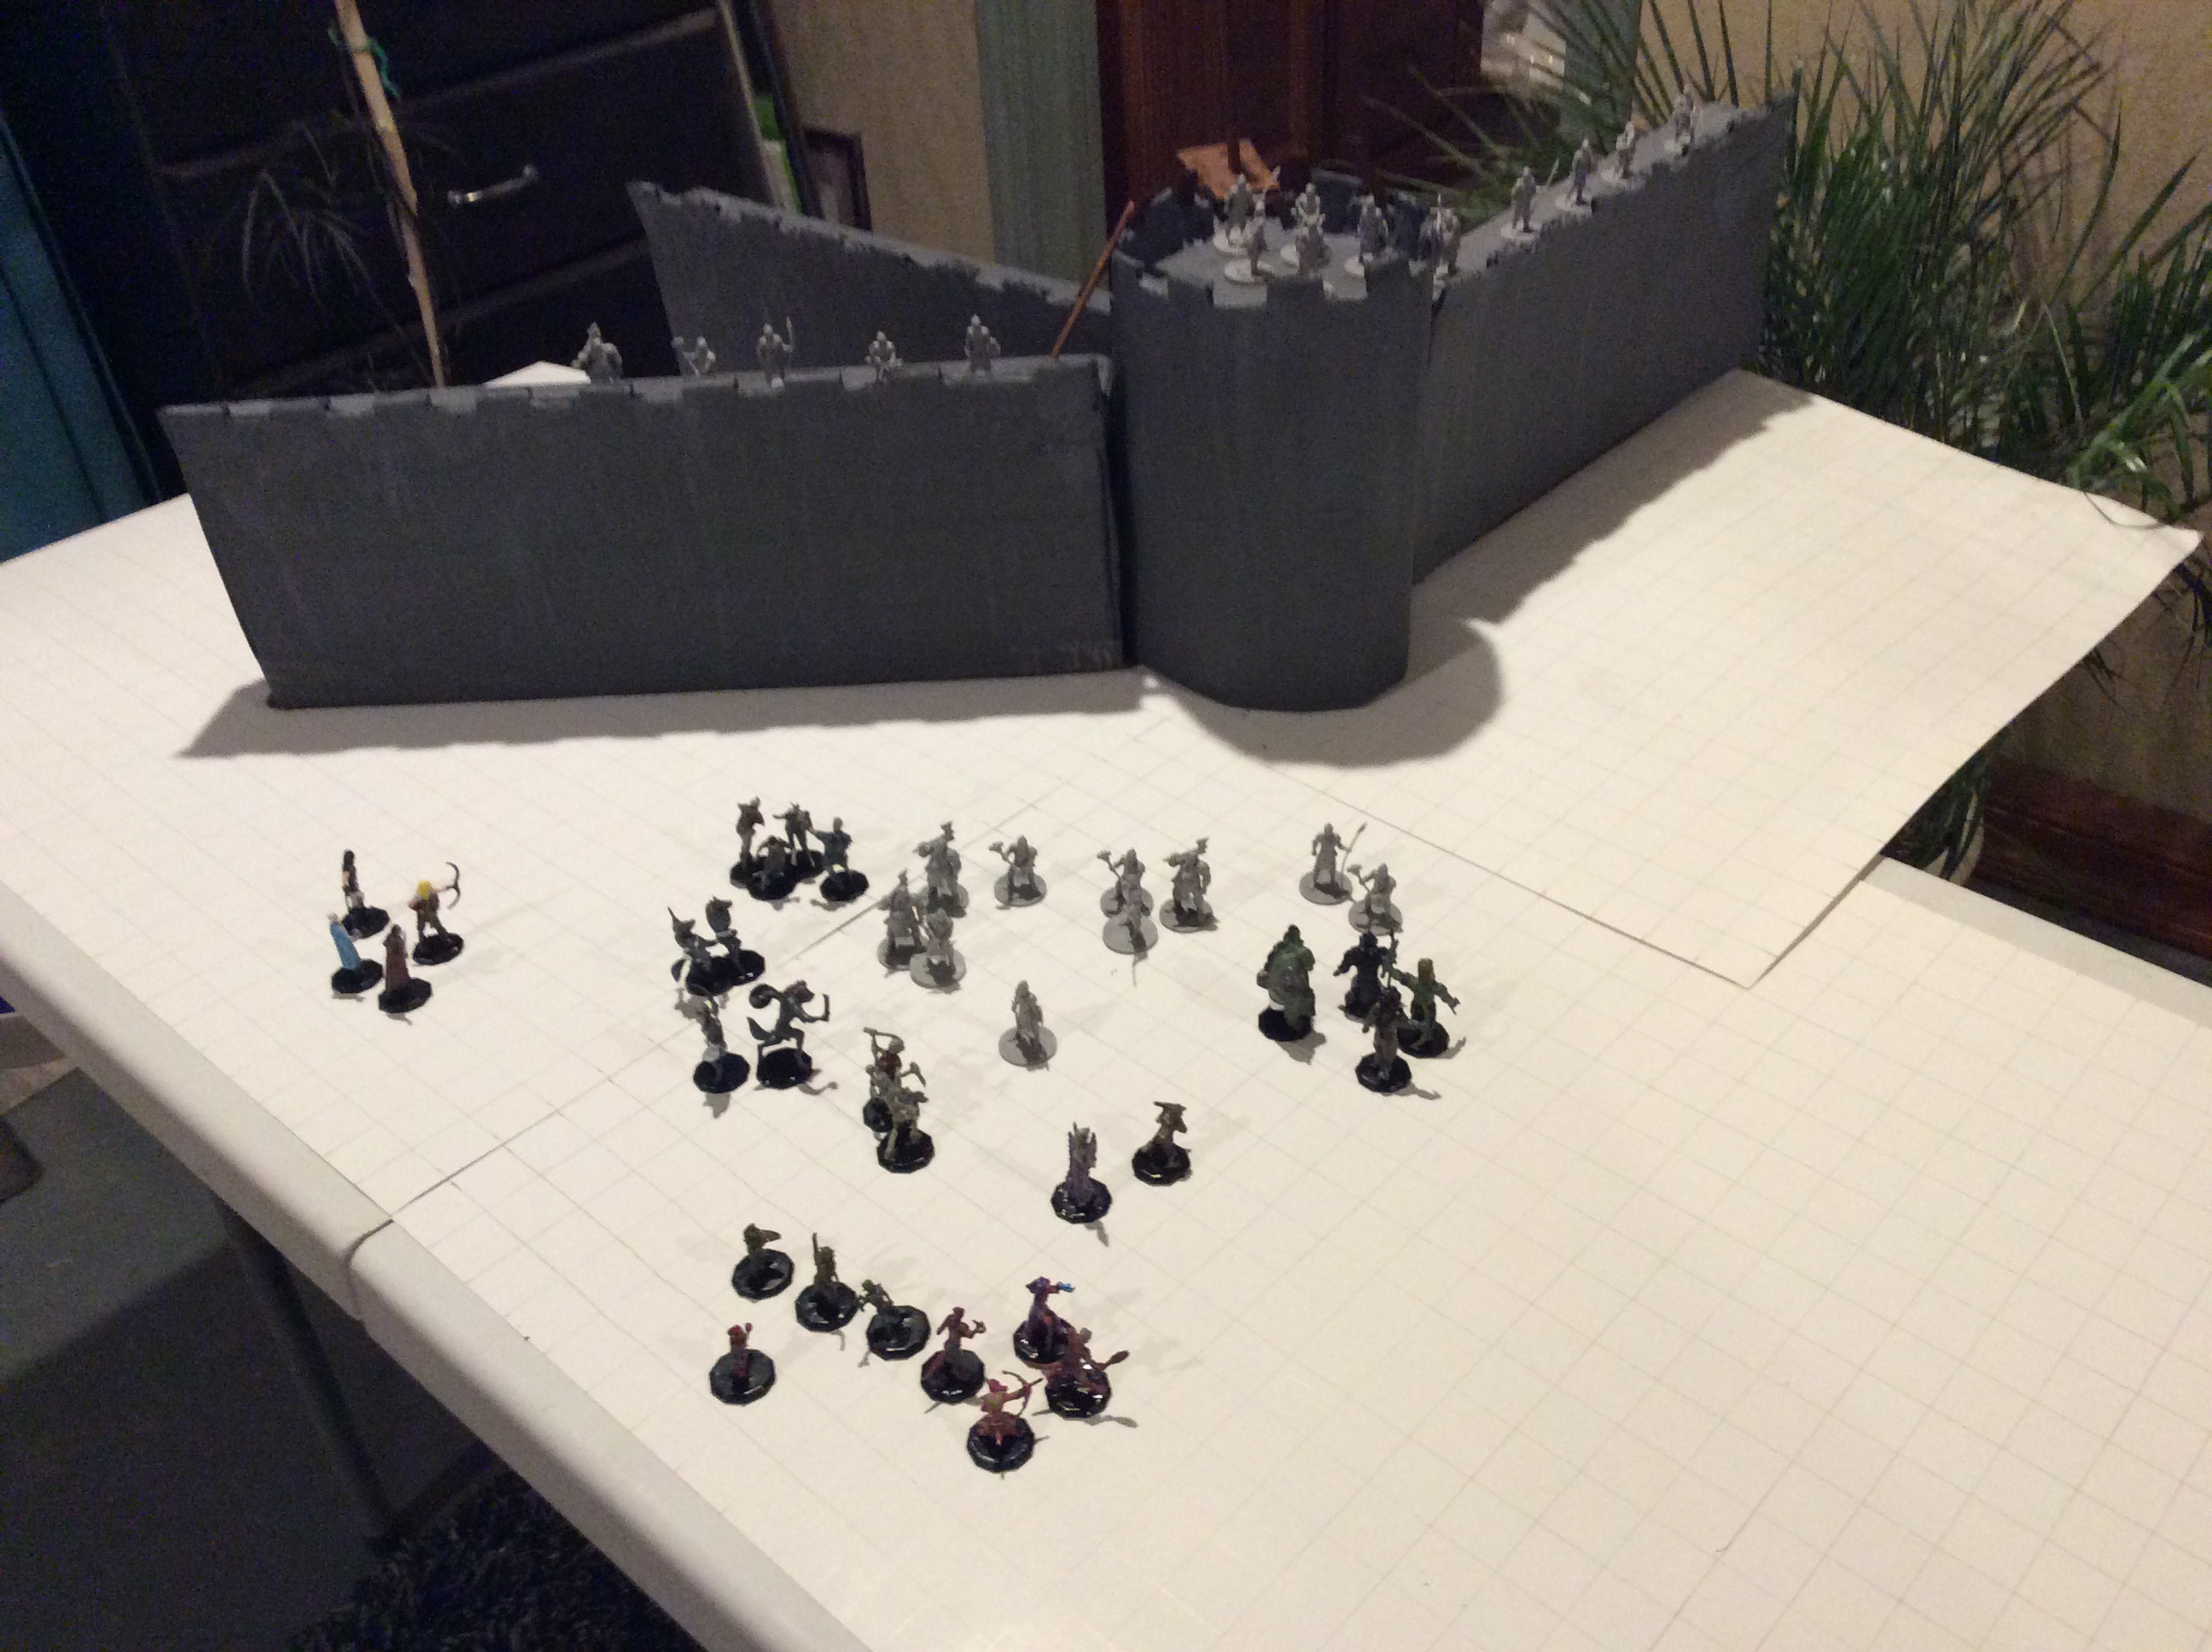
The Walls of Kahar
The Walls of Kahar are begun after almost all of the Towers are complete. The
Marquis insists that the walls be 3 times as thick as the Towers, but, with the Towers being 4 feet thick, the Walls
do not end up being 12 feet thick but instead end up being 10 feet thick. However, the Walls did sport a crenellation
2 1/2 feet thick with merlons 5 feet high and crenels 3 feet high. The remaining 7 1/2 feet on top of The Walls make
not only a major walkway, but also both a resting place and a look out area for guards, soldiers, and sentries. The
backside of the wall has no railing, bannister, barrier, nor fence, thus making that 30 foot fall a terrible danger at all
times. Both The Walls and The Towers are built of sun baked, hard dried mud bricks at 1 cubic foot. Each cube
has 10hp and is vulnerable to bludgeoning damage, but when these very same bricks are coupled together with other bricks,
they become resistant to bludgeoning, force, piercing, slashing, and thunder damage. Every 10 foot thick, 30 foot long
section of wall is assigned 100hp, with a break DC of 40, making the Wall a fantastic form of protection and a major
detterant to would be attackers.
The Walls of Kahar
The Walls of Kahar
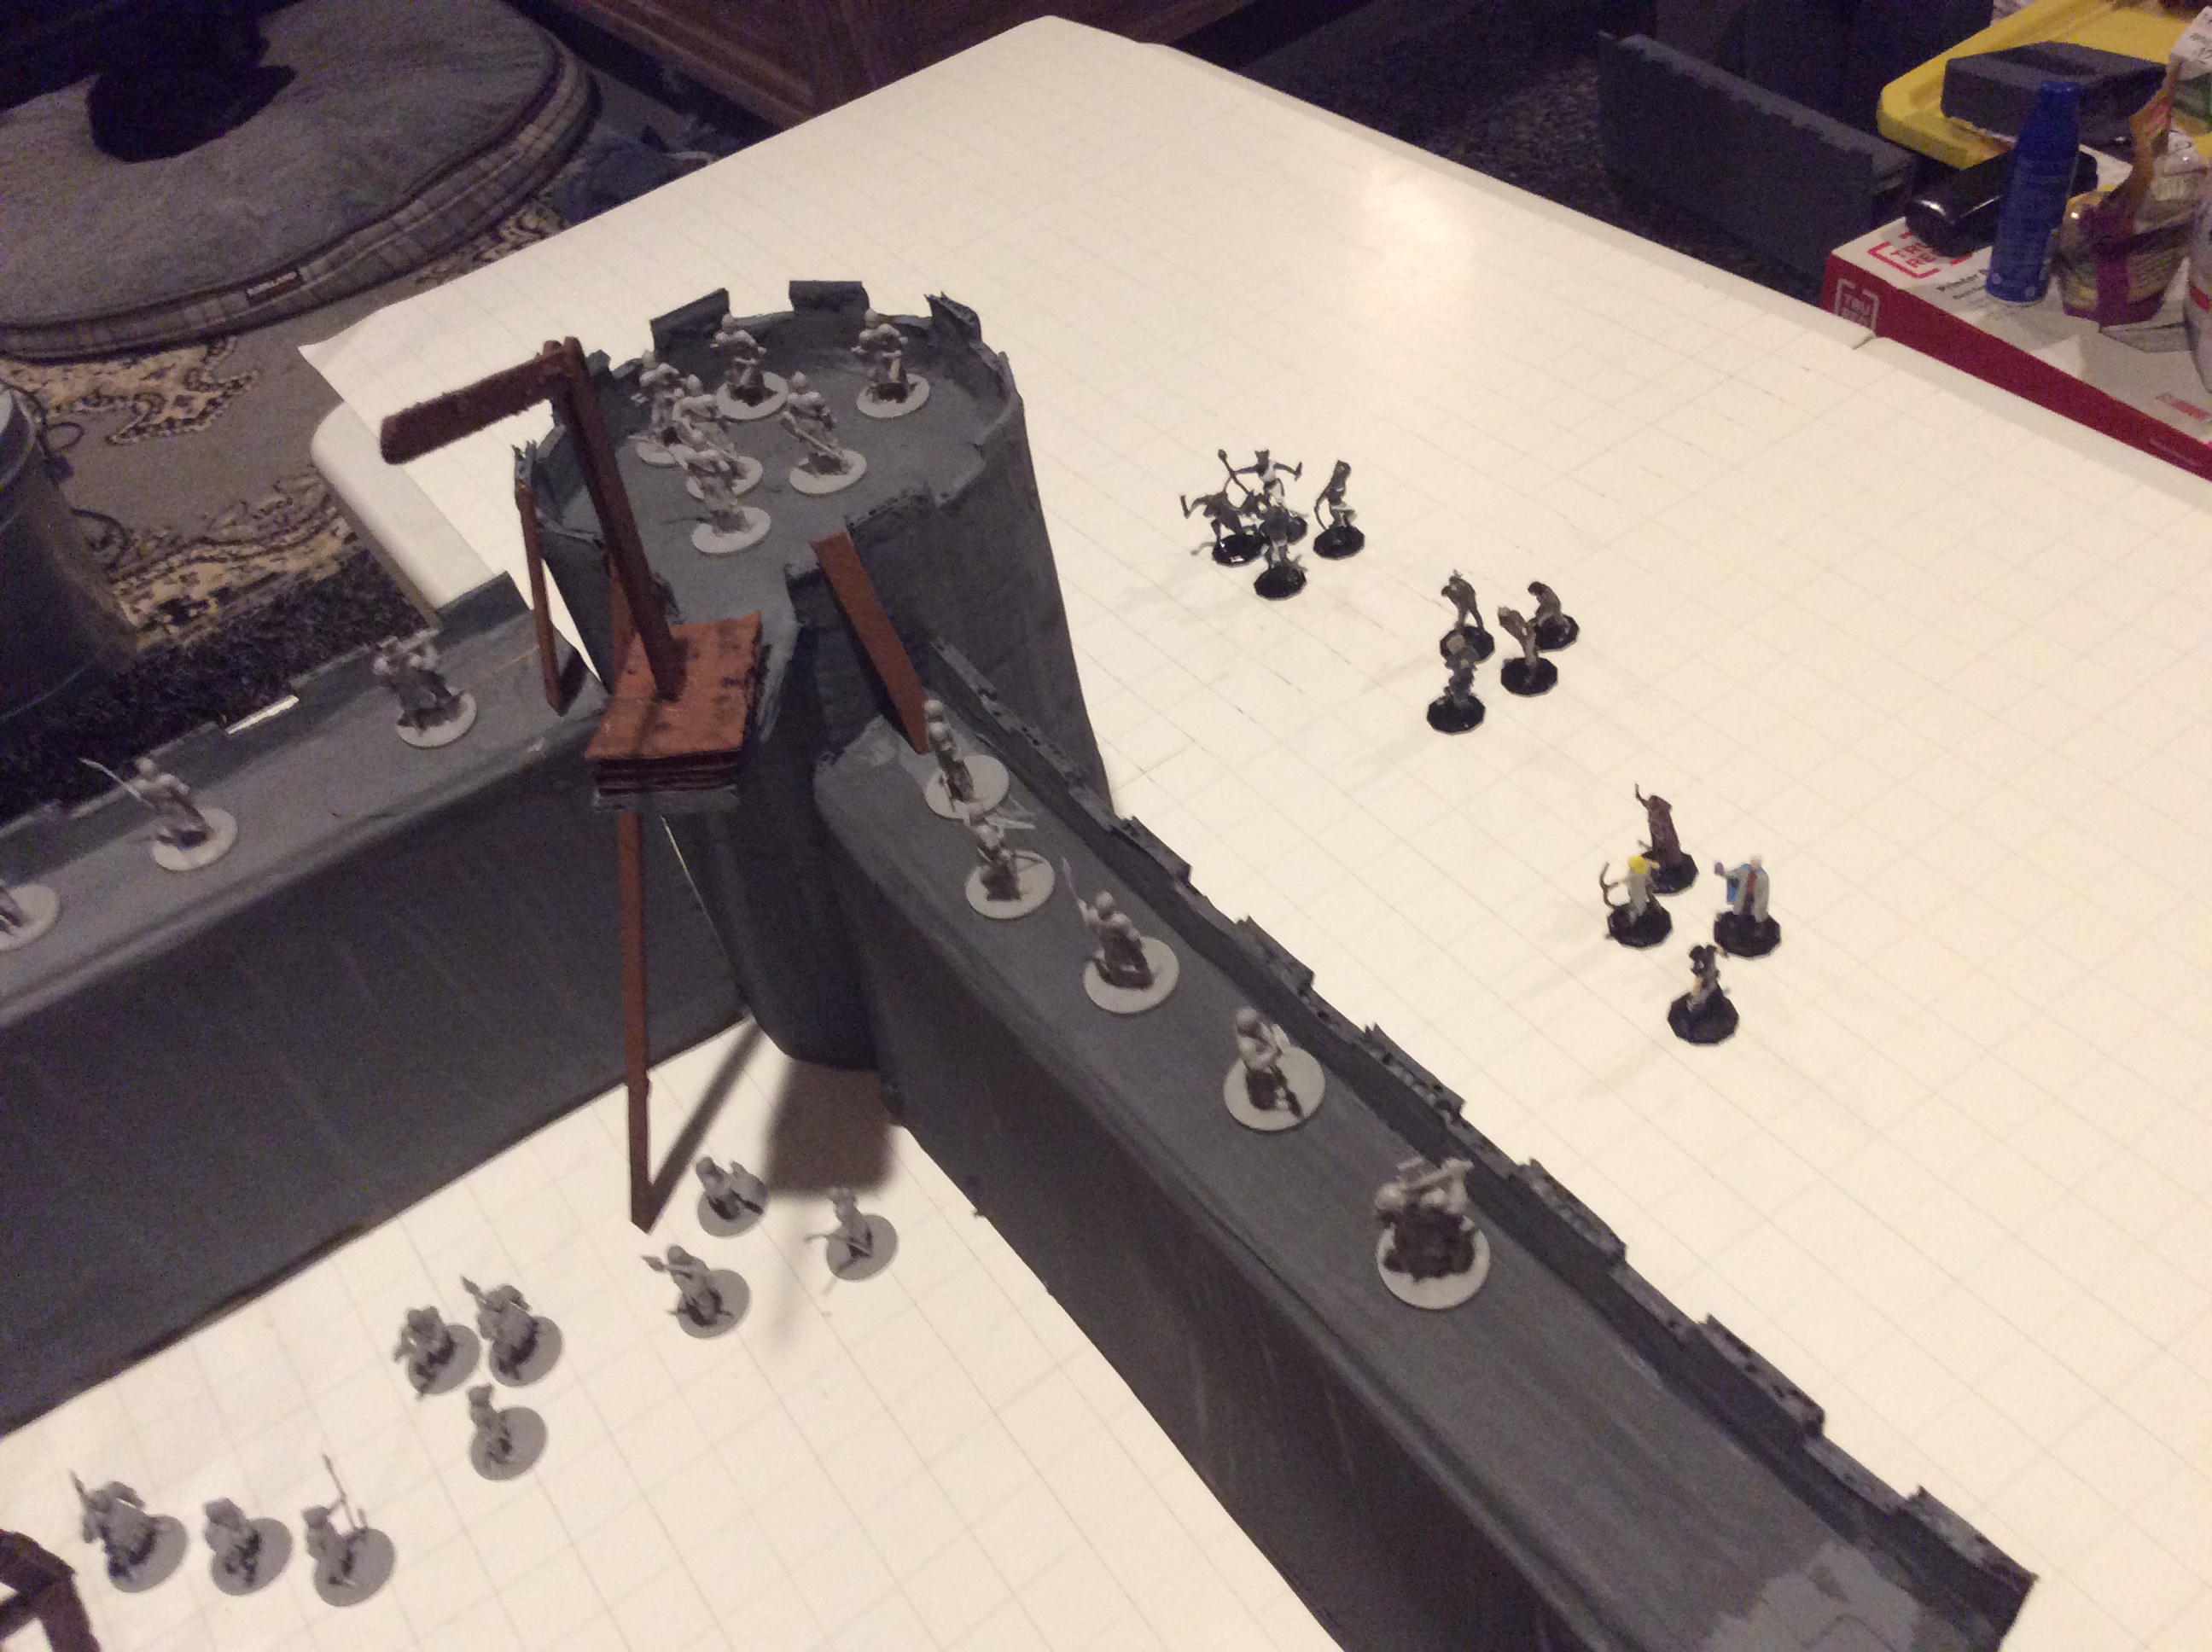
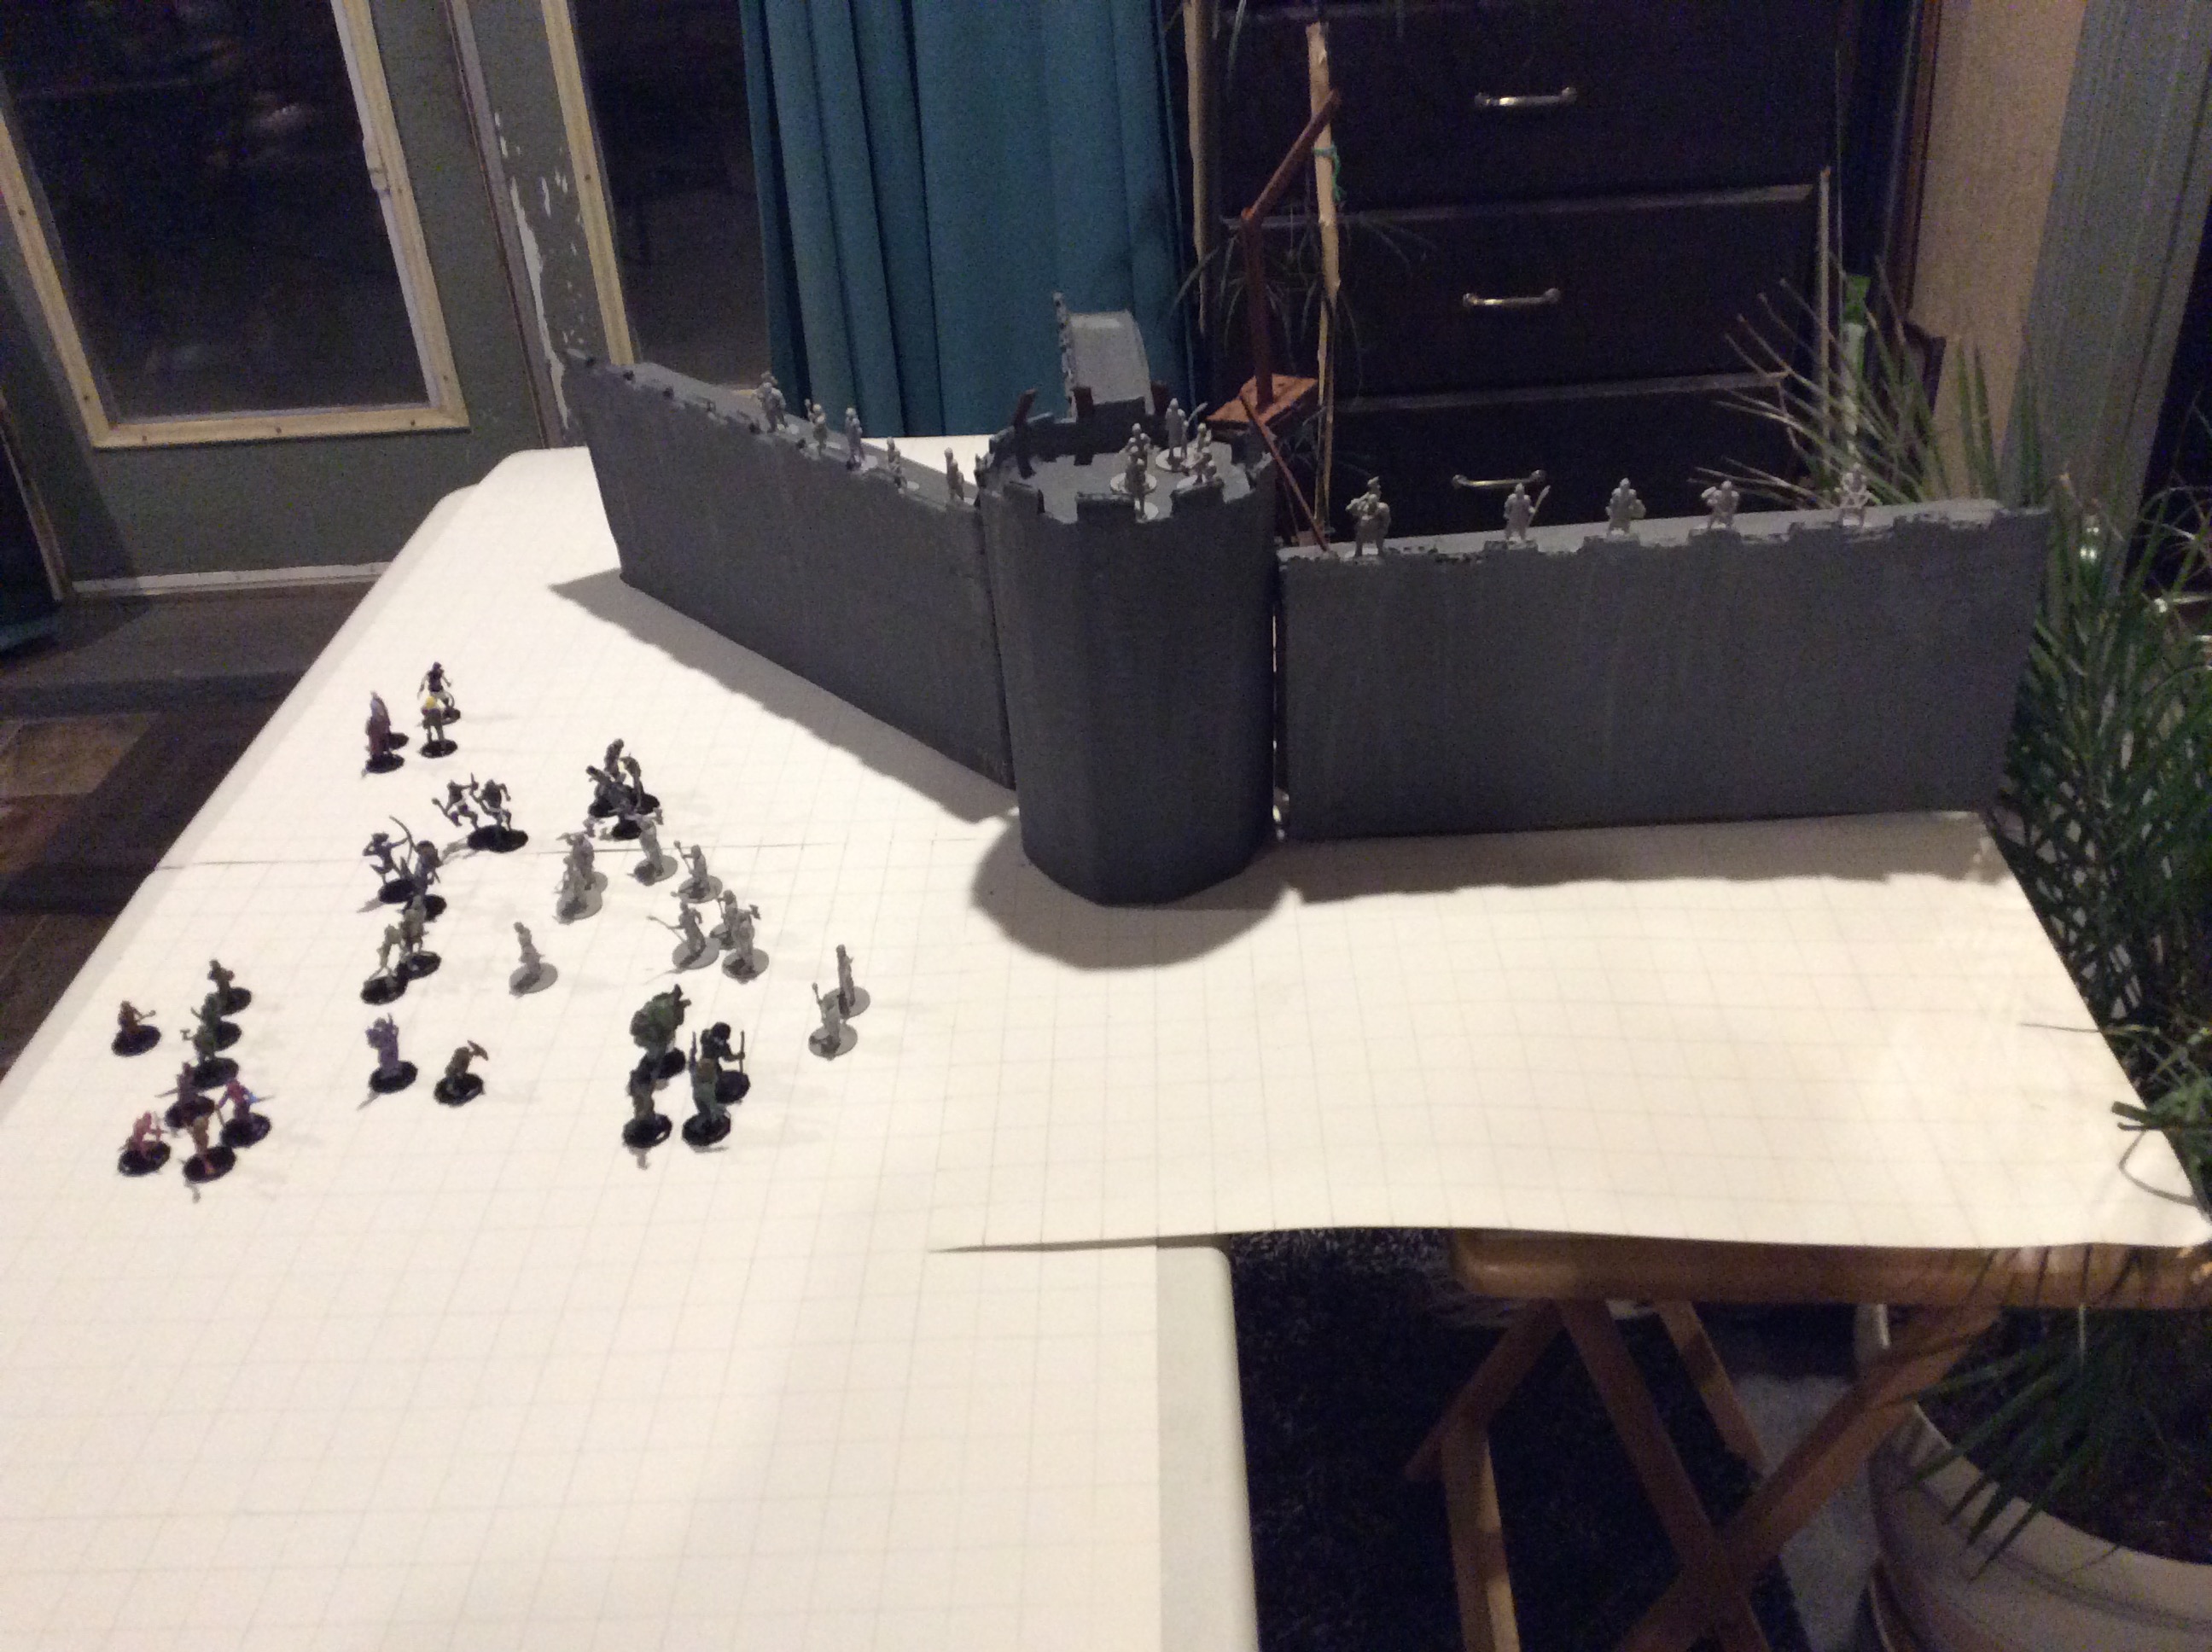
Tower 1 The Front Gate House
Tower 9
Tower 1 is commanded by Master Sergeant Millicent Harper under platoon leader Lt. Richard
Chen. Her garrison holds Tower 1 against not only the attack from siege tower Edgit but also they hold against
two attacks of goblins and hobgoblins scaling the Tower and surrounding walls with ladders and hooks and ropes.
Her garrison loses 3 soldiers in those 3 attacks. Lt. Chen notices an open portal, only 200' away from The Front
Gate House, from which enemy goblinoids and undead goblinoids are pouring in, and he is horrified to see that it is
The Wizar's Brigade, champions of Kahar, that huddles around the open portal. Lt. Chen orders her to attack, so
she launches arrows and bolts to destroy both wizards and portal but the magic of her adversaries is very strong and
nothing gets through. Two wizards are dispatched to destroy the tower but fail. Another
two wizards are sent to destroy Tower 1 but are again killed. Another two wizards attack
not the tower but the soldiers, and though they fight valliantly, they are overcome by terrible
magic. Most are slain, some are trapped by magic, only 5 soldiers are able to flee.
Tower 1 is abandoned.
The Front Gate House is where
the spell casters gather to aid the soldiers. Chaplins and Bishops tend the wounded while the Master Sergeant and
the Inquisitor lead the defense of both Towers and the Front Gate House. When Tower 9 begins to burn fiercly, Master
Sergeant Rock orders the Bishops and Chaplins off to the courtyard but he, and Inquisitor Raymek, stay even as the Front Gate
House catches fire. These 2 are there when the Fire Giant scales the burning Front Gate House and mounts up on the roof.
The battle is fierce and quick. The fully armored Fire Giant recieves many wounds before he kills both the Master Sergeant
and the Inquisitor. Their heroic stand is witnessed by many. The Fire Giant smashes and breaks pieces off the Front Gate
House and feeds them into the inferno at Tower 9.
Tower 9 is commanded by Lieutenant Richard Chen, who dies a hero with many of his men against the overwhelming
forces that rush through the broken Front Gate House. The initial assaults by 2 siege towers and many goblins and hobgoblins are beaten
back but a group of sappers undermines Tower 9. Lieutenant Chen signals for the Ecclesiastic Brigade, specialists in rooting out sappers,
but the Ecclesiastic Brigade betrays the Kingdom of Goldenshield and goes to the enemys side. A fire erupts from the base of Tower 9 and
consumes both Tower 9 and the Front Gate House. Lieutenant Chen orders his soldiers to abandon the Tower and gather in the courtyard to
await the inevitable onslaught of enemy soldiers. On both assaults from the siege towers and the many attacks with ladders, hooks and ropes,
it is 2nd Lieutenant Cassandra Reece who rises to the occasion and saves many lives, she holds together and organized retreat that makes its way
to the Keep. Tower 9 is the victim of both elemental creatures, magmin start a fire under the tower, and dark necromantic spells, Khalista
the lamia sends necromantic fire under the same tower, and this causes a rift between the Elemental Plane of Fire and the material world.
Tower 9 is consumed in fire and spews out a river of lava that runs north all the way to the oasis.
Tower 1
Tower 1 under assault from siege Tower Edgit
The Front Gate House
Attack.
Tower 9
Tower 9 under assault from siege Tower Turk
The remnants of Tower 9
Tower 2
Tower 2 is commanded by Lieutenant Bernard Hubbard. His garrison patrols two miles
of the wall, and during their patrols they stop 4 ladder, hook and rope attacks by goblins and hobgoblins, 1 attack
directed at Tower 2 itself. Lt. Hubbard becomes aware of the approach of the Wizard's Brigade the minute they
appear near Tower 2's officer quarters. He feels uneasy about the whole situation from the beginning and confers
with 2nd Lieutenant Viola Beech. While they are discussing this curious event, they see undead goblins inside the
fortress. A search for the source of the undead reveals that the Wizard's Brigade has opened a teleportation
circle and both gobliniods and undead goblinoids pour inside the fortress. 2nd Lieutenant Beech races back to
Tower 2 and returns half of an hour later leading 3 soldiers. Lt. Bernard, meanwhile, has spotted the source of both
goblinoids and undead goblinoids getting inside the fortress. He leads this fire team 200' away from Tower 1
where they encounter the Wizard's Brigade huddled on the south side of a magical portal. He lays out a desperate
plan to disable and close the portal and they quickly attack. They successfully close the portal but none of them
survive. The defense of Tower 1 is thrown into disarray as multitudes of enemy have already entered the fortress.
Tower 2 is evacuated before the Wizard's Brigade use their magic scrolls to break defensive spells and move
earth and stone until Tower 2 falls to rubble. Captain Naviiam gathers the soldiers of Tower 2 and
sends them to Apperton's Arch.
Tower 2
Lieutenant Bernard Hubbard gets blasted by a magician during the Dark Crusades
Tower 3
Tower 3 is commanded by Lieutenant Belinda Moran. Her garrison defended
the miles of Wall and their Tower against several attacks of ladder, hook and ropes. When 2nd Lieutenant
Beech arrived with her 15 soldiers they assembled on the ground and formed a phalanx and began to head south
to attack the Wizard's Brigade, leaving 2nd Lt. Beech with a Fire Team to defend Tower 3. She is intercepted
by Captain Naviiam, who orders all soldiers to report just north of Apperton's Arch. But he leaves a Fire Team
under 2nd Lieutenant Beech to guard Tower 3.
Captain Naviiam takes all the other soldiers and goes to confront a goblinoid attack at Apperton's Arch.
The Arch is lost, but they inflict heavy damage on the goblinoids with minimal losses and then they retreat north to Moja Hamlet
when the Fire Giant attacks and the Hill Giants destroy the Arch. Lieutenant Moran wins reknown when she
leads a desperate charge with a single phalanx against 100 bugbears guarding the Hill Giants. Her attack is
so savage and so fierce, she seperates the bugbears and the Hill Giants leading to their demise. Niether Lt. Moran
nor any of her soldiers survive that desperate charge. Tower 3 is destroyed along with the west Wall by the
Wizard's Brigade. It is defended by a Fire Team led by 2nd Lt. Beech, 5 brave soldiers holding the Tower against
the menace of the Wizard's Brigade. They do not survive.
Tower 3
The same magician is instrumental in destroying much of the wall between Tower 3 and Tower 4.
The scrolls of the magicians destroying Tower 3.
Tower 4
Tower 4 is commanded by Lieutenant Benjamin Walter. He leads his Tower garrison in many
successful forays against the enemy. Even though he is warned about the coming magicians of The Wizard's Brigade,
everything is interrupted by the coming of Captain Naviiam, who orders everyone to report north of Apperton's Arch.
Lt. Walter departs at once, but leaves a 5 soldier Fire Team under 2nd Lt. Theresa Dillion to guard the Tower. Tower 4
is the final victim of the Wizard's Brigade. The 5 soldier Tower garrison launches an all out attack against the magicians
of the Wizard's Brigade, but they are way overmatched and are overcome by the magic of the attackers. Finally,
the onslaught of the Wizard's Brigade is brought to an end by the coming of Lady Nazeri and her knights. When she
appears, the magicians flee into the dark night, but regroup at Barracks A.
Tower 4
Although Tower 4 is not saved, with the coming of Lady Nazeri and her knights, the magicians flee.
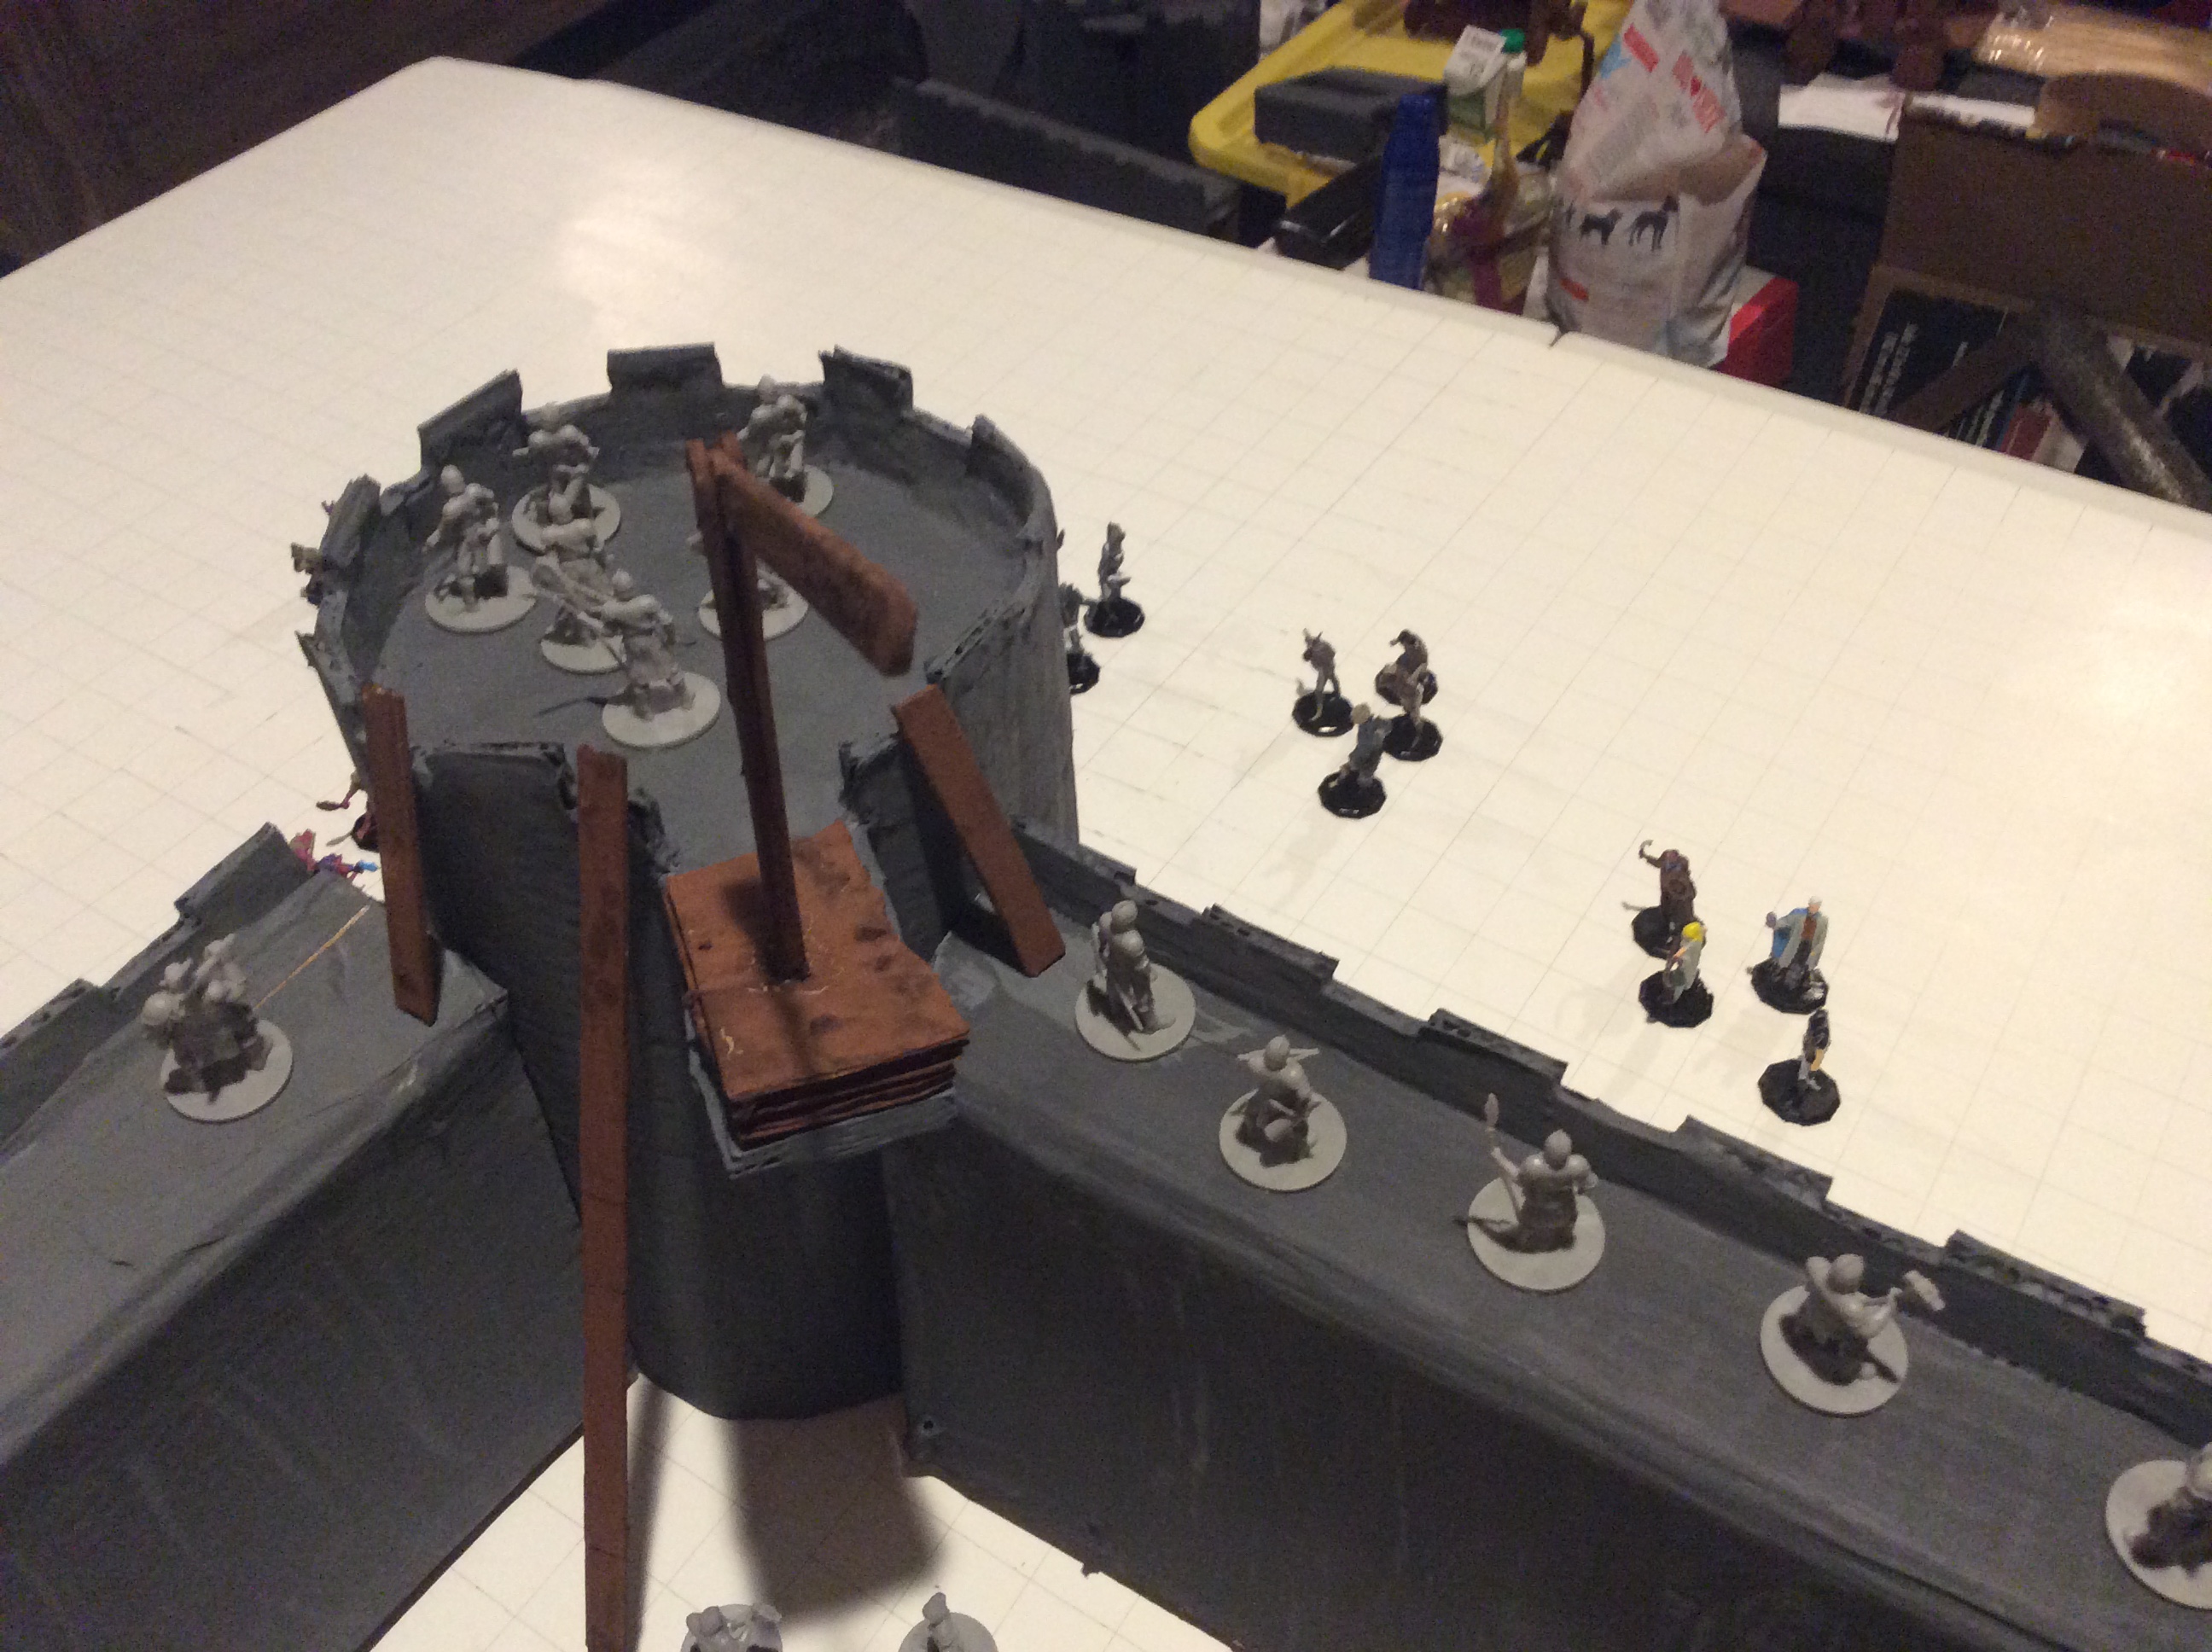
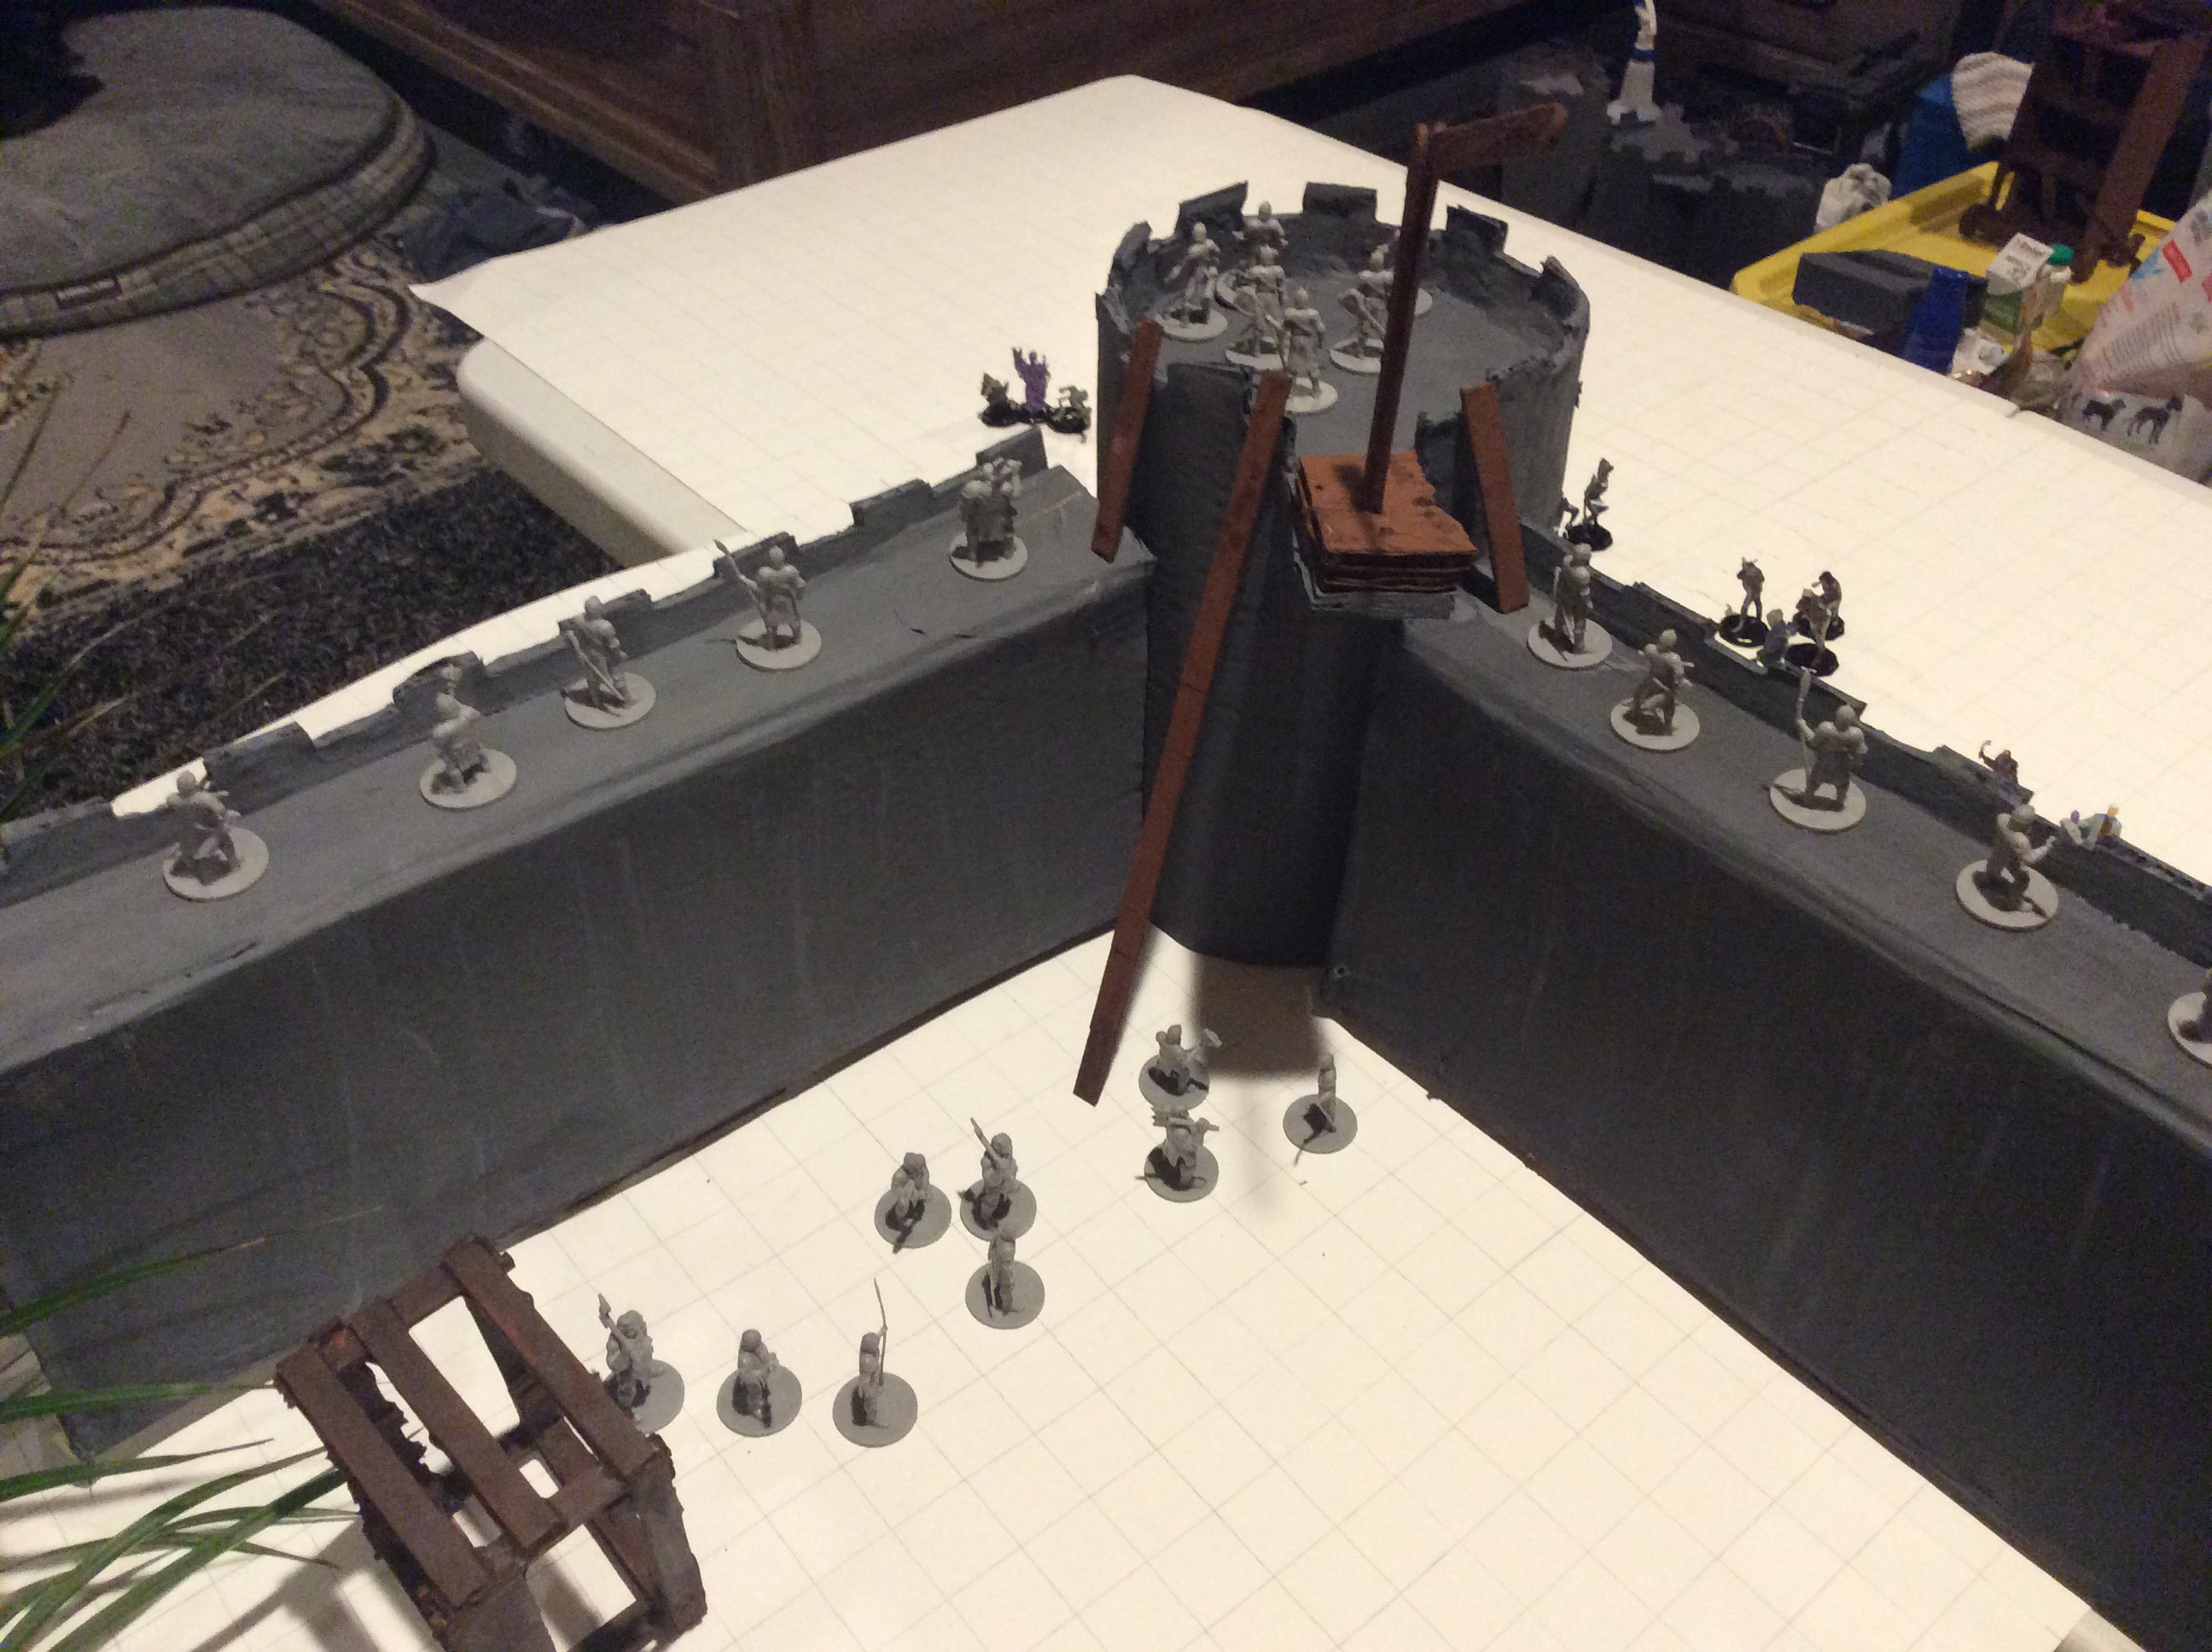
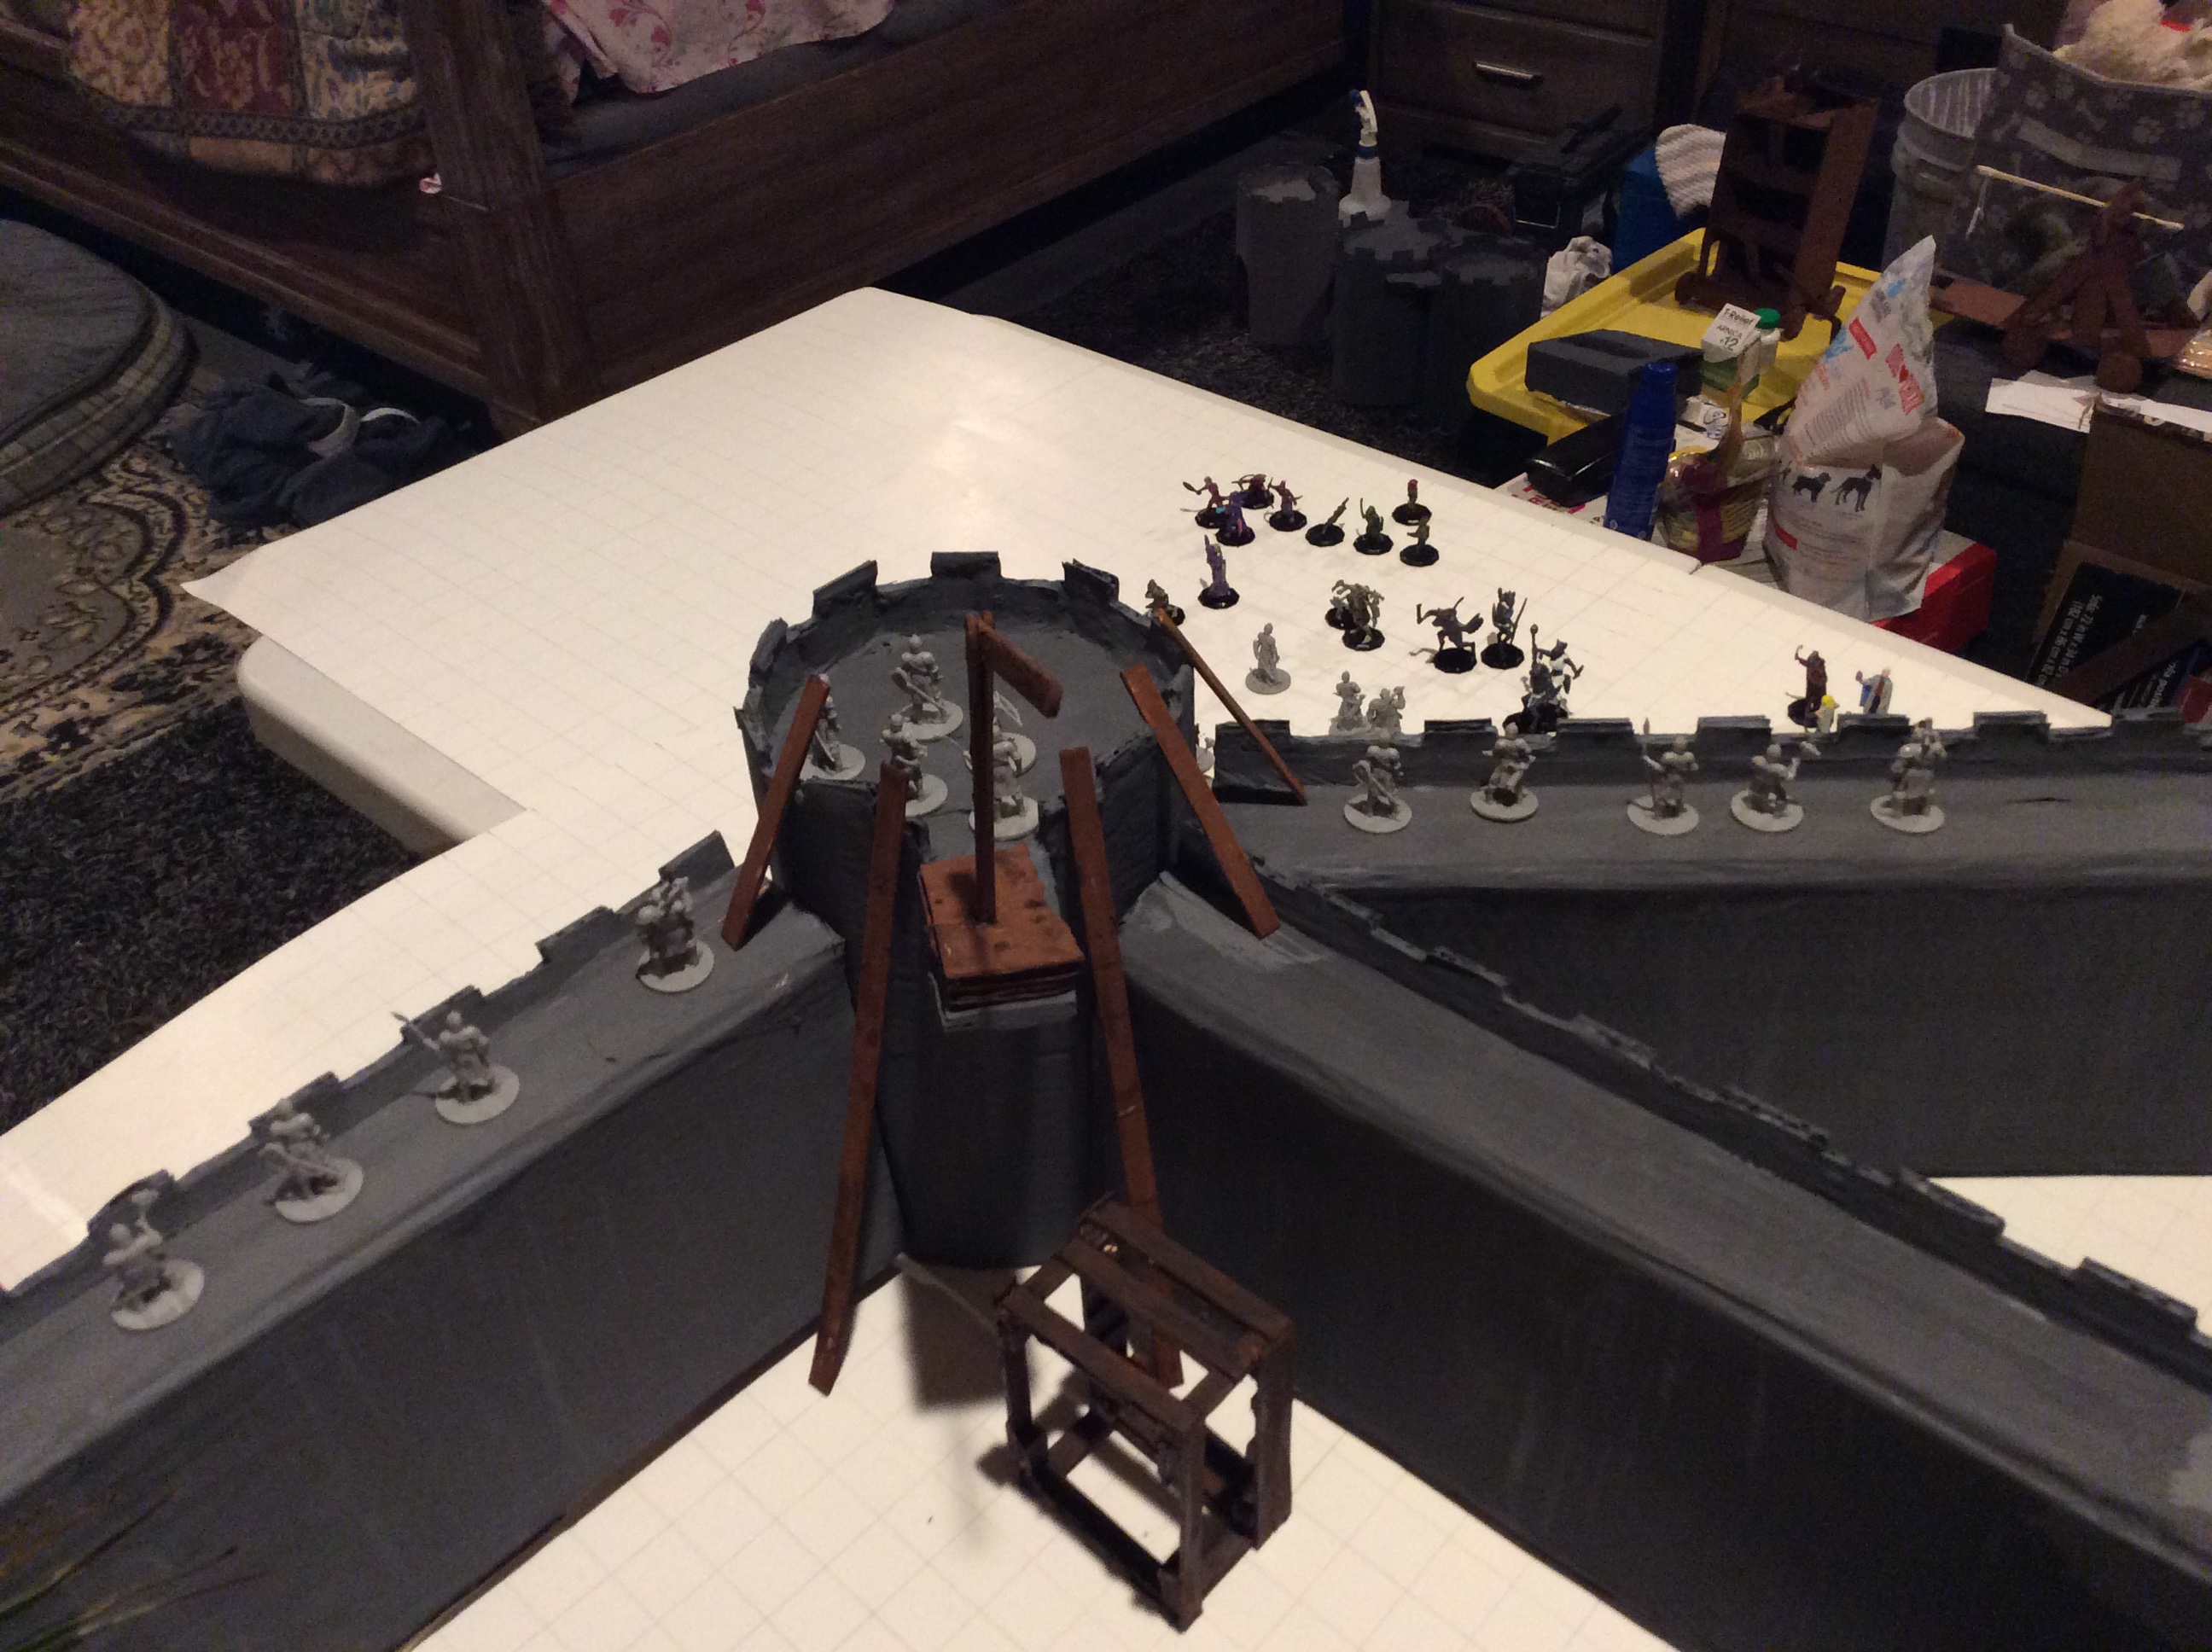
Tower 5
The Rear Gate
The Rear Gate is commanded by Lieutenant Lorene Grant. She has an entire platoon at her disposal (much like
the Front Gate) and her garrison weathers the goblinoid attack quite successfully. After a siege tower attack and
2 goblinoid attacks with hook, ropes, and ladders, the attackers break off and go west where the wall has been broken
and they can get into the fortress easily. Suddenly, Tower 5 and its garrison begin to be attacked by a new enemy.
This is the start of the Kobold Raids. The smaller enemy is easily repelled in hand to hand combat but menaces the
defenders with ranged attacks with sheer numbers. Lieutenant Grant leads a Fire Team in an attempt to stop or slow
down the ranged attacks, but she looses three soldiers to the enemy because the kobolds have been digging pits and setting
up traps all over the ground, walls, and roofs. Lieutenant Grant retreats back to the Buildings and sets a defensive
perimeter, but slowly, as the kobolds continue to attack, the defenders numbers decline. The defenders are successful
in repelling the initial kobald attacks, but the garrison is overcome by the sheer numbers of these little attackers and
only three soldiers mangage to survive and hole up in the second floor of the East Building of the Rear Gate.
There they wait for either life or death: life if PCs cross their paths, death if this takes too long. These
events foreshadow the coming of Zmaj Pustinjski. Zmaj is a young blue dragon hiding in exile in a wealthy lair
26 miles north of Kahar. Avarice and conceit compel the young blue dragon to make his move and stake his claim
on the land of the fortress of Kahar.
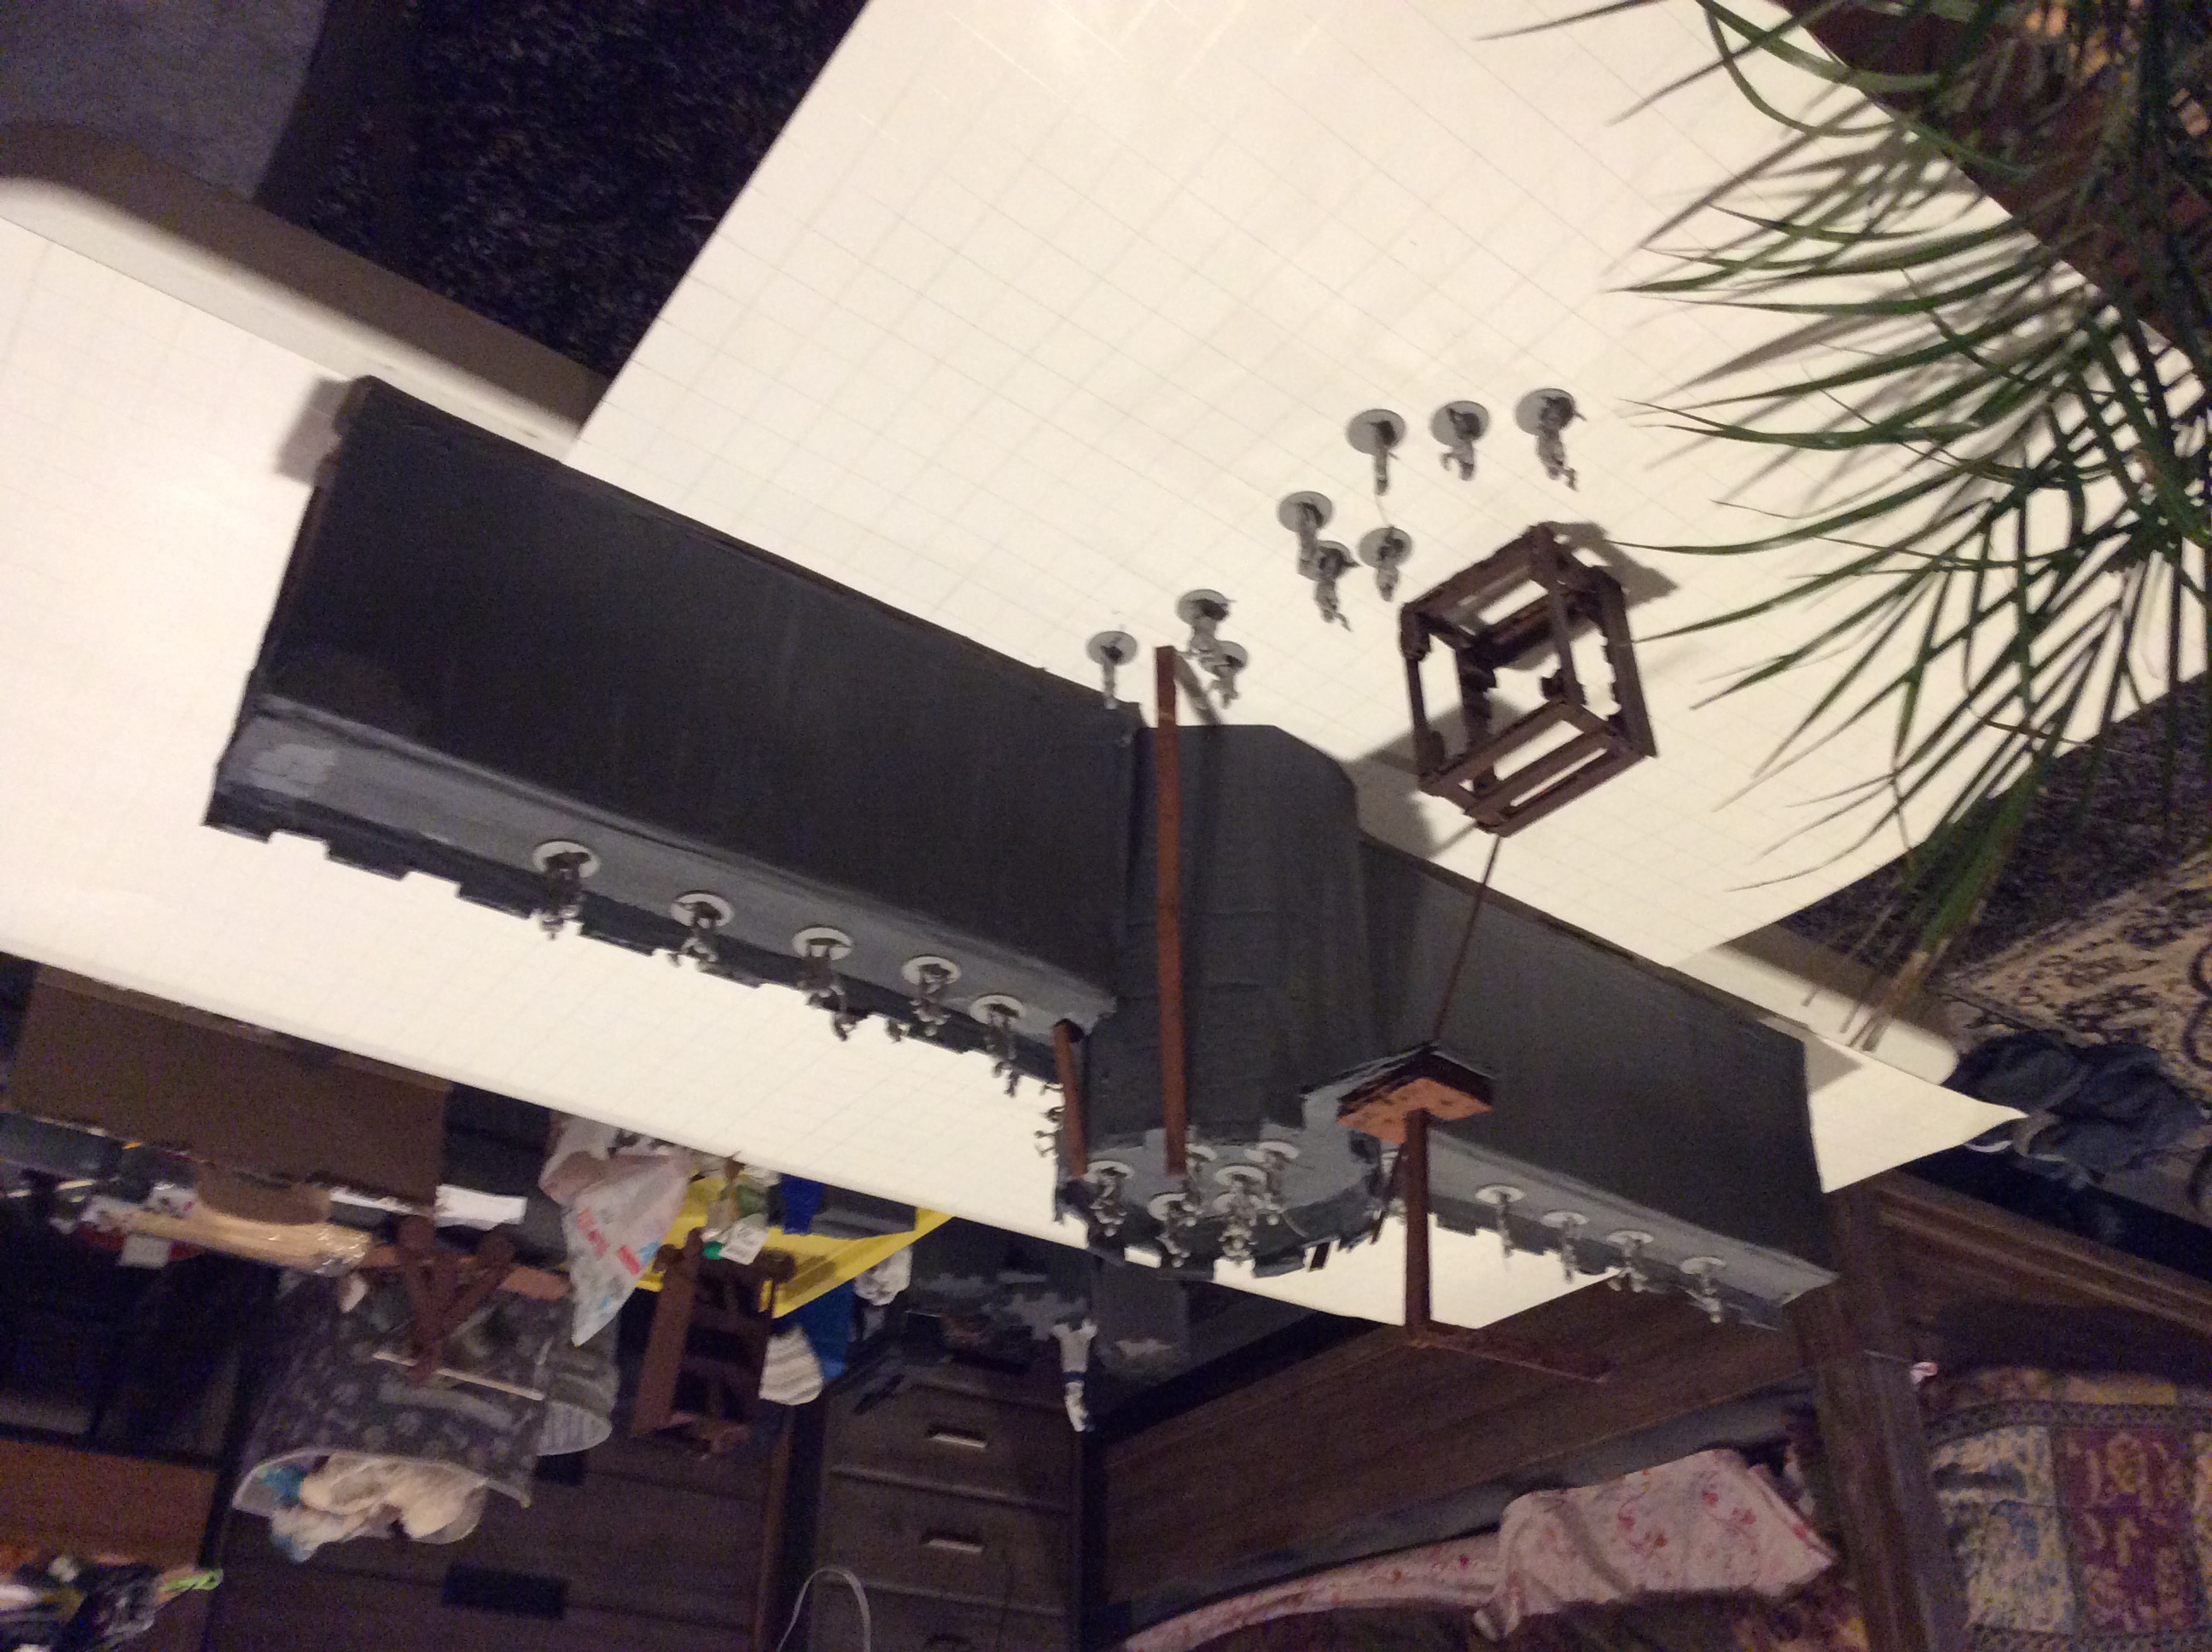
Four soldiers sleep in the quarters below the portcullis machinary room. Two winches raise and lower steel
portcullises that block all access to the fort interior and can trap enemies inbetween the gates.
The East Building is the repository of the life-size obsidian statues of the King and Queen of Goldenshield sitting
on their thrones.
West Building
After the kobold army siezes most of the Rear Gate, Zmaj Pustinjski punches a hole through the roof of the West Building.
Tower 5
A small room accessible by the roof trap door held the portcullis winches.
East Building
Two volunteers stay and seal the doors of the museum.
Tower 6
Tower 6 is under the command of Lieutenant Alyssa McLaughlin, a competent leader who has risen
through the ranks and has been recognized as having both talent and leadership qualities. During the attack, her
24 soldier garrison defends both Tower 6 and much of the surrounding walls from a force of 32 gobins and 4 hobgoblins
along with 2 sets of mercenary bands armed with siege equipment. Though several soldiers are wounded, none are killed
and the goblinoid attack is beat down.
There is barely enough time for the Tower 6 garrison under Lieutenant McLaughlin to regroup and
tend to their injured, until they are assailled again by what they think is the same goblinoid force. Howerver, it quickly
becomes apparrent that these goblinoids have been raised from the dead. Terrible and viscious fighting occurs and this
time the Goldenshield warriors lose 2 soldiers.
A few hours go by and a second assault of hobgoblins and goblins is beat back by the Tower 6
garrison. A big fire scorches the east wall, but it is almost a quarter mile away from Tower 6 and the defenders simply
wait for the fire to burn itself out.
Word arrives at Tower 6 that both the Ecclesiastic Brigade and the Wizard's Brigade have
defected and turned traitor and have destroyed the west wall. The enemy is inside the gates. But even as straggling
zombies and lone skeletons are hacked down, a new threat arrives from the north. Bands of kobolds, grouped together
in batches of 30, begin assailing Tower 6 and scaling the walls to infiltrate the fortress. Lieutenant McLaughlin
rallies her soldiers and gathers them all to the Tower. They successfully beat back this new assault.
The undead curse is not limited to goblinoids, as the Tower 6 garrison soon finds itself
defending against zombie kobolds that have risen up and assault the Tower again.
Having abandoned the walls and gathered her soldiers to defend Tower 6, Lieutenant McLaughlin
finds herself fighting on top of the walls and down below inside the fortress itself against yet another wave of
kobolds. She will lose 2 more soldiers before the attack is beat back and then they must fight again against the
risen kobold zombies that assault them again.
Reinforcements arrive in squads and small groups. Word has gone out through the fortress
for all defenders to gather at the east Towers. Lieutenant McLaughlin welcomes them and positions them along the walls
to bolster their defenses.
Tower 6
Tower 6 holds. A few squirmishes challange the defenders but mostly several squads of soldiers
are sent to defend the north wall where Kahar river passes through, a team of kobolds has established a front there
and Goldenshield warriors are tested there day and night.
Tower 7
Tower 7 is commanded by Lieutenant Robert McLeod and his 24 soldier garrisson defends against
a surging band of 38 goblins and 4 hobgoblins, along with a band of mercenaries armed with a mangonel. After beating
back the initial assault, a fire team is caught on the ground by the rising zombies and they barely make it back up to
the Tower on time. They do lose 3 of their 5 team members.
A second assault from a surging band of hobgoblins and goblins is beaten back quite easily and
Lieutenant McLeod begins to arrange a counter attack.
Several squads from Tower 7 assault a goblinoid host that has secured the upper part of the wall
at Sundered Scarp. Although successful in that they are able to dislodge the
goblinoids from the wall, they lose 4 soldiers during the assault.
With his initial counter attack successful and more and more squads arriving, Lieutenant McLeod
begins preperations to sieze the eastern area of The Founains of Palm Tree Lane.
Tower 7 helped everybody else. Several squads of soldiers are sent to gather survivors;
aide and evacuate the wounded, and support those still fighting.
Tower 8
Tower 8 is commanded by Lieutenant Nina Flores. She was a recent transfer from the
cavalry of Goldenshield stationed north of Hunter's Hill. Her expertise is in hunting and killing orcs.
Since orcs have always been bigger and stronger than either the hobgoblins but especially the goblins, Lieutenant
Flores is concise and quick about killing and destroying goblinioids getting it done in both an effiecient and
professional manner.
Tower 8 comes under heavy assault by 2 seperate scourging bands of goblinioids.
Lieutenant Flores gives up the walls and calls all her soldiers into Tower 7 itself. It works and all her
soldiers survive the assaults. Slowly and surely she will send squads of soldiers out and win back the
walls and other territory lost in the assault.
The rising dead pose the greatest threat to the defenders at Tower 8. Every time
a band of enemies is defeated, a second battle must rage against the rising undead. Exhaustion and fatigue
plauge the surviving defenders.
Another goblinoid attack depletes her garrison, but new arrivals from the interior of
the fortress begin to bolster her ranks and the Lieutenant is able to hold the Tower and surrounding walls.
Goblinoids give way to kobolds and from both rise more undead. It is a free for all
below the walls and Tower 8.
A few squads sieze the south wall nearly up to the volcano that spews lava where
Tower 9 used to be.
As the undead are diverted towards the north, the kobold attacks disappear and the
goblinoid attacks dwindle into nothing.
Tower 8 holds. It is the rallying point for all survivors of Goldensheild Kingdom
to escape too. It is here that the Lady of Kahar will lead the rebellion.
Tower 8
Tower 8 came under the heaviest attack of the surviving towers. Several squads of soldiers
met their demise but thier sacrifice made saving all 3 towers possible.
Apperton's Arch
Between Tower 8 and Tower 2 ran an east/west 30 foot high, 4 mile long, 10 foot wide wall of sun dried bricks.
Right in the middle of the wall was Apperton's Arch.
Apperton's Arch
The Fountains of Palm Tree Lane
The myriad Fountains of Palm Tree Lane are reknown for their uniqueness throughout
the desert. Each fountain was a collection of 5 40' diameter pools, the outer pools 4 1/2' deep but the inner pool is
centered and slightly recessed so that the 4 outer pools pour water into its 24' deepness. In the center of each outer
pool, is a 3 tiered fountain: 1 1/2 foot above the water level is the 1st 5' diameter dished layer, the second layer another
1 1/2' above the 1st and only 3' in diameter, and, finally, another 1 1/2' above the 2nd layer is the final 1' diameter
dished layer. The water spills out of a spout pointing straight up and centered 1' above the highest dished layer.
The spout is shaped like a triangle with a ringed planted etched next to a smaller planet in the center, and 3 small moons
etched near each corner of the triangle. This is the symbol of the Kingdom of Goldenshield.
As the fountains slowly spill over thier brims, the water is channelled into neat straight lines that water row after
row of date palm trees. So healthy and vibrant are these trees that some of them tower to the amazing height of 100'.
But the real worth of this stretch of land becomes apparent when the resistance mounts thier first
few counter attacks and regains the north-west slopes of Sundered Scarp.
The Fountains of Palm Tree Lane
Sundered Scarp
Between Tower 7 and Tower 8 runs a south-west wall that is 30 foot high, over 1 1/2 miles long,
and 10 feet wide. Made of sun dried bricks, this part of the Wall cuts right through the middle of a great outcrop.
This is named, appropriately, Sundered Scarp.
Sundered Scarp
Check
The Dry Creek Bed
The Dry Creek Bed
The Dry Creek Bed
Dry Creek Bed
Chaparral Flats
Chaparral Flats
Chaparral Flats
Check
The Barren Knoll
South-west of Saba Hamlet is The Barren Knoll. For the last few
generations, the poor and unwanted have been getting shuffled into the northwest of the fortress, which has
made Saba hamlet home of the more seedier and less desirable folks. A family owned werehouse buisness
teams with a band of desert smugglers and creates the fortress' first crime syndicate. Beggining with
armed robberies deep in the desert, the family creates a series of tunnels and caves on the north side of
the Barren Knoll to use to hide stolen goods and kidnapped persons. These smuggler caves serve the
army of Goldenshield during their rebellion against the Sakalan rule.
The Barren Knoll
The Crevice
The crevice is a 2 mile long, 10 foot wide crack in the ground that appears 3 years after Surgebuilt Lake floods the Rock Strewn Flats
and the oasis is established. The crevice serves not only as a refuge and shelter for wildlife, but also as a resting place
and recovery center for training or overwhelmed troops. Despite the openness of the crevice, it ends up being surprisingly
easy to defend for Goldenshield soldiers. Its strategic location is critical for the resistance as they regain and advance
into occupied territory.
The Crevice
The crevice is over a mile long, 25 to 30 feet deep, but only about 10 to 12 feet wide. It runs north to south
in an unbroken line and became a desired destination to visitors of all sorts as a geographic curiosity.
The crevice is 1 3/4 miles away from Surgebuilt Lake and experts state that over saturation of desert
soil is the mostly likely cause of this rift opening up.
Surgebuilt Lake
Surgebuilt lake is.
Surgebuilt Lake is over miles long, 50 feet deep, and miles wide. It fills Lush Valley with.
Surgebuilt Lake and is .
Moja Hamlet
Moja Hamlet is the administrative center of the Fortress. It has the highest
population and would more properly be called a village rather than a hamlet. Scrolls, documents, parchments, and
manuscripts, inscribed with every detail of births, deaths, advancements, dischargments, land sales, leases, religious
events, labor management, military operations, chain of command, hierarchical coordination and control, and every other
detail that occurs in the fortress of Kahar, are carefully created and stored by scores of bureaucratic clerks dedicated
to preserving bureaucratic efficiency and local history. Of course, each of these bureaucrats live a very wealthy
life style and pay for many servants, and their homes reflect their wealth. The exteriors of these homes are often
familiar looking, as they are built in the same style as homes in the other hamlets, each one following the simple
format of the rectangular desert brick built homes with flat roofs. But, here, in Moja, the single rectangles are set
together to form angles and squares in neat and intricate patterns, built together to make multi-storey and multi-room
domeciles as stylish and graceful as anyone could desire. Scores of servants take care of the minutiae of everyday life,
receiving fair wages for long, hard days of work. At the north end, where the main road ends in a tee, stands the
three buildings of the Chancery of the fortress of Kahar.
Tower 9 collapses from lava and fire erupting through a breach
between the material plane and the elemental plane of fire. A river of lava flows north until it his the
inner wall. There it pools up until it works its way to what is left of Apperton's Arch and then continues
to flow north. Right into Moja hamlet. Unless the PC's intervene, 15 soldiers get trapped by
the enemy and perish as the lava pools up on the east side of the hamlet. Fire and lave engulf and
fill up many buildings but the sun hardened bricks withstand melting for a couple of weeks, so many buildings
still stand in the midst of the lava. The heat alone, only 10 feet away, can kill.
before the lava
Moja Hamlet
Moja is so rich that a theatrical performance is held every 6 days
Formal social gatherings for dancing are held the night before every theatrical performance
The streets of Moja are proverbially paved with gold. Wealth flows from the Hamlet freely.
after the lava
Moja Hamlet
The pooling lava flows into Moja Hamlet. The river of
lava pools near Cliffside Ave and floods the entire east side of the Hamlet. Standing watch over Moja Hamlet
is Sir Sewale Galante with 14 brave knights. Their fate hangs in the balance, because the PCs are presented
with a chance to rescue them. If the PCs do nothing, then all 15 soldiers face Khalista the lamia and her minions and
not only become trapped in the firey, lava filled hamlet but die in a horrible massacre
that condemns them to undeath. And not just normal zombie undeath, but fire undead, the dreaded Fire
Zombies. Of course, it is Khalista herself who causes this terrible demise for she is the author of all evil.
A Fire Zombie
Mbili Hamlet
Mbili Hamlet is the place where the Secret Garden of the Desert Druid is hidden.
Mbili Hamlet
Lady Nazerati Nazeri
A sketch of one of the hidden entrances to the Gardens of Mbili
Looking north over the rooftops of Mbili Hamlet, trees are the only hint that
a vast garden lay hidden below a programmed illusion.
Tatu Hamlet
Tatu Hamlet is the religious center of the whole desert. Revered and venerated near and
far, it calls to every religion, creed, sect, cult and following through out the Land of Blighted. Cultists and commomers,
from all over Hamakhaave, make the nearly impossible journey across the endless desert, only made achievable by the existence of
The King's Road. These pilgrims arrive at Kahar in states of near starvation
and dehydration but are taken to the Houses of Healing and introduced to the magic of The Priest's Brigade. There they
are rehabilated and released under the authority of Lord Braek, Arch Priest to the Marquis himself. Most pilgrims beg leave
to depart and are usually granted leave by an underling of Lord Braek. At which point, most pilgrims go to Tatu Hamlet and
litter the streets where they wait for the Temple Priests to come out and choose new acolytes. The first thing that greets
the many visitors to Tatu Hamlet's main street is the plain desert brick guard house. Just a bit down the street are the four
Elemental Temples and the start of the Shimmering Road that leads to the many temples beyond. Above all the roof lines, are
the great towers of Lord Ahmandi's Palace Fortress rising high in the clear desert air.
Tatu Hamlet
Lord Fahred Ahmandi's Desert Dwarf Mansion
Nne Hamlet
Nne Hamlet is
Nne Hamlet
Nne Hamlet
Tano Hamlet
Tano Hamlet, west of The Four Island Lake, is the banking center of the whole desert.
Island fortresses 30 feet tall, built of impregnable stone, garrisoned with 100 soldiers, cover the fortified vaults that house the
wealth of Hamakhaave in almost all major transactions. The Impregnable Vaults of First Desert Islands Banks of Tano Hamlet are
well known through out the
whole world.
Tano Hamlet
Sita Hamlet
Sita Hamlet is the recreational destination of Hamakhaave. Known far and wide not
only for its beautiful riverside shore lines below the great north Wall, but also for the great amenities, not the least of
which is the excellent service.
Sita Hamlet
Saba Hamlet
Saba Hamlet was the poorest of the hamlets. It was the first place where thugs and
bandits began to gather, and the work yard of Saba hamlet was the den of gangster corruption. Surprisingly enough,
these bandits gathered with the 14 soldiers patrolling Saba and together they made quite a fantastic defense.
Saba Hamlet
Though the soldiers were courageous in their defense against the goblin hordes there
was still much tragedy to endure.
Nane Hamlet
Nane Hamlet is
Nane Hamlet
Mtumbshi Hamlet
Mtumbshi Hamlet is
Mtumbshi Hamlet
Scrub Brush Hills
These are the Scrub Brush Hills. This area suffered under drought for
millions of years. Little to no life survived in this region until the soldiers of Goldenshield, digging for water,
caused the formation of Surgebuilt Lake. Unlike its southern counterpart, The Lush, these hills are never tilled,
watered, or cultivated in anyway, but the effects of so much water can be seen everywhere, particularly in the amount
of birds that import seeds of the many types of agave and cholla, the mesquite and manzanita, the acacia, and even the desert willows
accompany a thousand scrub oaks and other thick, drought resistant shrubs with hard leaves, and heath dwarf shrubs.
And, ever dominant on the many slopping hillsides, are the mighty joshua trees, pointing their spikes upward to the infinite sky.
Wildlife, intentionally or unintentionally imported, brings in jackrabbits and coyotes, foxes and bunnytails, bobcats and deer mice,
rabbits, pigs, boars, a couple of mountain lions, rats, mice, turtles and lizards, and many other predators and prey, along with
a million types of species of both birds and insects. During the desperate days after the Dark Crusades, the
kobolds attempt to cross the scrub brush hills but are blocked by a teeming number of undead goblinoids, spectres, ghouls,
ghasts, and the especially deadly ghosts and banshees. If only they were not light sensitive, then they might attempt
to break out during the day, but such is not their fate.
Scrub Brush Hills
The Lush
This is the Lush. Originally, this entire area that came to be called The Lush
was choked by drought for millions of years, with nearly everything dead or dying and nothing around for thousands of miles.
In the beginning, the soldiers of Goldenshield came through this region building The King's
Road, and, in great need of water, dug too deep and Surgebuilt Lake was formed and Kahar River flowed away north to gather
inside Bitter Water Canyon. Then the land was transformed. Tilled pastures and groves full of trees sprouted
to life within a couple of generations. Orchards bloomed, green fields spread, imported animals kept the green fields
mowed low, and imported seeds brought nut, fruit, maple, pine, oak, and other trees of various sorts, arranged in garden like
beauty. On the north side, palo verdes dominate the landscape in neatly arranged groups. The Gardens of Kahar are
Lush indeed. During the Dark Crusades, the land transforms again. A
river of lava from what was once Tower 9 flows in from the south, engulfing most of Moja Hamlet. The river of lava
continues on, skirting the Lush Hills on the west, dividing the land in two and flowing all the way until it spills into
Surgebuilt Lake with streams of hissing steam making a gigantic plume. On the east side of the river of lava are The Lush
Hills which are infected by family of Kruthik. And on the west side of the river of lava are The Lush Plains which is
where the drama between Lord Gudmund Arnfinn and Lord Lallennos Kisharite leads to the hunt for the great wolf.
Finally, where the river of lava runs into Surgebuilt Lake in a gigantic plume of steam, a great part of that territory on both
side of the lava river are terrorized by fire newts.
Only the bravest and most well armed dare to venture here anymore.
The Lush
Carved Stone Canyons
These are the Carved Stone Canyons. From west to east, they are named Powder
Canyon, Sand Canyon, where the door to the Tomb of the ancients lies, Silt Canyon, and Pebble Canyon. They are used as
cemeteries and grave sites with a single dirt path winding through the many tombstones. When Khalista wakes the
Destroyer, the one she calls Hollowlife, the many dead bodies in the many cemeteries lay before Khalista and she raises over
200 zombies for Hollowlife to use in his war against the invading kobolds.
Carved Stone Canyons
The Carved Stone Canyons had many twists and turns and sand filled floors that masked noise, and wind filled
tunnels that roared. It made it the perfect staging spot for the undead to wage their battle
against the kobold invasion.
Sand Stone Spires
These are the Sand Stone Spires.
Sand Stone Spires
Shrine Of Lophator
The Shrine Of Lophator
Shrine of Lophator
Zmaj Pustjinski, a blue dragon, will dig out the entrance
to his lair right where the Shrine of Lophator used to be.