I. The Lamia and the Naga
Introduction
The Lamia and the Naga is a
Dungeons & Dragons campaign
with a series of adventures for 4 or more characters starting at 1st level.
During the 1st part of the campaign,
The Dark Crusades, players can advance to as high
as 5th level. During the 2nd part of the campaign,
Hamakhaave Desert,
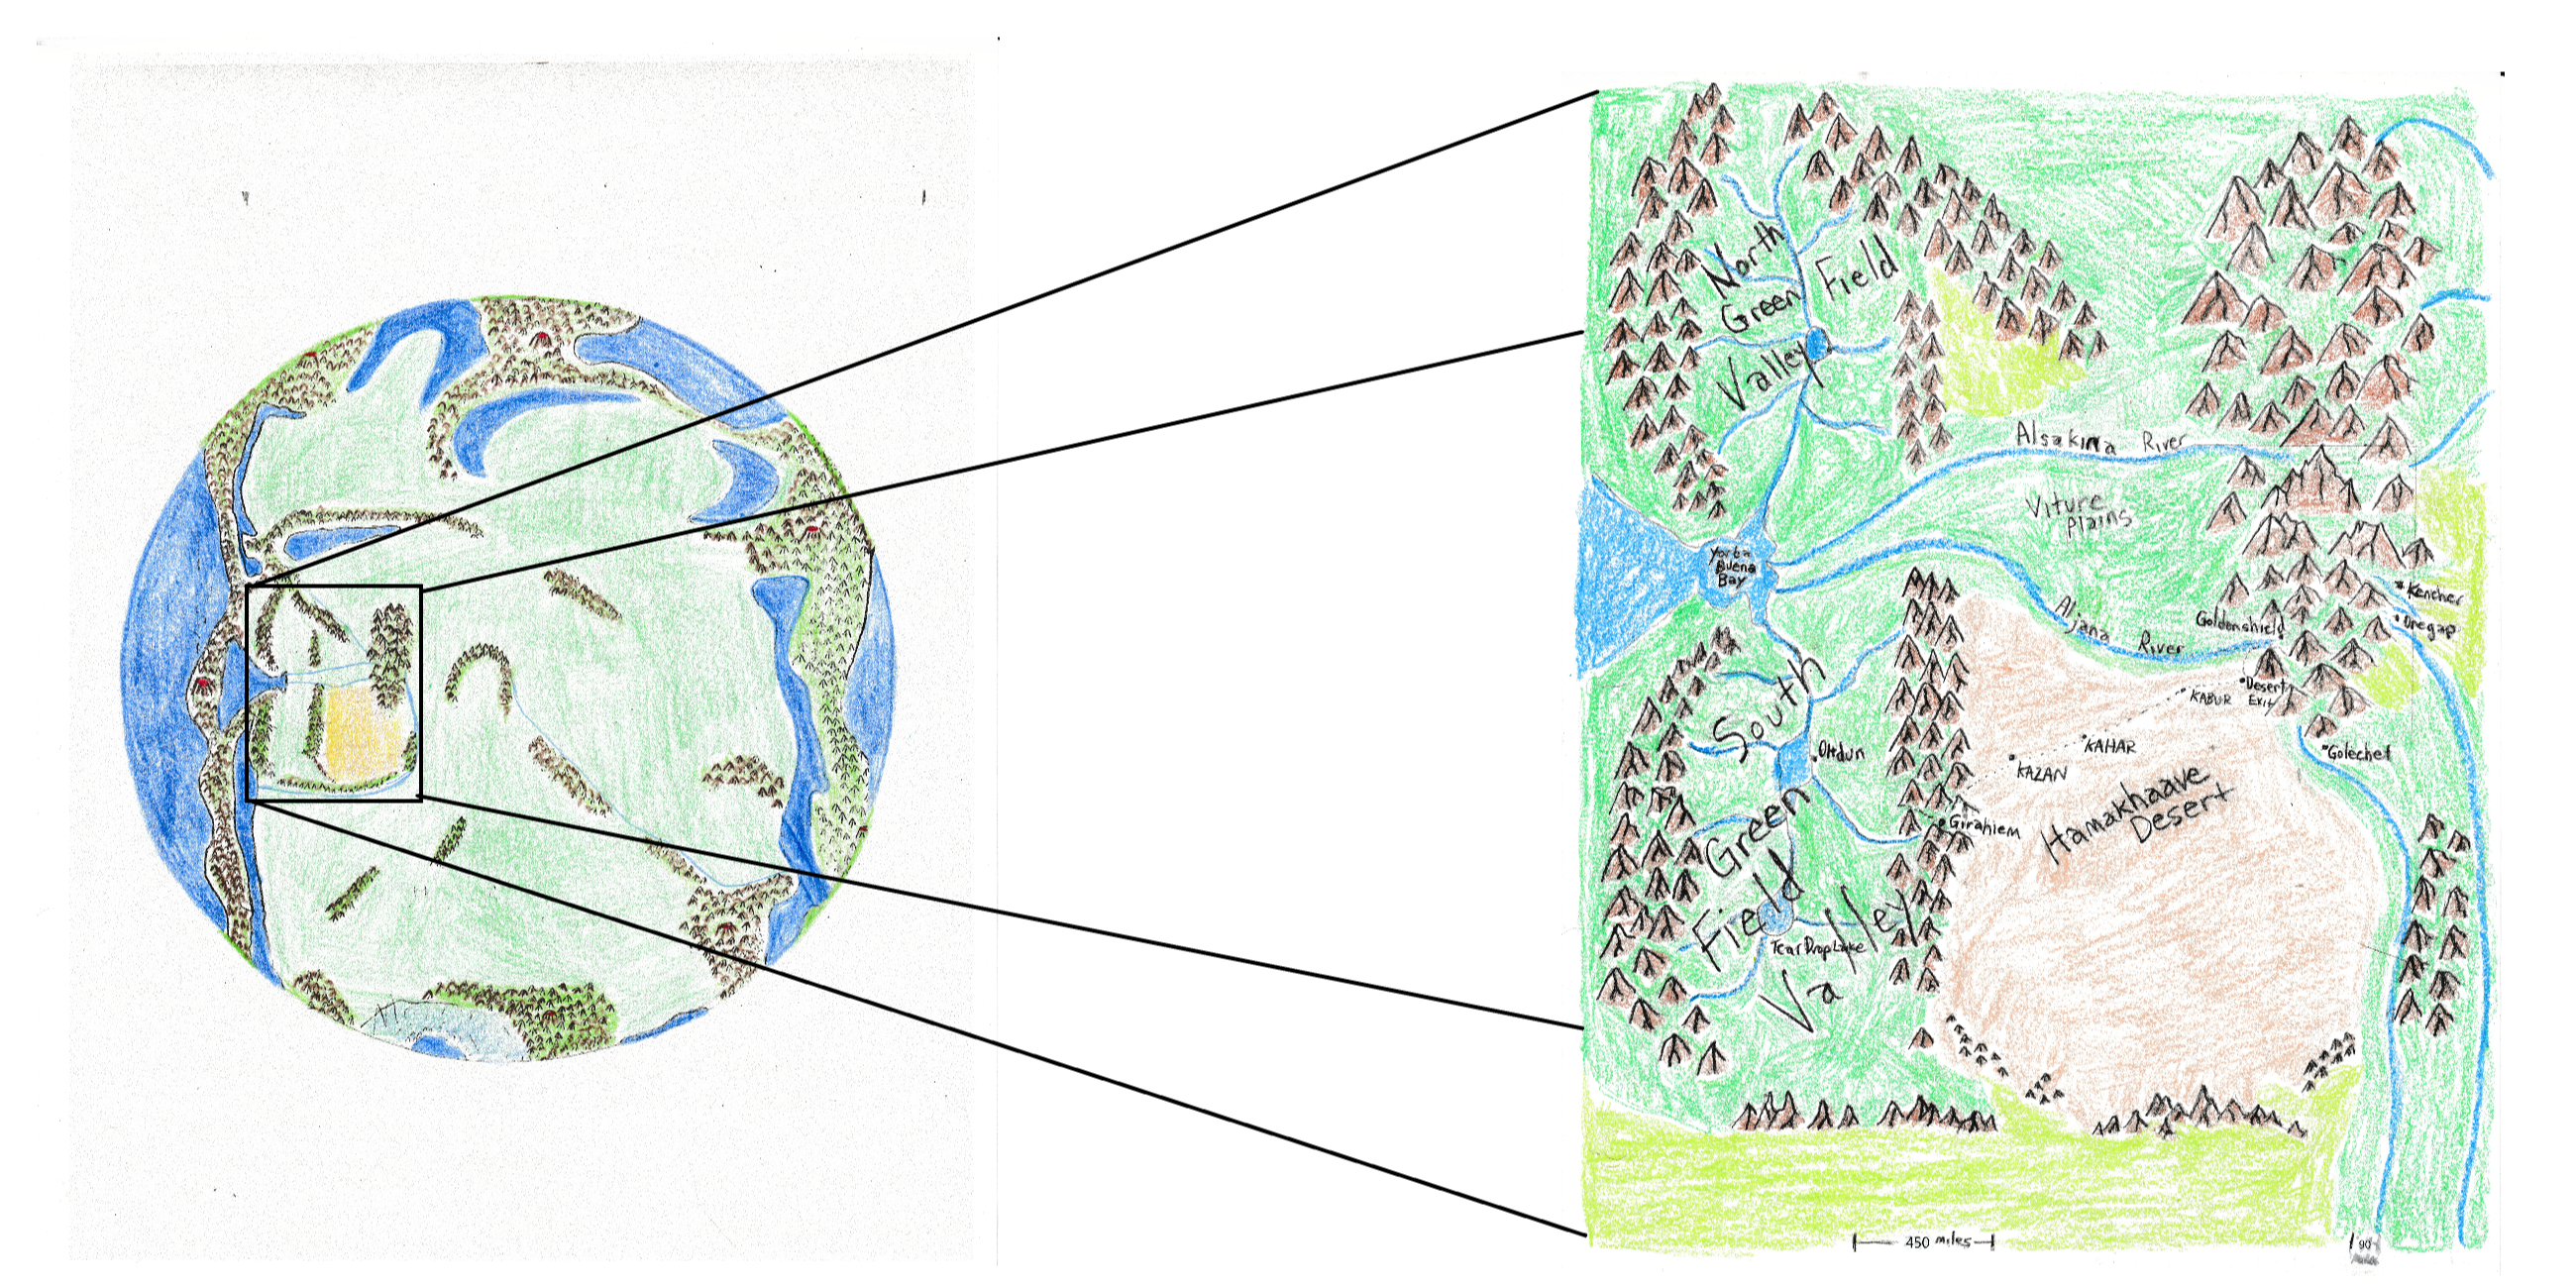
players can continue to advance to as high as they are willing to go. The campaign is set on the world of
Lophator,
in both the center and the eastern half of the continent
Qaraton,
in the lands of
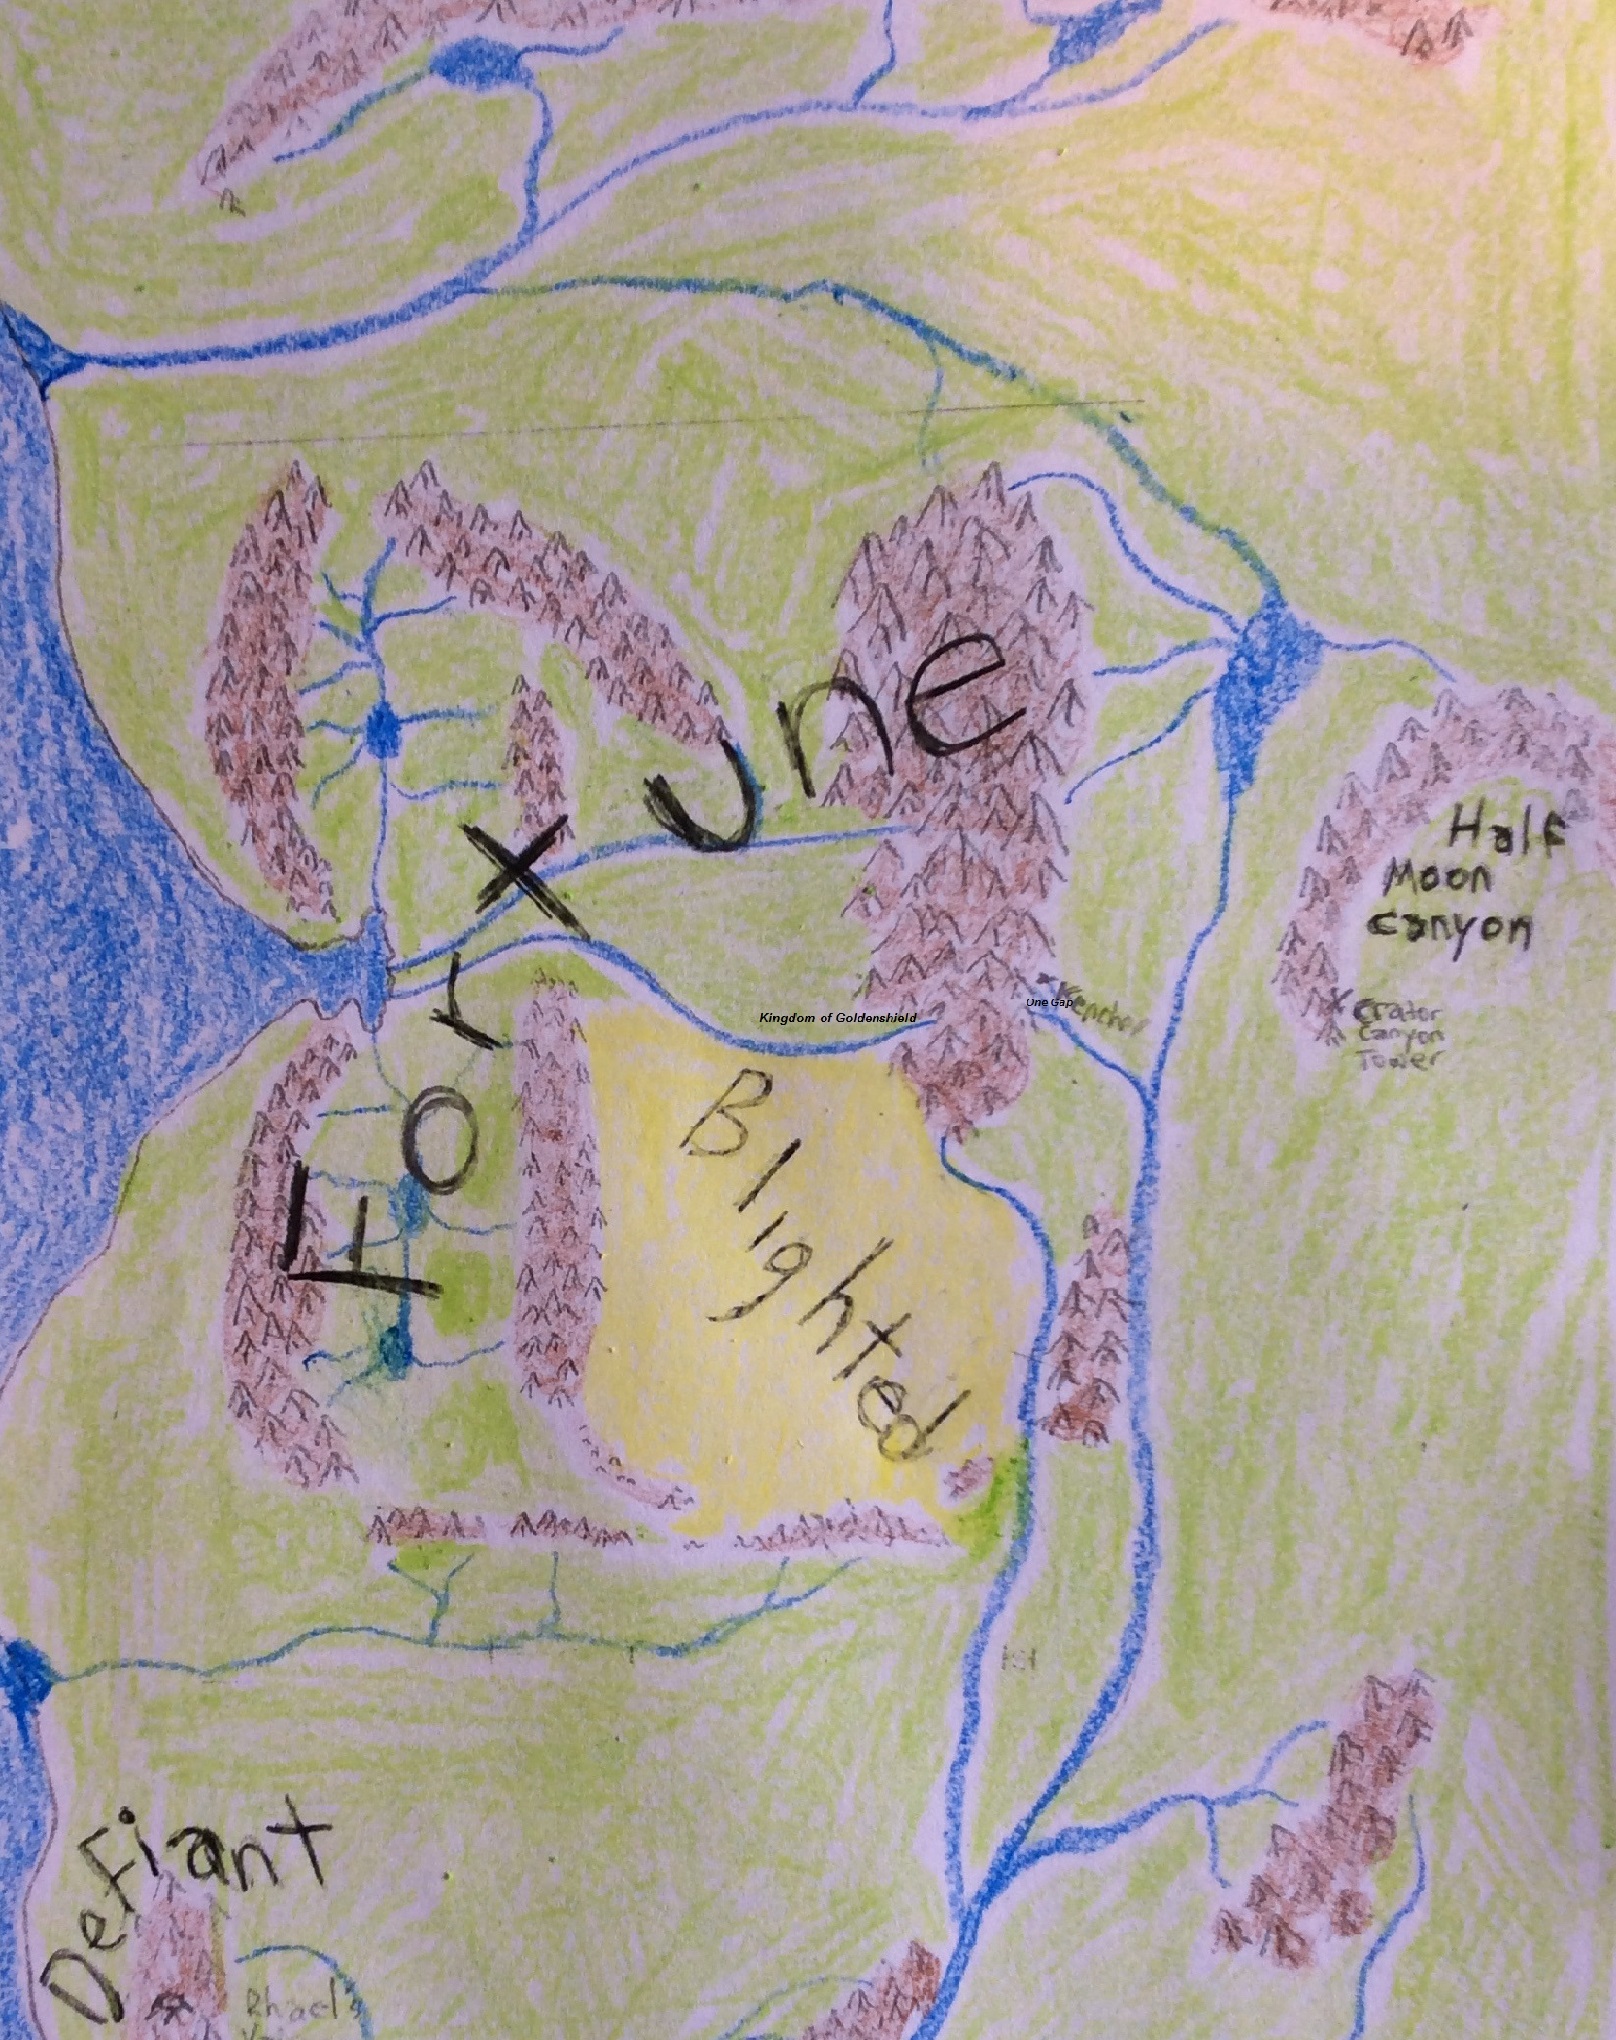
Fortune and Blighted,
a vast realm of kingdoms, nations, and settlements surrounded by hostile combatants,
vicious opponents, and terrifying foes. The initial setting, where the characters begin, is set in the
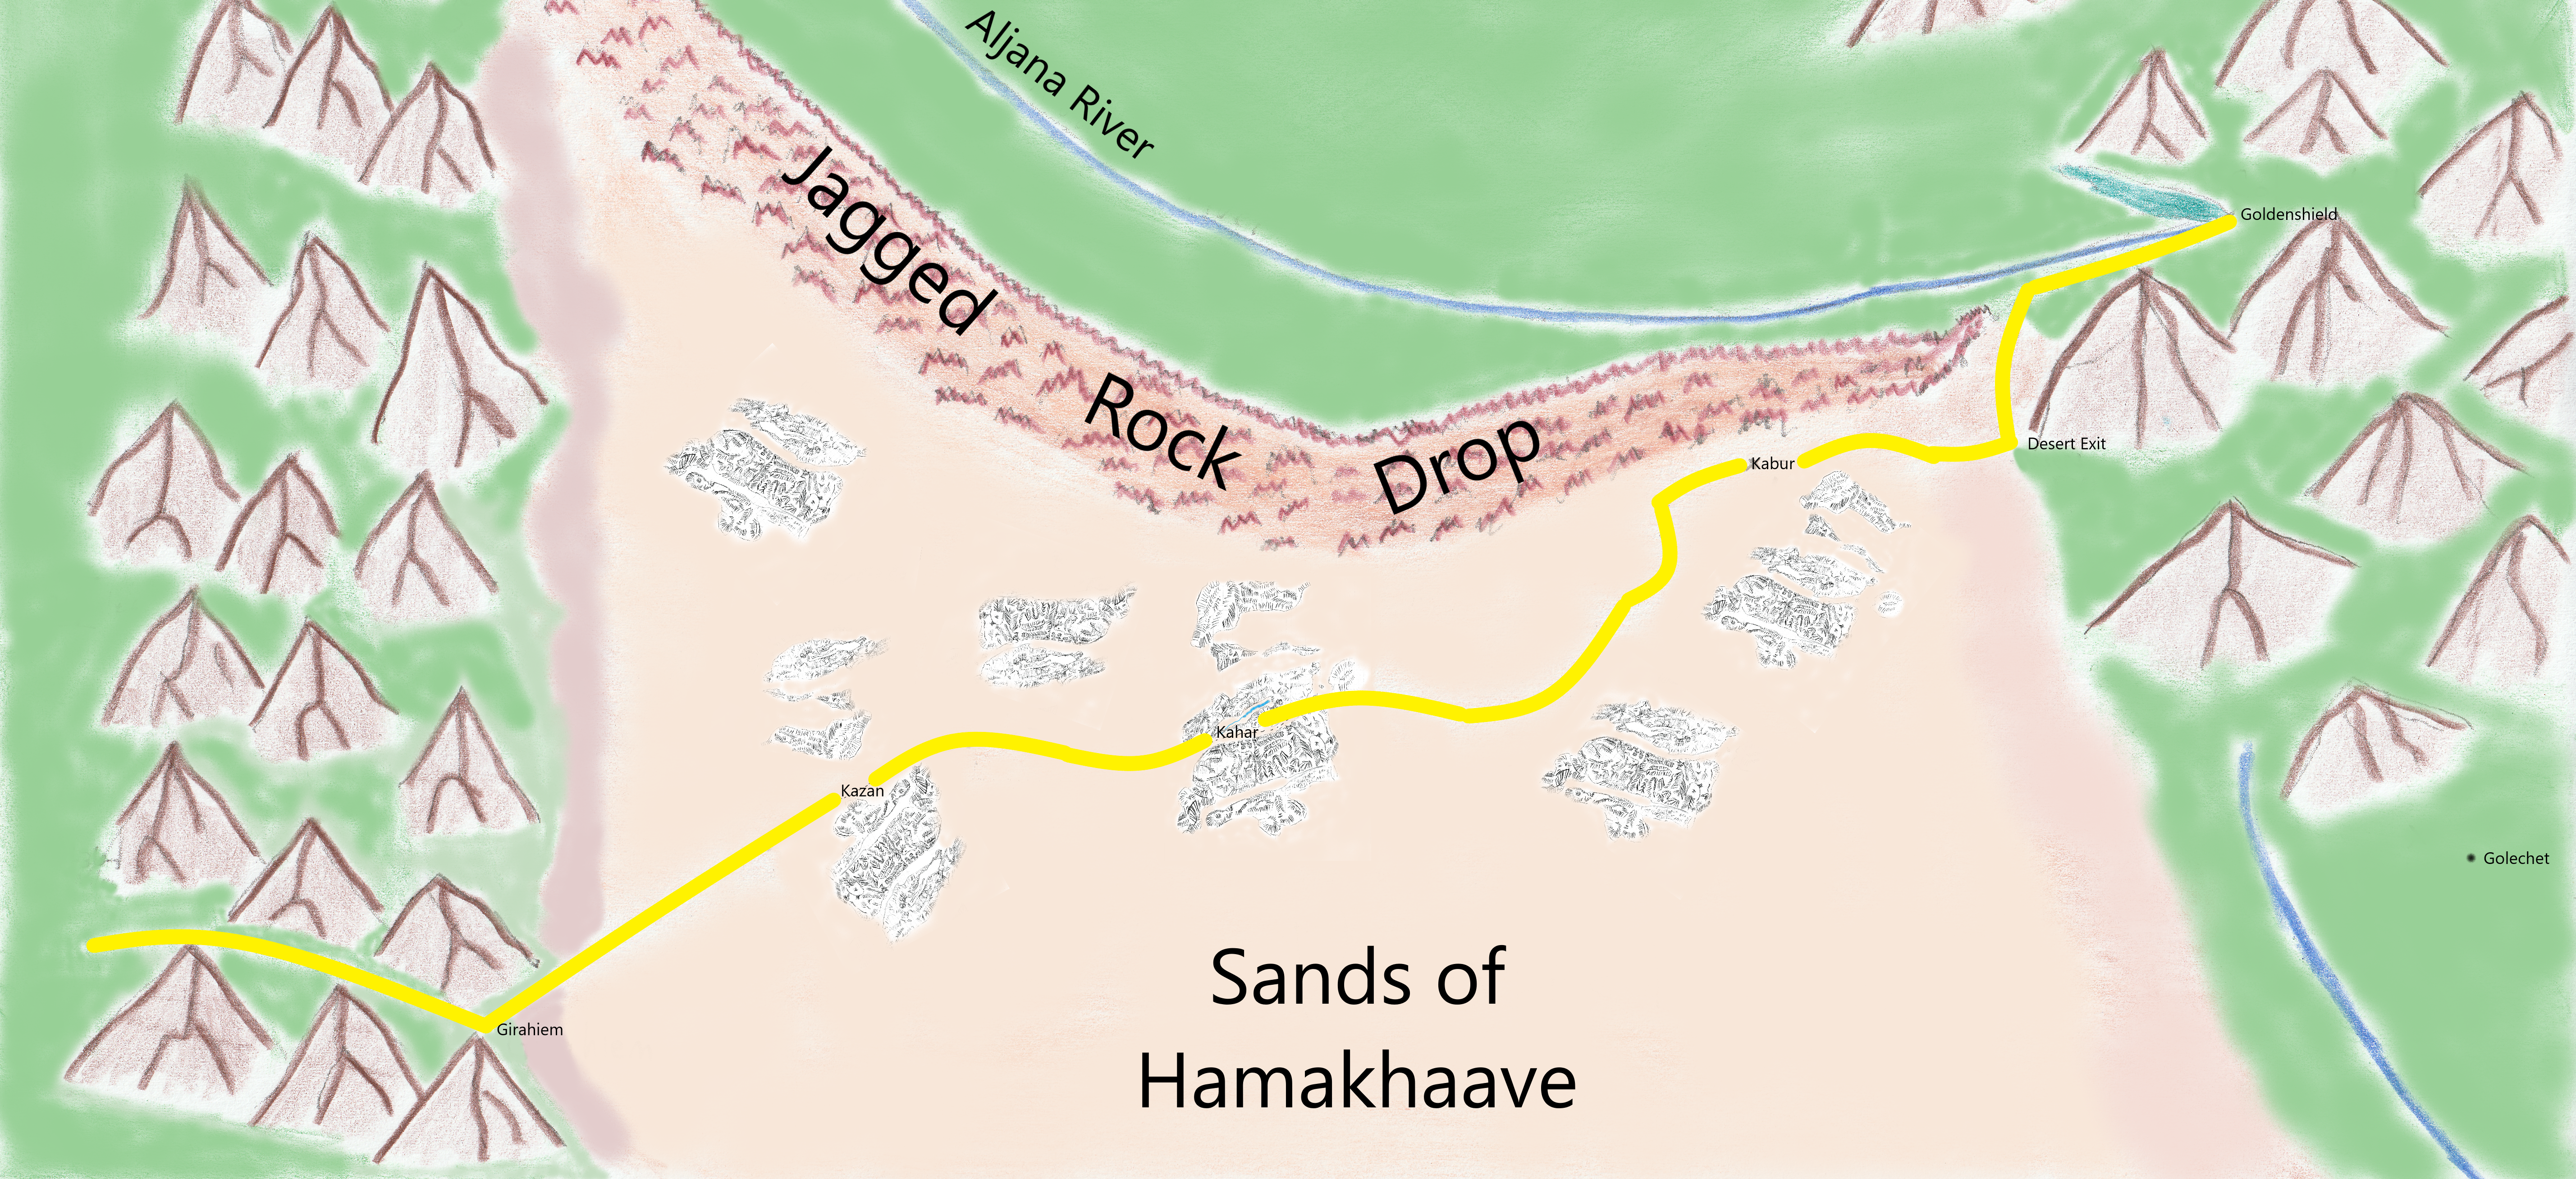
the desert fortress of Kahar that guards the King's Road that spans the entire Hamakhaave desert. Kahar is one of three
desert fortresses that guard the King's Road that connects the bountiful land of South Green Field Valley to the forest
mountains of the Kingdom of Goldenshield ruled by the Paladin King.
The Dungeon Master
I have made these boxes that contain information for the dungeon master who runs the game:
Dungeon Master's Box
The Dungeon Master (DM) narrates the adventure and describes events as they occur (or better, as they are read from these
Dungeon Master Box descriptions), the Player Characters (PCs)
choose and describe their reactions, and the DM reports the results. The DM plays the monsters and villains
the PCs battle against, choosing their actions
Rules
The DM is the final authority when it comes to rules, questions, or disputes during the
game. Here are some guidelines to help arbitrate issues as they come up:
When in doubt, make it up!
It is better to keep the game moving then to get bogged down in rules..
It is not a competition
The DM is not competing against the player characters. The DM is there to run the monsters, referee
the rules, and keep the story moving. It is helpful if the DM treats the rules and the players in a fair
and impartial manner, and stays consistent (if you decide a rule works a certain way in one session, make sure
it works the same way next time it comes up in play).
It is a shared story
Dungeons and Dragons is all about coming
together to tell a group story. So pay attention, and try to make sure everyone participates, if some players
are reluctant to speak up, remember to ask them what thier characters are doing.
A. The Dark Crusades
History
In ages past, a necromancer and a forest dragon tasted just a bit of the power that was the
Whirlpool of Danube, and have lusted for it ever since. The elves, dwarves, and fey that protected
the Whirlpool of Danube defeated both the necromancer and the dragon and exiled them to the lands of the
south and the north, respectively. The power these two fiends stole from the Whirlpoll of Danube
was staggering and granted them abilitities and power far beyond any they encountered. Unleashing that power,
they were able to pass amoung the hordes of goblinoids (the necromancer in the south) and orcs (the dragon in the north)
as gods. The necromancer filled the gobliniods with religious fervor and the forest dragon forced the orcs to
obey only him through fear and intimidation. Until at last, the necromancer led gobliniods from the
south, and the forest dragon led orcs from the north, in a great war to sieze the magic and power of the Whirlpool
of Danube. They were defeated by the unexpected arrival of a Paladin's army and a Druid's army. The Necromancer
and was forced to retreat in defeat and shame again but the dragon was captured and imprisoned by the fey. The Paladin
established the Kingdom of Goldenshield and secured the power of the Whirlpool of Danube under the great wizard
Cabal's Tower. For the next 32 years, various attacks were thwarted by the Paladin King's growing armies but
most importantly the Paladin's forces build "The King's Road", a super highway that cut through
the land of Blighted, a great desert named Hamakhaave. Not only is the King's Road is protected by three desert
fortresses, but also connects the lush and bountiful land of South Green Field Valley to the never ending forest mountains
of the Kingdom of Goldenshield. Even through the harsh and terrible land, great caravans loaded with goods
and riches passed quickly to the benefit of all. But all that time, the necromancer plots and schemes on how to sieze
the Paladin's Kingdom. The necromancer takes the name Prysm, the God-king. It takes 32 years for the necromancer to forge
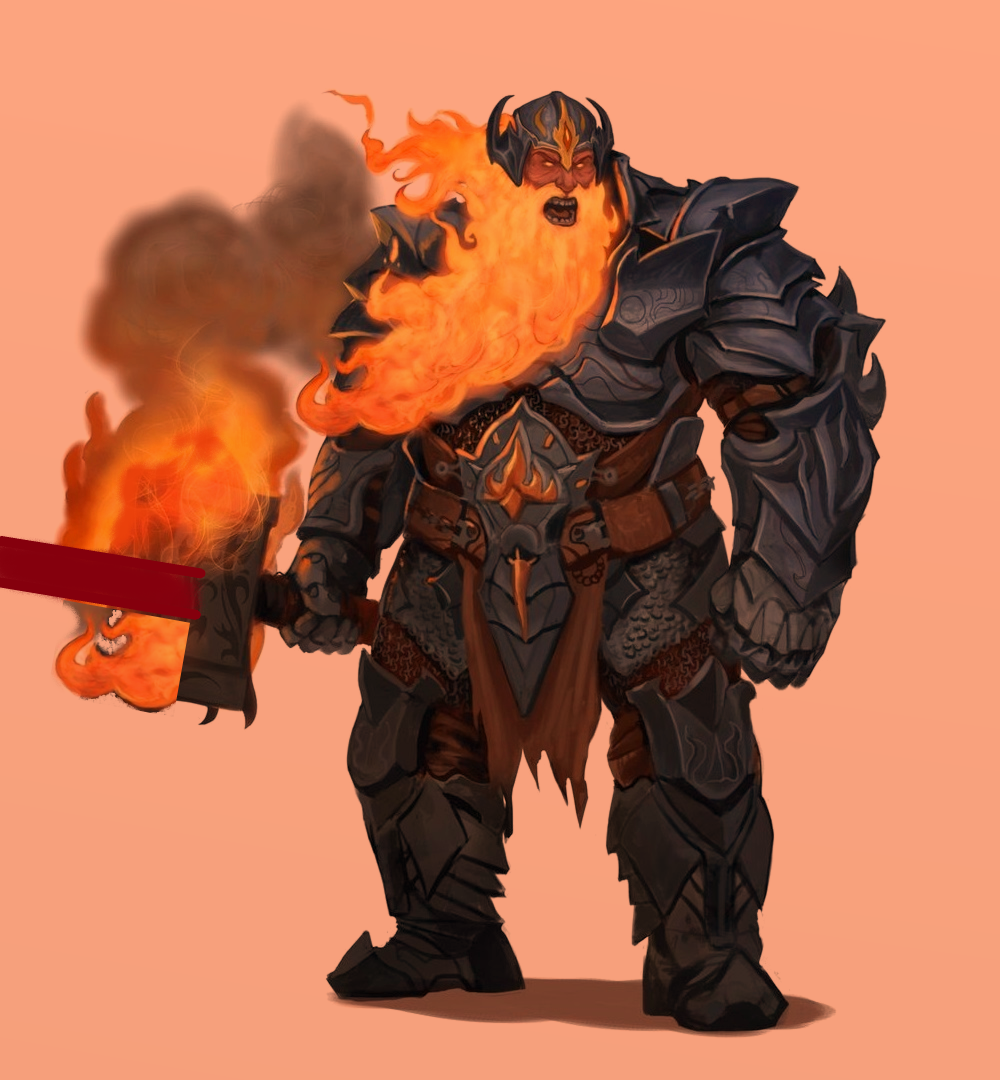
an alliance with the family of Fire Giants in the land of Defiant, but he finally persuades them with gifts of treasure, power, and
slaves. In the 32
nd year of the Kingdom of Goldenshield, the Fire Giants chose a champion, Dlas the Bold, who
lead goblinoids from the south on a great campaign to sack the Land of Fortune. At the same time the Necromancer cajoles
the orcs to attack from the north in their first attempt to free the dragon, and the first Dark Crusade is begun.
It takes almost two years for the Kingdoms of the Land of Fortune to stop the attack, amoung the foremost is the
Kingdom of Goldenshield, but the war does serve to coalesce and unite the free men of the Land of Fortune and
the kingdoms of good, and they follow the Paladin King's example and begin to forge roads through those impassible
lands for the improvement of trade and speeding up the movement of their armies. In the 64
th year
of the Kingdom of Goldenshield, the Fire Giants are again paid huge bribes and given vast gifts of slaves and goods,
and when their time of gathering arrives, the Fire Giants choose 3 champions to lead the 2
nd Dark Crusade.
It begins with victory for the Fire Giants, with both Kahar and Kabur being broken and destroyed, but a new desert fortress
springs up, Desert Exit, and its sculpted plateau is seen ten miles away. This happens so quickly because of the many
improvements made in roads and other infrustructure, this makes it possible for the armies of the free people, led by the Kingdom
of Goldenshield, to reinforce and resupply their positions with unprecedented speed. Kahar and Kabur are rebuilt in only 2 years.
The Kingdom prospers until the cycle begins again. In the 96
th year of the Kingdom of Golden Shield,
the God King Prysm, sends his gifts with the goblinoids, and again entices the Fire Giants to attack The Land of Fortune from the
south and attacking orcs from the north to destroy the fortresses of the Kingdom of Goldenshield. They are defeated and all the fortresses survive the
attacks, and both attacks from the north and the south are over in under 10 months.
This cycle continues every 32
years. In the 128
th year of the Kingdom of Goldenshield, in the 4
th Dark
Crusade the desert fortresses repel the Fire Giant's goblinoid armies, but the new kingdoms in the east fight 4 long years before
they rid the lands of both goblin and orc. The 5
th Dark Crusade begins in the 160
th
year of the Kingdom of Goldenshied, fails, and ends 2 years later. The 6
th Dark Crusades begins in the
192
nd year of the Kingdom of Goldenshield and fails once again after 11 months. It all would have been just
a history note if not for the curious event of the Lamia.
Khalista the Lamia, servant of the Necromaner, leaves her desert
fortress home, named Sakala, south of Hamakhaave desert, and she is there at Kahar with her jackalwere servants when the
Fire Giants and the goblinoids are defeated. She retreats into the Red Rock Table Mountain Canyons and settles into the ruins of an ancient
civilization. There she waits 32 long years for the next Dark Crusade. She waits, and plots, and connives
because she will not be denied her prize a second time. Over the years, she infiltrates the fortress both with spies
and with buisness partners. She slowly grows to intimately know many of its inhabitants and much of the layout of the fortress.
When the timing is right, she captures her first victim and makes him the first traitor, and from this traitor she spawns 3 more.
Among the traitors are magicians, and, over the years, she forces them to create thousands of spell scrolls to use against Kahar.
Finally, the 32 year wait is over, and the Fire Giant Rhael brings his 2 hill giants, Rulos and Eclith, and a 1000 goblinoids along with
a myriad of mercenaries to sack the desert fortress Kahar. The 7
th Dark Crusade
has begun.
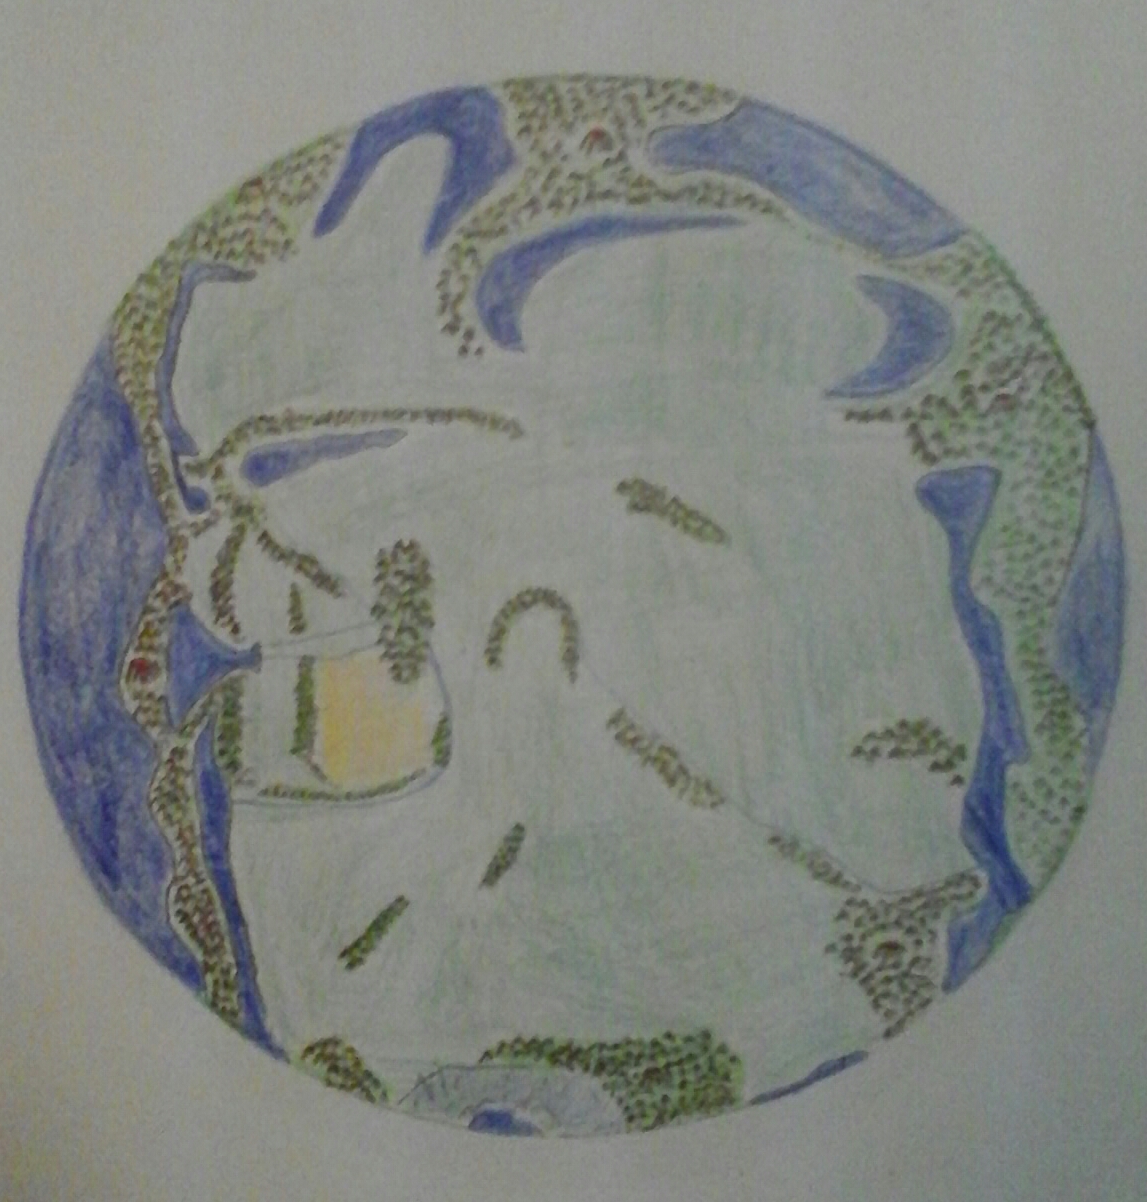
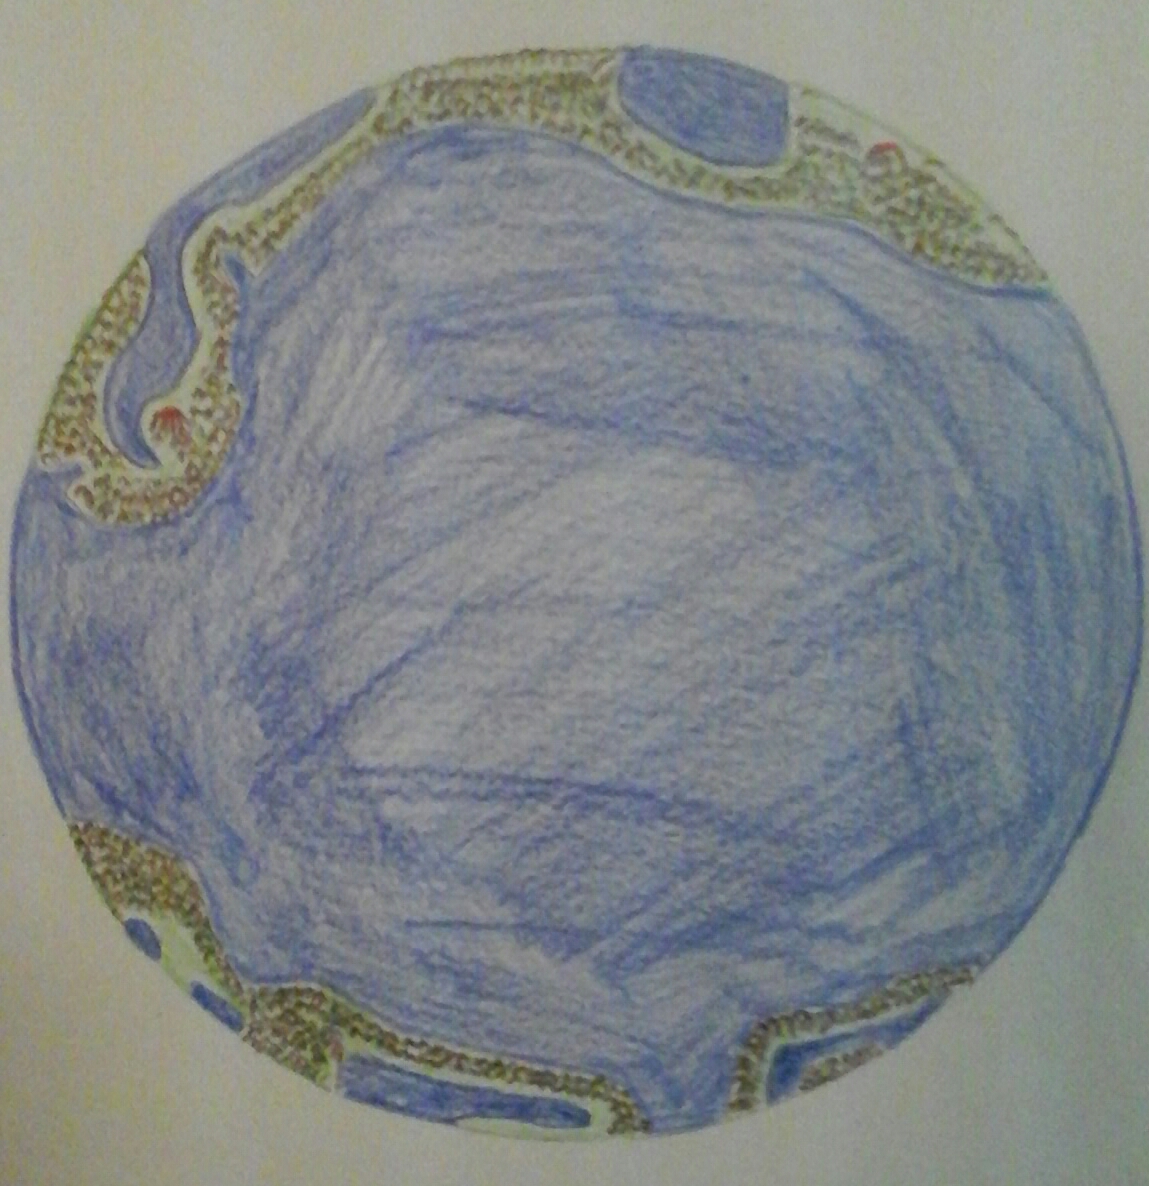
The Outer Hemisphere
The world was reshaped. A rocky, mineral rich world, Lophator, had been ejected from her overcrowded home planetary system and
cast out inito the depths of space. Captured by an even bigger rouge planet, Lophator was pulled by Neyarvus, a gas giant of immense
proportions, until both were captured by the newly born, giant blue star Peotor. Lophator undergoes violent twisting, and pulling
of her tectonic plates, as she becomes face locked to her nieghbor, Neyarvus, resulting in the formation of a single mountain range that runs
from pole to pole. A single mountain range that splits the world into two oceans, one on the outer hemisphere and one on the inner hemispheres,
both seperated by an immense range of mountains. But within a few millenia, the water eater changes all that. The outer hemisphere
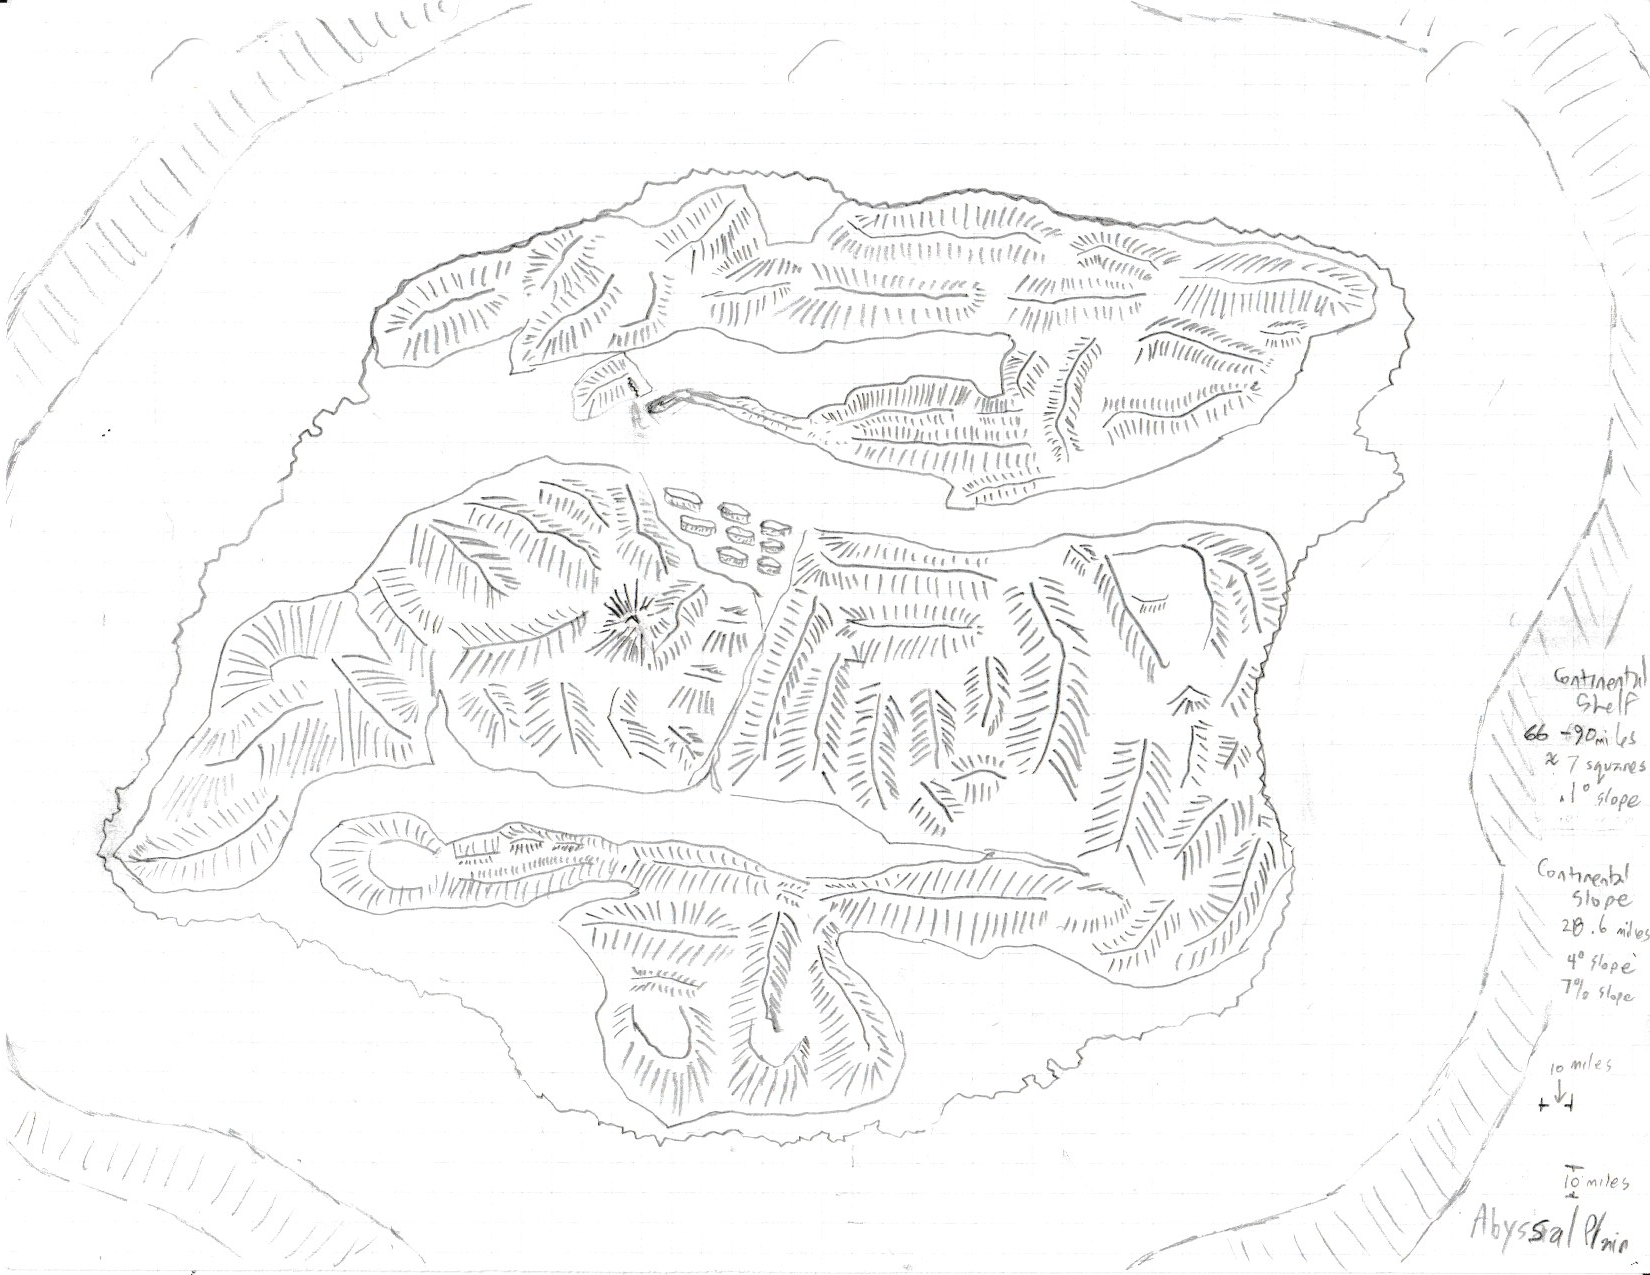
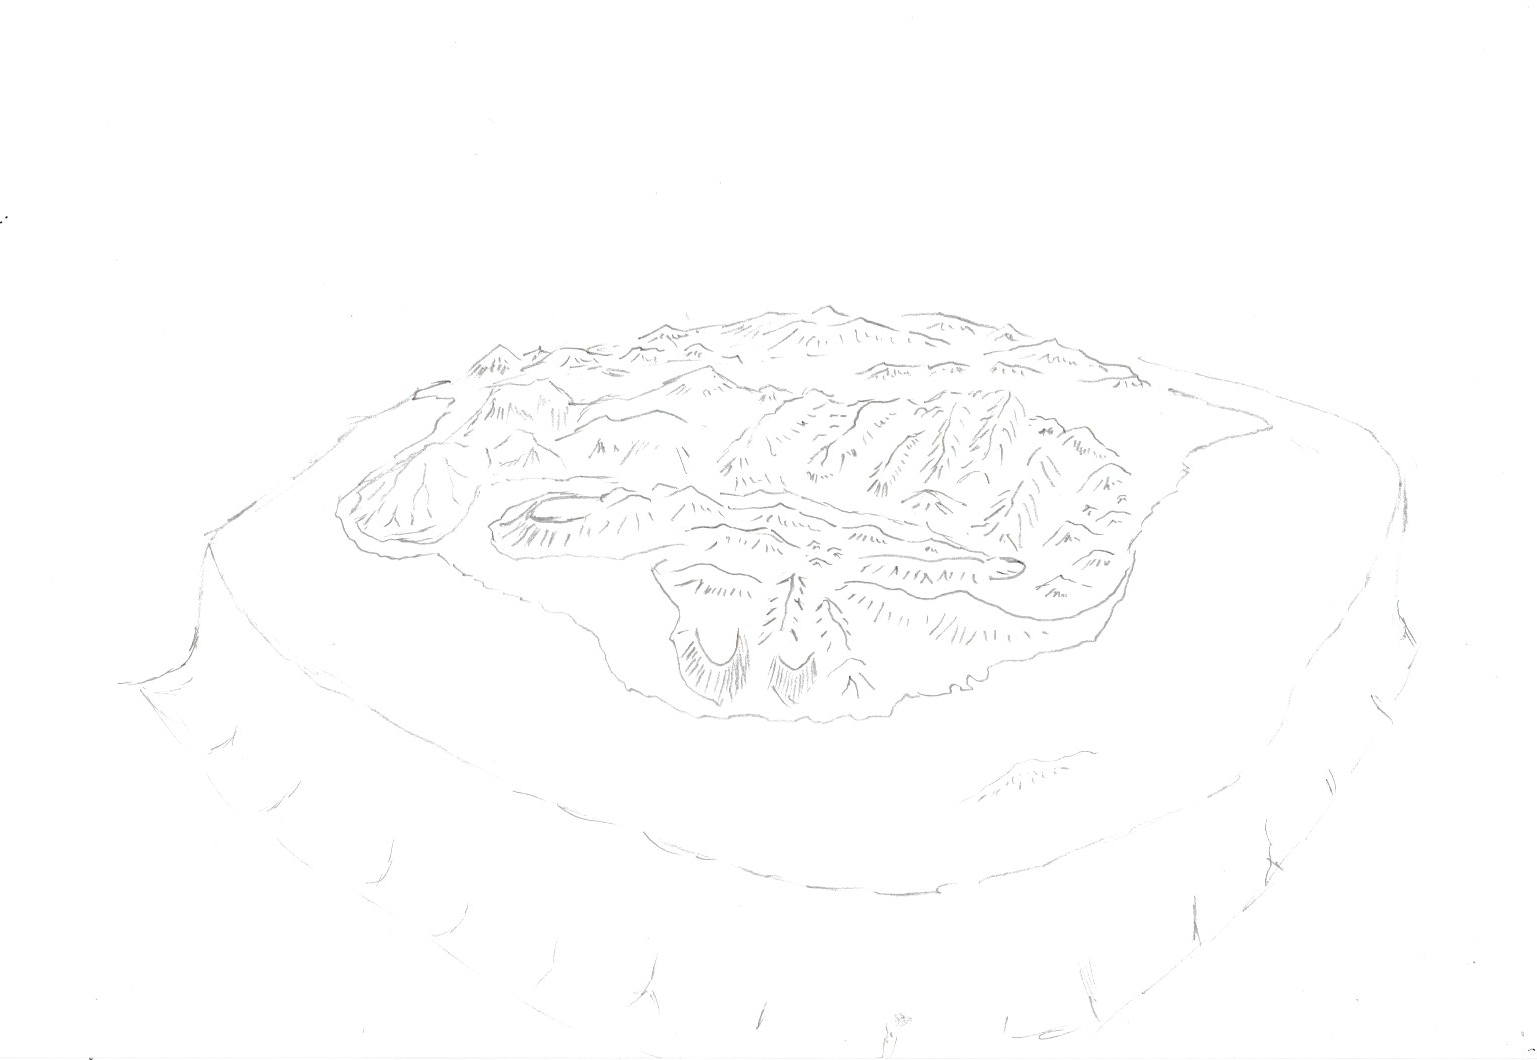
is nearly drained of all its water, not only exposing the abyssal plain in all its strange wierdness, but also exposing and changing the many
rising continents until they become plateaus of great height. Clouds drop in elevation nearly 20,000 feet, resulting in the desertification
of the plateaus that used to be continents.
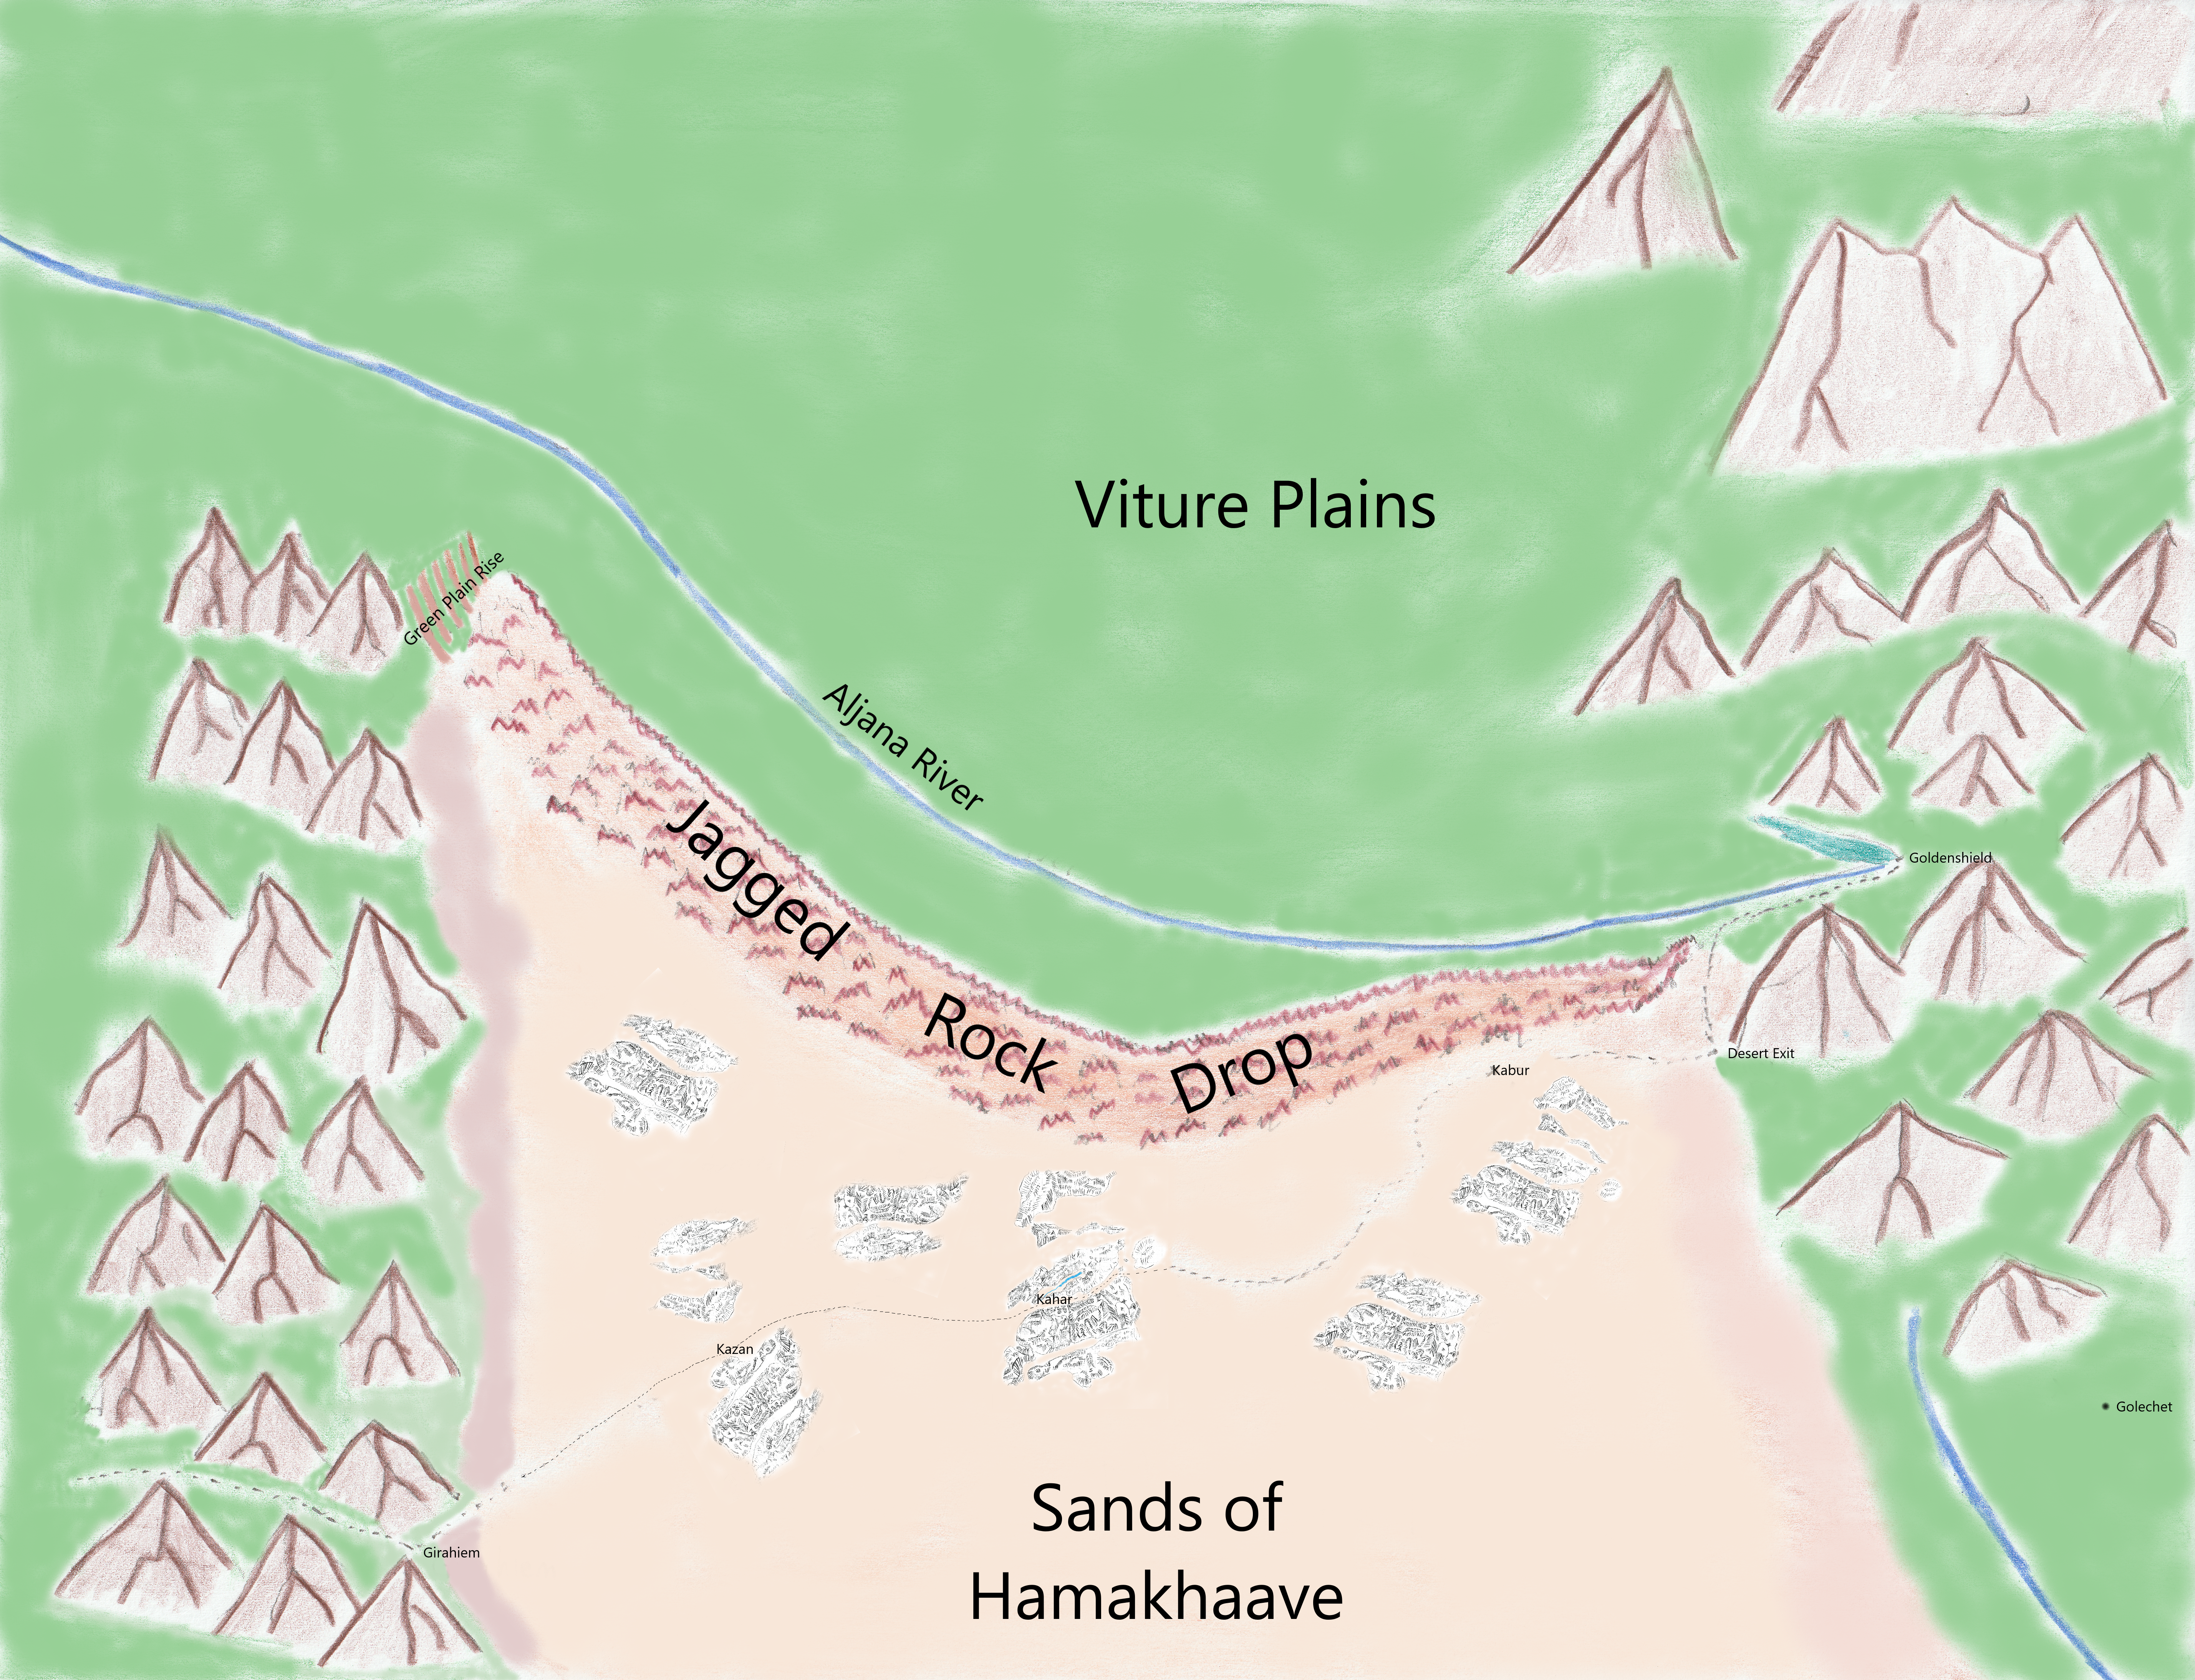
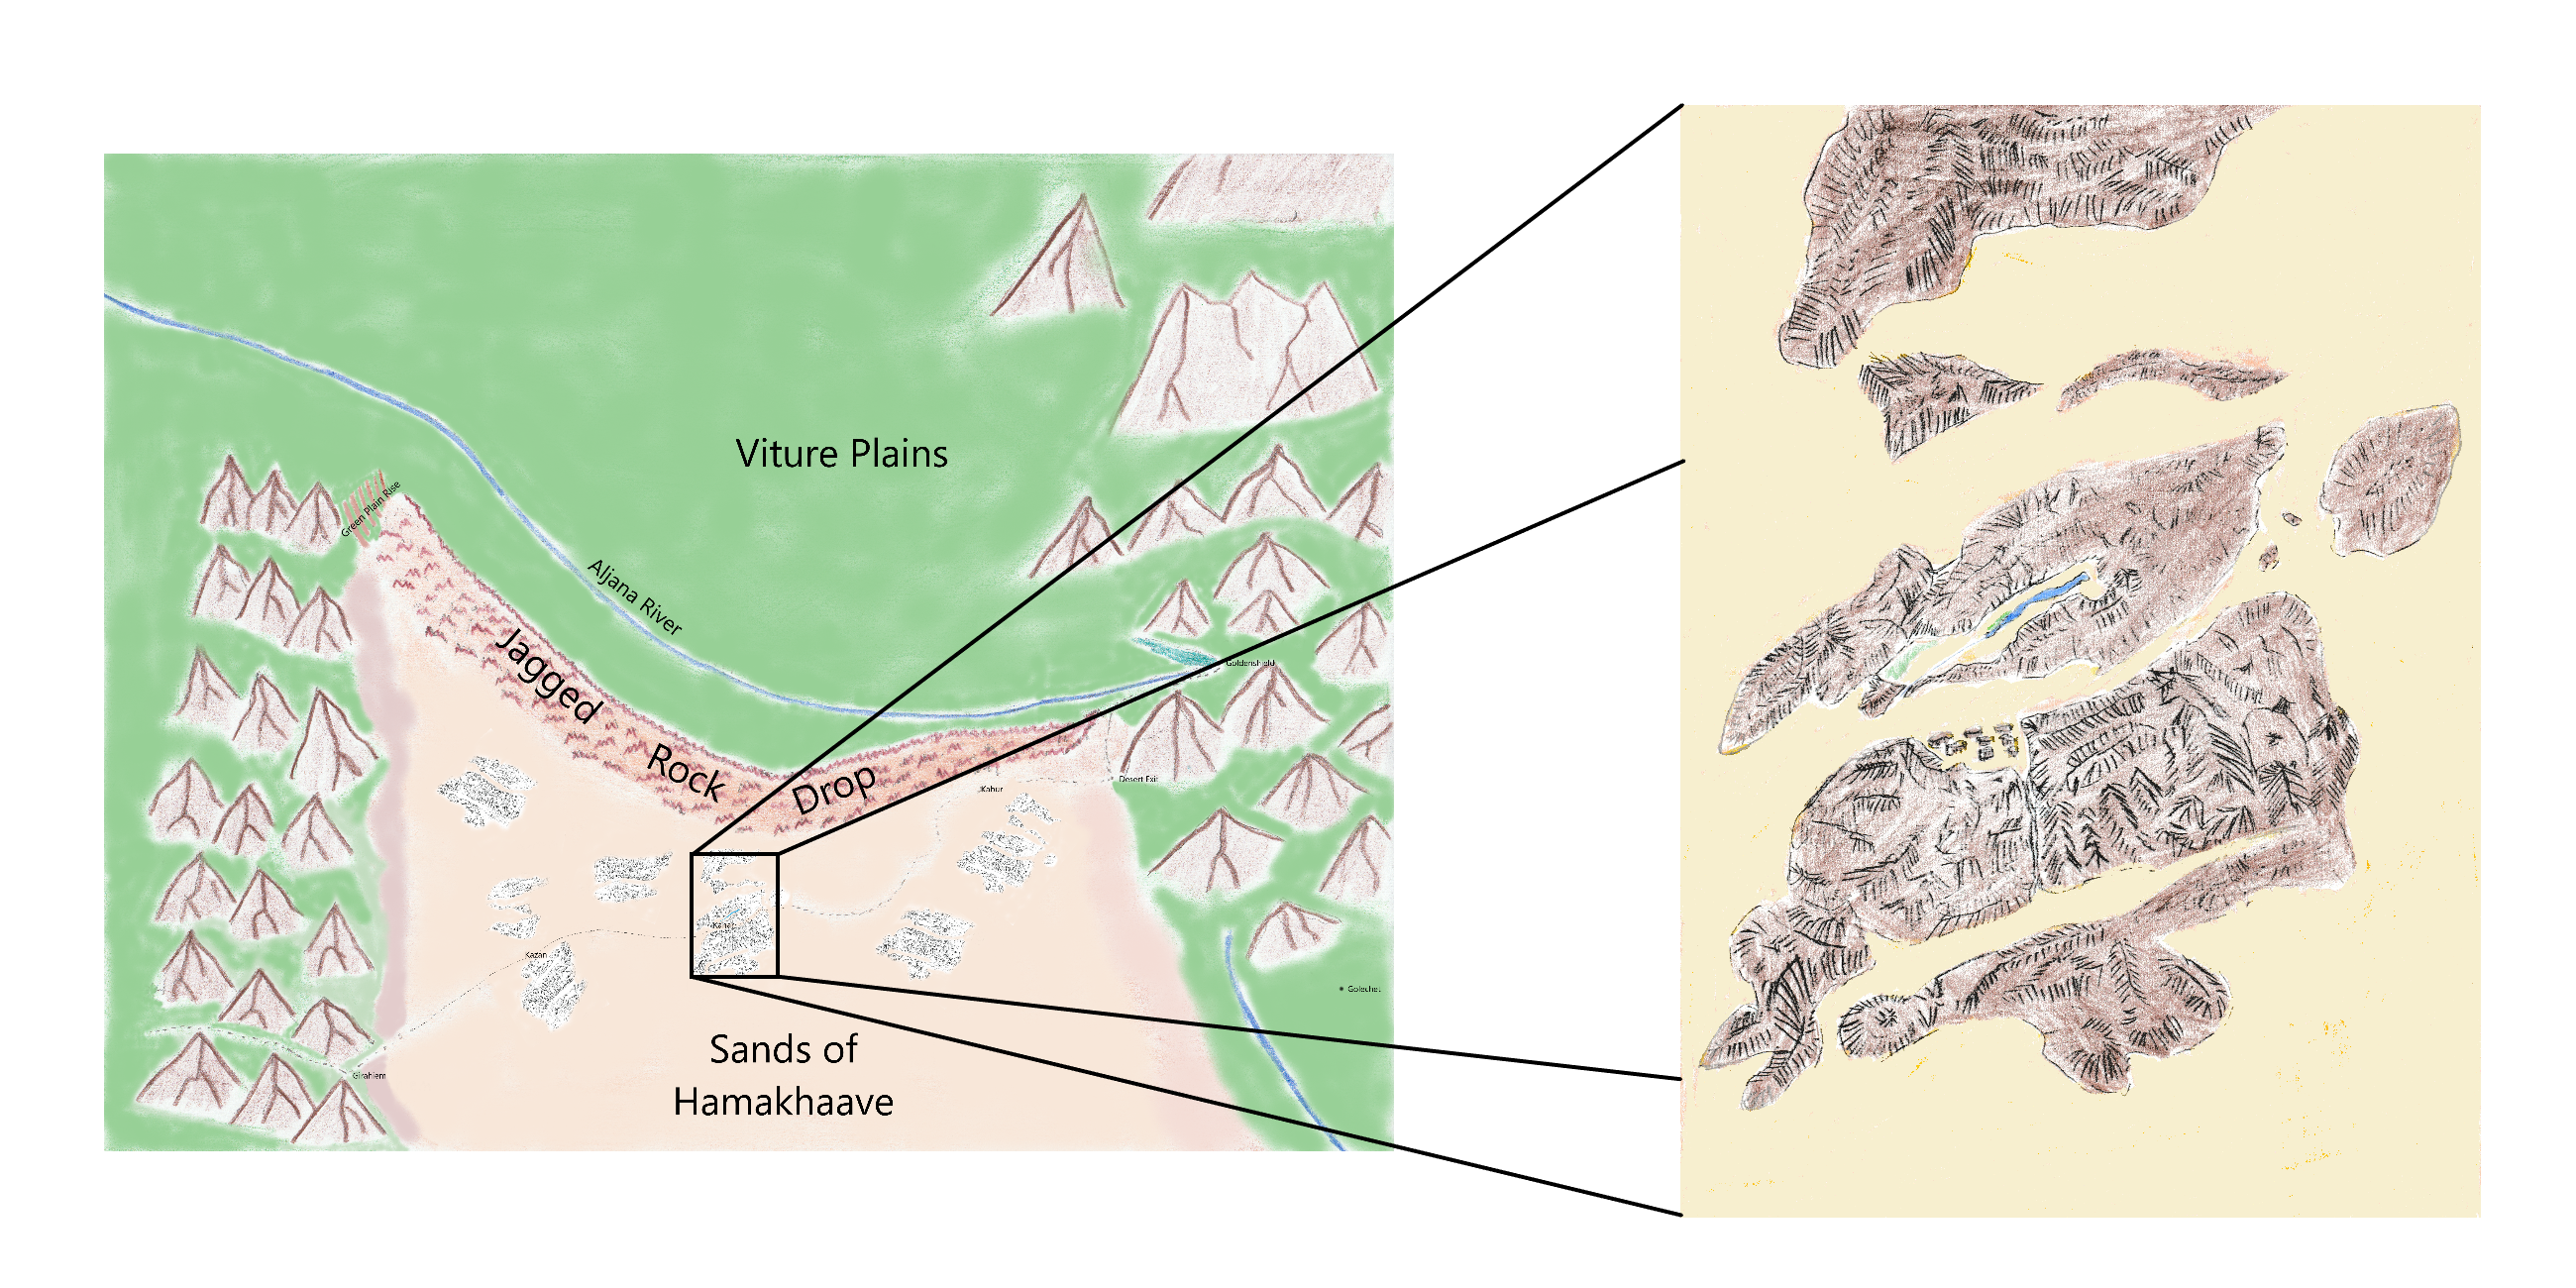
Hamakhaave
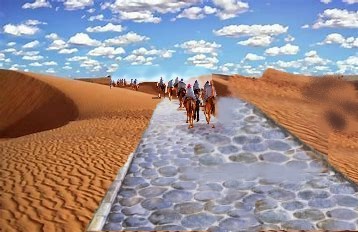
Hamakhaave is one of those plateaus that used to be a continent. Here, the King's Road runs across the desert valley, named the Hard
Pan Flats, that stretches between the Harsh Biting mountain range to the north, and the Broken Red Rock mountain range to the south.
The King's Road rises up from the abyssal plain, winding up through the steep east side continental slopes, and runs strait as an arrow through
the many hundreds of miles of east side continental shelf, until it enters Hard Pan flats from the east, far to the north of Hamakhaave.
The King's Road passes over the Spit Out craters by a suspension bridge both magnificent and spectacular. The King's Road
then begins the hundreds of miles of emptiness that mark the Hard Pan Flats inbetween the 2 great mountain ranges.
After exiting the
great desert valley from the west, the King's Road descendes down the west side continental shelf, winds down the steep west side continental
slope, until it enters the abyssal plain once again. The King's Road is 40' wide, stone-paved and metaled, cambered for drainage,
and is flanked by footpaths, bridleways, and drainage ditches. This major road is laid along accurately surveyed courses, with some parts
cut through hills, or conducted over canyons, craters, and dry ravines on elaborate and well built bridgework. Wells are situated
strategically and one platoon a month is sent to repair and sweep clean the King's Road.
Rain is nearly non existant in this part of
the world. While there are rain storms and precipitation far below on the floor of the abyssal plain, the continental slopes run for
28.6 miles and rise at 7% slope, which puts the continental shelf at 10,570 feet above the floor of the abyssal plain. Rain clouds, as we
all might know, rarely rise above 7000 feet, which means no water laden clouds, inluding stratus, cumulus, stratocumulus, and nimbostratus
clouds, ever make it above the slopes of the continental shelf. The contental shelf, itself, runs 66 miles at a 1 degree slope, which
makes it rise up another 760 feet, but it is both the north and south mountain ranges, that average another 5000 feet of elevation, but top
out at nearly 8000 feet more of elevation, that block out all midlevel clouds, both the alto stratus and alto cumulus. The collision
of these clouds with the high elevation mountains does end up resulting in heavy misting and light precipitation, but only at the highest
elevations. The high level cirrus, cirrostratus, and cirrocumulus clouds are also very rarely seen streaking above the skies of
Hamakhaave, but this is because of the curious jet stream pattern that has developed over this part of the world. Water is depositied at
the higher elevations, but is absorbed into the ground long before even the most hardiest of plant, or animal life has a chance to take
advantage of it. Hamakhaave is, indeed, a desert land.
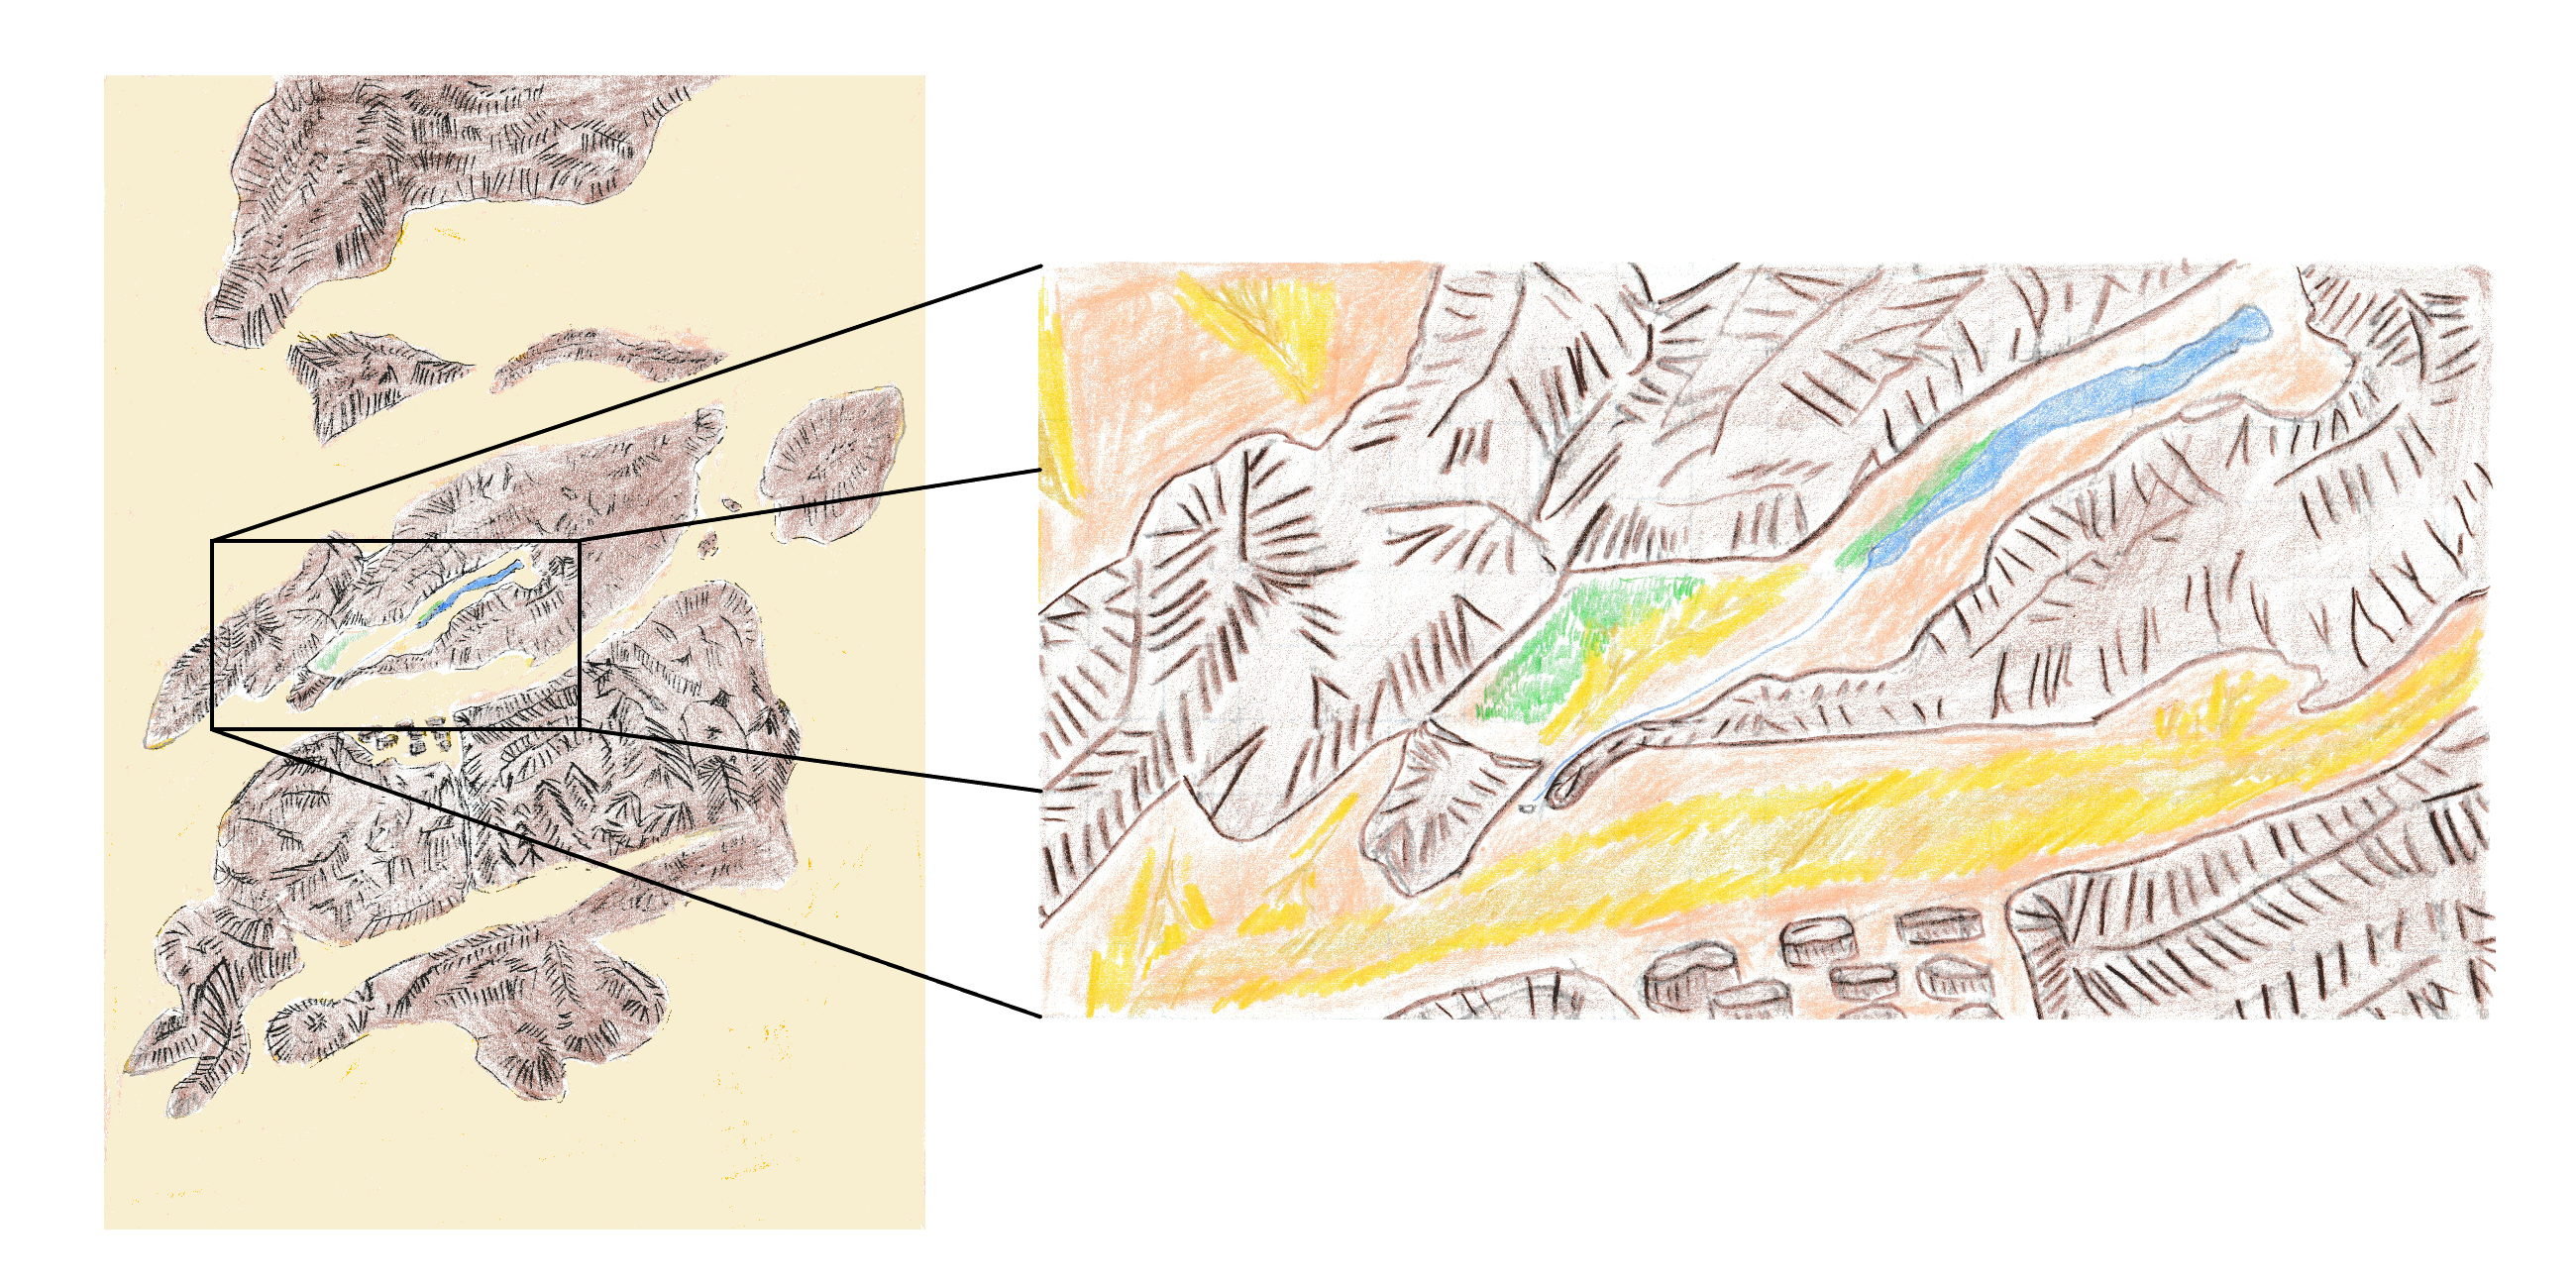
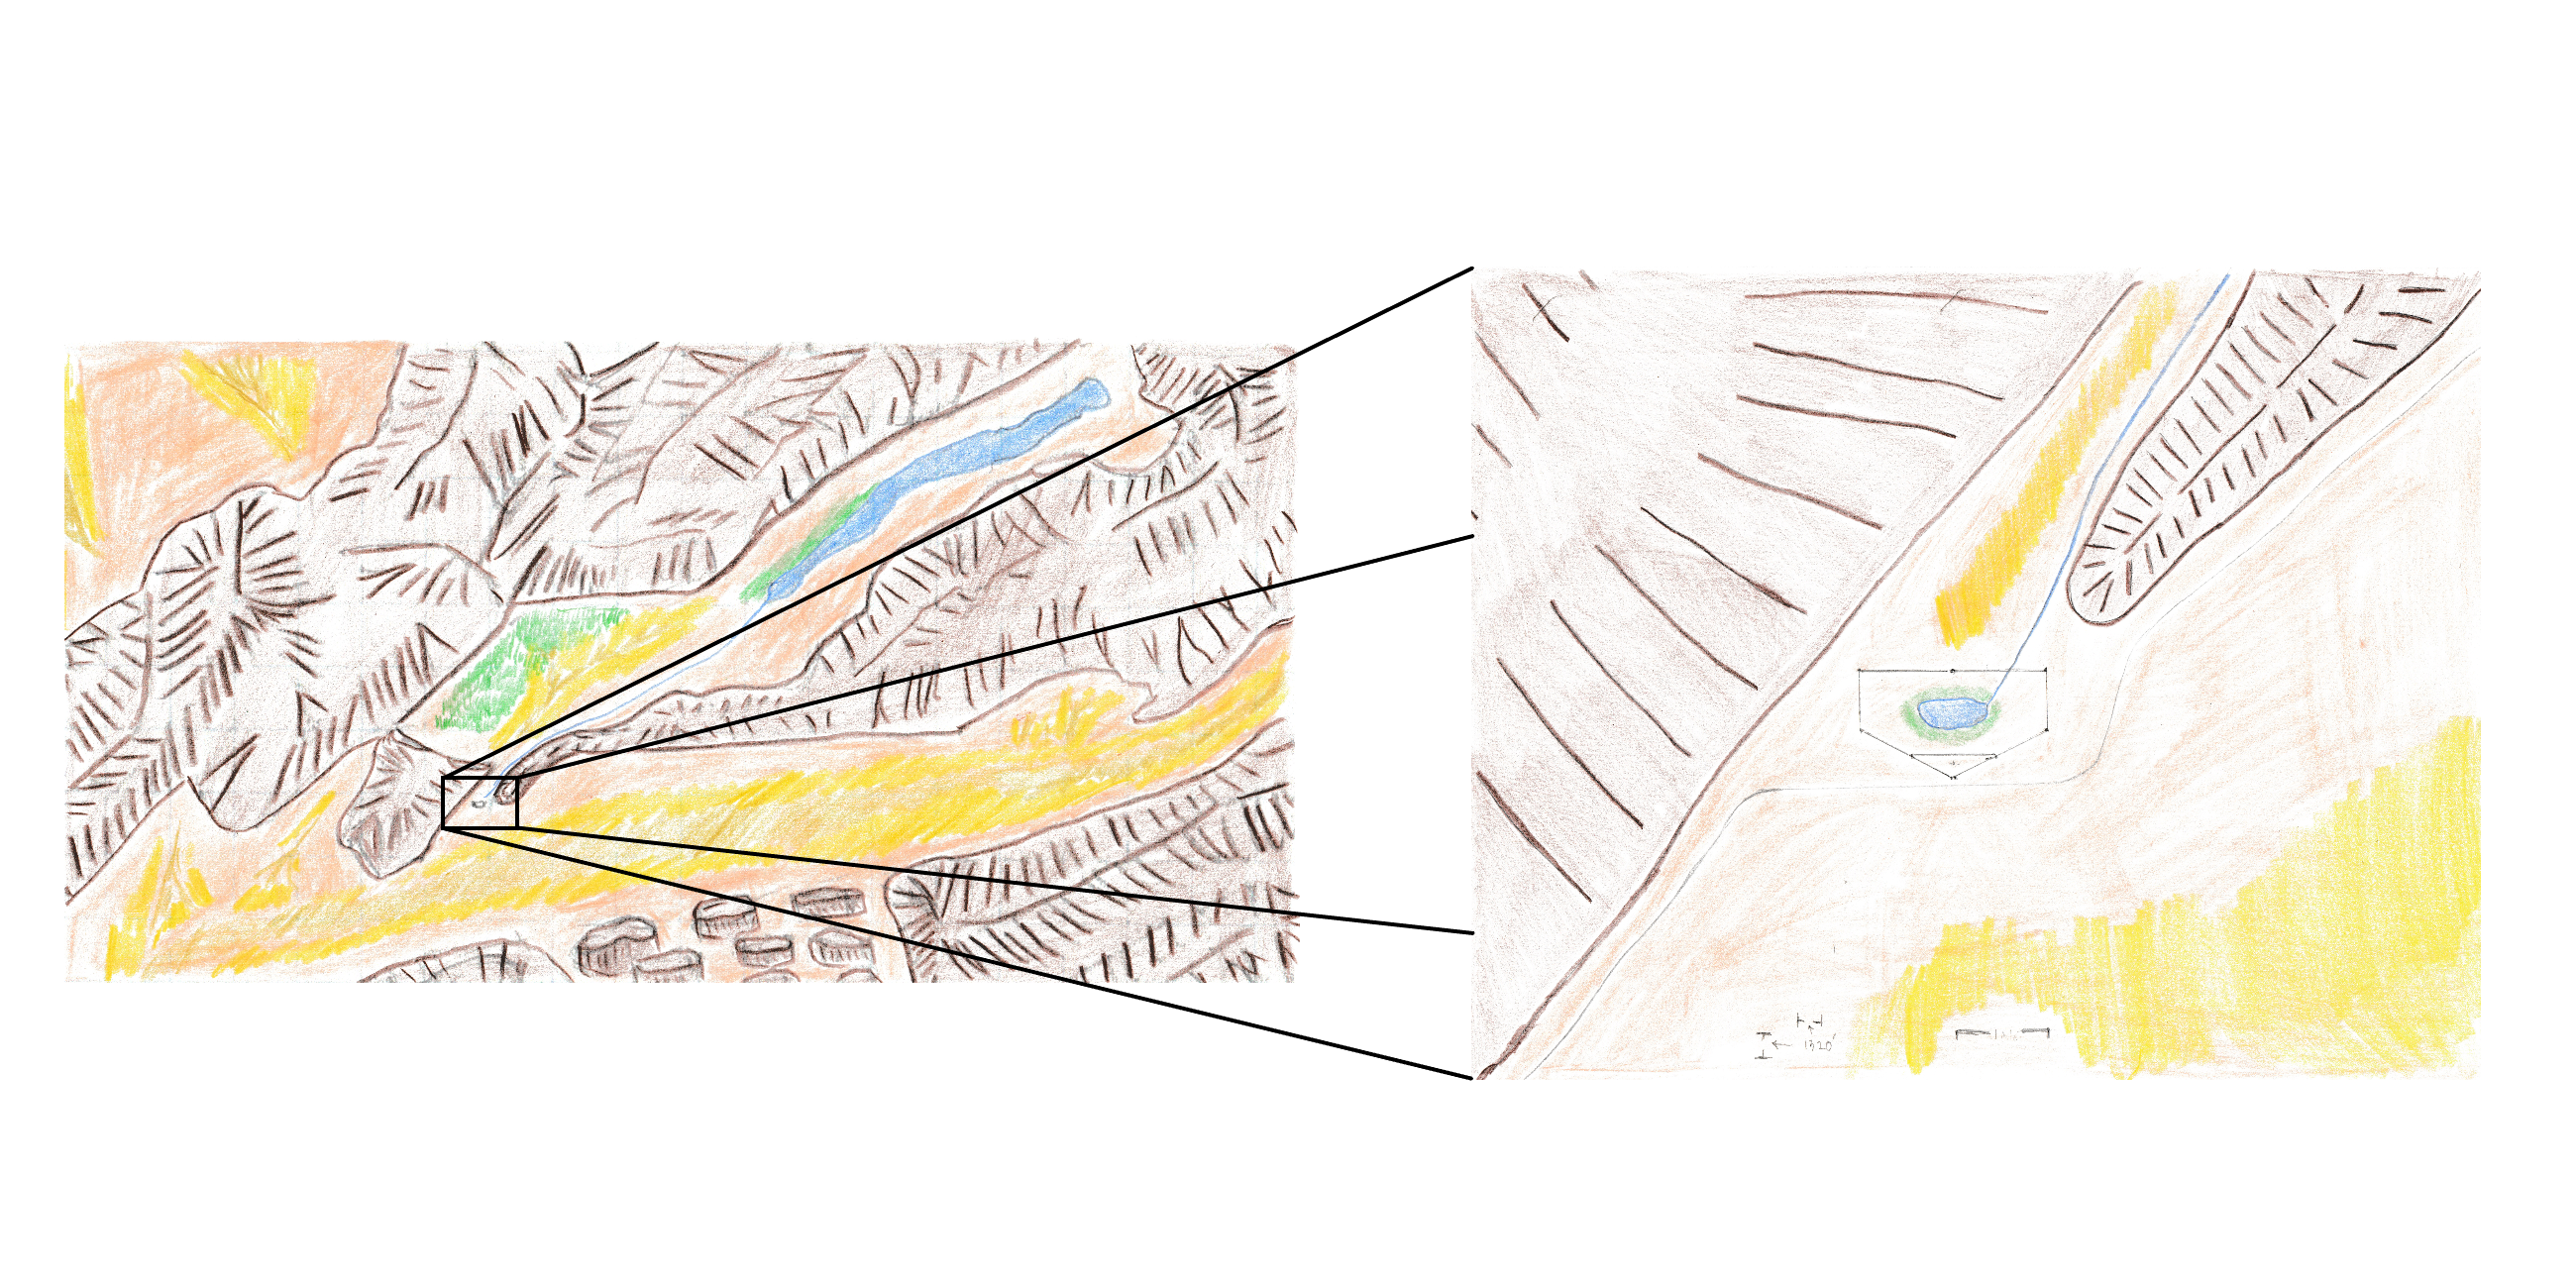
Desert Haven Road, the Plateau of Kahar, and the King's Ramp

The one intersection in the hundreds of miles of the King's Road occurs at Desert Haven Road intersection. A tee intersection
that runs north, Desert Haven Road is half the width of the King's Road, but is nicely paved with flat stones and boasts curbed footpaths
and drainage ditches. It is always well maintained, especially for signs of vehicle wear and tear. These sort of issues are
always quickly resolved. Desert Haven Road is exactly one mile long. In this desert, it is easy to see the whole path as it
leaves the King's Road, ascends the plateau of Kahar, and continues straight north for over a half a mile until it ends at a brick
roundabout that has a flag pole in it's center, right in front of Tower 1, the Front Gate House, and Tower 9. Desert Haven Road is
very well known and highly used, especially for the religious travelers looking to see Tatu, the place of many temples.
Pilgrims from near and far travel along the King's Road to reach Desert Haven Road, enter the fortress Kahar and visit the temple of their
gods. So much traffic comes through the Front Gate, that it is monitored all day and closed down at night. Pilgrims and cultists
stay on or near the roundabout to await the opening of the greeat gates in the morning. All carts and trailers pulled by man or beast
power, are not allowed entrance through the Front Gate and are directed to travel north to the Rear Gate, where passage of carts and
wagons is approved.
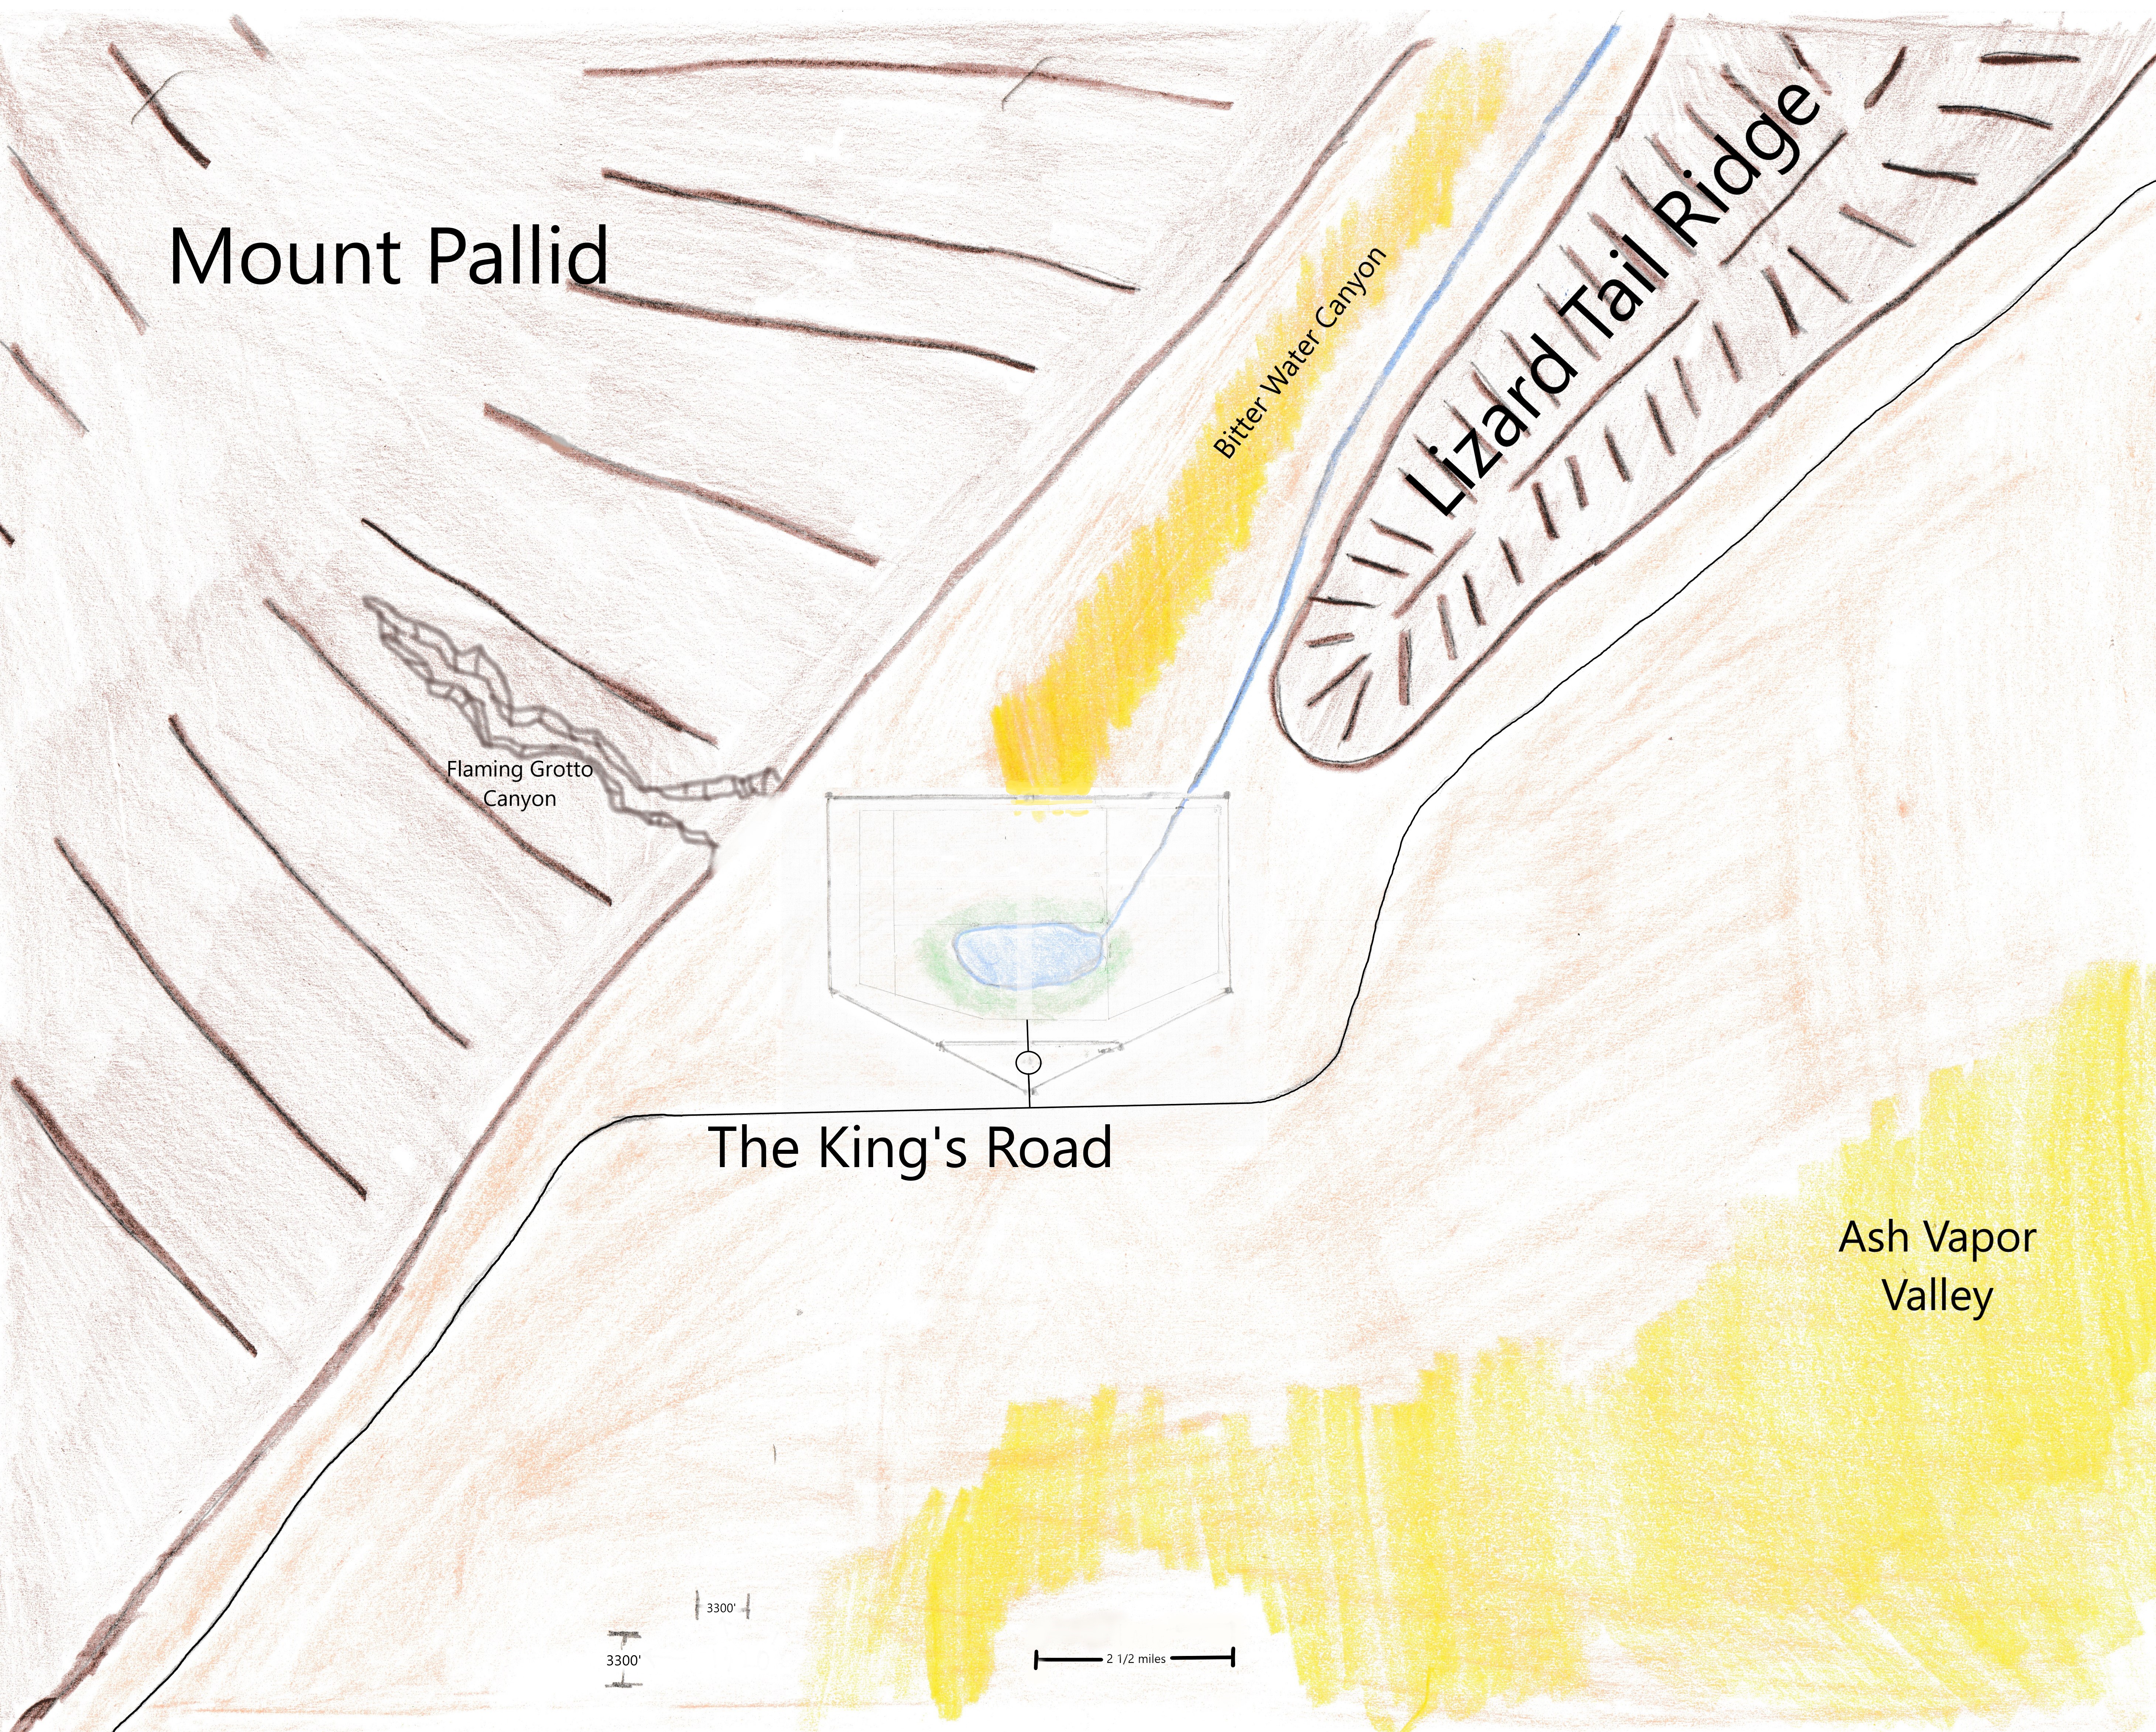
Desert Haven Road goes north for slightly over a 1/3 of a mile (1980 ft) until it encounters the plateau of Kahar.
On the east side of the Stern mountains, on the eastern slopes of Mount Pallid, the alluvial flow from Flaming Grotto Canyon
forms a 6 mile long, 6 mile wide, 60 foot high plateau above the desert floor. This is the Plateau of Kahar and the walls and
towers of Kahar are built on top of this plateau. Though the plateau of Kahar was initially gently sloped in some areas, engineers
have sharpened the edges of the plateau into cliffs. Steep, sharp cliffs, jutting out slightly at the top, cliffs that are
nearly impossible to climb without equipment. These cliffs line the whole south and east face of the plateau of Kahar. These
cliffs are the first line of defense and a great detterent against all enemies.
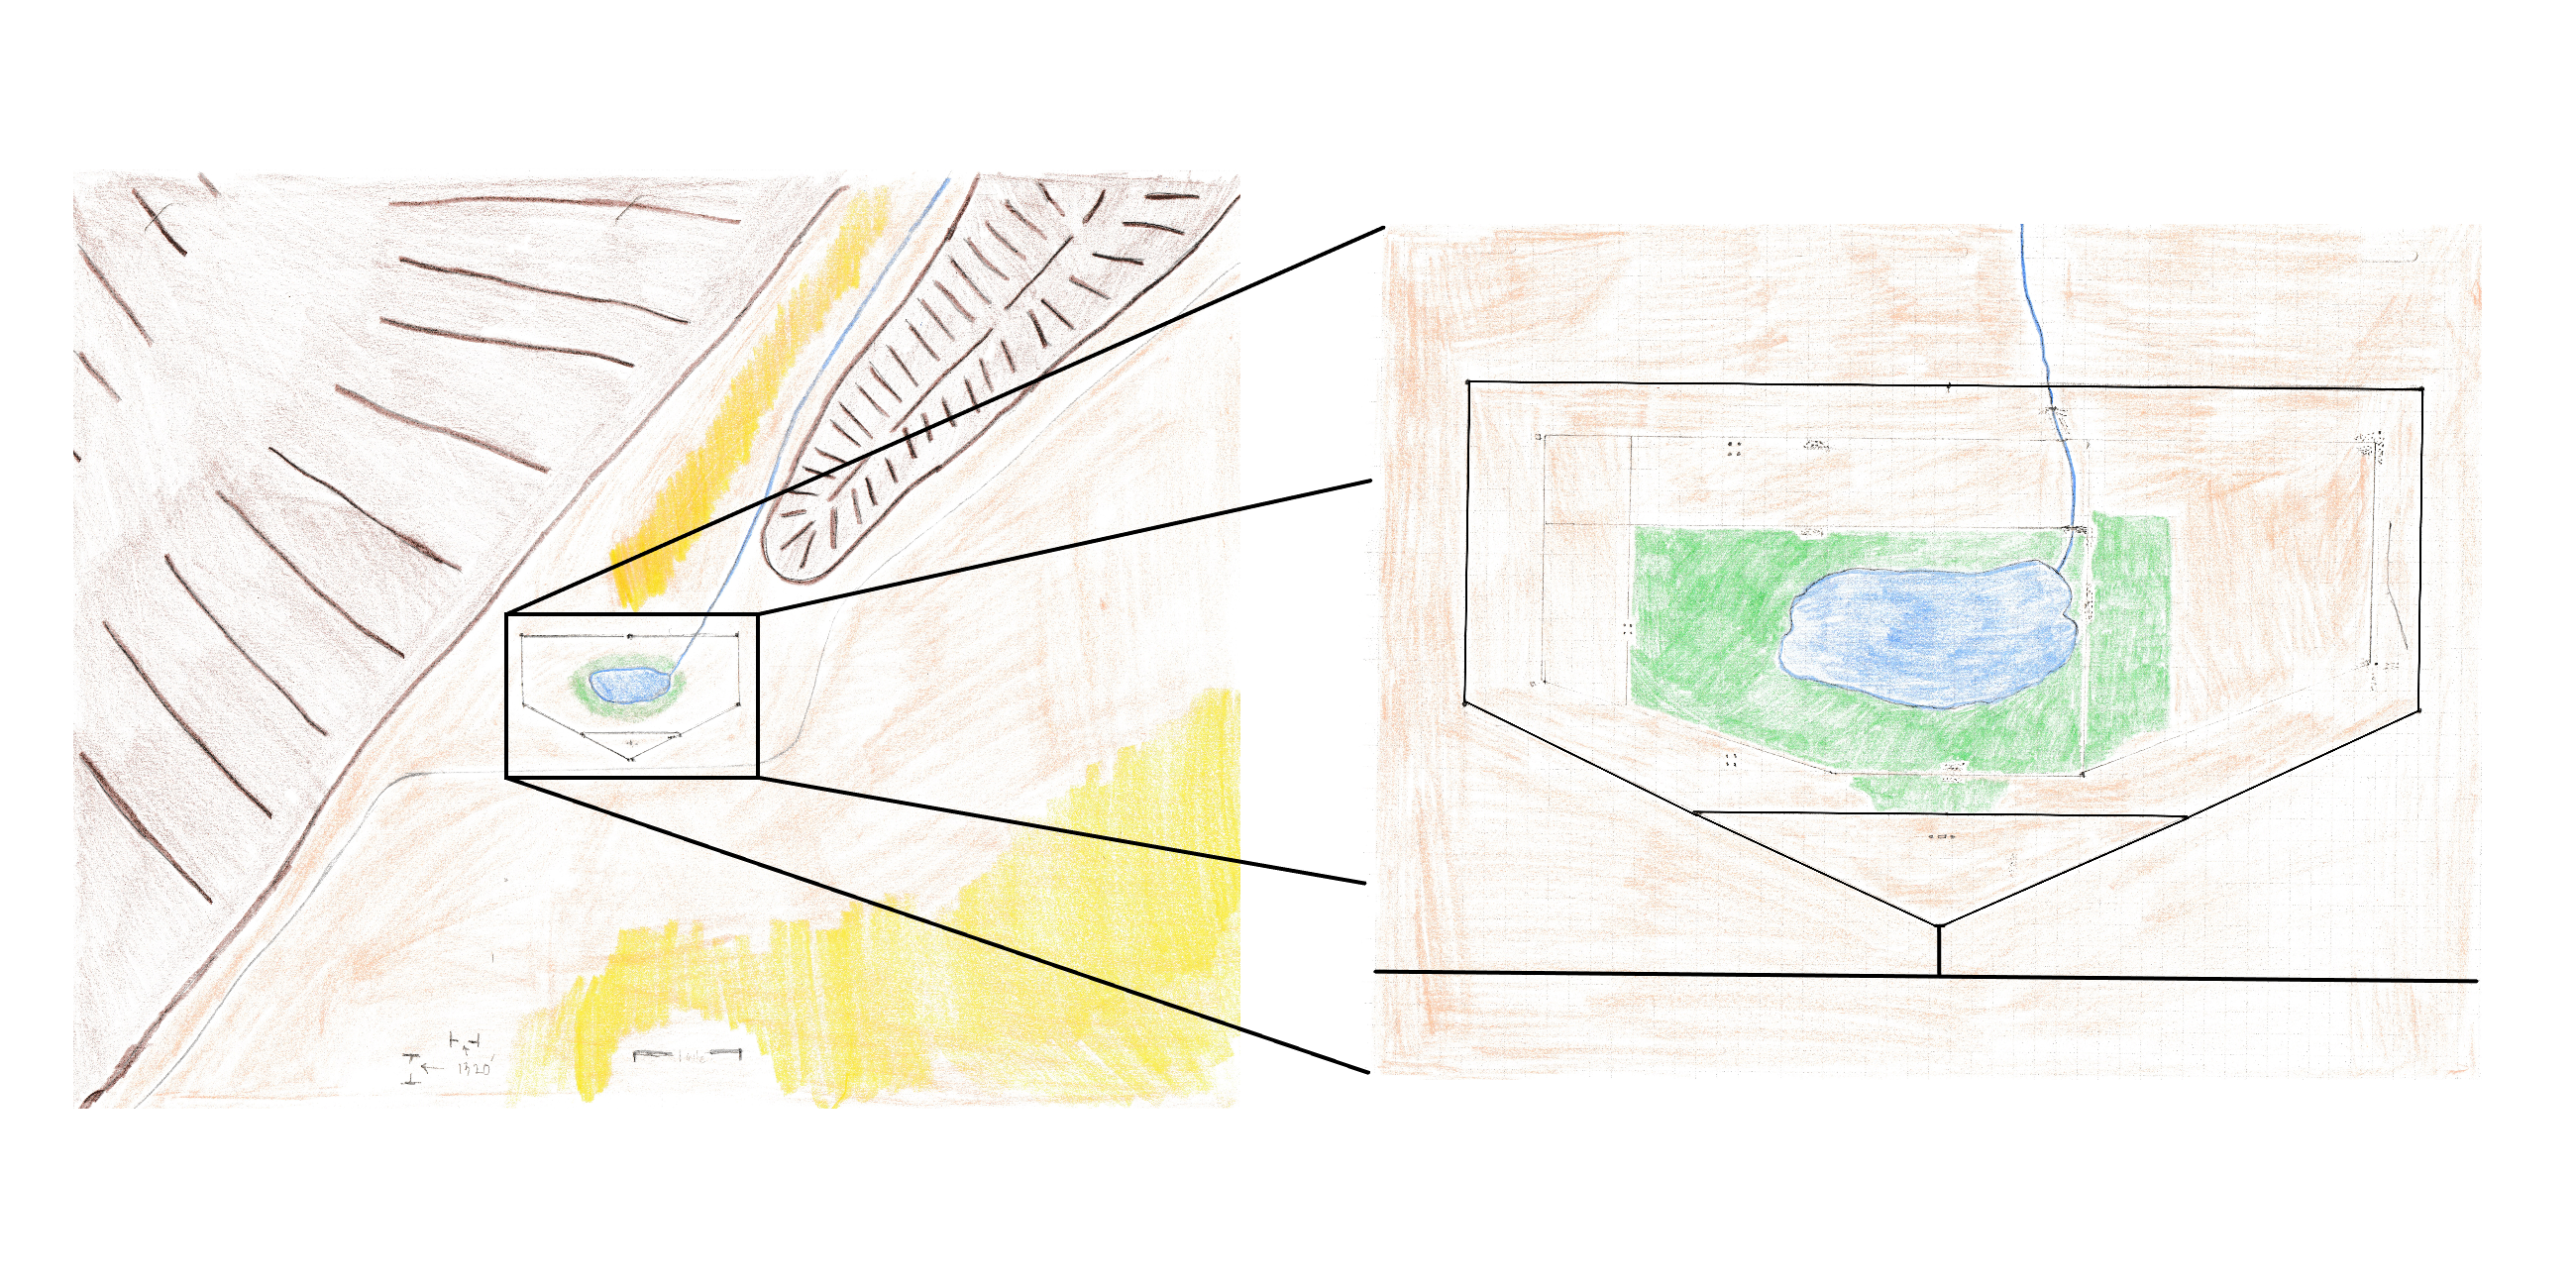
The 60 feet high cliffs protect the east and south sides of the Plateau of Kahar, except for the area where Desert Haven Road heads
north and intersects the plateau. Here those workers built a 100' wide, 720' long ramp that supports and sits under the 20' wide
stone paved Desert Haven Road up onto the top of the plateau. The King's Ramp has bricked walls that have pictures of ancient heroes
defeating old rivals in ornate brickwork. The floor of the ramp is paved in flat stones, ingeniusly drained at appropriate
points, but distinct enough that Desert Haven road is built up almost a foot above the King's Ramp floor. Desert Haven Road continues
north another 2580' where it ends at the south entrance, the Front Gate, of Kahar in a great roundbout.
Once on top of the plateau, it is easy to make out the 30' tall wall and the 45' towers that surround the fortress of
Kahar and are barely a little over a half mile away. To the west of the roundabout, narrow empty plains stretch to meet Tower 3 above
the 60' cliff. To the east of the roundabout, long and wide plains fill the horizon almost to edge of sight.
Kahar
Tower 4
Tower 3
Tower 2
The Rear Gate
The Front Gate
Tower 8
Tower 6
Tower 7
Read to the PCs:
Background
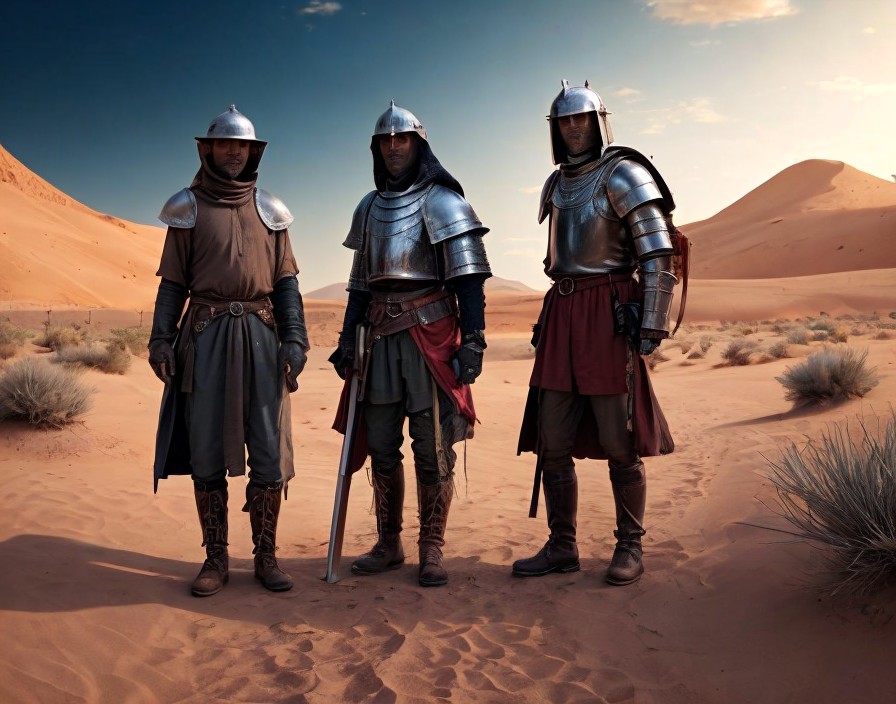
Deep in the Hamakhaave Desert,
Rhael the Fire Giant has brought his two hill giants, Rulos and Eclith, with an army of mercenaries and over a thousand goblinoids
to attack and destroy the desert fortress named Kahar. Kahar, one of three desert fortresses that guard
the great
King's Road that cuts through the Hamakhaave Desert. Nearly 30,000 feet
of 10 foot wide sun hardened brick wall encloses over 25 square miles of a giant desert oasis. Nine towers, 45 feet tall,
are positioned over a mile apart along the enclosing wall. Kahar houses 1500 people, out of which, since it is a fortress of
war, over a third of that number are enlisted into a standing army. Two villages and seven hamlets, with square buildings
made of the same sun dried brick, not only house the inhabitants but also provide work, entertainment,
and nourishment. The hamlets are full of simple desert buildings arranged to keep the worst of the sand filled wind out
and are spaced out along the edges of the oasis. Each hamlet is ruled by a Knight or Dame, an appointed Lord of Kahar,
and every 9 years one of them is appointed chancellor. The Lord of each place appoints a panel, including religious leaders and
prominent freemen and business men, to govern the many aspects of fortress city life. It is a clunky system with some
flaws, and of course everyone is subject to both the Marquis and the Crown, but the governing system works
especially well when the people get along. Inside the west part of the fortress, above the Cliffs are the High Plains.
To the south is the Farm and to the north is Chissum Ranch. The High Plains are where the thousands of refugees
that are fleeing the Fire Giant's invading army are gathered together. They will be slain because the Wizard's Brigade destroys Tower 3
and Tower 4 and the goblins rush in and kill them all. It is very sad. Some survive by fleeing to the northwest part of the
fortress where they gather together and hold out at Chissum Ranch, with the Stone Stacked Stables that houses the cavalry with their many
horses, donkeys, mules, elephants and camels.
The entire fortress has been preparing for war for many weeks, and by night fall the enemy will stop hiding
from the blazing sun and the attack will commmence. For the last several weeks, civilians of all kinds, fleeing war outside the fortress,
including grandparents, teens, adolescents, and children, have all entered the fortress and have been relocated to The High Plains.
Kahar has a standing army of 736 soldiers. Twenty-four soldiers are assigned to six of the towers, with 52 soldiers
assigned to both the Front and Rear Gate. Each hamlet enlists 14 soldiers as guards. A standing military police force of 45
soldiers are assigned 5 to each hamlet. Two officers lead 112 soldiers on horseback that makes one of the best cavalrys this side of
the Aljana River. In addition, there is a platoon assigned to the Keep, and, not only do the Marquis, the Marchioness,
and the 9 Lords of Kahar each have 8 knights as thier own dedicated
body guards, but also Kahar houses two noble lords of Royal Blood: the dwarf Fahred Ahmandi, son of the Lord of the Hunter's of
Bitter Water Valley, and the elf Nalasteron Nazeri, Lady of the Sand Seers. Each has a contingent of 25 well trained
soldiers.
Kahar's army is second to none, they are a mixture of
soldiers and
heros quite capable of defending the fortress against any threat. Leaders and
prominent citizens are all ready for war in their assigned positions. If your party are soldiers, then you will be
assigned to one of the nine Towers, or on a Fire Team ordered to operate a trebuchet or mangonel, or in the cavalry, or as
a police man patrolling the hamlets, or any of a great number of other things specific to the military. If your party
are not soldiers (as this guide will be written with that premise in mind) they were given the choice to evacuate and they did not,
so now they will be expected to aid military groups by evacuating wounded, relaying important information and letters, resupplying
ammunition and rations and, especially, water. An official will have names called out in a roll call, and your party
will be grouped together as a team and given a cart, a donkey, a team name and number, and sent to the west side
of the fortress and put in a line with many other cart and donkey teams at Braek's Munitions Dump, and there you'll await orders.
Life in the desert is unique, particularly in the summer. Temperatures can become so extreme that
you will suffer heat exhaustion for every hour you are out in the open sun. In Kahar, therefore, everyone gets used to
switching to the night shift. Every Tower, every Hamlet, every business, school, animal facility, everyone
switches to the night shift during the summer months. Most importantly, the attacking goblinoids hide from the blazing desert
sun inside tents, covered wagons, and covered carts and don't show their heads until the sun sets.
Therefore, if the party is a part of the attacking force, they will also be confined to the night to avoid the extreme
heat of the desert day. Do let your imagination run wild and remember the party can choose to be citizens of
Kahar but traitorious, in which case they will become familiar with
Oztirix the Abjurer,
Nuro the Transmuter,
and
Azabine the Conjurer. All of whom are servants of
the Arch Mage Lallenlos Kisharite, and all of whom become traitors against Goldenshield Kingdom because all of them are
under the geas spell. If the party is indeed part of the traitors, or the Fire Giants force, or some type of
mercinary working for either, or even Goldenshield soldiers who have been tricked by the agents of evil,
the best starting point is at
the Sapper Cave. There
they will witness the gate spell and the reverse gravity spell that destroys Tower 9. There they will enter the gate
and deliver the stone table to a secluded island in the Sea of Fire, and there they will collect obsidian stones before
they return. It is a perilous journey to say the least, for once inside the Elemental Plane of Fire, they will witness
salamnders assault an Azer fortress. With any choice made, the simple fact remains that there
are only a couple of hours of light left when your adventure begins. Darkness will soon cover everything.
i. The War
Integrating PC Backgrounds
PCs will start in or around the desert fortress. Nine Towers, 45 feet tall and 30 feet in diameter, are
attached by the ten feet wide, thirty feet tall wall. The towers are made of 4 feet thick hard sun baked earth
bricks, and the walls are ten feet thick of the same hard earth material. Both the walls and the towers are
protected by powerful magic spells of protection, resistence, and immunity. The walls and towers are spread out
at the opening of Bitter Water Canyon which is over 6 miles wide. The walls and towers enclose 18 3/4 miles
2,
wherein lies the great man made oasis. Enclosed within the oasis and protected within the walls are the lake, the nine hamlets,
twelve barracks, the Ranch, the Barn, the Stables, and the Market District at the Rear Gate. A number of NPCs are
available to write in to any background as friends to help and lead PCs along as the war progresses. Each hamlet
averages about 50 to 60 buildings housing about 150 people. Generally split up into 50 adults, 20 grandparents,
20 teens, 30 adolescents, and 30 children including babies. The two villages double that. Everyone, except some adults, has been
evacuated to the High Plains where the thousand refugees that have been arriving for weeks have been gathered.
Concerning the remaining adults, the two villages, and each hamlet, have 24 soldiers in a corresponding tower, and they each have left
14 men in each village and hamlet. Both of the villages and all the hamlets will come under peril during the attack.
Powerful NPCs will guide the PCs in hopes that they will rescue each one. But failure of saving the 14 men of each hamlet
or village means the enemy will make more undead, and not just regular undead, but zombies and skeletons mutated into monstrosities
terrible to behold. So urge the PCs to save the soldiers that have stayed behind by traveling to both villages and all 7
hamlets to deliver the Lady's message.
At anytime the PCs get in over their heads, as a DM, you can bail them out using either
Lord Ahmandi or Lady Nazeri both of whom dwell inside the fortress. Each of them lead 3 squads of 8 veterans and 1 knight hunting
evil inside the fortress. Use these NPCs sparingly, for these are the ones that will bail the party out of any TPK that might
happen for any reason. On their stat sheets, you'll have quite the arsonal to be able to subdue the PCs if needed,
but that will never be thier intention.
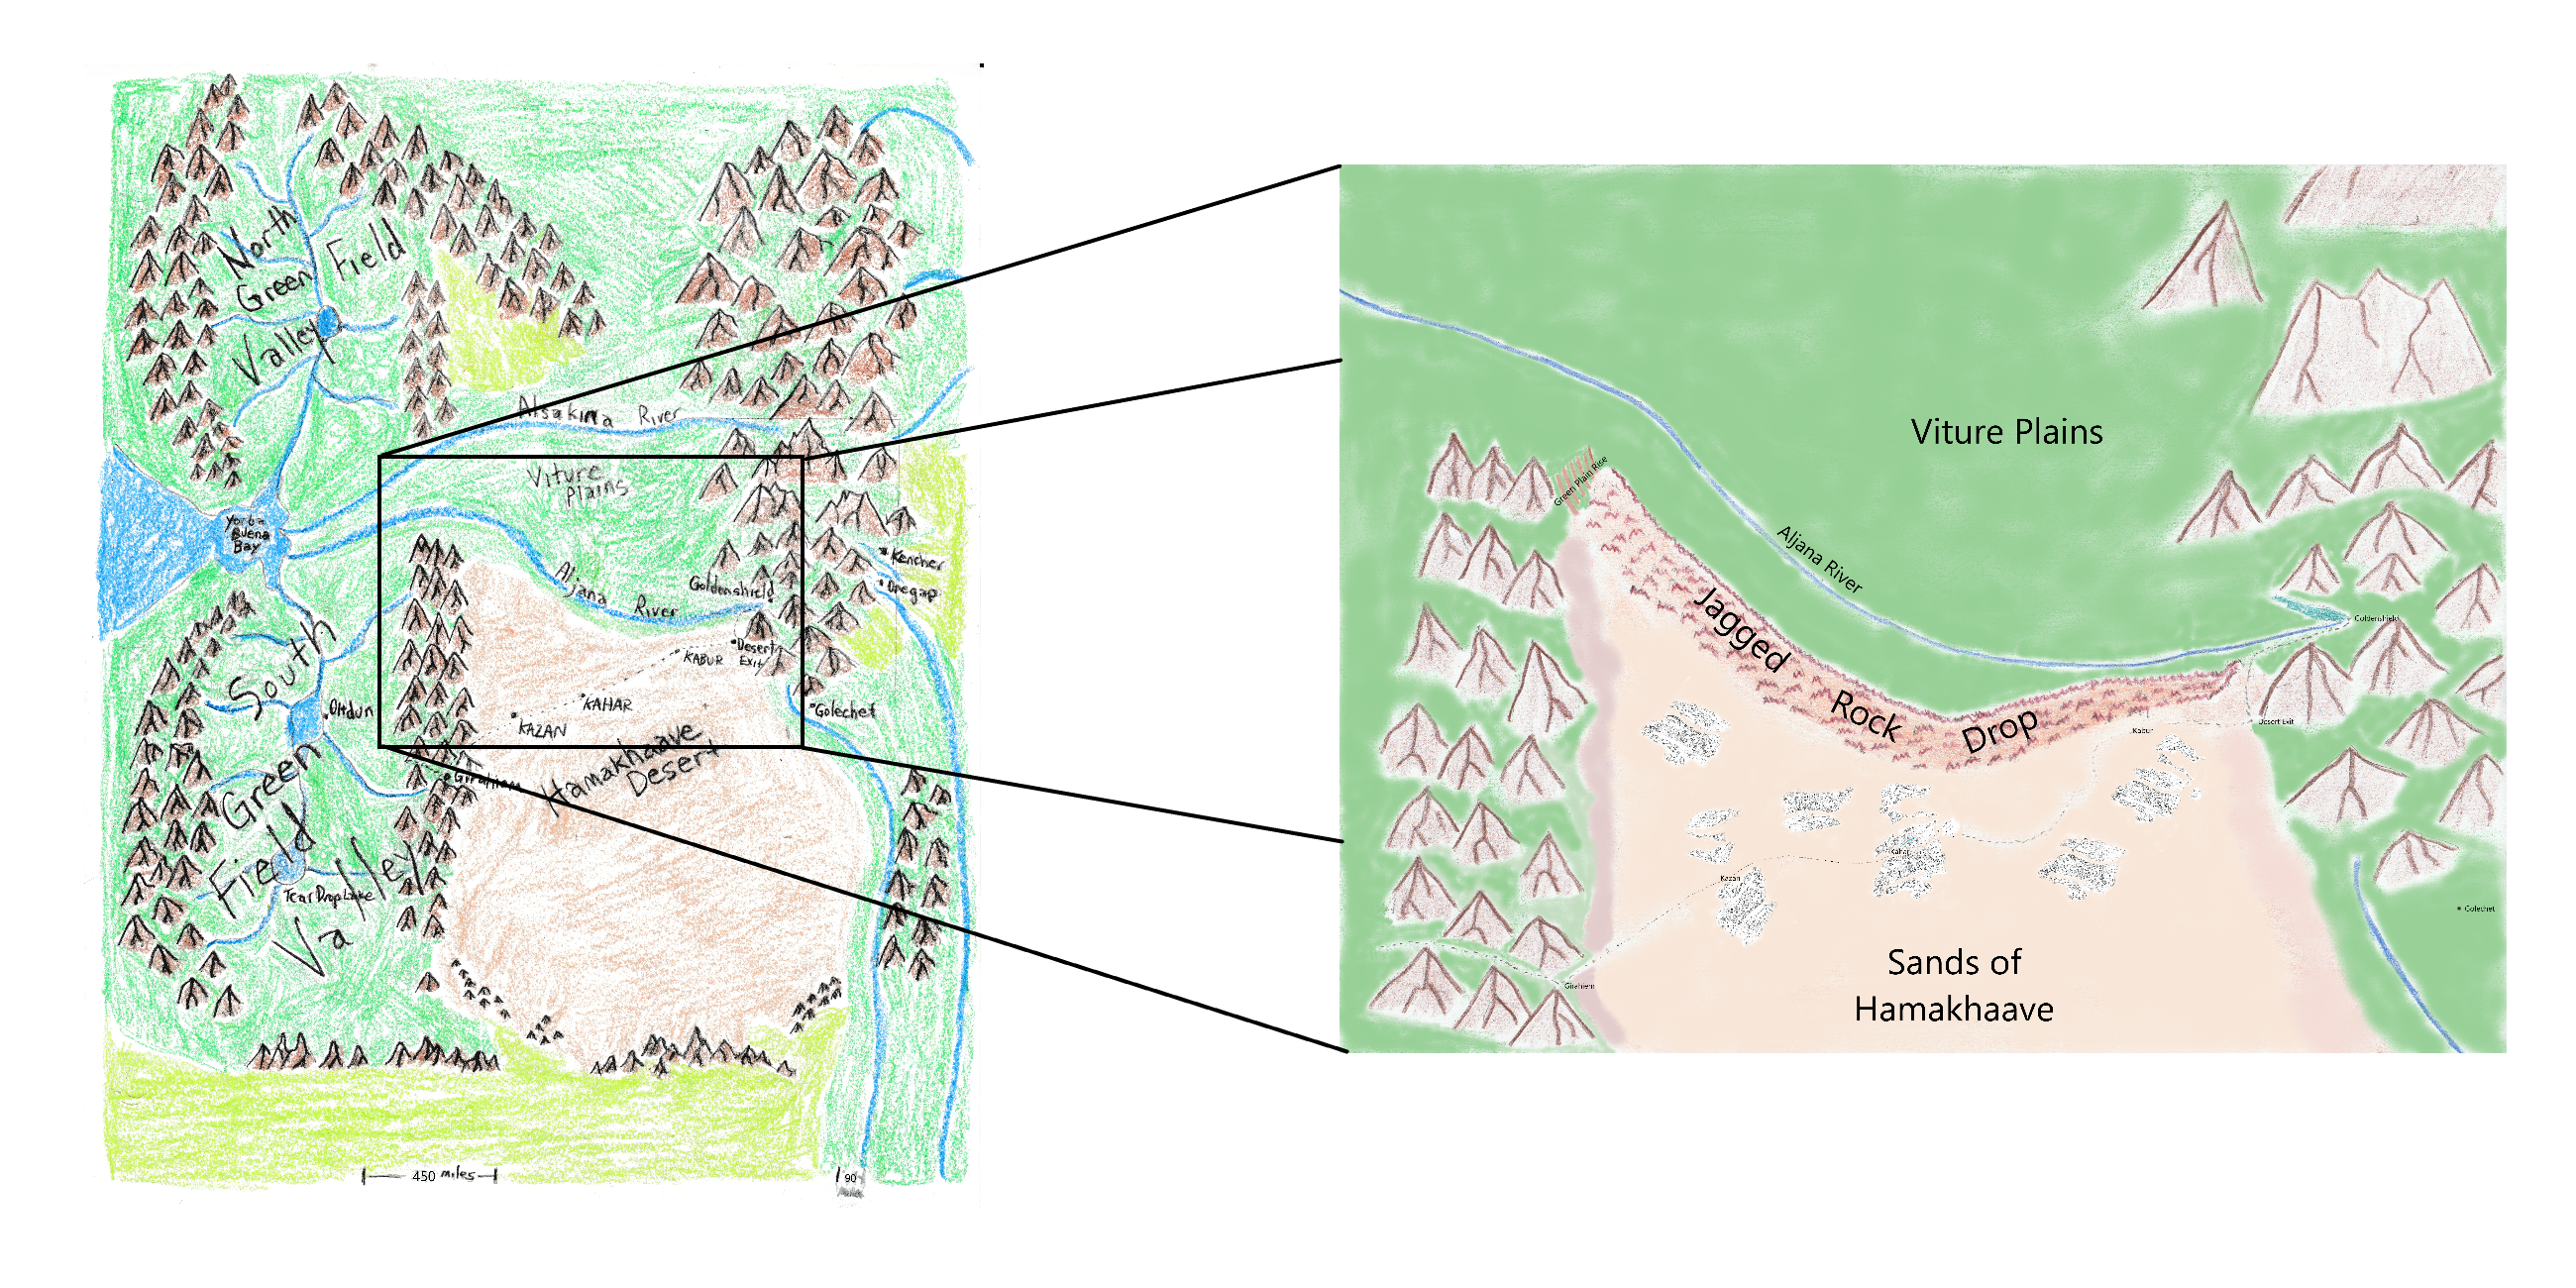
The Setting
Hamakhaave is the desert that houses these events. Bordered by badlands to the north, to the east, and to the west, the
Hamakhaave is a xeric desert in the rain shadow of the Sodondo Mountain Range. In the youth of the Kingdom of Goldenshield,
the Marquis of that land took it upon himself to build The King's Road, a great paved stone highway that would cross northern Hamakhaave
and be guarded by the desert fortress Kahar. Many generations later, the fortress of Kahar has become one of the Wonders of the World.
It is at Kahar that these events take place.
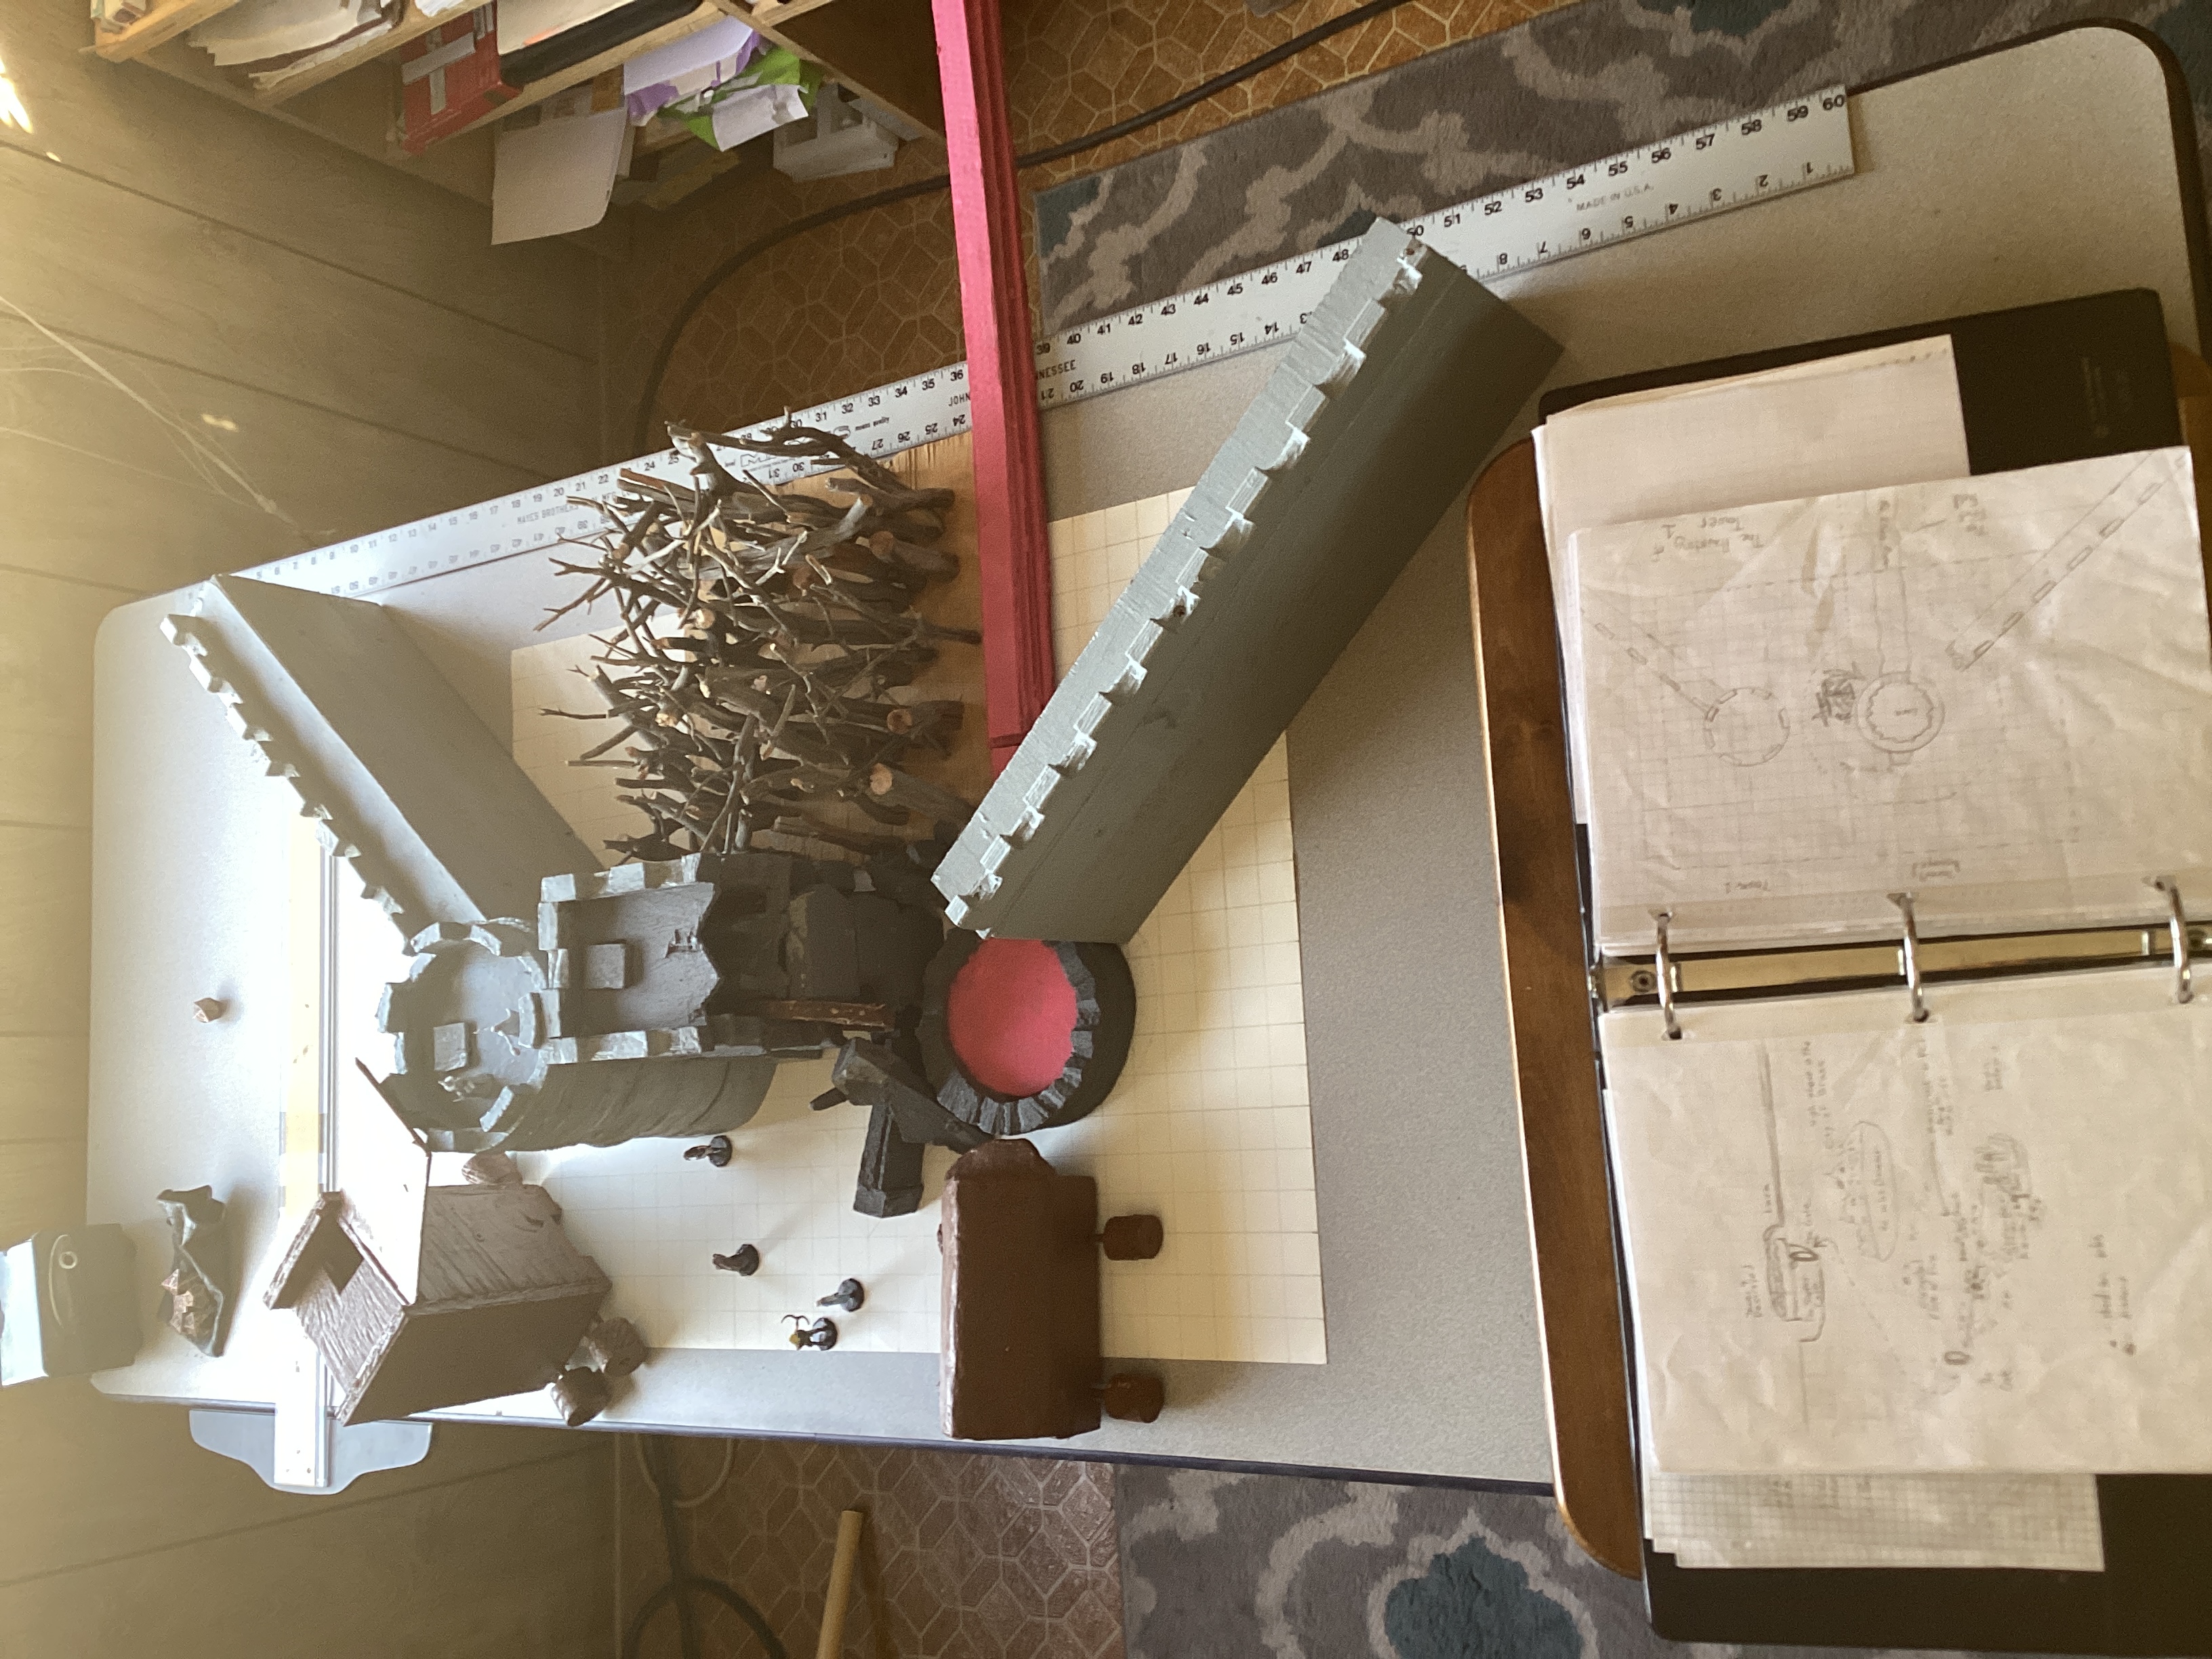
The Map
The Fortress Kahar encloses 12000 acres of diverse landscapes.
Lords of War
The fortress of Kahar is ruled by the Archmage Lallennos Kisherite, Chancellor of the Realm of Kahar, servant to the Marquis
of the Kingdom of Goldenshield. He is eighth in direct line from father to son and it was his ancestor that gained fame proving
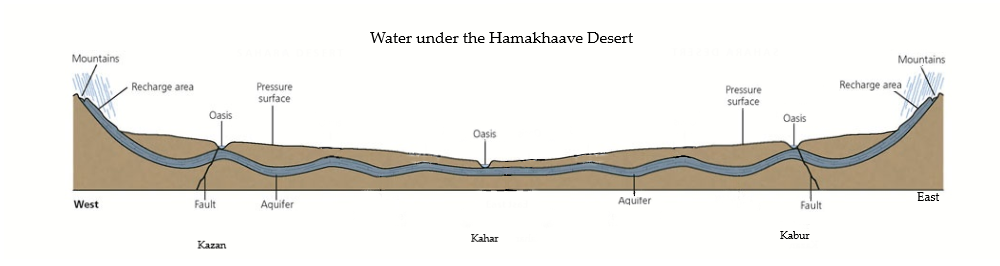
the fortress could successfully resist attacks from the goblinoids. After that many generations, the races have expanded into the
desert beyond Kahar. The first adventurers left Kahar with the knowledge of how to find water under the ground. Once water
was discovered, colonies grew up around farms until villages and then towns appeared. Every 32 years, the gobliniods were led by the
fire giants and attacked the desert fortress in great Dark Crusades. So the surrounding populations would flee into the safety of the
fortress, and would wait out the long sieges. The Dark Crusades would last about 4 years before the Paladan King could lead his people
to victory. And with victory came the rebuilding of these hamlets, villages, and towns. Trade with Kahar made these places rich,
and where there was riches to be made the vices followed. Bandits and ruffians began to prey on these new places of wealth and because
they were unprotected, without anyone willing to stand up for justice or enforce any law, many innocent people died. Thus arose the first
of the many Knights of Kahar, small bands of soldiers, mostly clerics and paladins sworn to protect the innocent, ususally
numbering from 9 to 12 but fearless and well armed warriors, and they pacified the surrounding land. In doing so, they become rich and famous
within Kahar, celebrities to the common soldiers and civilians and this leaves them open to temptation and subject to the jealousy of
the Chancellor and his magicians. After the 6th Dark Crusades, when Khalista arrives and begins her evil, a darkness falls over the land of
Kahar. Many teams of Knights ride out into the land to solve this mystery and many succeed in dispelling evil but none solve the mystery.
Success of the Knights brings its own downfall, much to Khalista's delight. Their newly acquired wealth spreads through the fortress
as they increase their luxury and wealth spreads to the lower classes and soon, saloons, brothels, and gambling houses pop up everywhere
inside the fortress, which of course means liquor and lawlessness. The next generation of knights is faced with policing their own citizens
and are completely unprepared to provide basic social services, maintain order, or control crime. The Chancellor of the Realm is reduced to
a puppet of his former self and is he hides in his tower with only his closests servants. Control of the realm falls into the hands
of the servants of Khalista until they are able to plant false evidence on the Knights. Much worse is that the Knights fall vicitm to
to her wiles and she reveals to all in the realm that they have release the Hags of Arroyo Kifo, which is true, and they are responsible for
the kidnapping and death of the Kisherite family. All popular opinion towards the Knights fades away and the magicians, in the
Chancellor's name but acting on secret orders from Khalista, ban all priests, except at the lowest level, from using magic.
Clerics and paladin disappear from the fortress even as cult leaders and fanatics increase and fill the religious temples.
But now the
time is come for the 7th Dark Crusade.
In the many months proceeding the attack, as the multitudious army
of gobliniods approaches, the majority of villagers outside the fortress of Kahar flee into the protective walls of the fortress Kahar.
They are given tents, food and water, and housed between the Barn and the Stables on the High Plains above the Cliffs. Only 2 weeks ago,
refugees began to arrive and beg to enter Kahar. A great effort is made to house these refugees fleeing the incoming enemy army.
Inside Kahar itself, a seperation of families occur with grandfathers, grandmothers, mothers and fathers devoted to child care, teens, children,
and babies are given a choice: volunteer to help the military or be evacuated to the High Plains. Those that do not choose to
help are sent as aides and helpers to the refugee camps.
All other personel that stay behind will be expected to work towards the goal
of winning the war. If your party are not soldiers, they will not be expected to follow strict military protocol but they will be required
to show a minimum amount of respect to military authority. Deference to nobility is a requirement punishable by prison or death if not
adhered to strictly.
The Nine Lords of Kahar
Although the Marquis, under the Paladin King, is the final authority, every nine years, he appoints a chancellor to rule in his name that
will live in the chancellory at Moja Village. The chancellor can only be selected from one of the Nine Lords of Kahar and will rule for
those 9 years at which point a new chancellor is selected. The ruling chancellor is Lord Kisherite from Saba hamlet, it is his 3rd time
being selected to rule Kahar but not in a row. The two most famous lords are the dwarf cleric Lord Fahred Ahmandi and the elf
druid Lady Nalasteron Nazeri, each attended by 24 knights in shining plate armor. The dwarf Lord dwells in a mansion in Tatu Hamlet nearly
as great as the Marquis' Keep, while the Lady enjoys the secret, hidden, but lush and beautiful gardens of Mbili Hamlet.
The mansion in Tatu is guarded by Lord Ahmandi's faithful servants and the Gardens of Mbili Hamlet are protected by
powerful magic so that neither place gets violated or destroyed by the enemy. Indeed, PCs will find that by identifying
themselves with these two heros they have a chance that they will be granted access to a secure place to take either a short or a long rest.
The Longest Day
This is session Zero. Explain to the PC's:
Kahar is one of three desert fortresses that protects the King's Road in the midst of the Hamakhaave Desert.
Kahar is ruled by the Marquis of the Realm of Goldenshield and Goldenshield is ruled by the Paladin King. The Paladin
King demands diversity and the Marquis of the Realm takes this command quite seriously, so that Kahar (and Kazan and Kabur,
the sister fortresses of Kahar) are bedrocks of inclusitivity. Races of all sorts populate both the desert Fortress
and the surrounding areas.
Some races are more rare than others Inside
the fortress are 2 villages and 7 hamlets whose populations reflect this diversity and inclusitivity. Even so, racism and bigotry
still exist even inside the fortress, albeit hidden from authority very well, especially when it comes to magic.
Magic fills every corner of the world and takes one of two forms: secular or religious. The religious magic users are
stripped of their right to perform magic, so that churches, cults, and sects become places dominated with creeds and other
basic statements that forbid use of higher level magic. Only the low level acolytes are allowed with the troops
as healers, but even they are looked down upon and are generally victims of unfair suspicion. Secular magic users are,
generally speaking, unbound by doctrine or theology, so that wizards, sorcerers, and necromancers rise to power in the many
kingdoms, but a consequence of so many magic users unbound by law is the inflation of costs and materials until all but the
most affluent could be serious magic users. Magic permeated normal life so much that even non magic users
become preoccupied with the events that arise and evolve as a result of so many magic users. In Kahar, a hierarchy
of magic users is established under the authority of the Chancellor and misbehaving magic users are dealt with quickly and
efficeintly.
Kahar has nine towers with a surronding wall enclosing an oasis at the grand size of 18 3/4 square
miles. Corresponding to each Tower are the 2 villages and 7 hamlets. Each supplies food, water, supplies, and the
soldiers to their corresponding Tower. On character creation, it is in the villages or hamlets that will be the home
base for the players fighter, paladin, wizard, sorcerer, bard, or cleric. If players want to roll up a ranger, a druid,
a barbarian, or a unique species of a character, then they are best off creating thier character in one of the many available
places designed for such an occasion. There are multiple villages beyond Kahar, south of the fortress, beyond the
desert mountains and past the steep canyons. These villages are established during the developing generations and they
incude the farmers, the miners, the buffalo chasers, and of course, the bandits and ruffians. Far beyond Kahar PCs
can find fields of wheat, oats, barley, rye, and, hidden north of the fortress deep in the desert mountain, rice fields.
Anyway, amoung the many villages, there are, indeed, rangers, barbarians, monks, bards, sorcerers, warlocks, and even a few
druids known to frequent these areas.
Now is the time for players to roll up characters,
select backgrounds, and be ready to receive equipment, weapons, and supplies. It is at this time that PCs learn
cantrips and level one spells. PCs will have all day to ready themselves, but near the end of this longest day, when
the sun finally sets and darkness creeps upon the world, PCs will find that the enemy is already upon them
and no place outside the walls is safe.
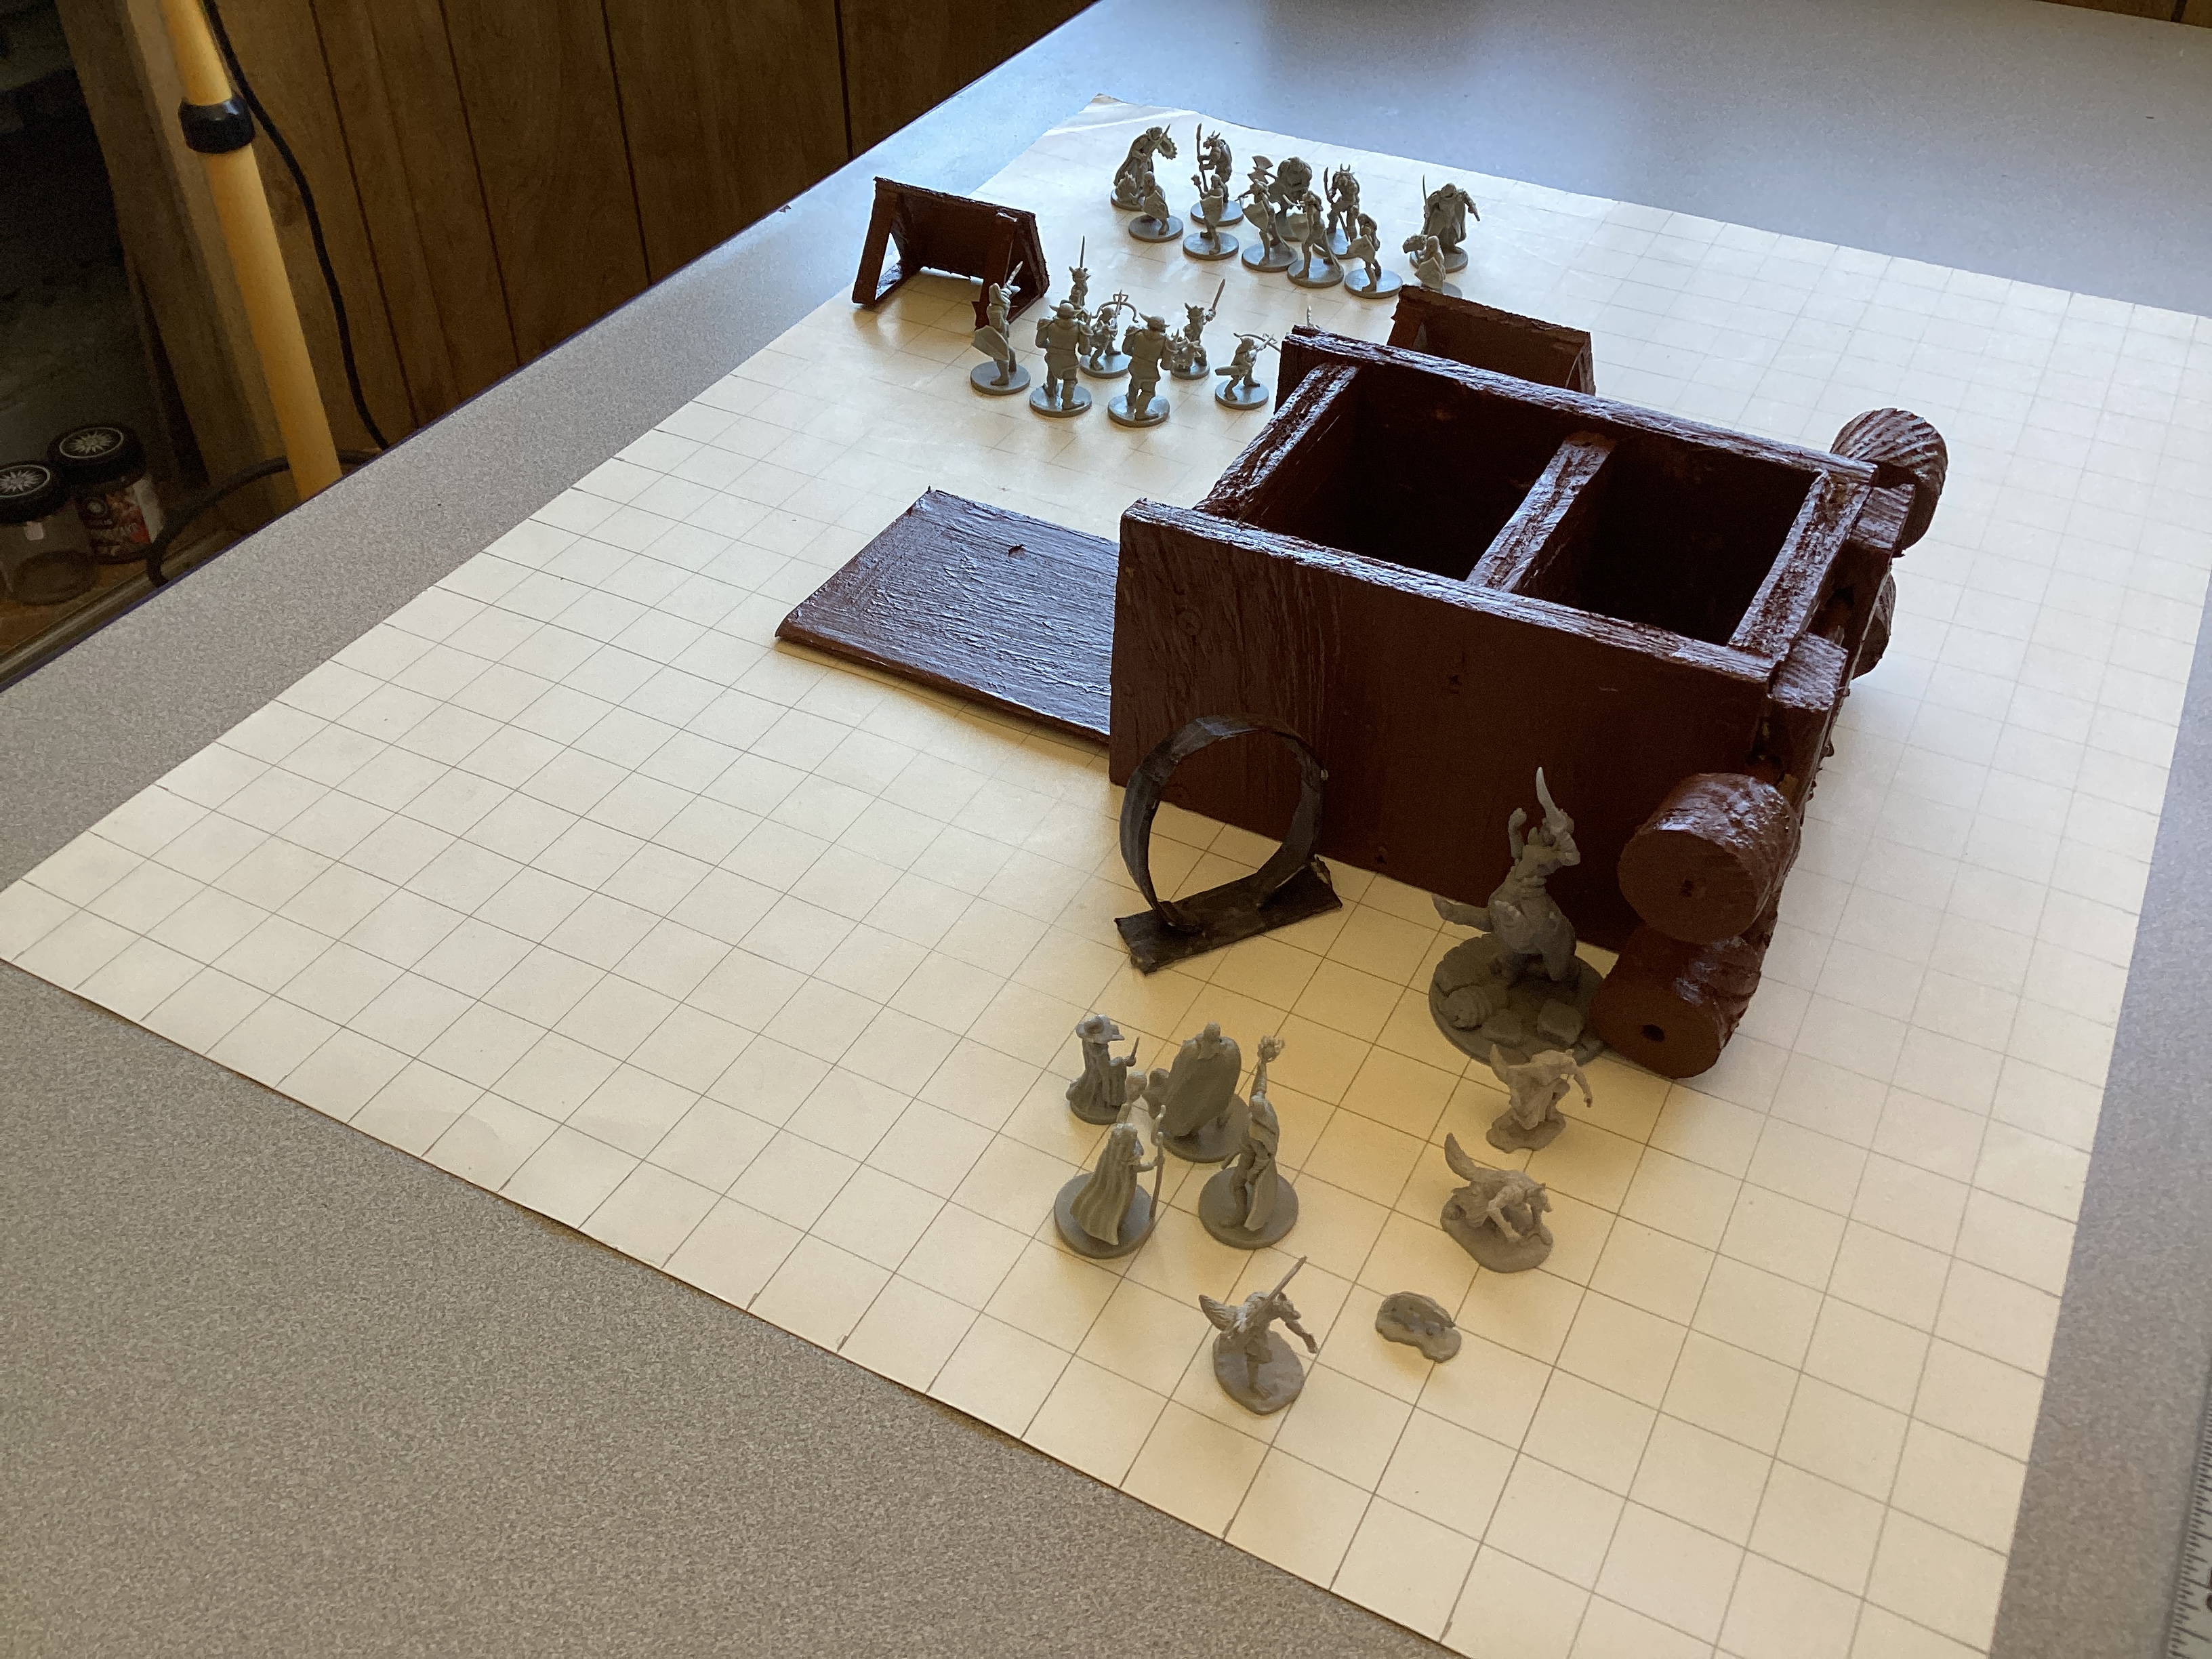
Scenario
Rhael the Fire Giant has brought his two Hill Giants, Rulos and Eclith,
and a thousand goblinoids (including 100 bugbears that he has ordered to guard the Hill Giants), with many mercenaries, siege
towers, catapults, mangonels, trebuchets, ballistas, and other instruments of war, and many, many beasts of burden (mostly camels,
elephants, and giant lizards to ride like horses). He has come to destroy the desert fortress Kahar.
Create your characters, choose your race, pick your class, create your background. You will be set inside the desert
fortress, Kahar, where you will witness the coming invasion and be a part of the defense. Learn your cantrips, receive your
proficiencies, pick your equipment and first level spells and be ready for the enemy attack the fortress.
You have been commanded to appear at the Keep grounds and you stand in a crowd of over 600 people listen to the
Marquess of the Realm of Goldenshield as she stands 65' up on top of the Keep Tower.
Everyone can hear her because she has cast Thamauturgy:
"Soldiers of the Kingdom of Goldenshield! I stand before you this day as your Marquess. I plead with you
to remember your oaths! All of them! For this night, the Paladin King will have need of you! A fire giant
has brought 2 hill giants and over 1000 gobliniods to destroy this fortress! They come every 32 years! I was here
32 years ago with my husband, your Marquis, when the heroes of Kahar arrived and saved the day. This time, my husband is not
with us, and this time I stand alone. So I turn to you, Soldiers of Goldenshield! Will you stand with me and turn back
this goblinoid gang?"
Your response will be drowned out by over 600 voices yelling "Yes!" Cheers and celebration follow. Everyone is
ordered to report to their starting locations.
Possible Starting Points
Braek's Munitions Dump
Whether your backgrounds are combined or not, your low level party is best started at Braek's Munitions Dump under the authority of
The Priest's Brigade, commanded by
Lord Kyrakis Braek. You are a part of the Messenger Core
which supplies the front line troops. Brother
Jaken Voth, an acolyte of Lord Braek, calls each
character by name, assigns each person to a team, and announces that he is in charge. You have been hired as messengers in the coming
conflict and will be paid 2d10 gold pieces a day. Jaken Voth announces he is your superior and you shall call him "Brother
Voth", he is, and will continue to be, a really nice guy who looks out for you. With darkness rapidly approaching, you
are to follow him to Braek's Munitions Dump bringing any and all belongings. He gathers your team and 4
other teams and begins the 20 min walk north. You notice you are in a caravan of many other messenger teams, all
heading north to Braek's Munitions Dump. Once across Armory bridge, he assigns you and the other teams a
cart and horses. Jaken Voth hurriedly gives your party and the other 4 parties a tour of the Munitions Dump,
the warehouses, the sleeping quarters, the factory, and the Mansion. The only places you are not shown are the upper
levels of Braek's Mansion. Under the authority of Jaken Voth, your party is given access to arms, shields, bows and
arrows, crossbows and bolts, and other munitions. The warehouses are also filled with rations, beer, healing kits,
and fire suppresion equipment. Every house and every warehouse is equipped defensively so that they can be
locked up tight with barred and sealed windows, flat roofs with crenellated edges make them easily defendable, and
adobe brick construction makes them relatively fire proof. Braek's Munition's Dump is a good place to hole up.
Other starting points
The Towers or the Walls
A restriction on PCs that want to be part of the defense of any of the walls or towers of Kahar is that you will have to
be part of the military of Goldenshield. That means assigning rank, housing, and responsibilities as to where you are
assigned. Furthermore, a system of communication amoung the soldiers will need to be worked out so that they can
identify themselves and recognize legitimate claims of rank without falling prey to the trickery and chacanery of the enemy.
Outside the fortress
If you choose to begin beyond the walls of the fortress Kahar, there will be no seperation from high level enemies
and chances of survival decrease rapidly. At least inside the fortress, it is entirely believable to introduce
enemies by level and increase as you increase.
The Adventure Begins
As messengers
The party is given their first order from Jaken Voth: load one barrel of rations, one barrel of beer, 2 barrels of arrows,
5 crossbows, 5 swords, and 5 shields. You must take the load to the front gate and report to
Corporal Weaver from Tower 9 who will direct you where to unload.
Finally, hurry back to the Munitions Dump to reload for the next delivery.
It is up to you whether or not you take your
horse and wagon off the road or stay on the road, but whichever you choose, on the way, the enemy is flinging some wierd type of
debris into the fortress. The very next thing that happens is that bodies coming flying out of the air and land near you.
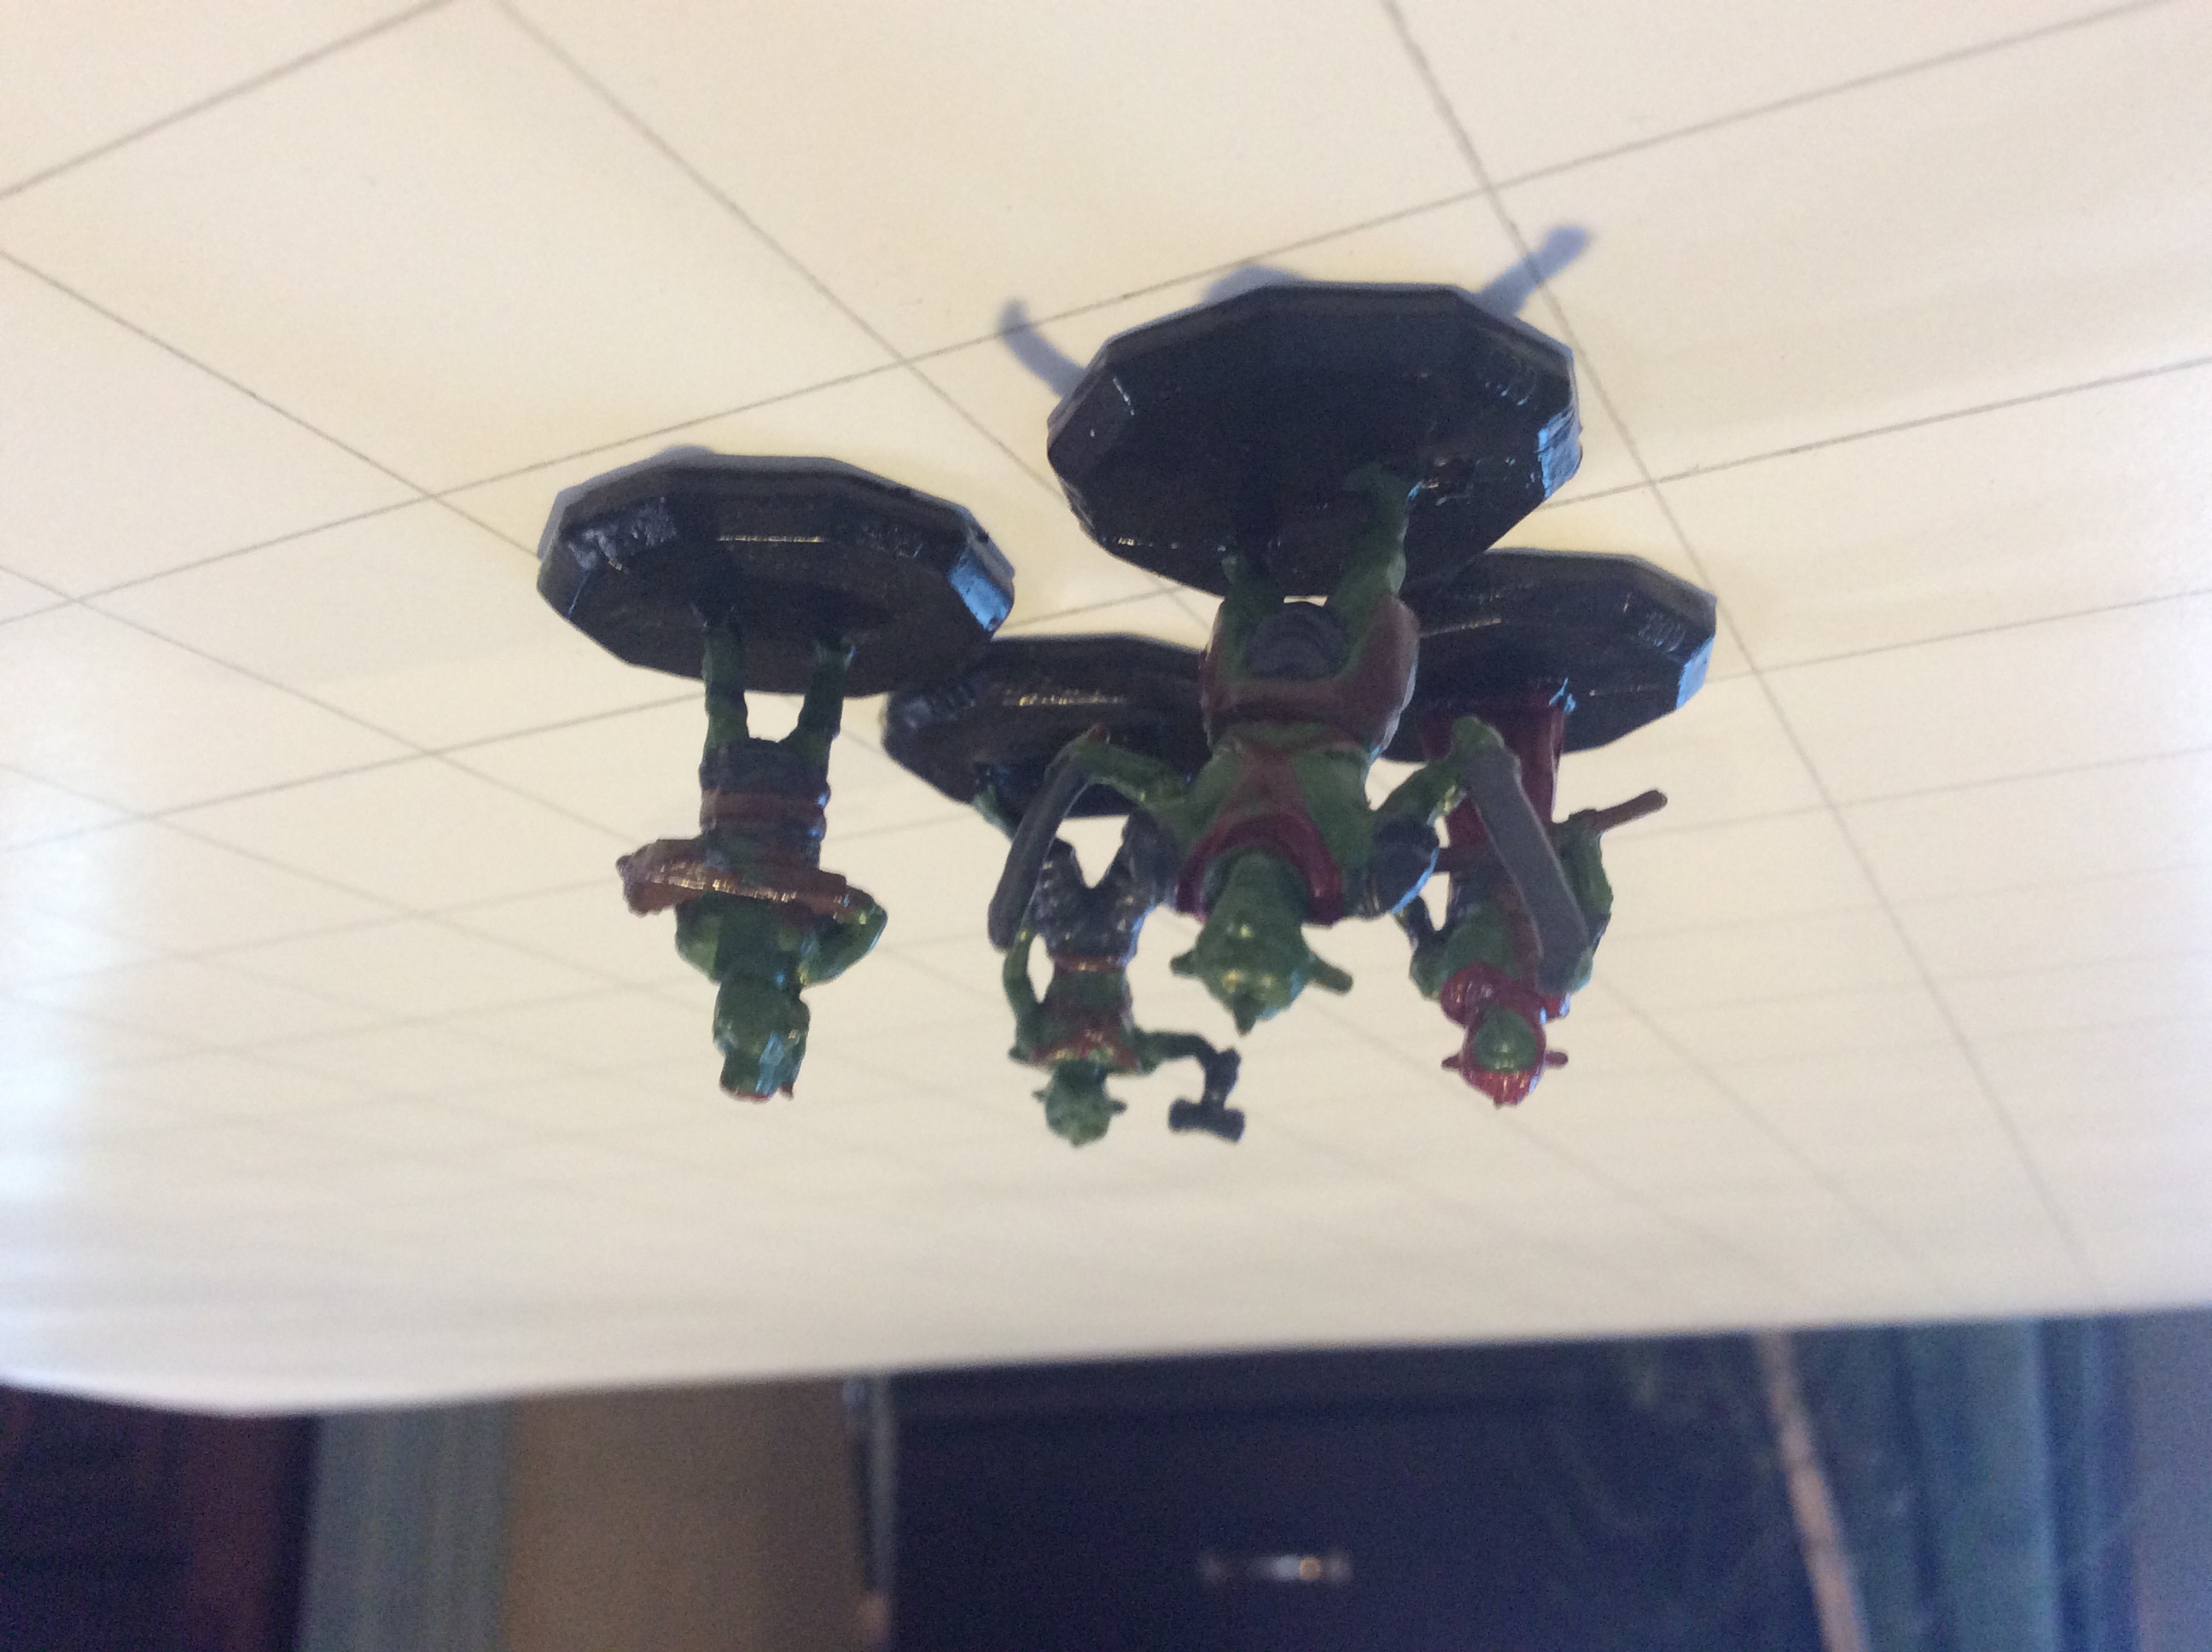
There are 1d4
goblin zombies and 3
crawling hands, as good a
challenge as any for low level characters. Fight or flee, but make sure you deliver those supplies!
As Soldiers
The enemy will attack all walls and towers by scaling up with rope and hooks, ladders, and
other scaling equipent, including siege towers and other instruments of war. The enemy is composed of hobgoblin commanders
driving smaller goblins ahead of them. There will also be numerous mercenaries of various races and classes that are in
league with the enemy, and not all of them look openly evil. Unless you start off at 3rd level, you might be hard pressed
to survive the initial attack.
Outside the Fortress
The enemy has been in the land for a number of weeks and
has already been attacking any settlements, hideouts, hamlets, villages, etc. that are outside the walls of Kahar.
If you are outside the walls, you are in extreme danger of meeting up with any number of powerful enemies.. This is not
recommended as a starting point for low level characters.
Longest Day Encounters
The enemy is still trapped outside the gates but if the PCs are running around inside the fortress or even performing their
assigned duties they are likely to encounter others wandering inside the fortress. If a group of adventurers accepts 20 gold
pieces from Jaken Voth to move 2 balistas and several barrels of ammunition, then for every quarter of an hour the PCs travel, use
the following table to see who the PCs meet:
The latest news that they will tell the PCs is that the enemy has entered the south part of the fortress. Undead
creatures and goblins are inside The Royal Triangle. Everyone should be careful.
a. Portal of the Undead
While the day lasts, bright Light will illuminate everything even most indoor places. But when the desert sun
sinks below the western desert mountains and the enemy breaks camp, light slowly begins to fade to darkness. As it
continues to get darker, the siege of the fortress Kahar begins. The long night begins with the trenches and mounds
that the goblinoids make in front of the Front Gate House. It continues as artllery from the fortress tries to hamper
the efforts of their enemies but to no avail. The trenches and mounds get closer and closer. The long night
progresses until the mounds and trenches are finally within attack range. The Fire Giant calls to his ogres to push out
the huge siege towers and four of them come lumbering toward the front gate like monsters.
A siege tower, nearly 50' high is destroyed by
long range enemy artillery, and the lamia, secretly wandering the battlefield, raises these dead goblins as the first of her undead army.
She gathers claws, moving arms, biting heads, kicking legs, and a few dozen undead goblins together behind the fallen siege tower.
Khalista uses her ability to scry and locates the traitors inside the fortress of Kahar. She uses her familiar
to communicate her location. Inside the fortress of Kahar, the traitors, priests and magicians cajoled into serving Khalista, having
to call her the Queen of the Desert and carrying a great and secret prize, get as close as they dare to the interior wall of Kahar
until they are only 500' away from Khalista outside the wall. One of the traitors reads an Arcane Gate spell scroll and a portal opens
between them and Khalista. Khalista sends the undead into the fortress through the portal. The undead rush to attack the defenders
of Kahar. The traitors rush through the portal to meet Khalista and deliver the great prize.

If PC's start the game here, there are a couple of possible ways. The best is if they have been dupped by the servants
of Khalista posing as commanding soldiers or leaders of Kahar. They meet with the PCs and assign them to their detail.
Thier assignment will be to meet the Three Magicians near the walls of Tower 1. Since many of the traitors are high
ranking Lords and Ladies it will be easy to role play and hide the fact that they are traitors. At least, until the
undead (2d12) come rushing through the portal, and even then, lies and deciet are always only a die roll away. The PCs will
meet and be under the command of The Three Wizards: Azabine the conjurer, Oztirix the Abjurer, and Nuro the Transmuter, who are
each well known to everyone in the fortress as servants of Lord Lallennos Kisherite, Chancellor of the Realm. They assure
the PCs that their mission is of both utmost importance and upmost secrecy. It becomes apparent very quickly that both Azabine
and Oztirix are superior to Nuro. Each member of the party will be ordered to carry multiple backpacks full of scrolls and papers,
and at least two of them will be expected to carry a stone table. They will be expected to follow the The Three Wizards into the portal.
Another way I have gone is to allow the PCs to be on the villians side and be attacking the fortress and defenders of Kahar.
They will be on the outlet side, most likely under a geas spell from one of Khalista's servants, and will be ordered to go with
the Three Wizards into the Sapper Hole after they appear out of the portal.
Portal of the Undead Encounters
This encounter is deadly.
The opening of the portal, inside the fortress of Kahar, 120' northwest of Tower 1, is right up next to the inside of the wall.
At this portal opening, inside the fortress, are Three Wizards, CR 9, CR 9, and CR 5. Protecting the wizards are (1d6) veterans (CR 3)
and (1d6) knights (CR 3). At the other portal opening, behind a fallen siege tower, with Khalista, 220' south of Tower 9, are her three
necromantic servants. More importantly, Khalista has raised 8 undead hobgoblins, 24 undead goblins, 12 claws, and 8 biting goblin
heads. Though not all of them died when the siege tower fell, she has turned them into her undead slaves. Khalista will
command these zombies to enter the portal from her side and exit the portal inside the fortress. It will take the zombies a minute
but then they will appear inside the fortress ready to attack the defenders. The PCs could be in real troulbe, but there will be
many squads of soldiers running about doing this or that, and they might (or might not) be able to help the PCs. So if the PCs
keep their heads and respond to the General Retreat call, they should be ok.
The Arcane Gate west of Tower 1
To the southeast is the Front Gate House but the light is so dim and the air is so smokey, that you can barely see the west officer
barracks only 30' away from you. Directly ahead of you, next to the 30' high, 10' thick wall, is a glowing ring that is a circular portal nearly 10'
in diameter. From the portal come crawling out several severed hands of goblins, plodding about like small spiders seeking prey to
kill. Following the crawling claws, the short but viscious zombie goblins come the lumbering out. Finally, zombie hobgoblins,
lope out from the portal following the zombie goblins. Almost 40 of them come attacking in their slow, hulking, stumbling way.
You hear the trumpets sound the General Retreat. You hear a Sergeant's voice call out, "Retreat to the Keep! Retreat to the Keep!".
If you go now, archers and crossbow men will cover your retreat.
Mage Servants
Fires rage to the southeast. A dim light comes from the Arcane Gate far ahead of you, and patroling around it are
Mage Servants. Traveling in groups, they will use their cunning and their magical abilities to overcome any hindrances, impediments,
or complications. Apprentices to masters of various schools, they can defeat many opponents not only with specific speciality of
spells, but also with their great numbers. Tread softly if you confront these masters of arcane skills.
Goblin Zombies
You do your best to make your way through the darkness but moving bodies make the trip dangerous.
From the darkness, enemies approach, not hidden, not ambushing, but stumbling along, barely discernable in the dark, slow
and ponderous they attack. As the enemy enters the light, you recognize them for what they are: zombies!
Walking dead come to rend, rip, and tear the living apart! Goblin zombies and hobgoblin zombies and other nasty things
made into zombies attack your party at the unfair 3 to 1 odds. Draw your swords! Use your magic!
Save yourselves and your horse and cart if you can!
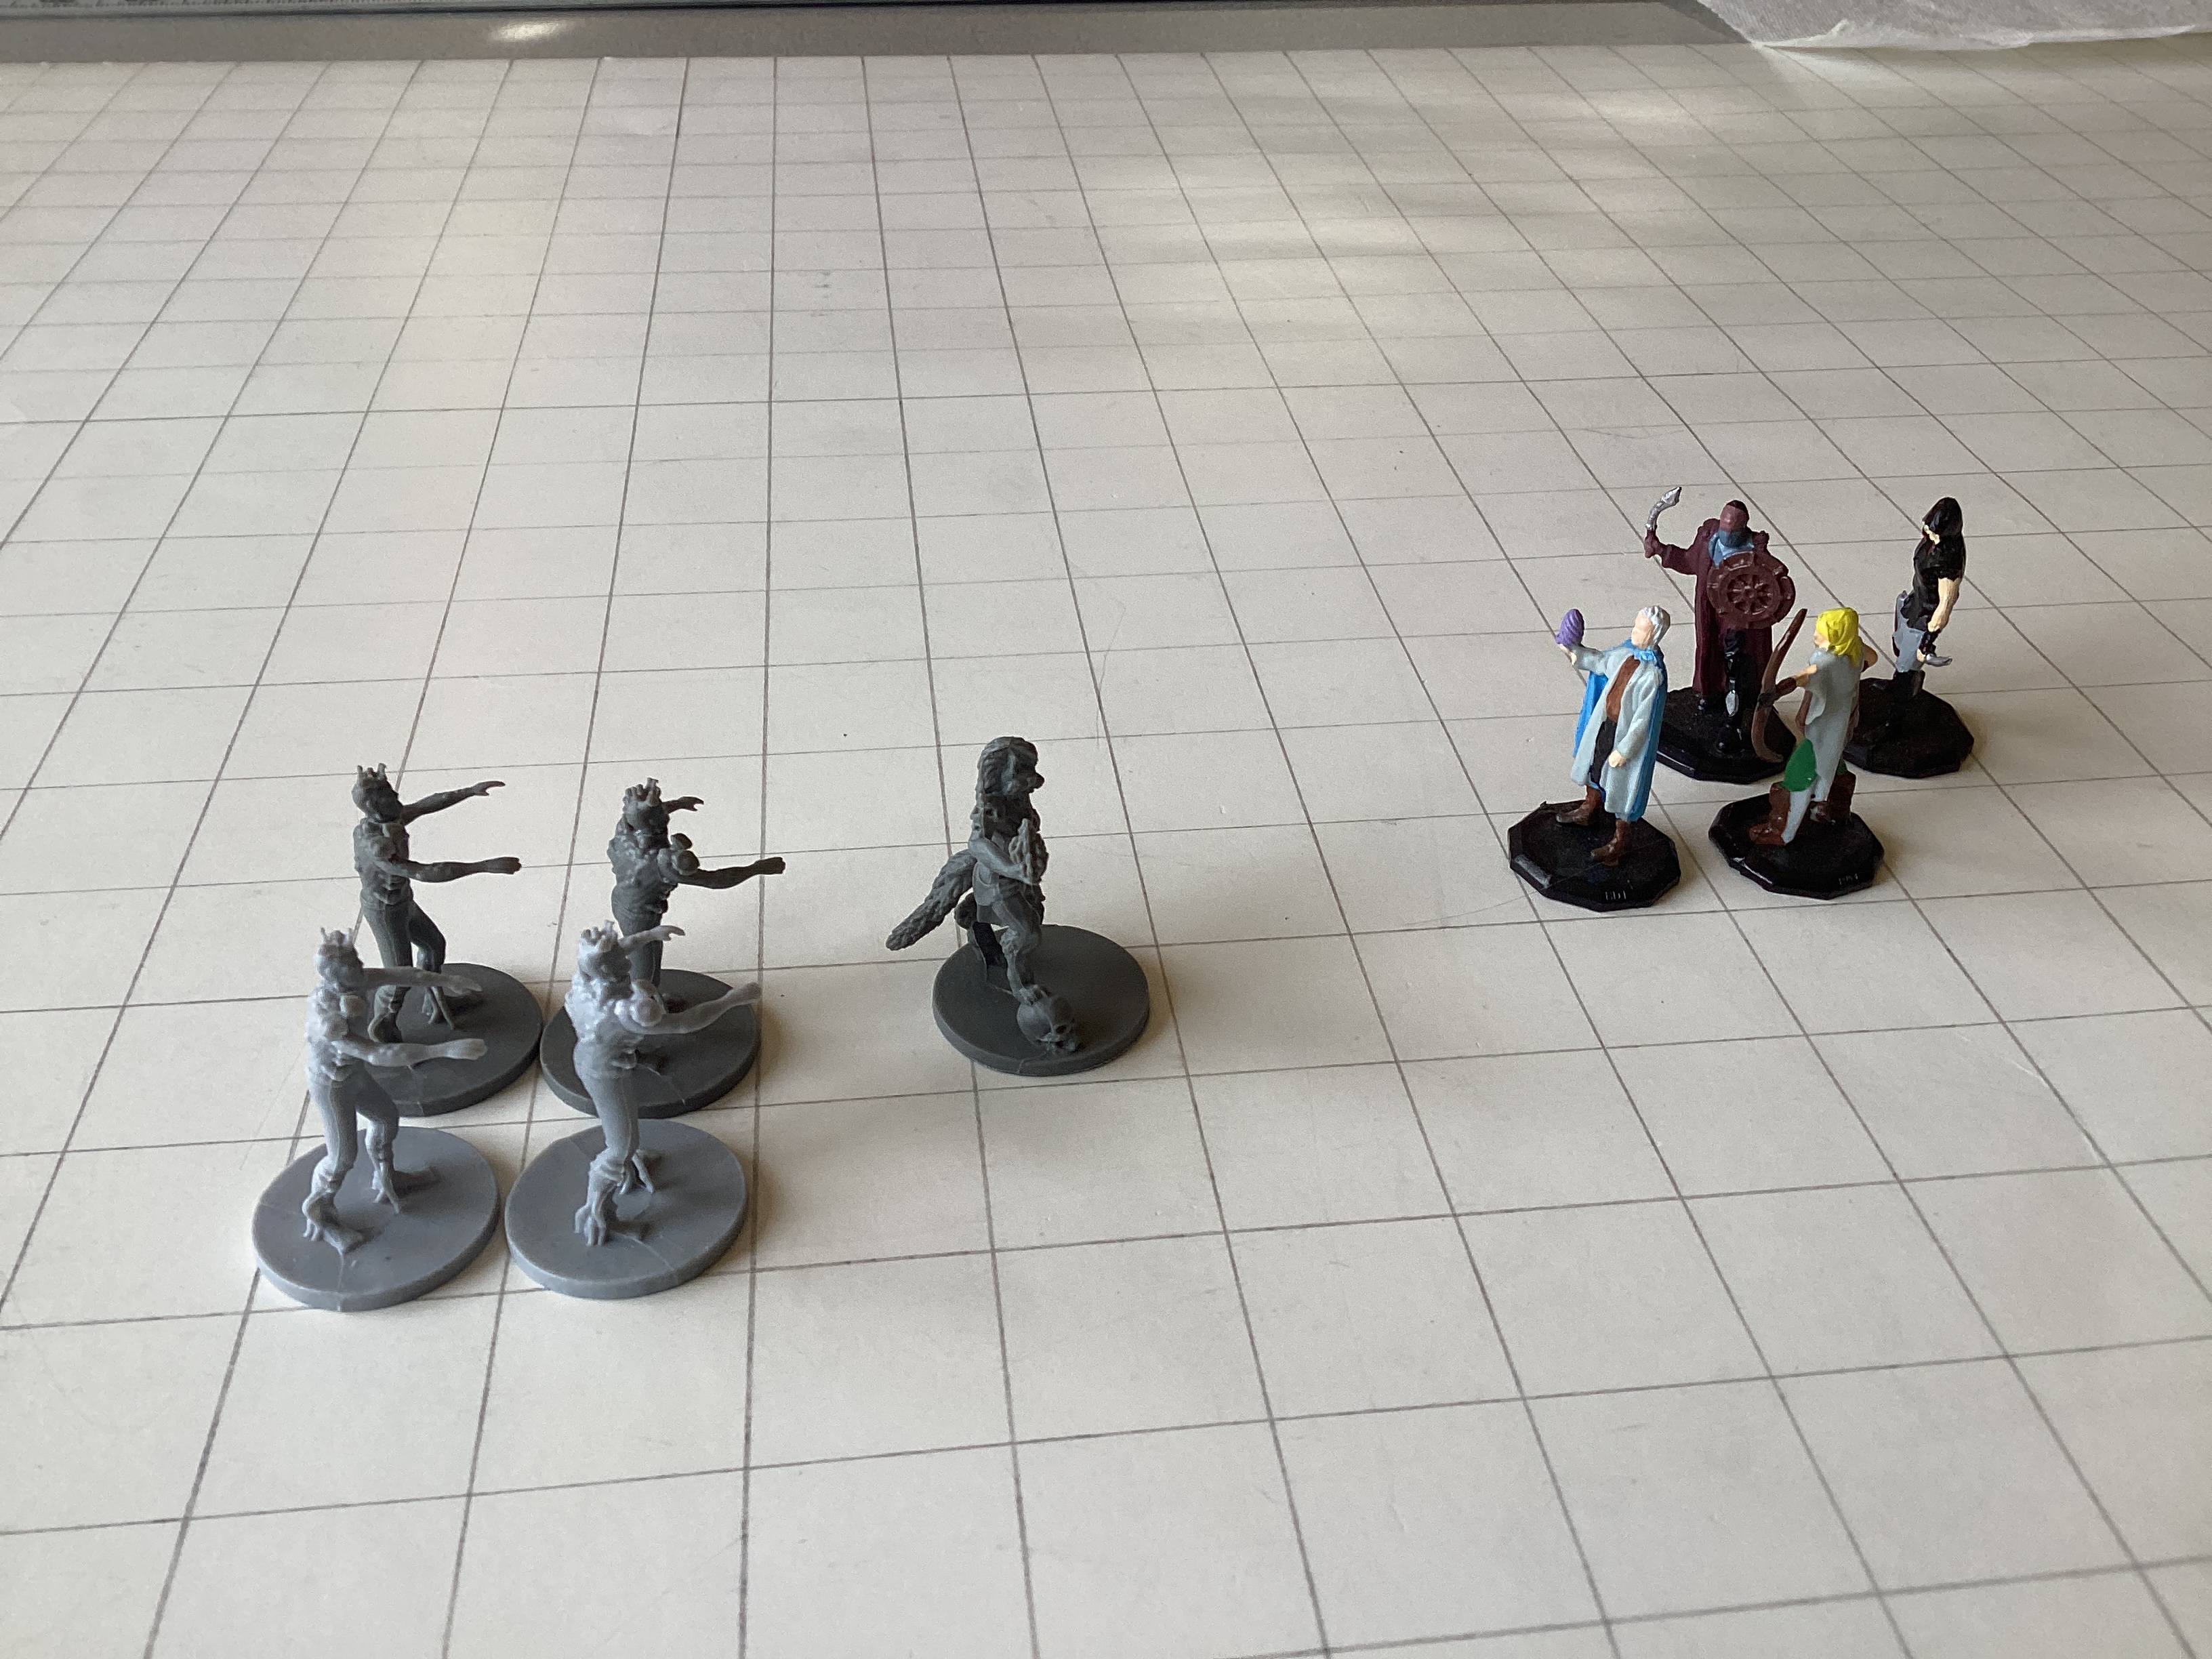
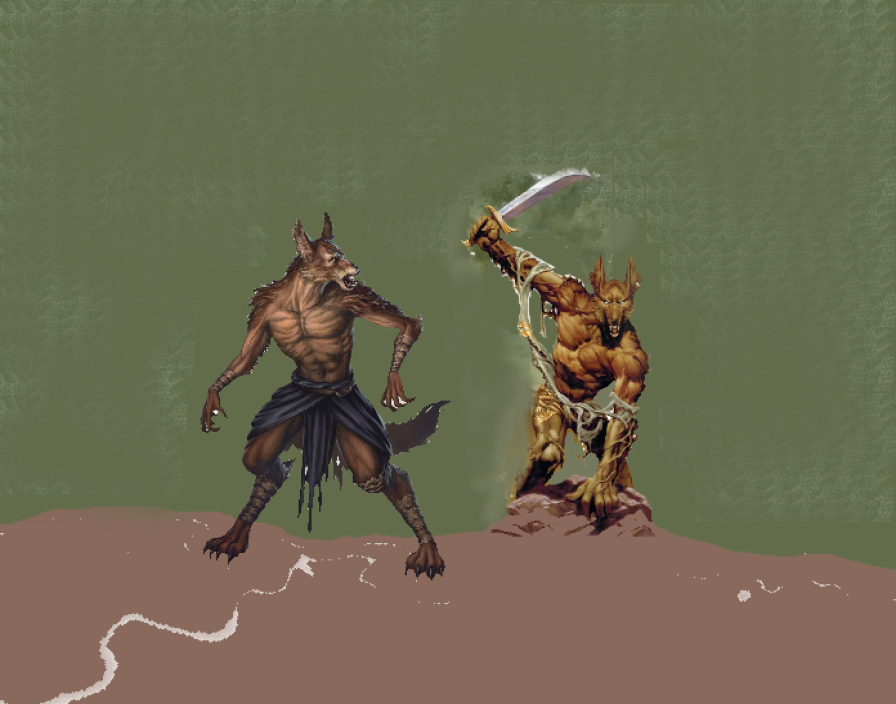
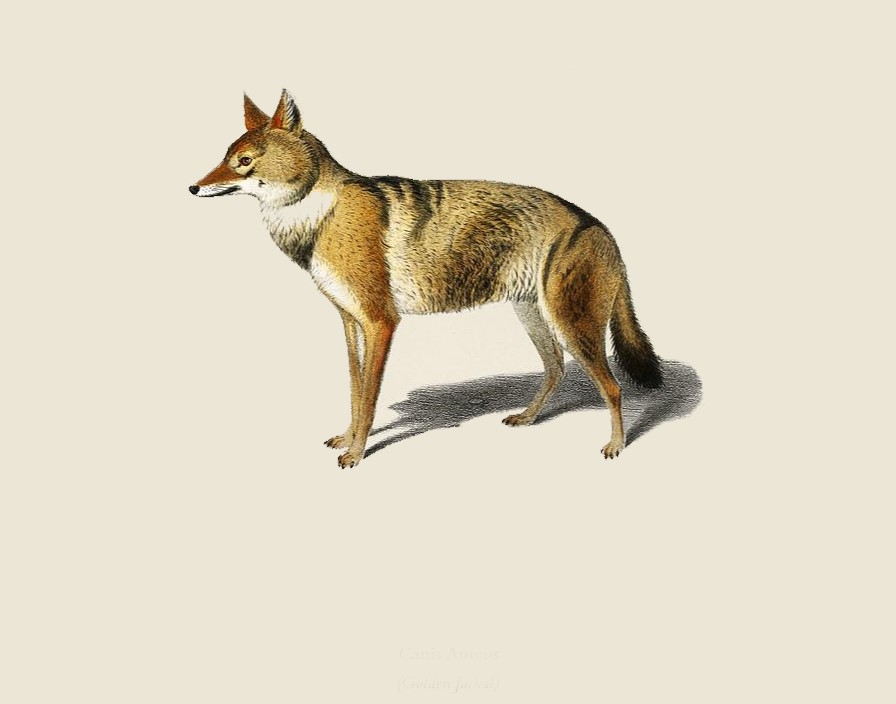
Jackalweres
Yipping and barking, several hundred jackals crowd the area around the Arcane gate. Without warning, some of the jackals
tranform before your eyes into upright creatures taller than men and with the huge head of a jackal, especially the teeth
and jaws. Their long arms and legs end in claws as sharp as knives, and thier bodies are covered in jackal fur. Worse,
they have the abilitity to cast a look at their opponents and force them into a deep sleep. Using this sleep gaze, they capture
many opponents without fighting and turn them into slaves. Even more worse, thier skin is nearly impenatrable by all
normal weapons. Even with these advantages, these evil creatures will always keep the odds their way, attacking only
when they out number their opponents 7 to 1. If they judge their opponents weak, they might settle for 3 to 1, but in both
cases, a call for reinforcements is sent out long before they engage. It might be best for you and your party to flee!
Charmed but Powerful Hero NPCs
Far ahead in the darkness, visible in the redish glow of the flames, three figures guard the Arcane Gate. Courage grips
you and your companions and you inch your way closer, keeping out of sight in the darkness. Sudden recognition hits you and you
know these three figures are Lieutenants, Sergeants, and Corporals but before you can call out or contact them you hear them clearly
that they serve the enemy, the Queen of the Desert. Lisening further you can discern that they have been coverted, manipulated,
charmed into serving your enemy. Knowing who they are and what their abilities are, you and your companions now doubt that you
can overcome them, and even if you could, do you truly want to harm these heroes of Kahar? It might be best for you and your party
to flee back to the east and seek for help.
| d4 | Encounter at The Portal of the Undead |
|---|
| 1 | 7(2d6) Mage Servants patroling the area |
| 2 | 14(4d6) Goblin Zombies on their way to attack Goldenshield soldiers |
| 3 | 21(4d10 - 1) Jackelweres securing the area |
| 4 | Charmed but powerful hero NPCs securing the area for Khalista |
b. The Fall of the Front Gate
The Front Gate House
The Front Gate of Kahar is the south entrance to the fortress. Two 45' tall stone towers, each 30' in diameter, flank
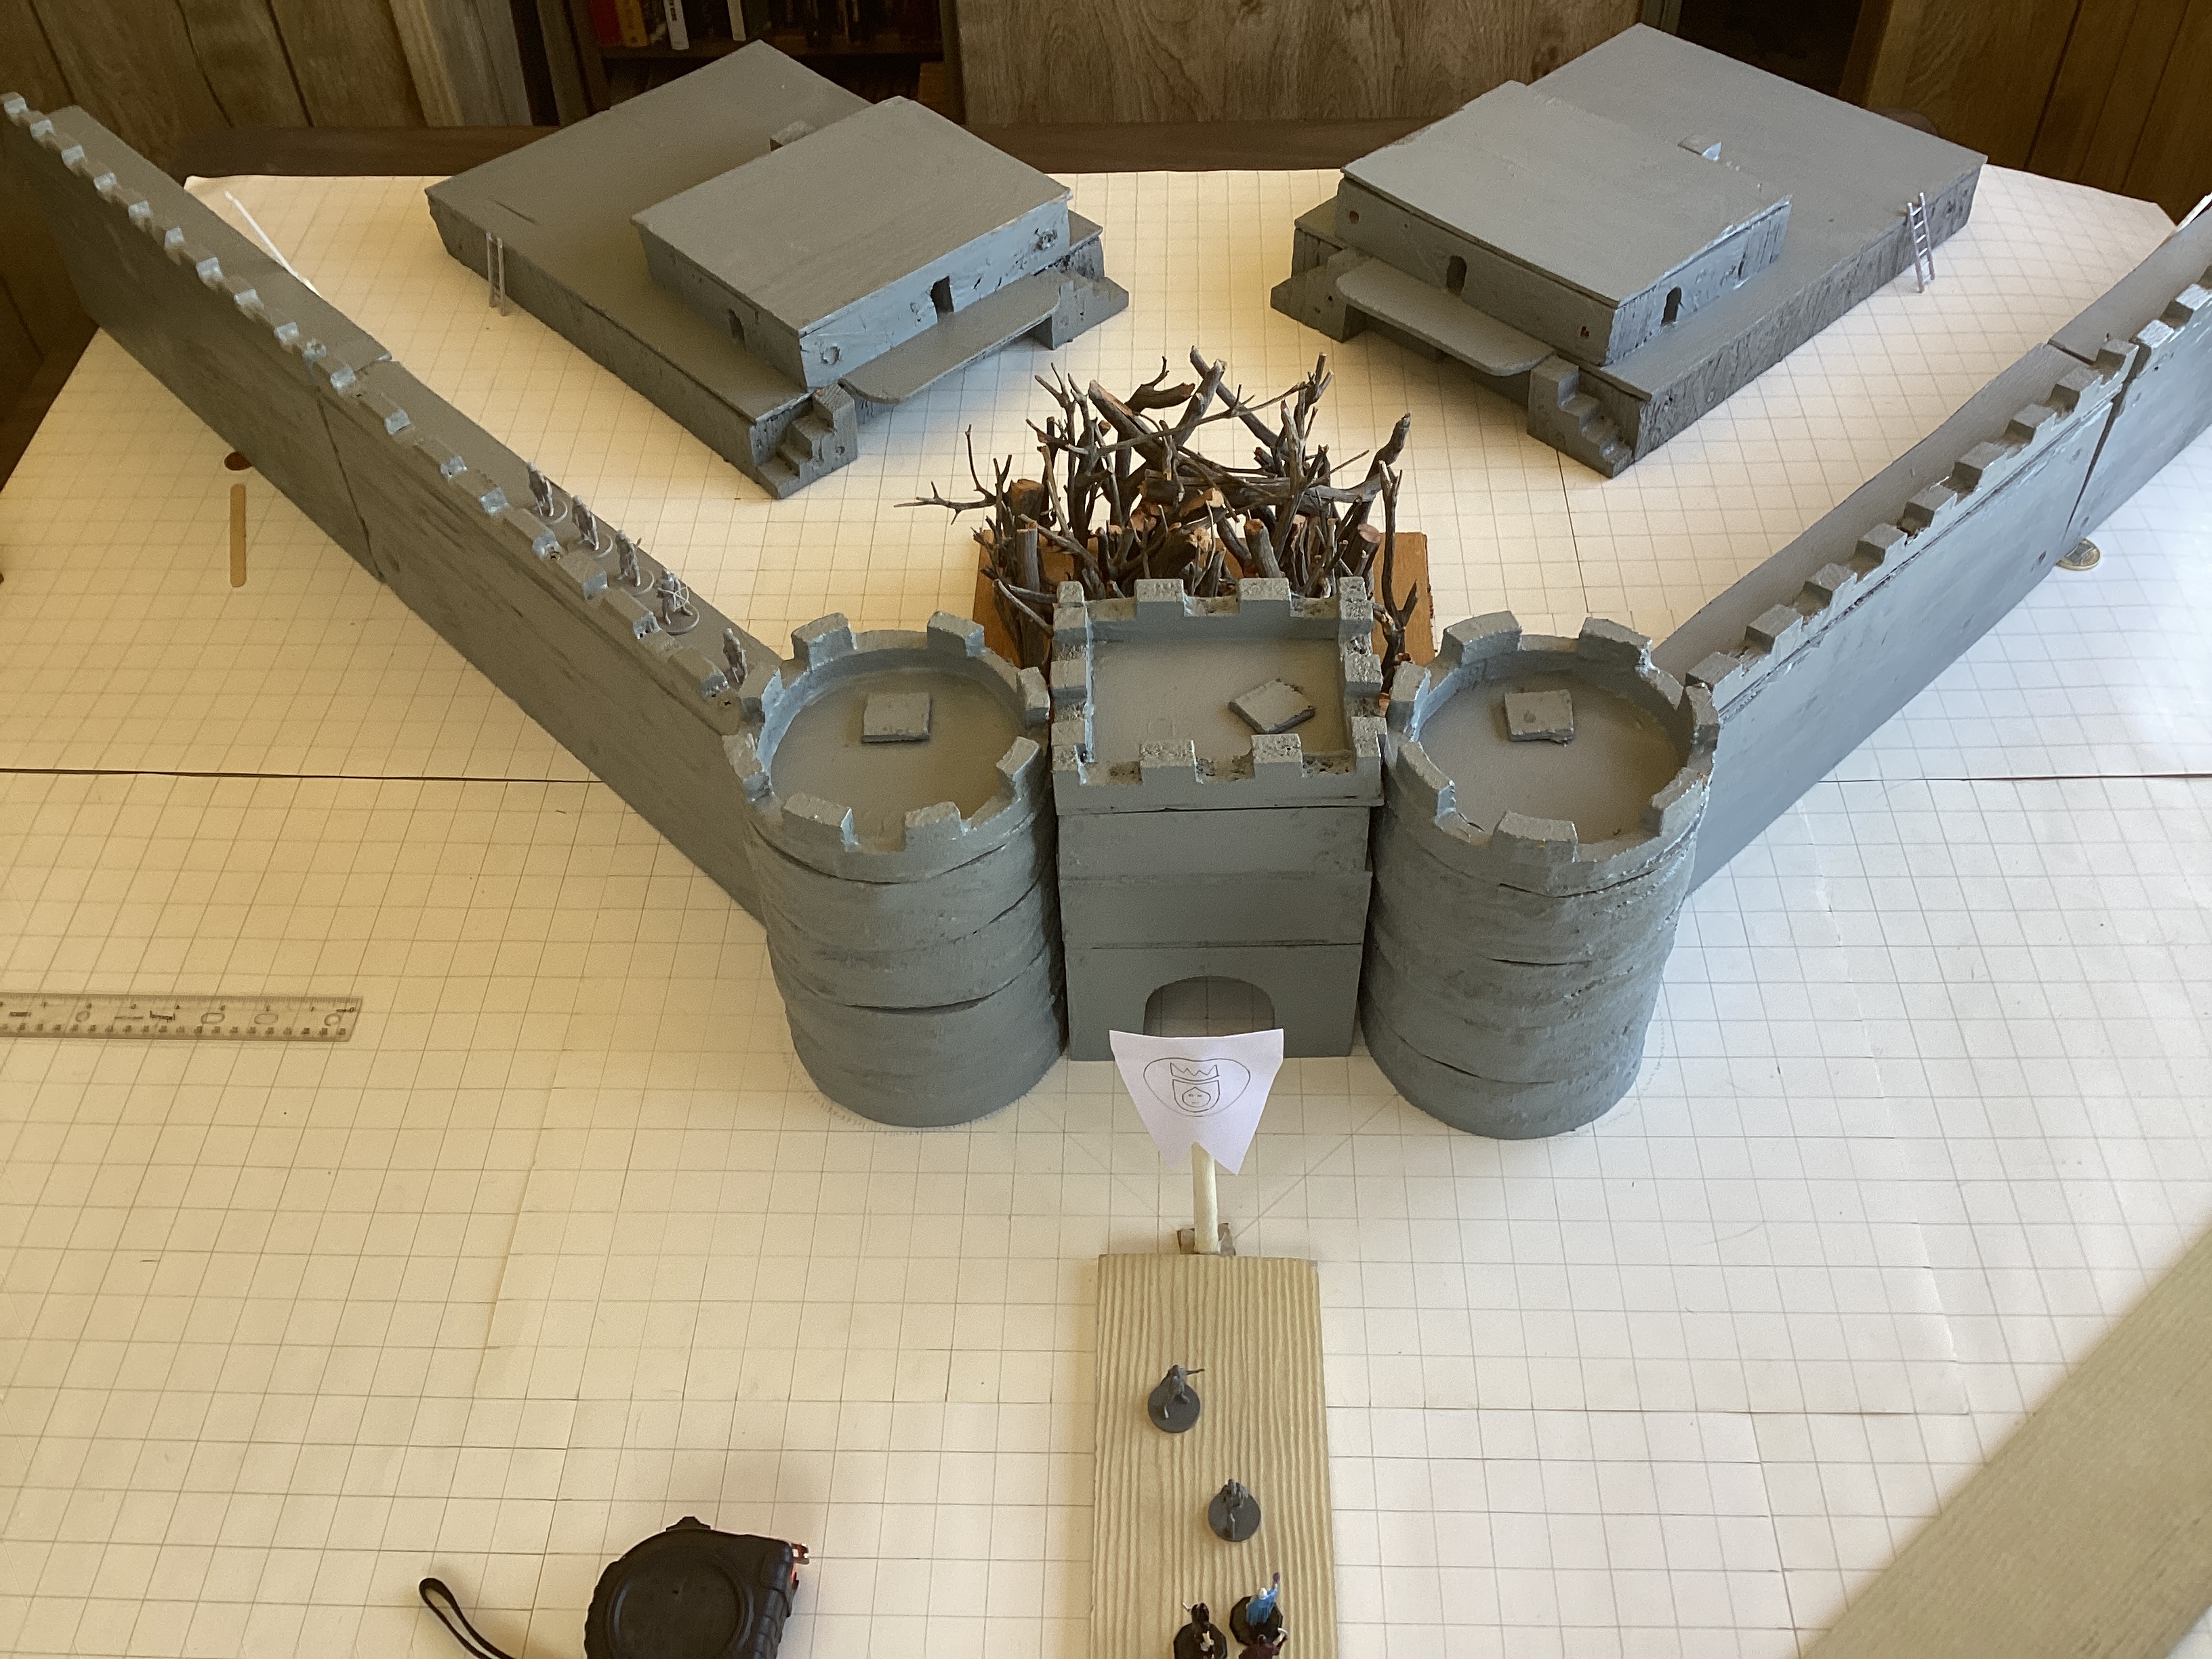
a 45' tall gate house, 30' wide and 25' deep, equiped with two portcullises. Each tower is made of 4' thick brick, magically charmed
and protected. Each tower has a wooden floor every 10', making 4 rooms each, accessible by ladders through floor and roof hatches.
Two sets of bunk beds make it possible to house 4 soldiers per floor, so that each tower is the perfect barracks for 16 soldiers.
The Front Gate House, inbetween the 2 towers, has 2 portcullises, one at the entrance and one at the exit. 20 feet above the ground
is the guard chamber, capable of housing 4 soldiers to operate the portcullises. Above the guard chamber, is the portcullis machinery
room, dominated by wheels, and gears, and huge iron chains. And above this room is the roof, guarded by a 2'thick x 3' high machiolated
parapet. Each floor of the Front Gate House is accesible by a ladder and floor and roof hatches. The
walls of Kahar
go off both east and west from either tower at 45 degree angles. The walls of Kahar are 30' high and 12' thick, and
boast a 2' thick x 3' high parapet with machiolations for protection and attack. Behind the Front Gate House are the Officer Quaters,
one for each tower. These building house both NCO's and officers. Inbetween those two buildings is a 60' x 60' copse of trees,
the black locust thicket with a tunnel under the trees.
The Attack
As the sun sets, Rhael the fire giant splits his gang in two. To assault the front gate, he keeps 3/5 of the goblinoid
forces and he sends the other 2/5 to assault the Rear Gate. Out of twelve siege towers, 1 is destroyed by long range
enemy artillery, and, therefore, only 11 are able to attack. Of the remaining siege towers, 4 are set behind
catapults where they are safe, while the other 7 are sent with 400 goblinoids to assault the Rear Gate. Rhael
orders mantlet and trench teams to make mounds and tunnels all over the land in front of the fortress. 14 1/2 hours later
his gang of goblinoids commands the battlefileds and are able to come within attacking distance of the Front Gate House.
Rheal orders the giant ogres to push the 4 siege towers forward and all goblins are ordered to attack the Front Gate.
In the span of 3 1/2 hours, Rhael the fire Giant has his forces attack Tower 1, Tower 9, and the Front Gate House.
Rhael's goblinoid forces will lose three siege towers and over 100 goblinoid soldiers will be killed and over 260 wounded.
Tower 2 is destroyed by treachery and when word reaches Rhael, he orders the goblins into the fortress through that route.
Tower 9 falls in on itself, spews out smoke, fire, and ash, just like a volcano, and a river of lava runs out north
all the way too Surgebuilt lake. Rhael jumps into the fire and enters the fortress. After healing in the fire,
Rhael is seperated from his goblinoid forces, so he stays on the river of lava and follows it, diverting it so that it flows into
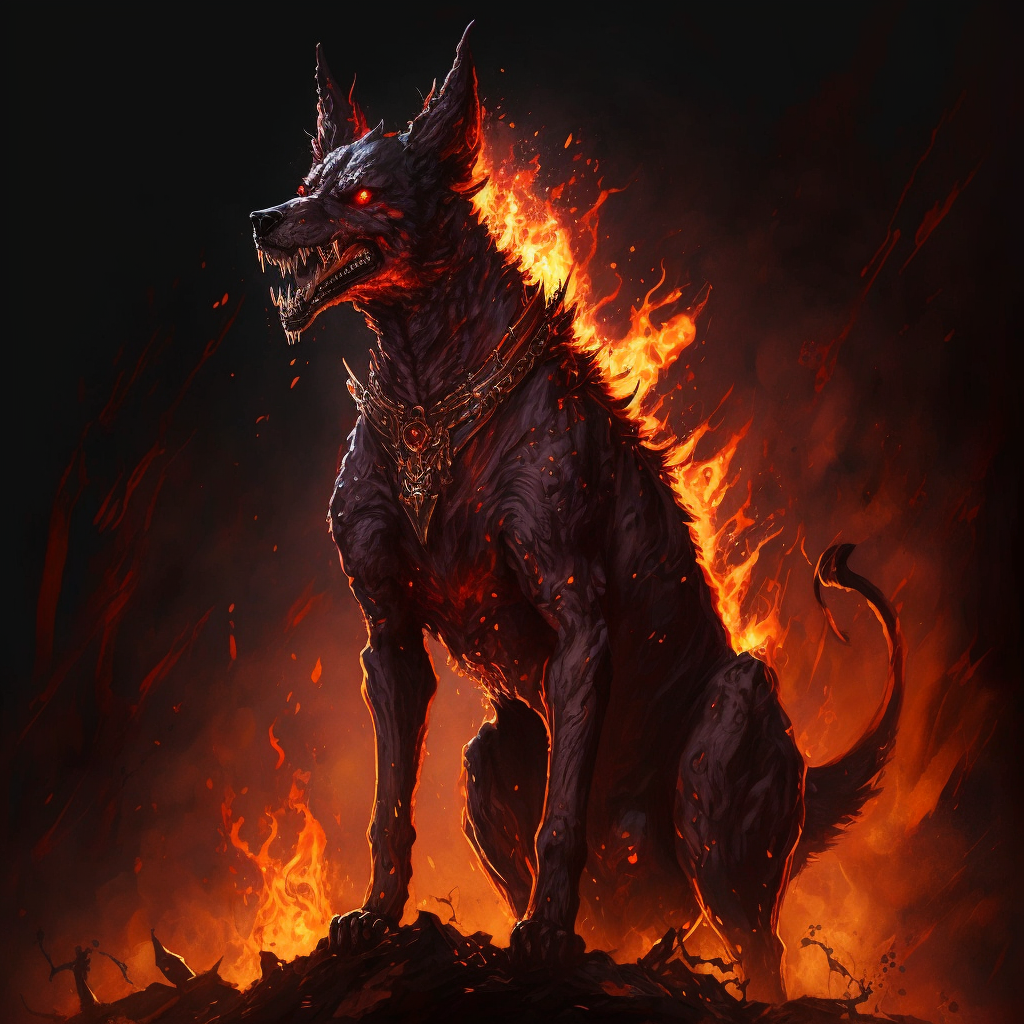
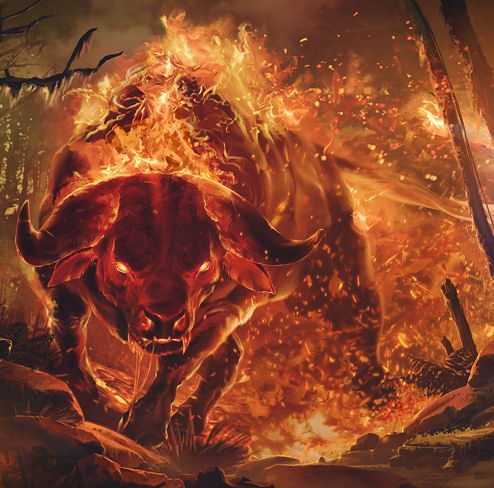
the The King's Church. Rhael is not alone but has with him 4 fire elemental body guards, 4 packs of hell hounds, and 4 fire gorgans
that pull his chariot. They stay on or near the lava and thus even their most viscous foes cannot get to them. A group
of jackalweres reveal themselves when they assault the Library and
the Keep.
From here on out, anyone in any of the hamlets or inside the fortress, can and will
be under attack by goblins, hobgoblins, or worse.
Of course, not including the hobgoblin commanders, bugbear hill
giant bodyguards, and countless goblins, and only counting the Fire Giant and his two Hill Giants, this place is a deadly encounter
to any lower level PCs, even for a level 9 party of 4 this is still a deadly encounter, so the DM should lead any PCs that happen
to be hanging around the Front Gate away from this area by having NPCs in command direct them.
When Rhael begins,
the Sun has just gone down, so bright light gives way to dim light in the course of forty minutes, dim light will linger another
forty minutes getting darker and darker until nightfall is complete and darkness covers everything. When Rheal enters
the fortress, the sun rises but Tower 9 belches out smoke, ash, flame, and embers like a volcano, and this stream of foulness
litters the desert morning air.
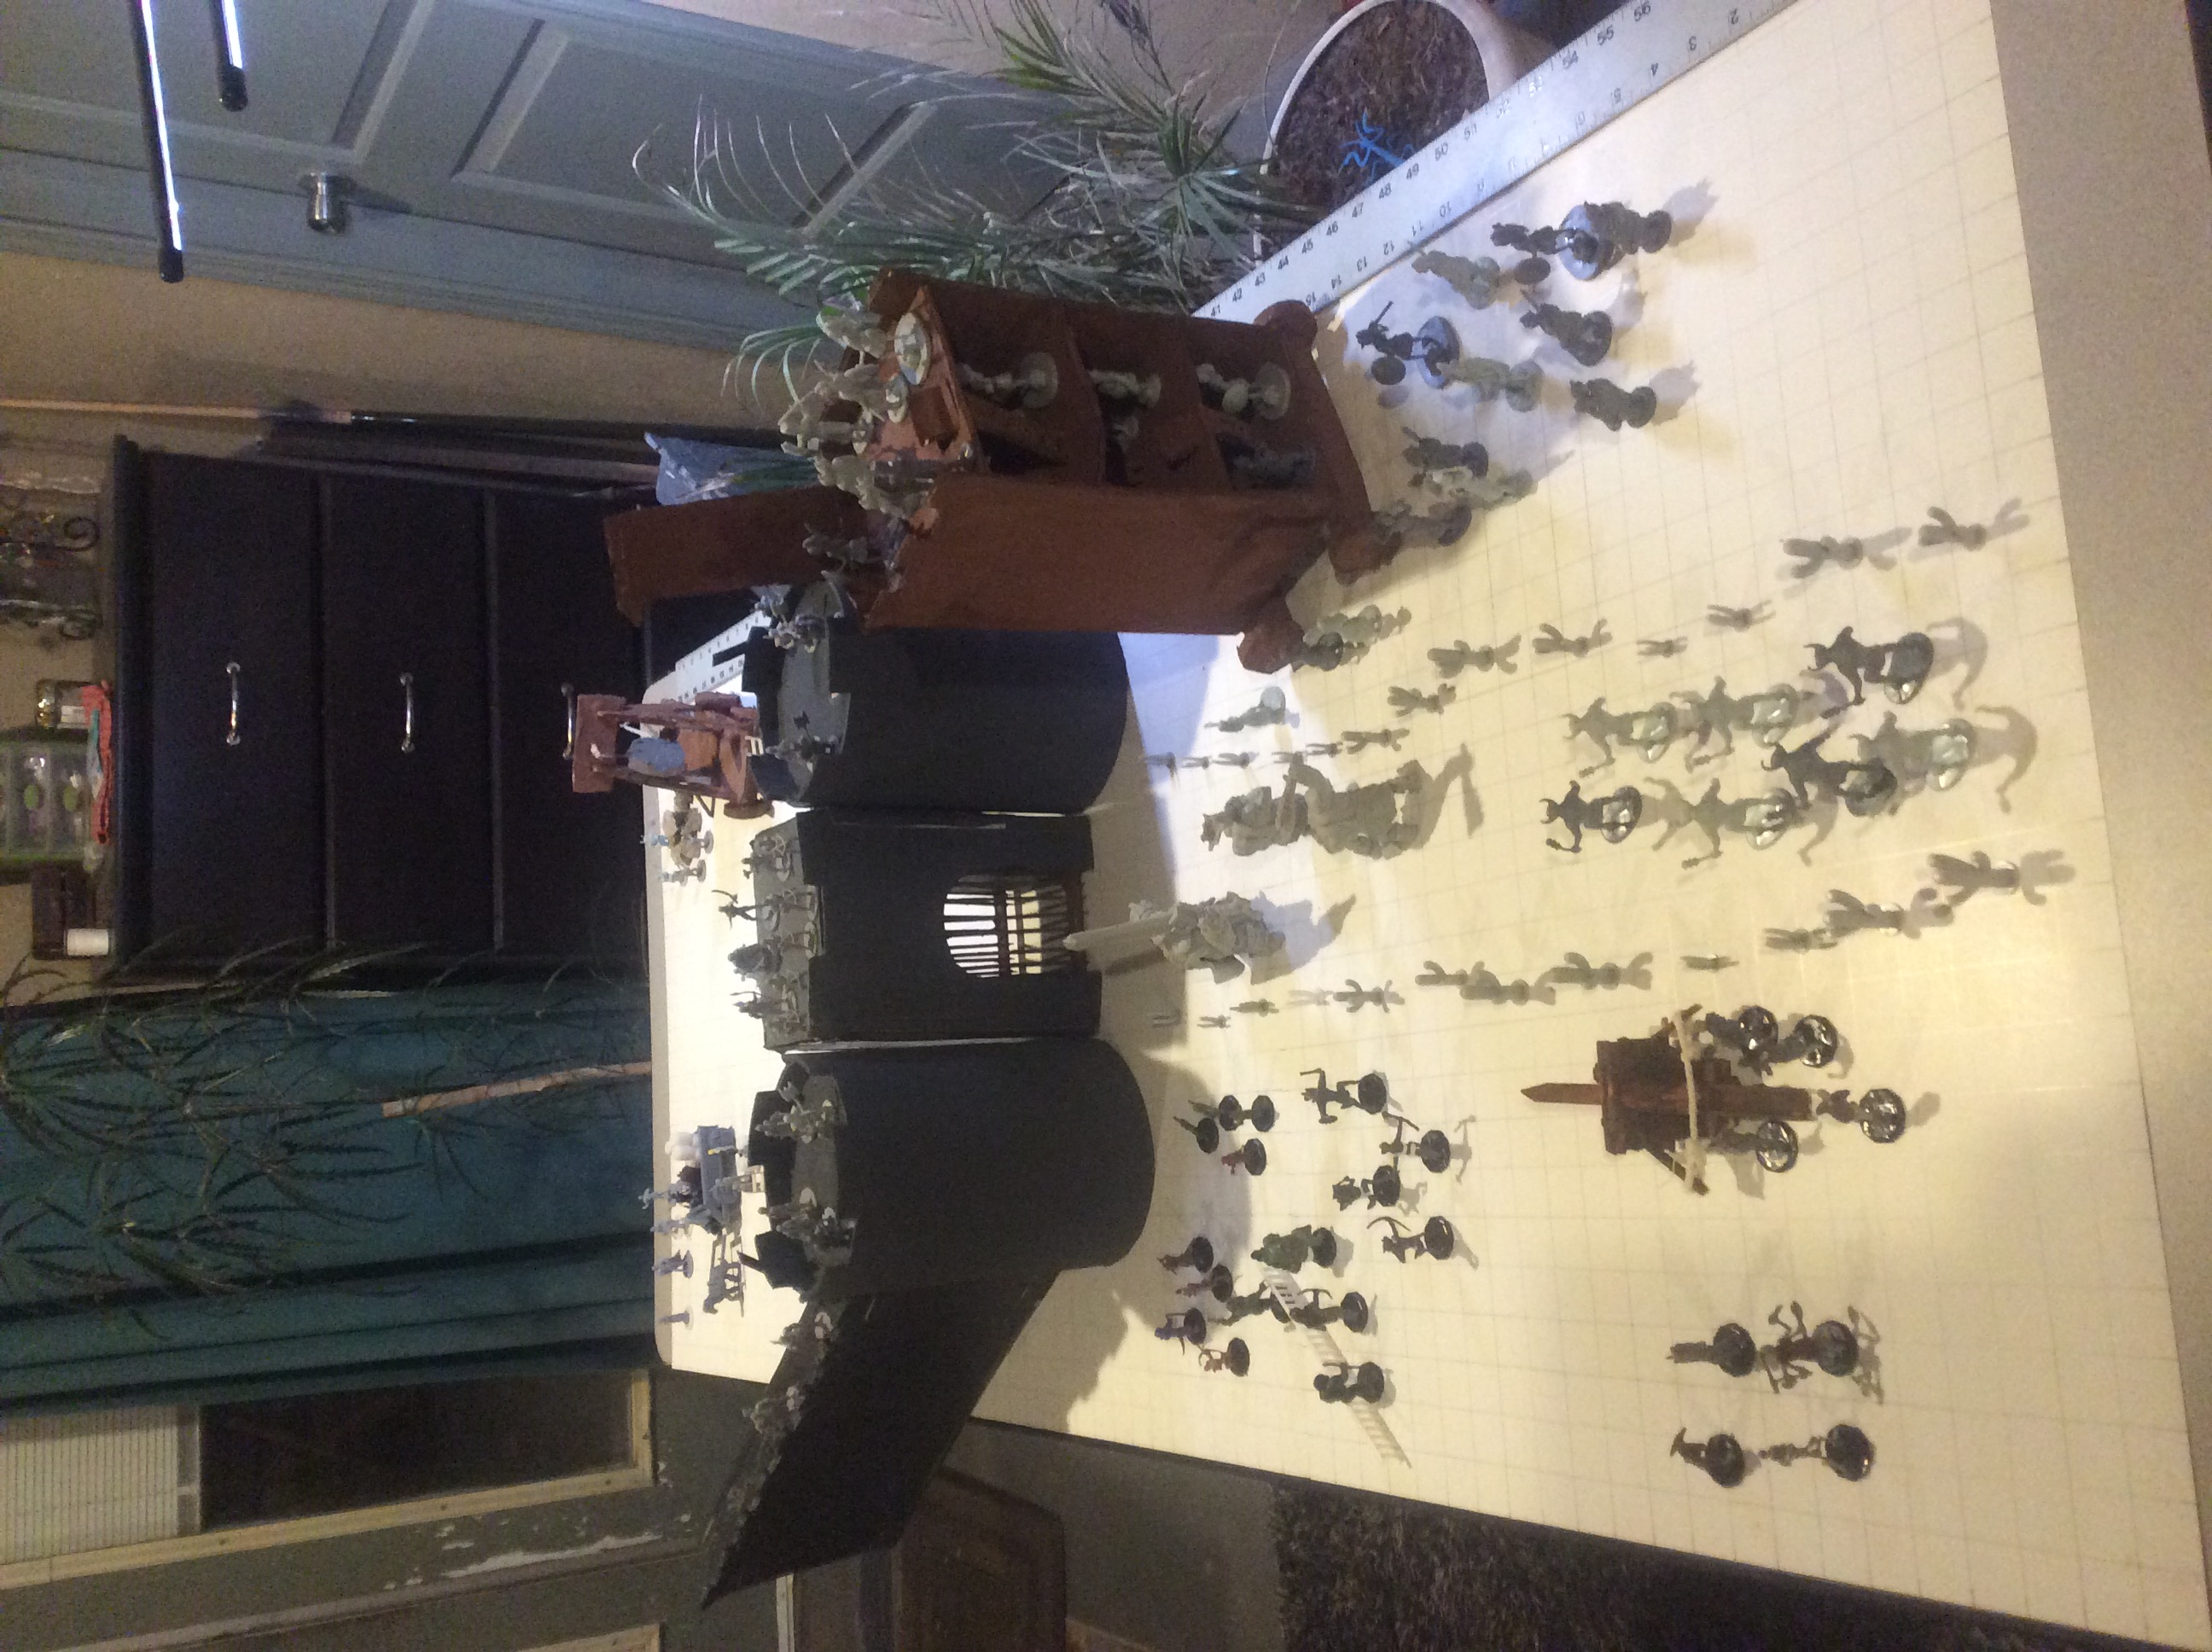
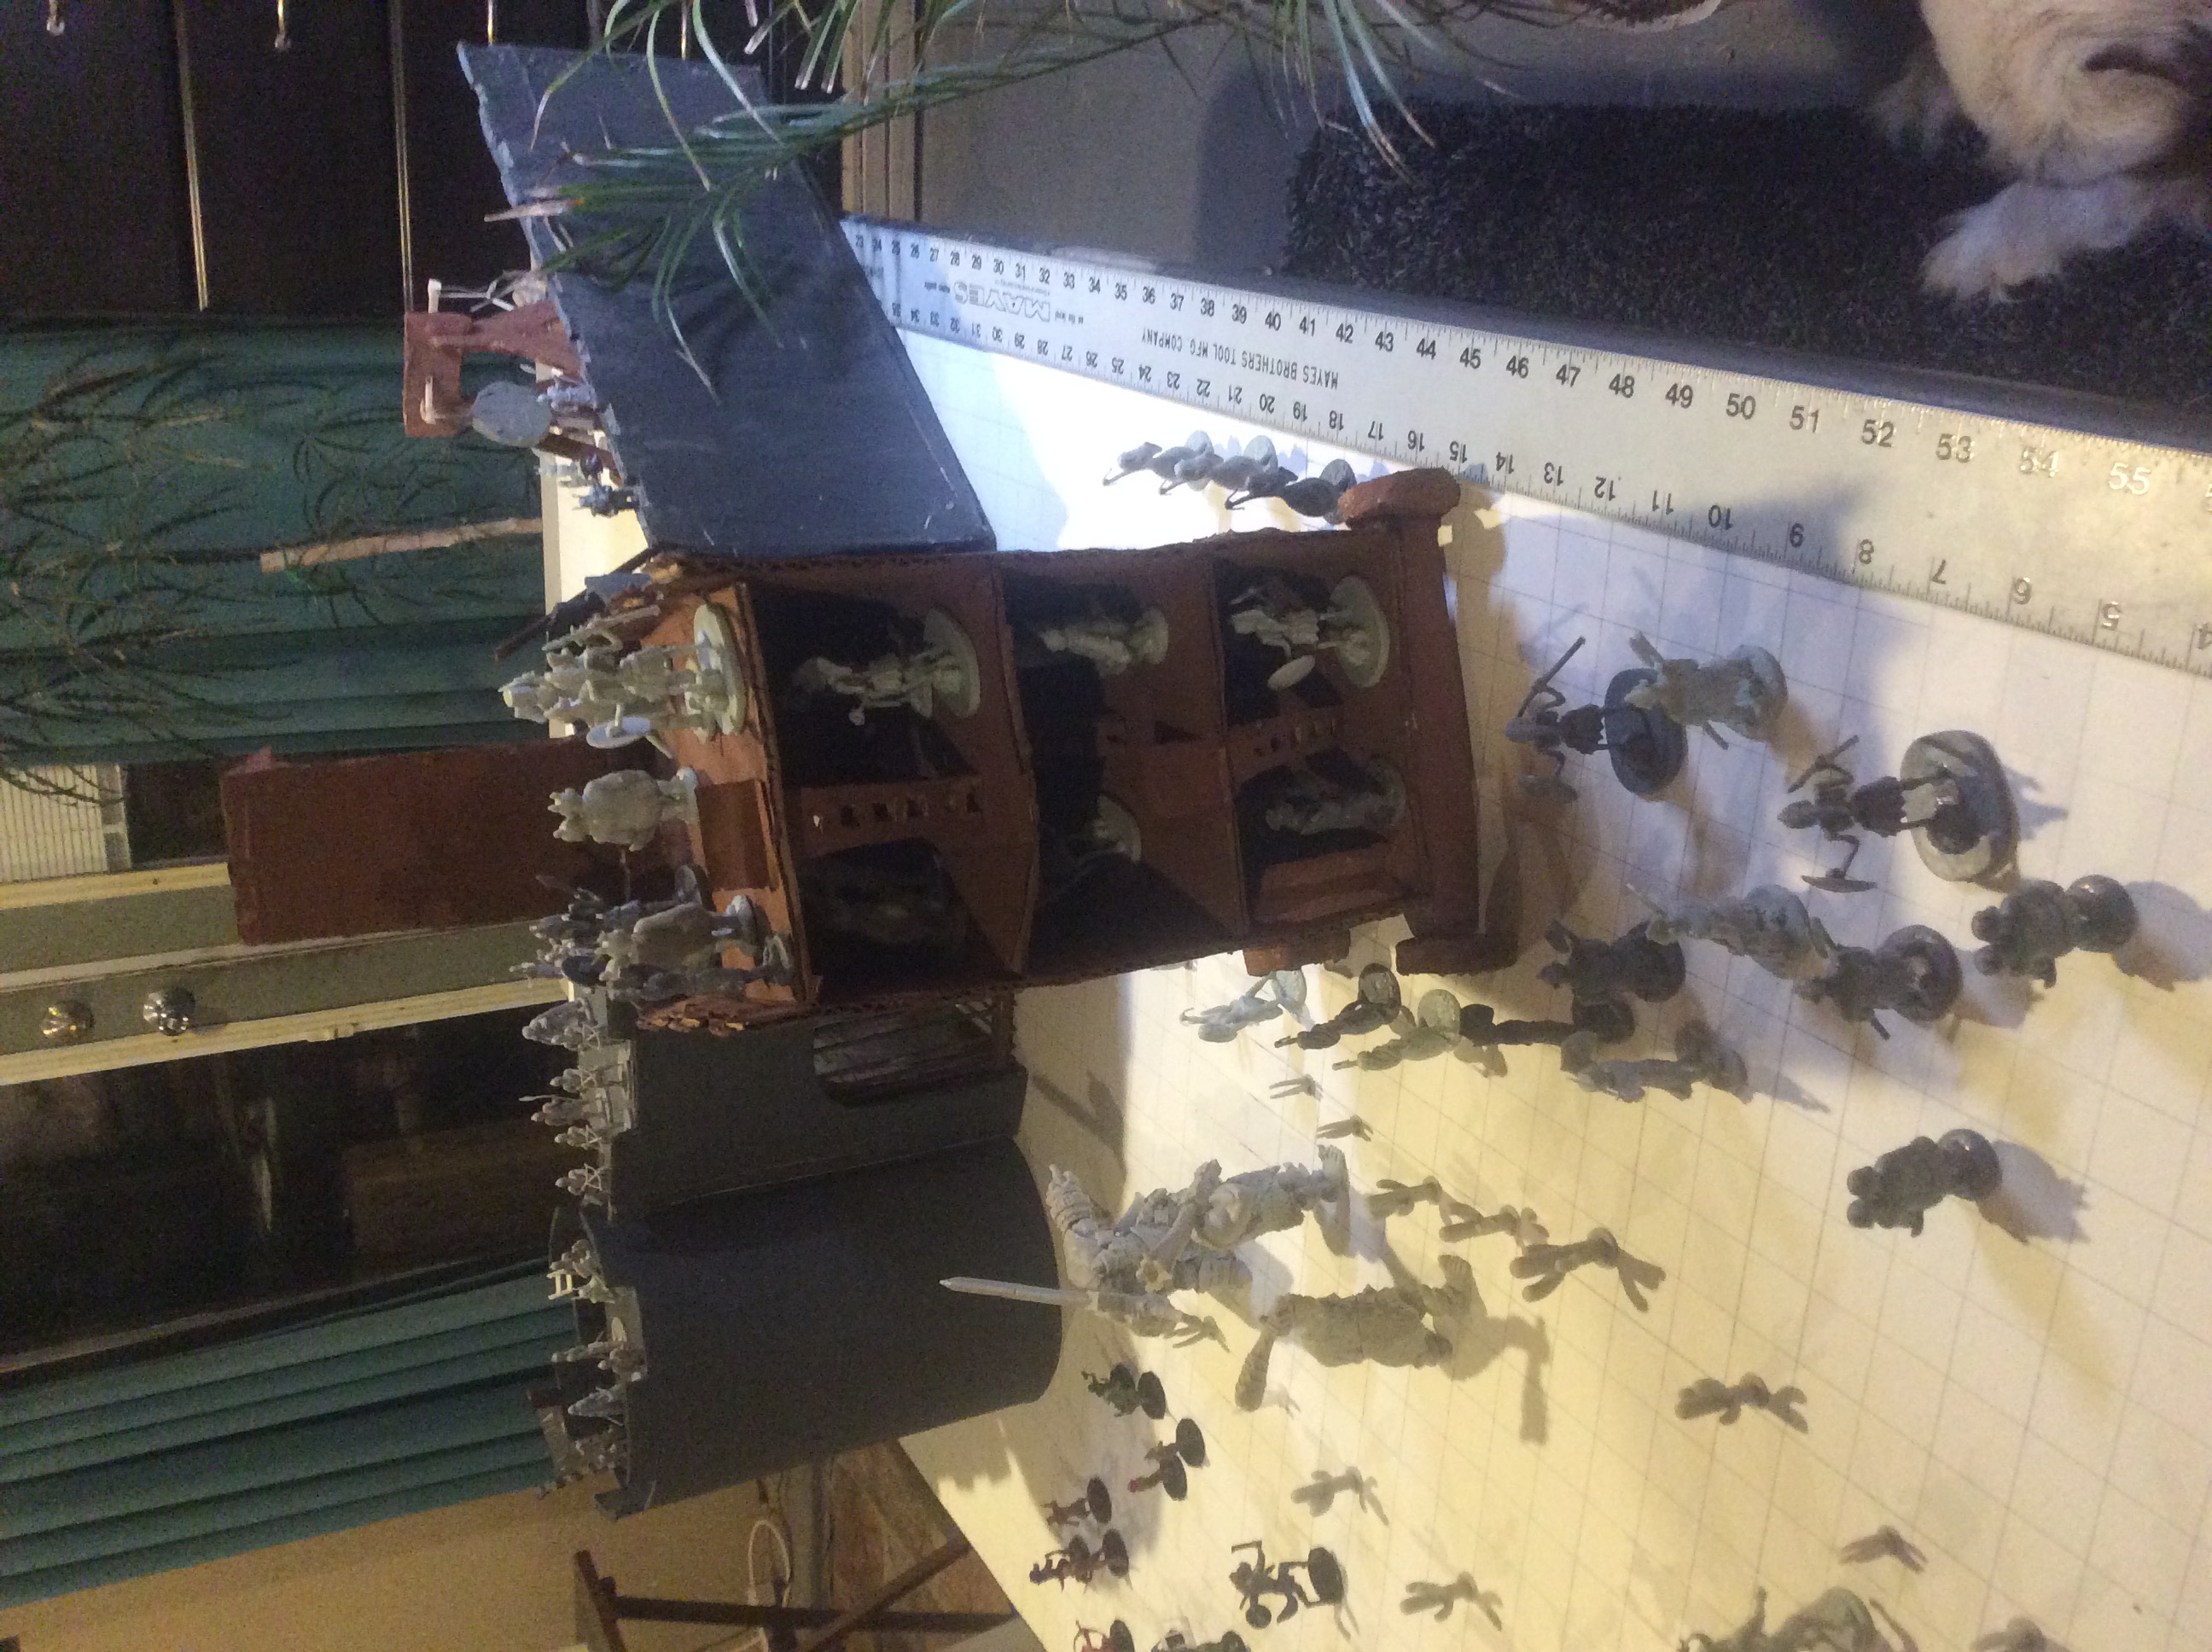
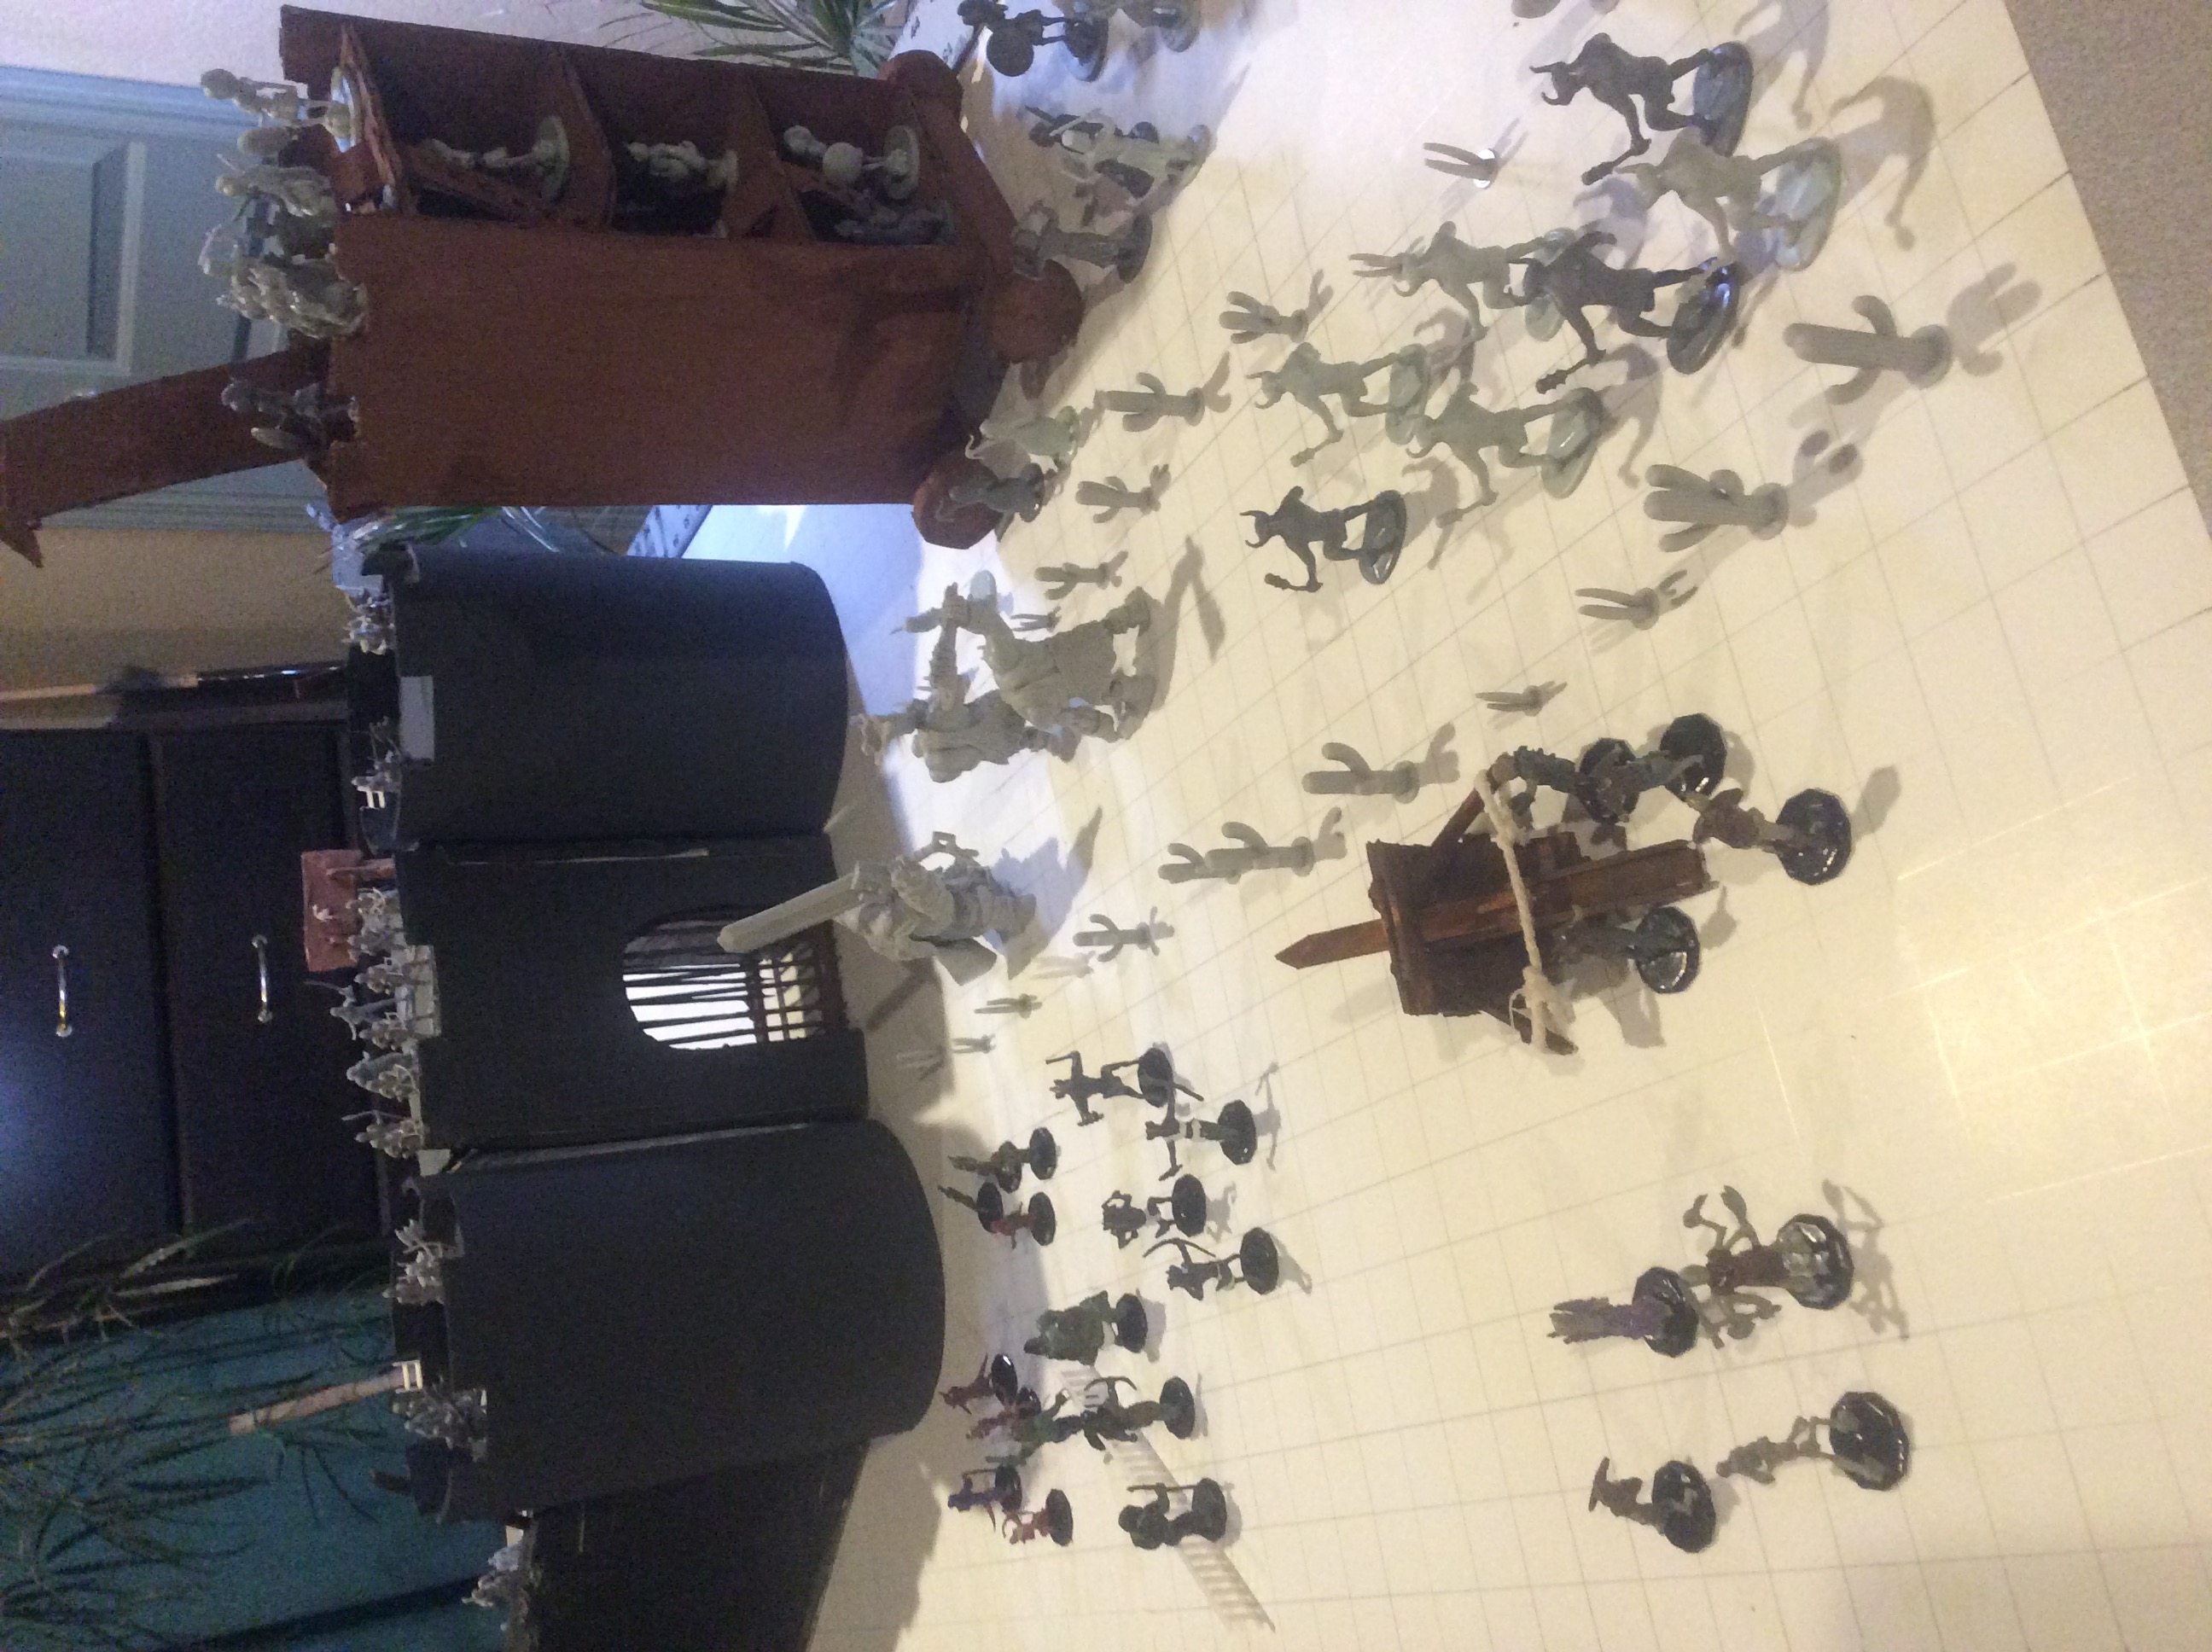
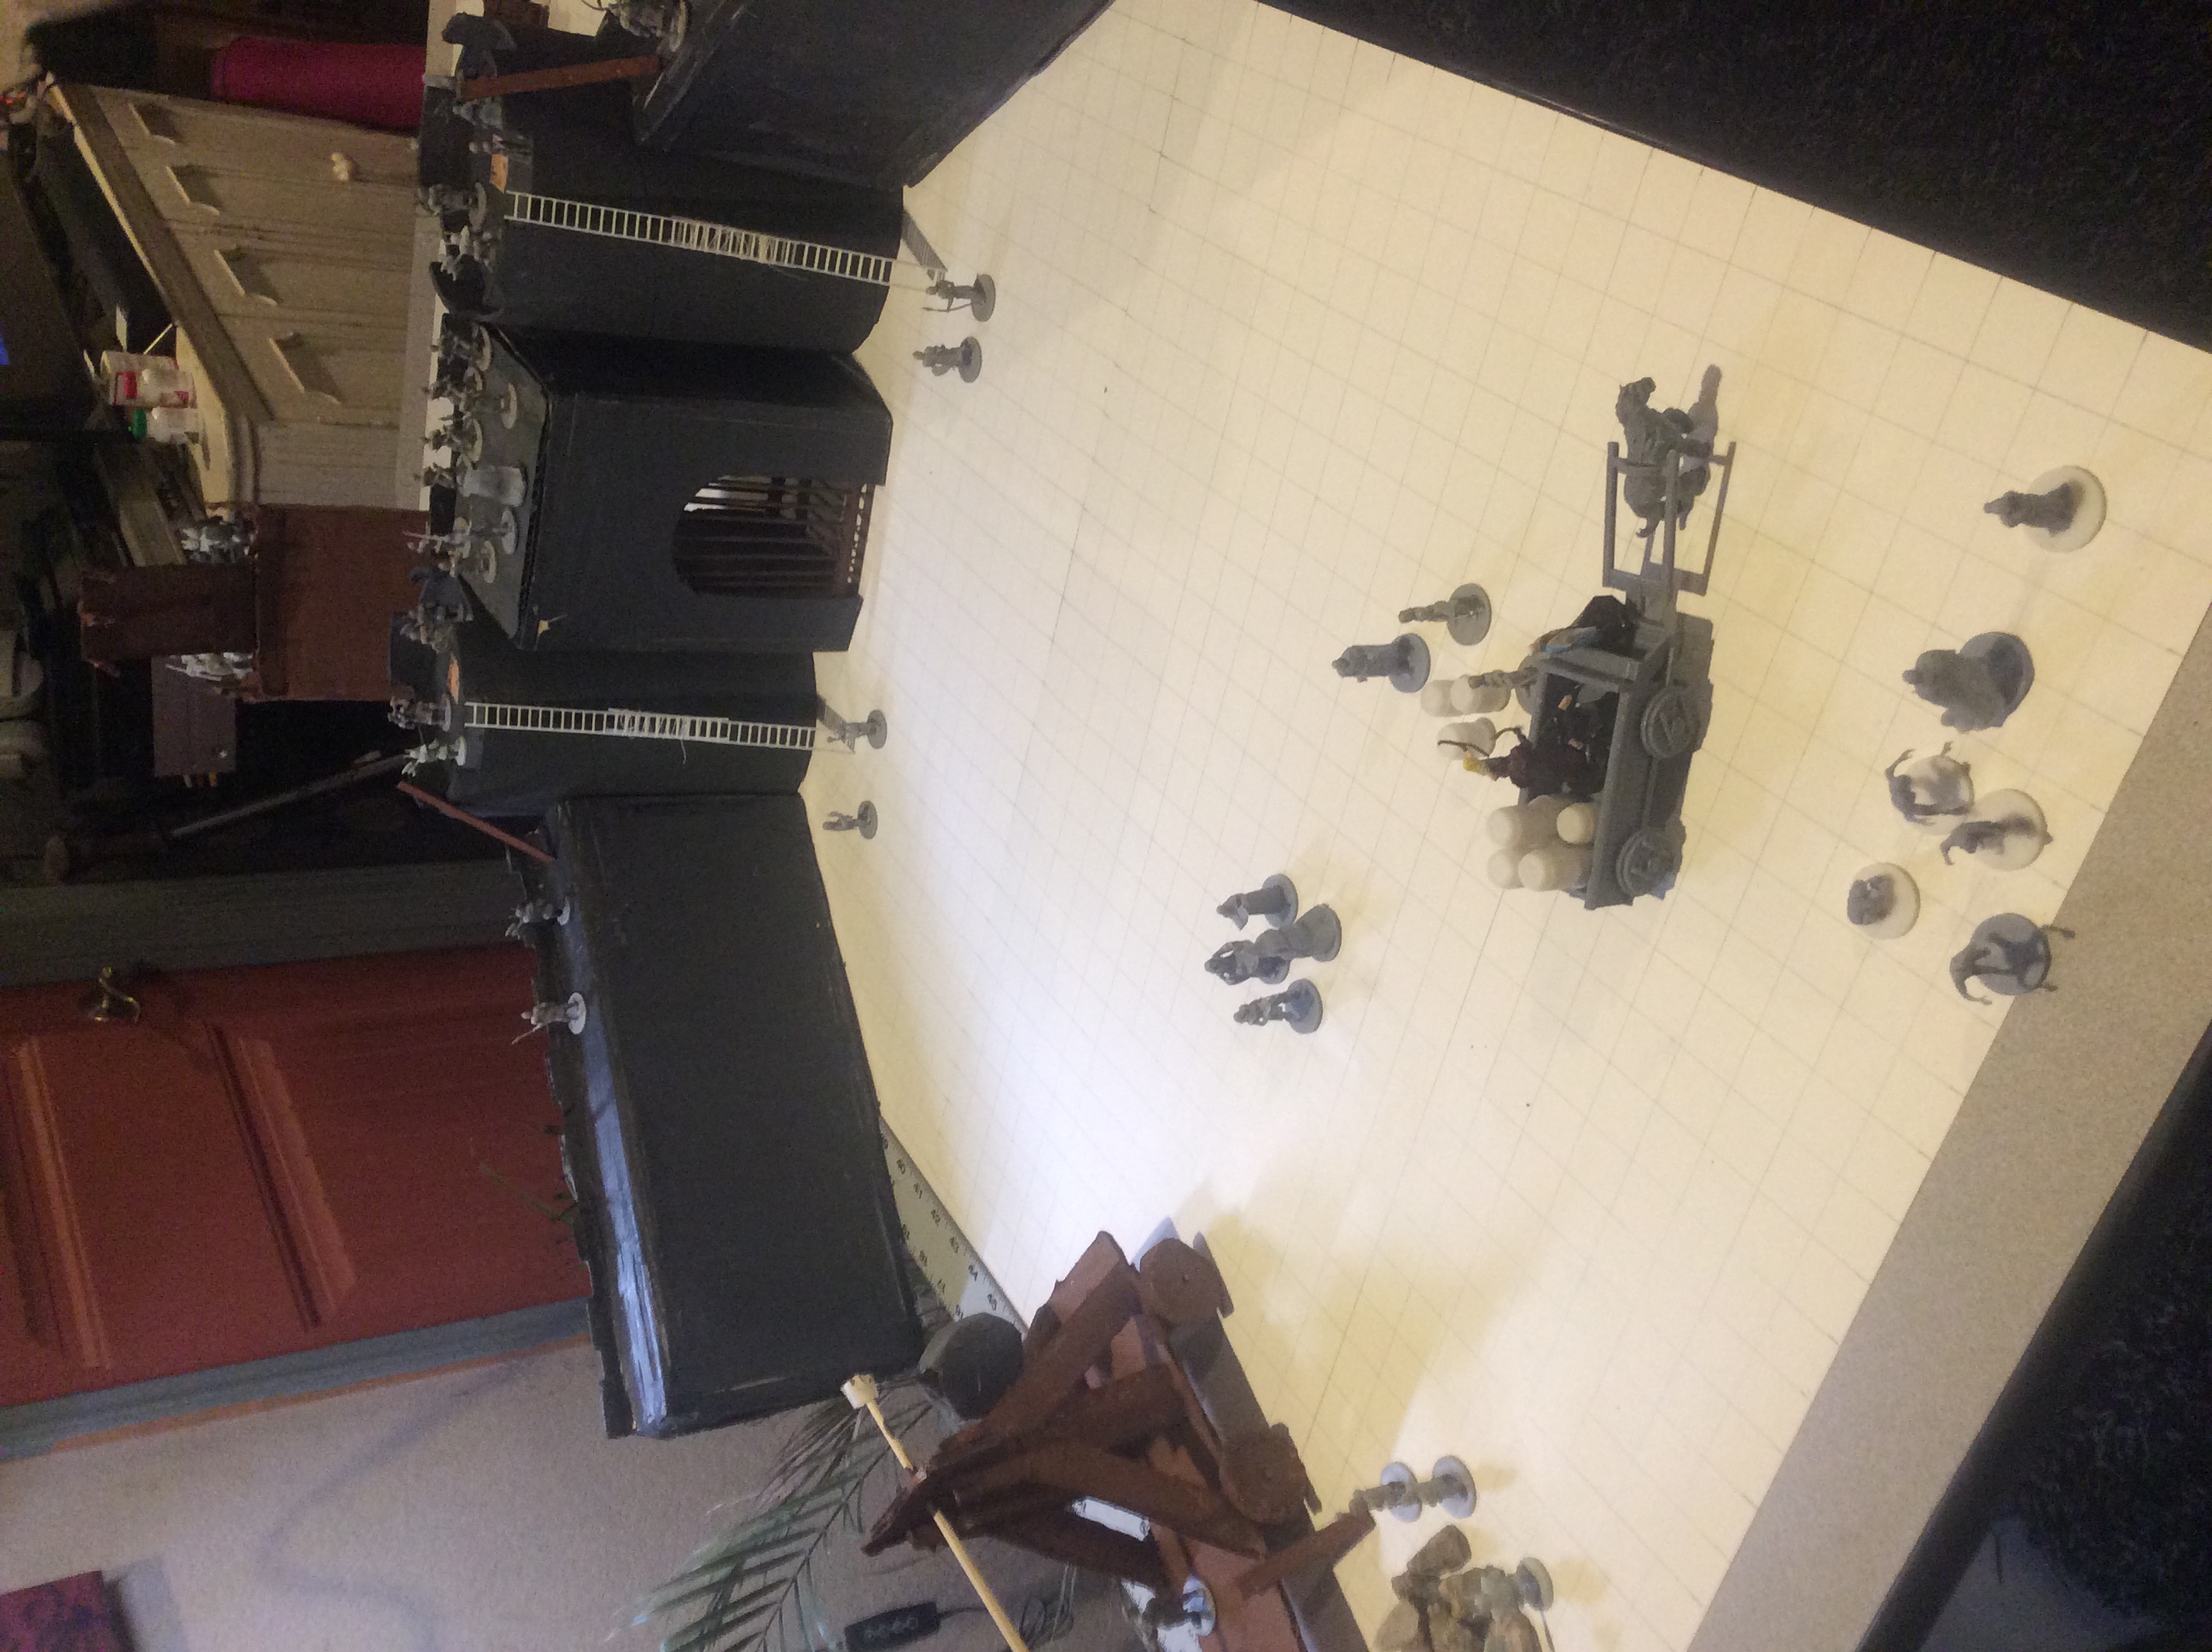
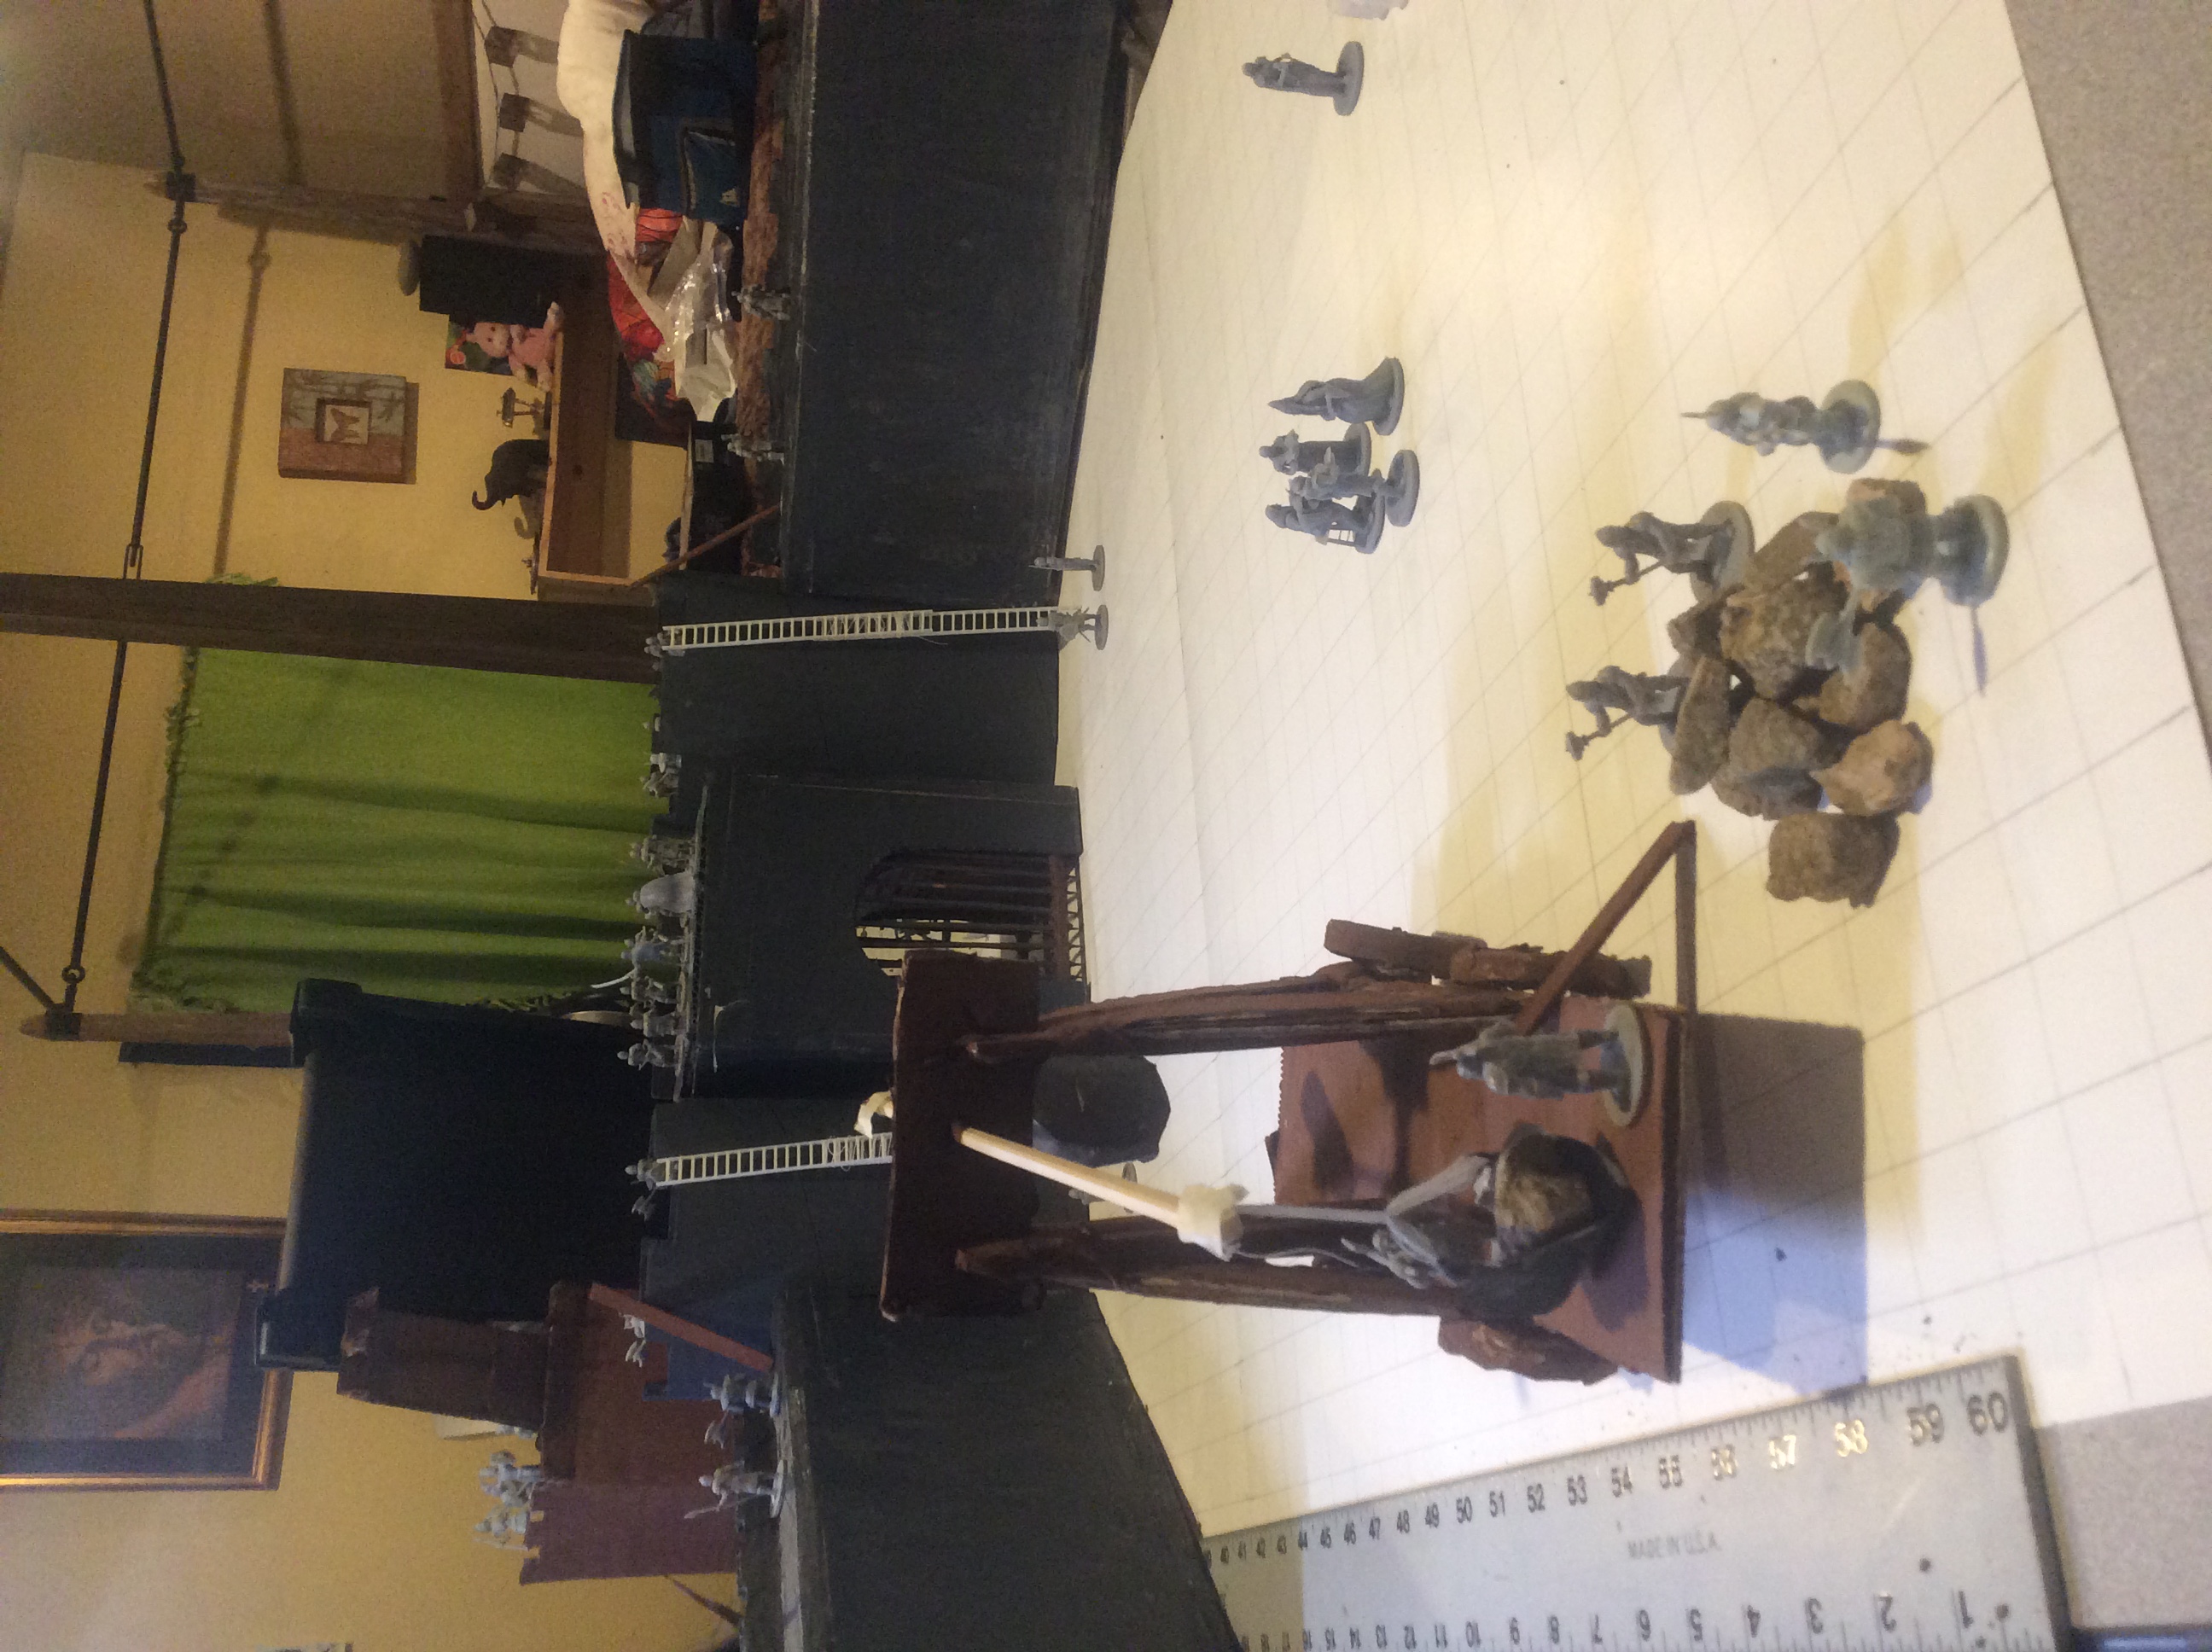
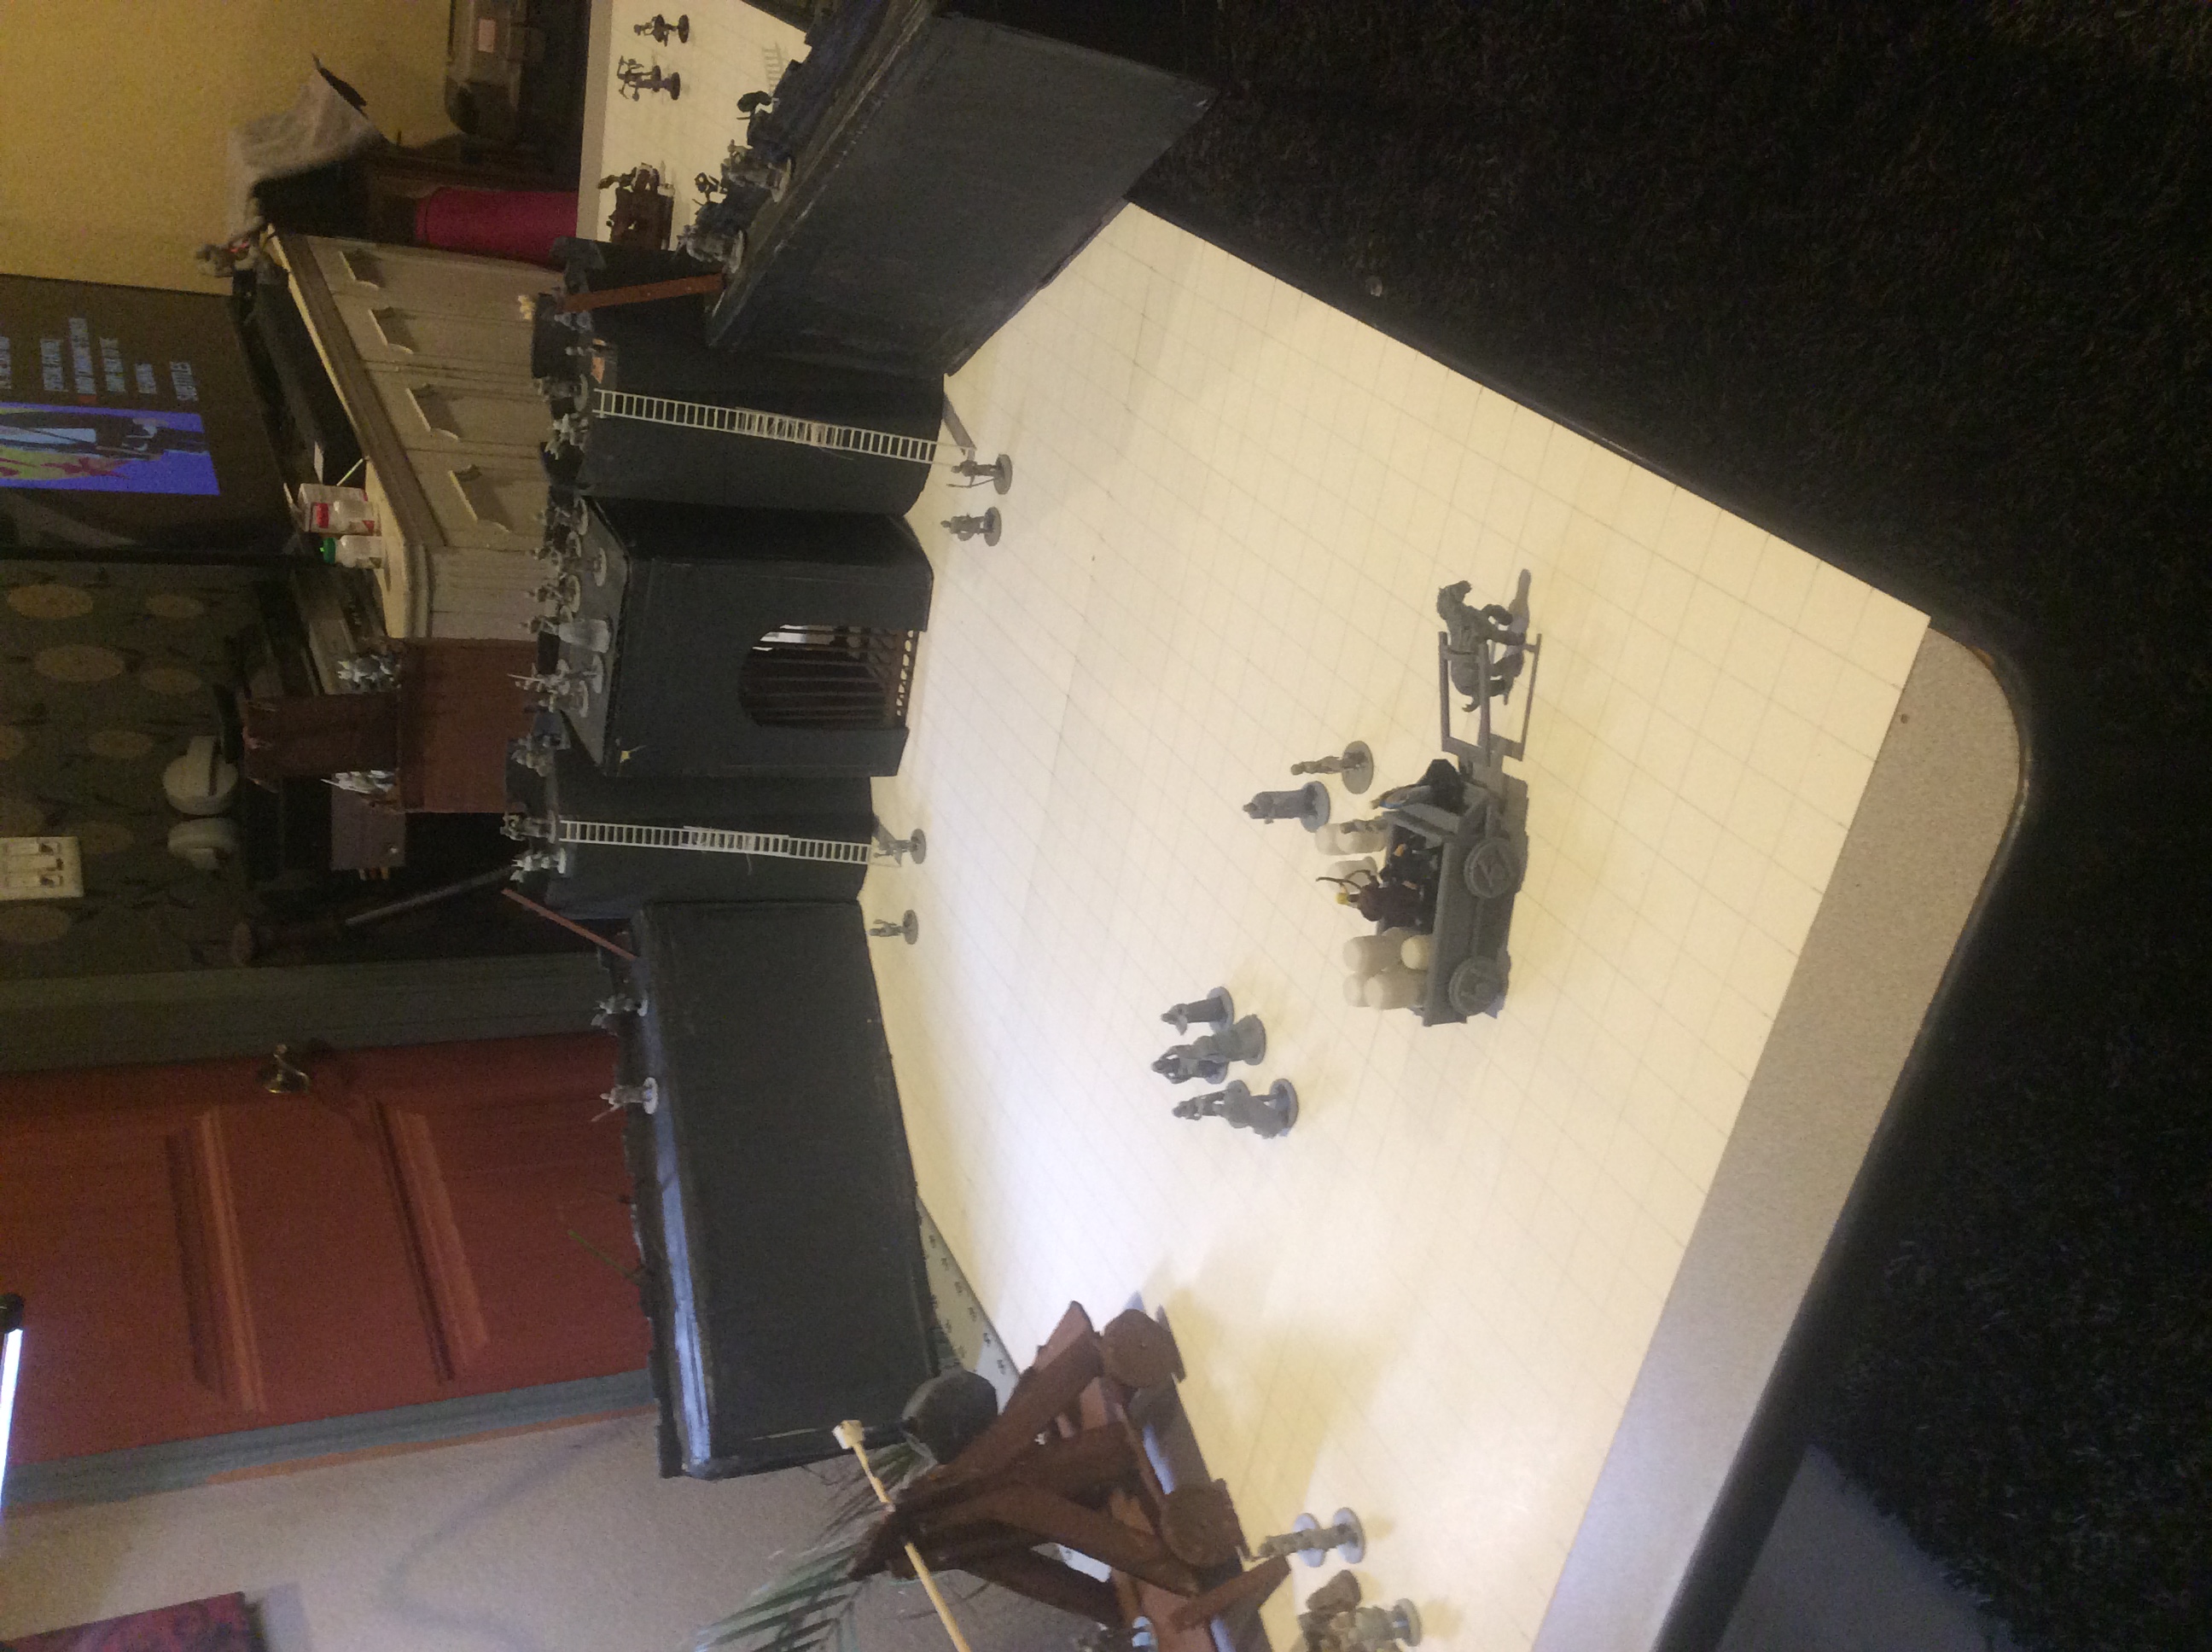
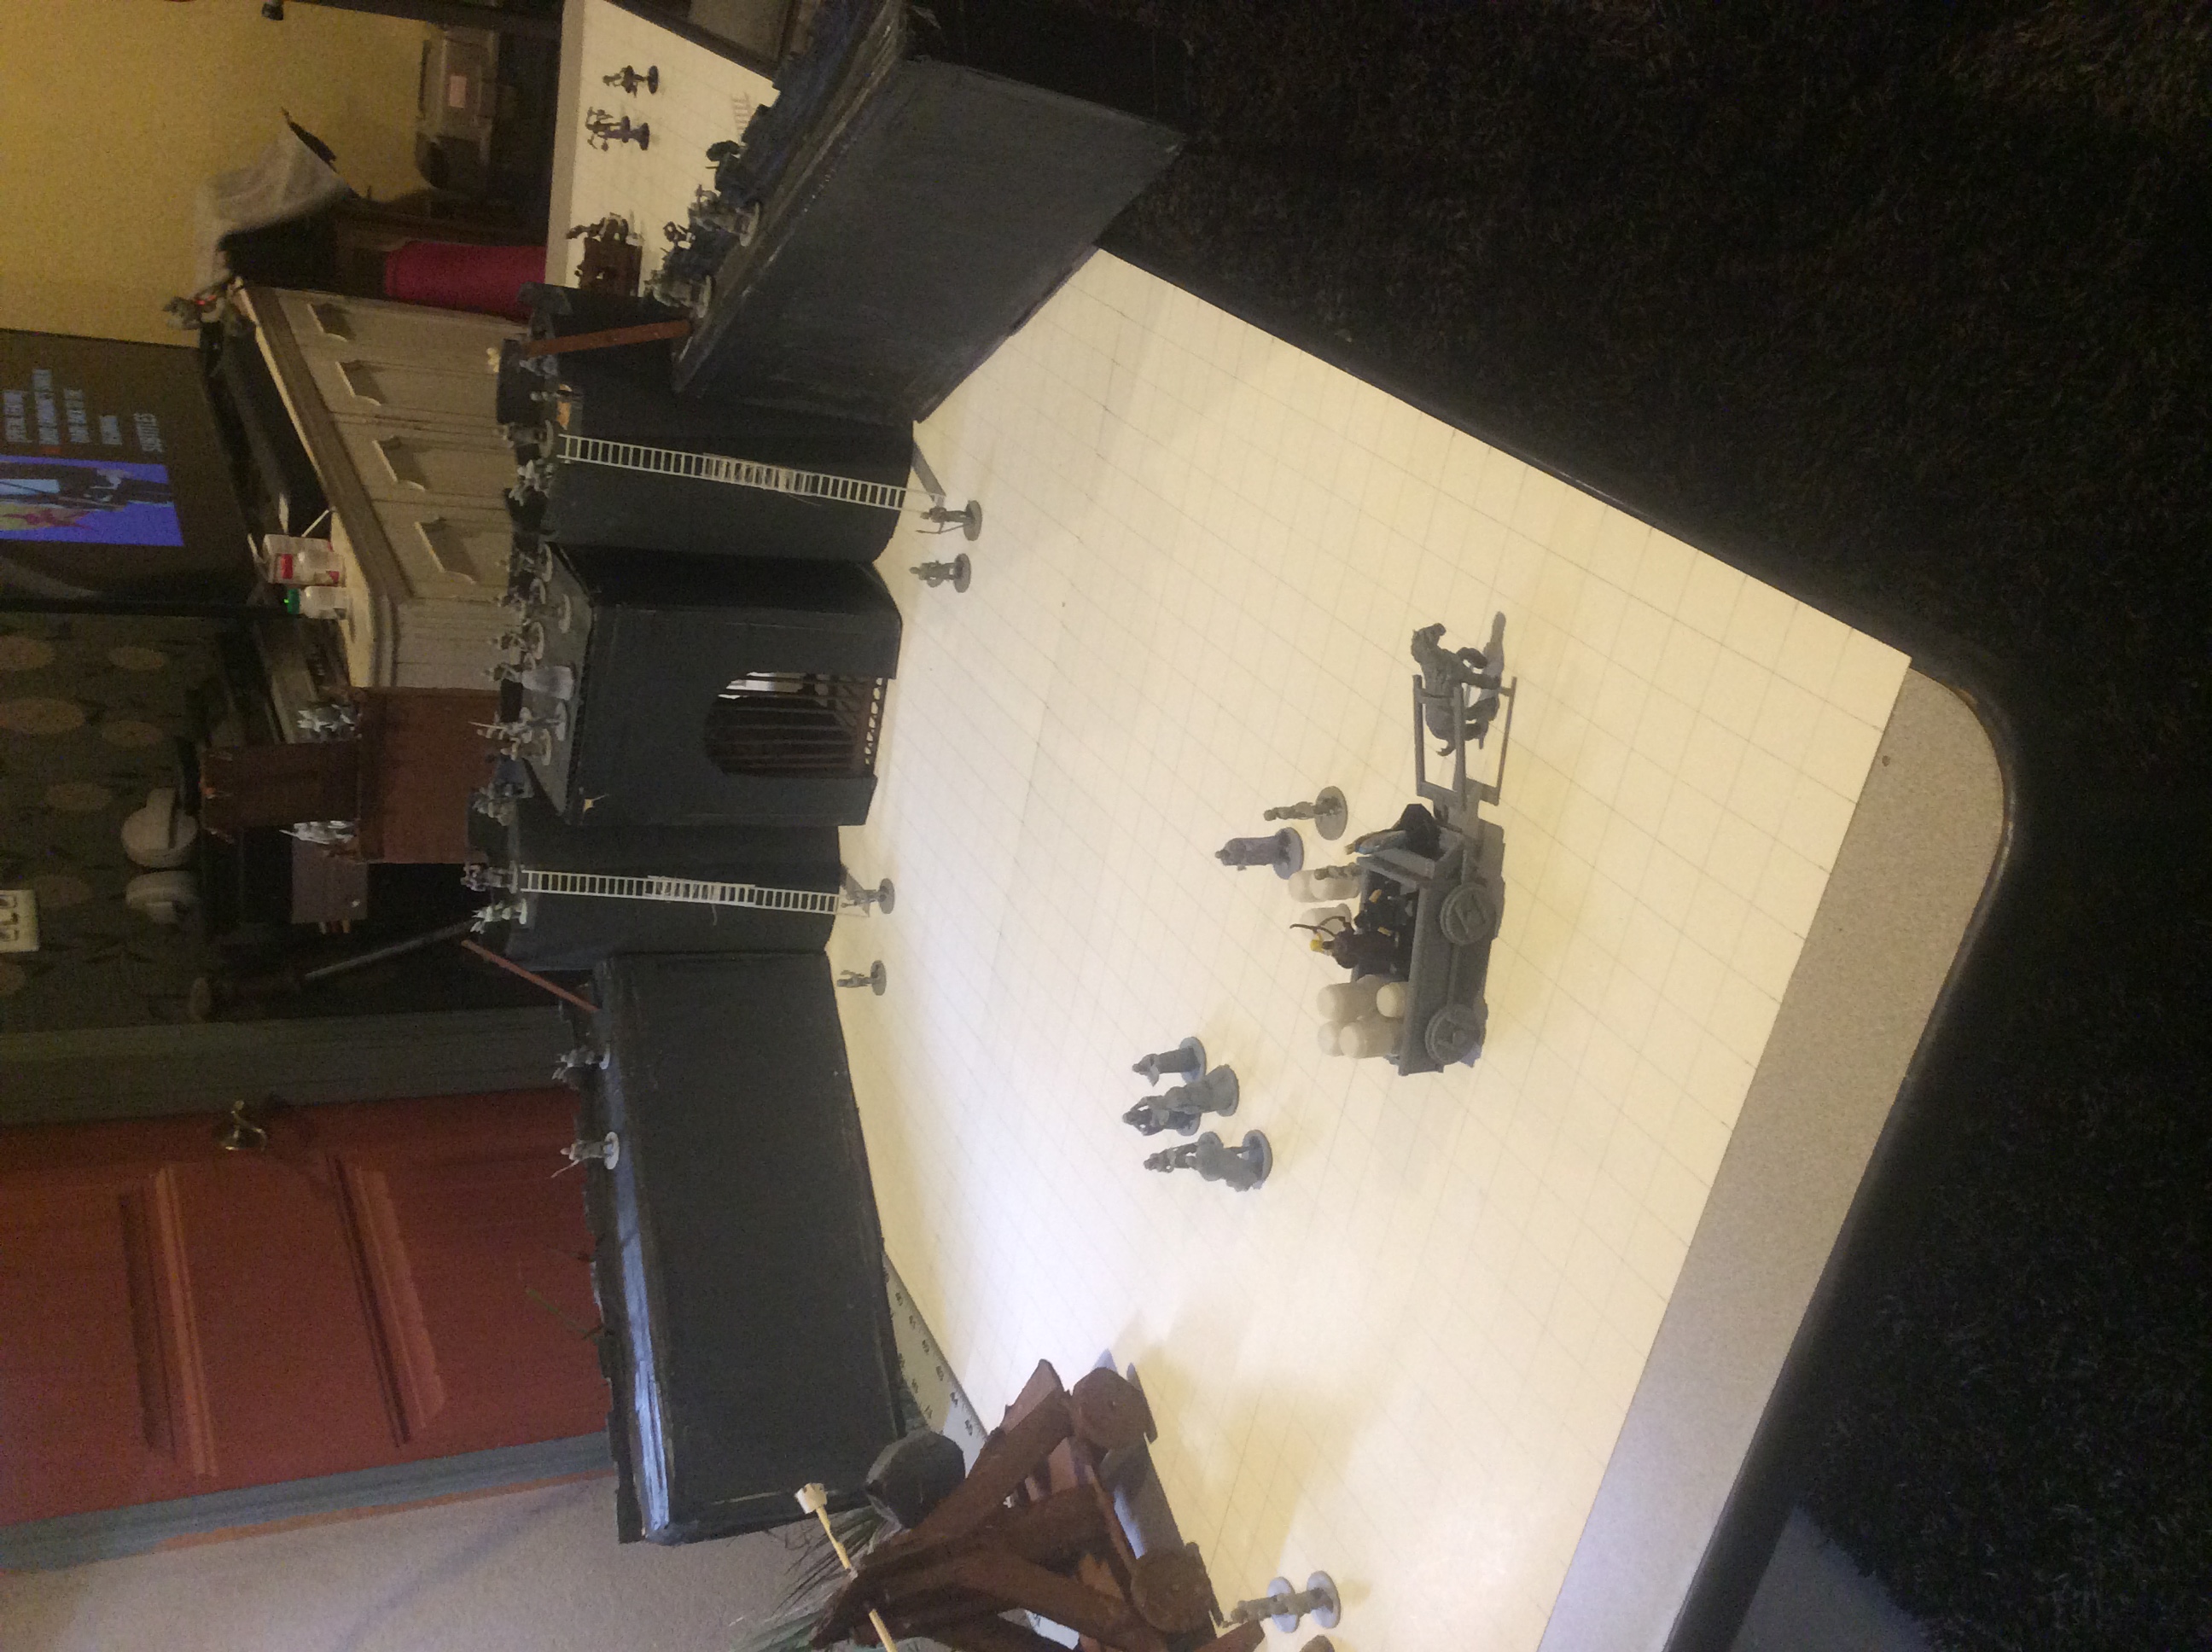
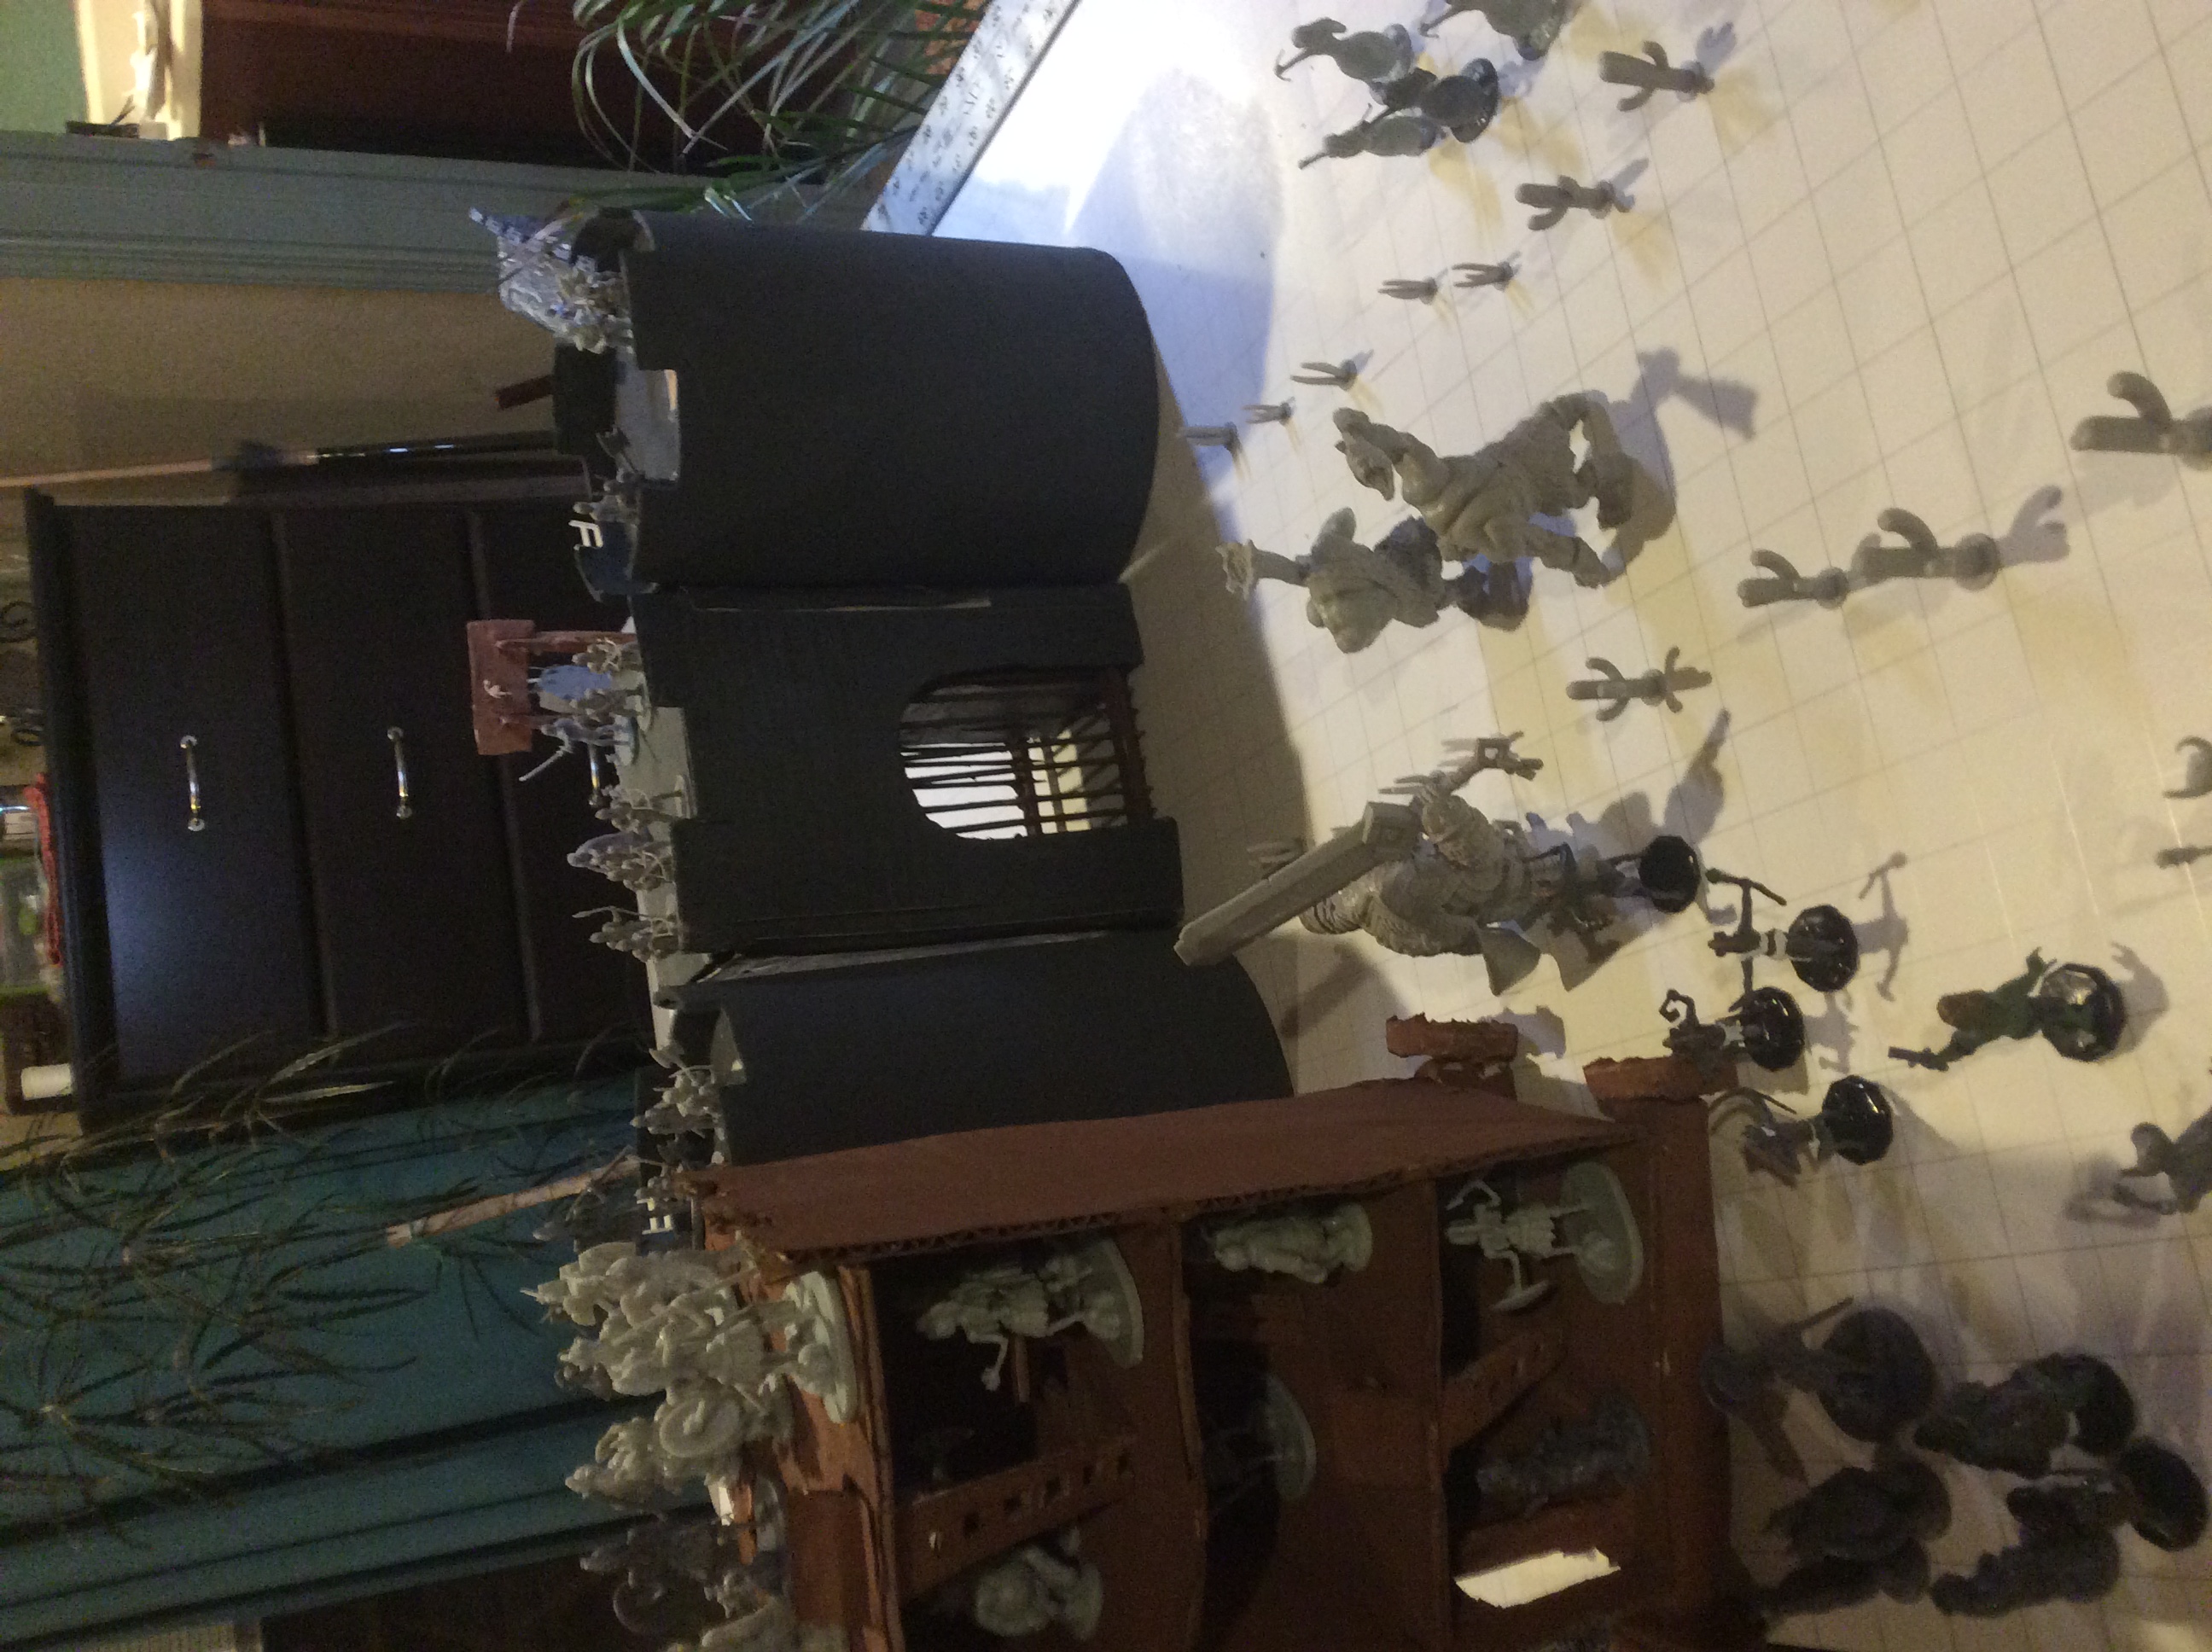
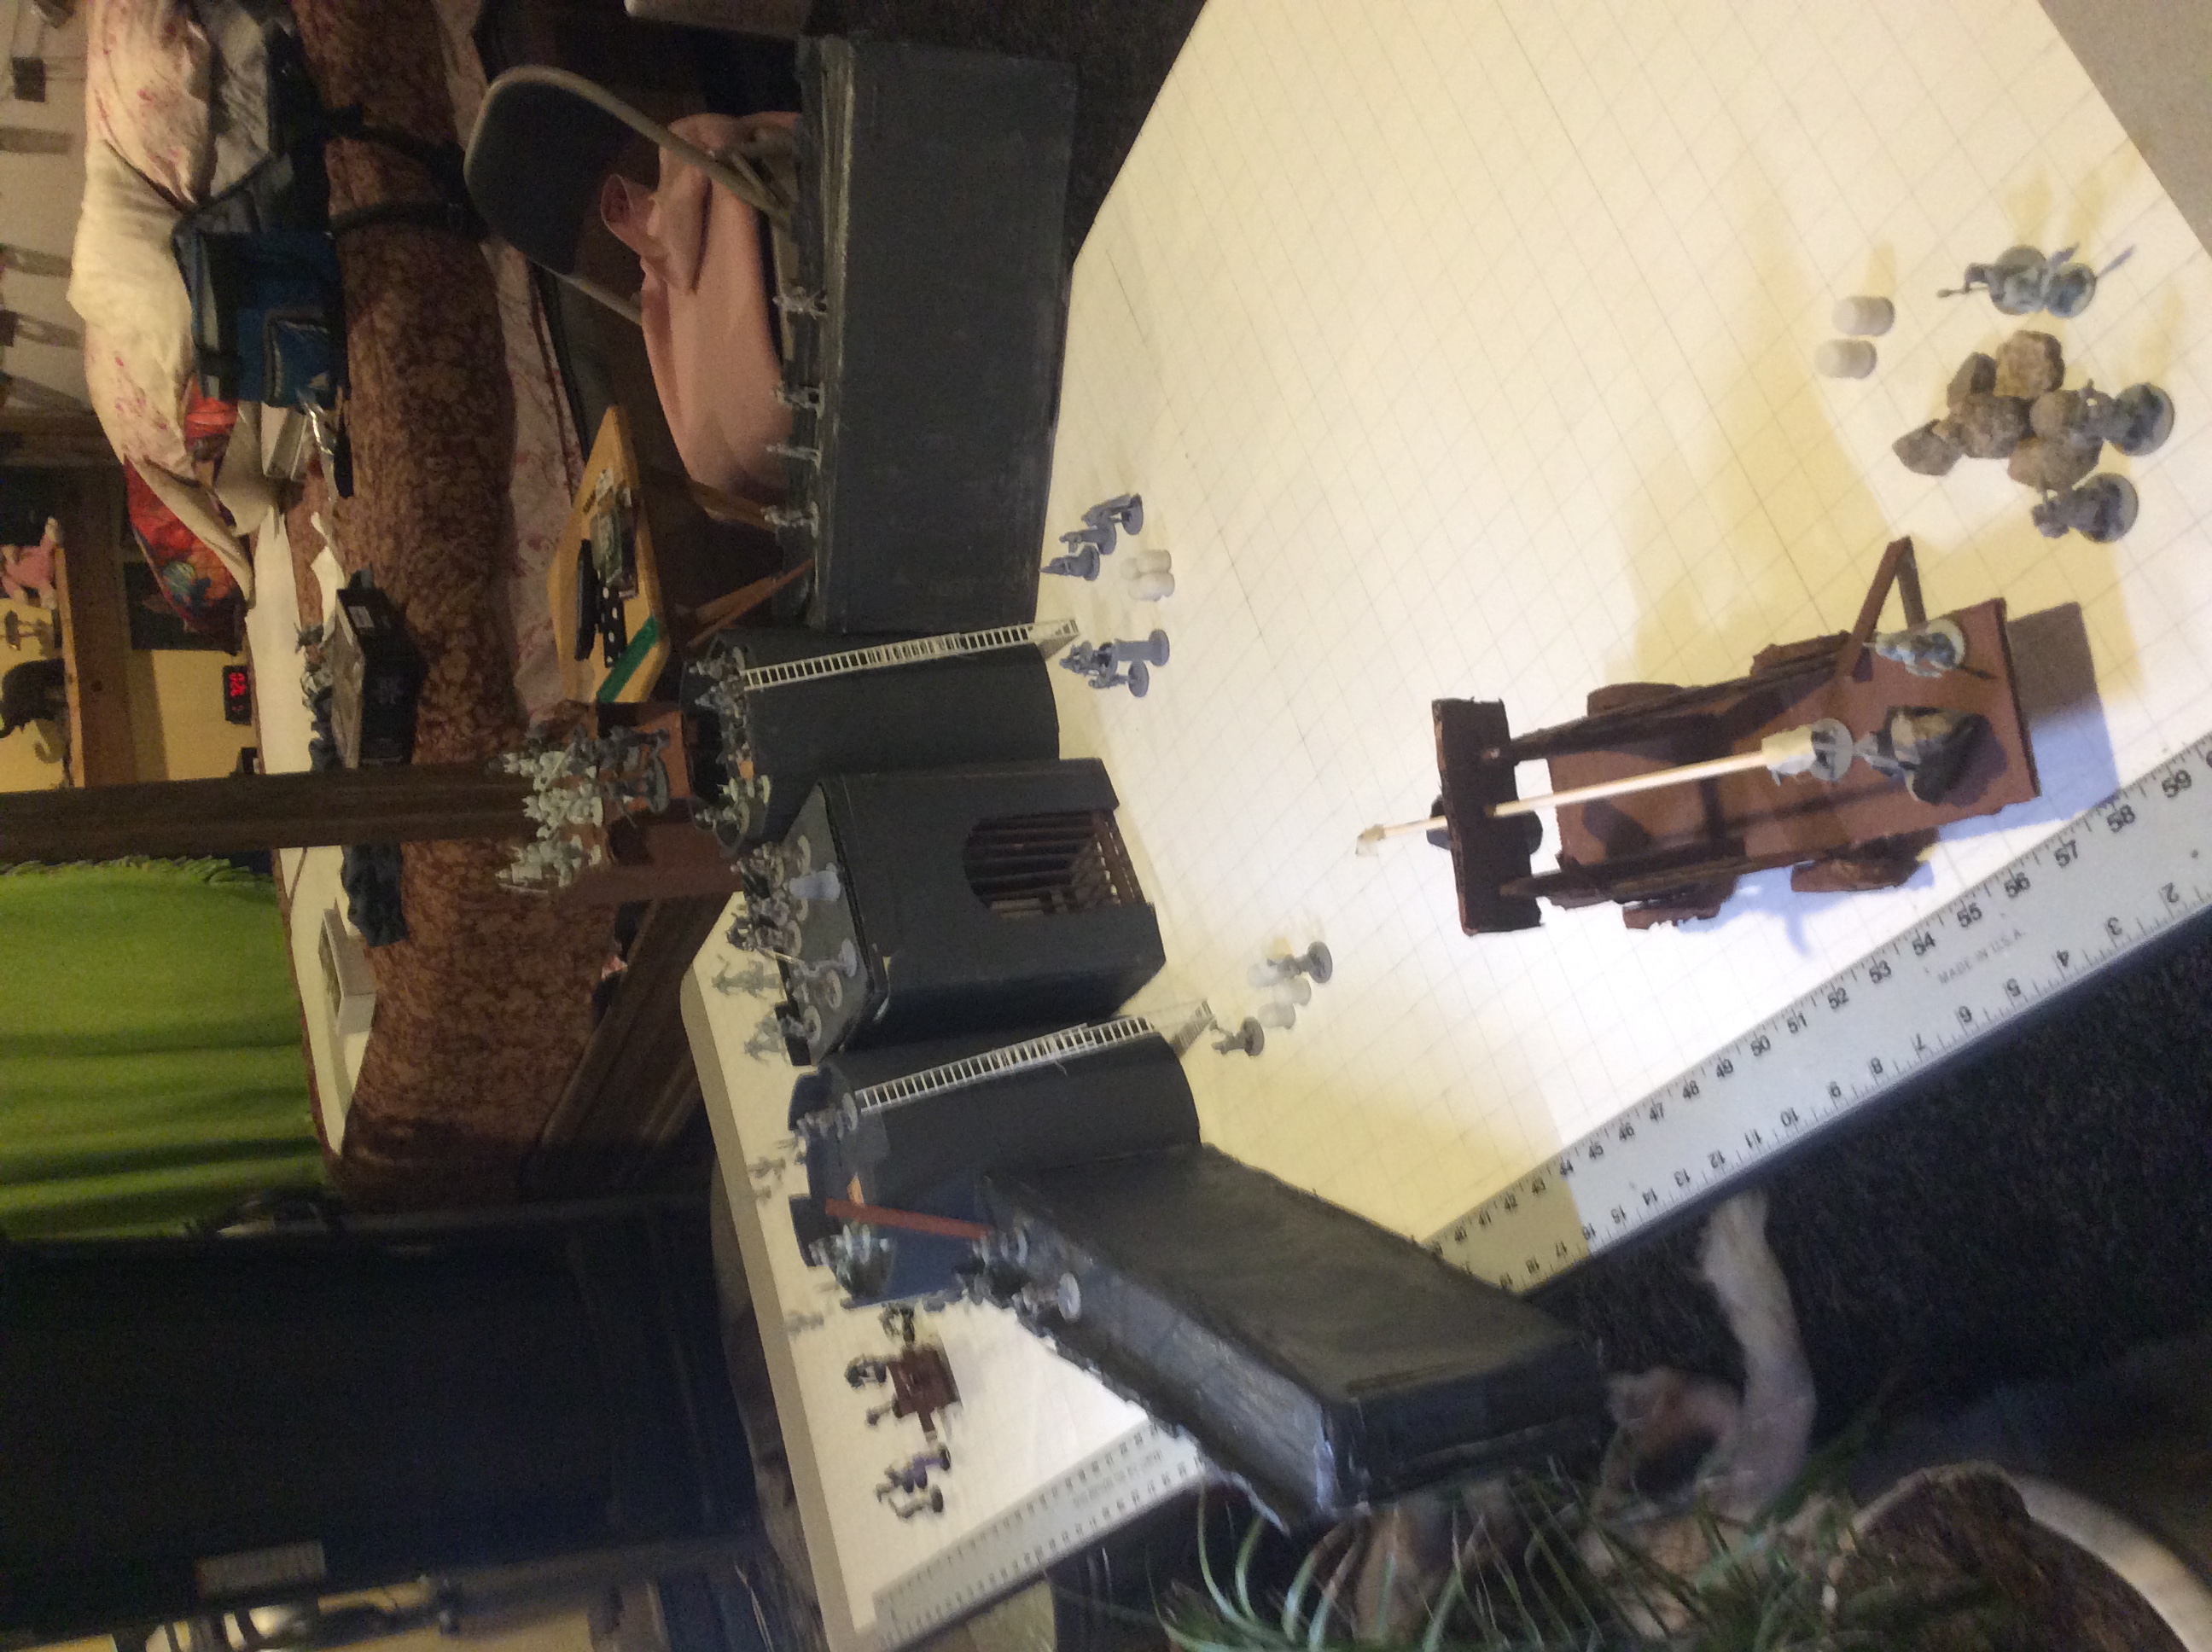
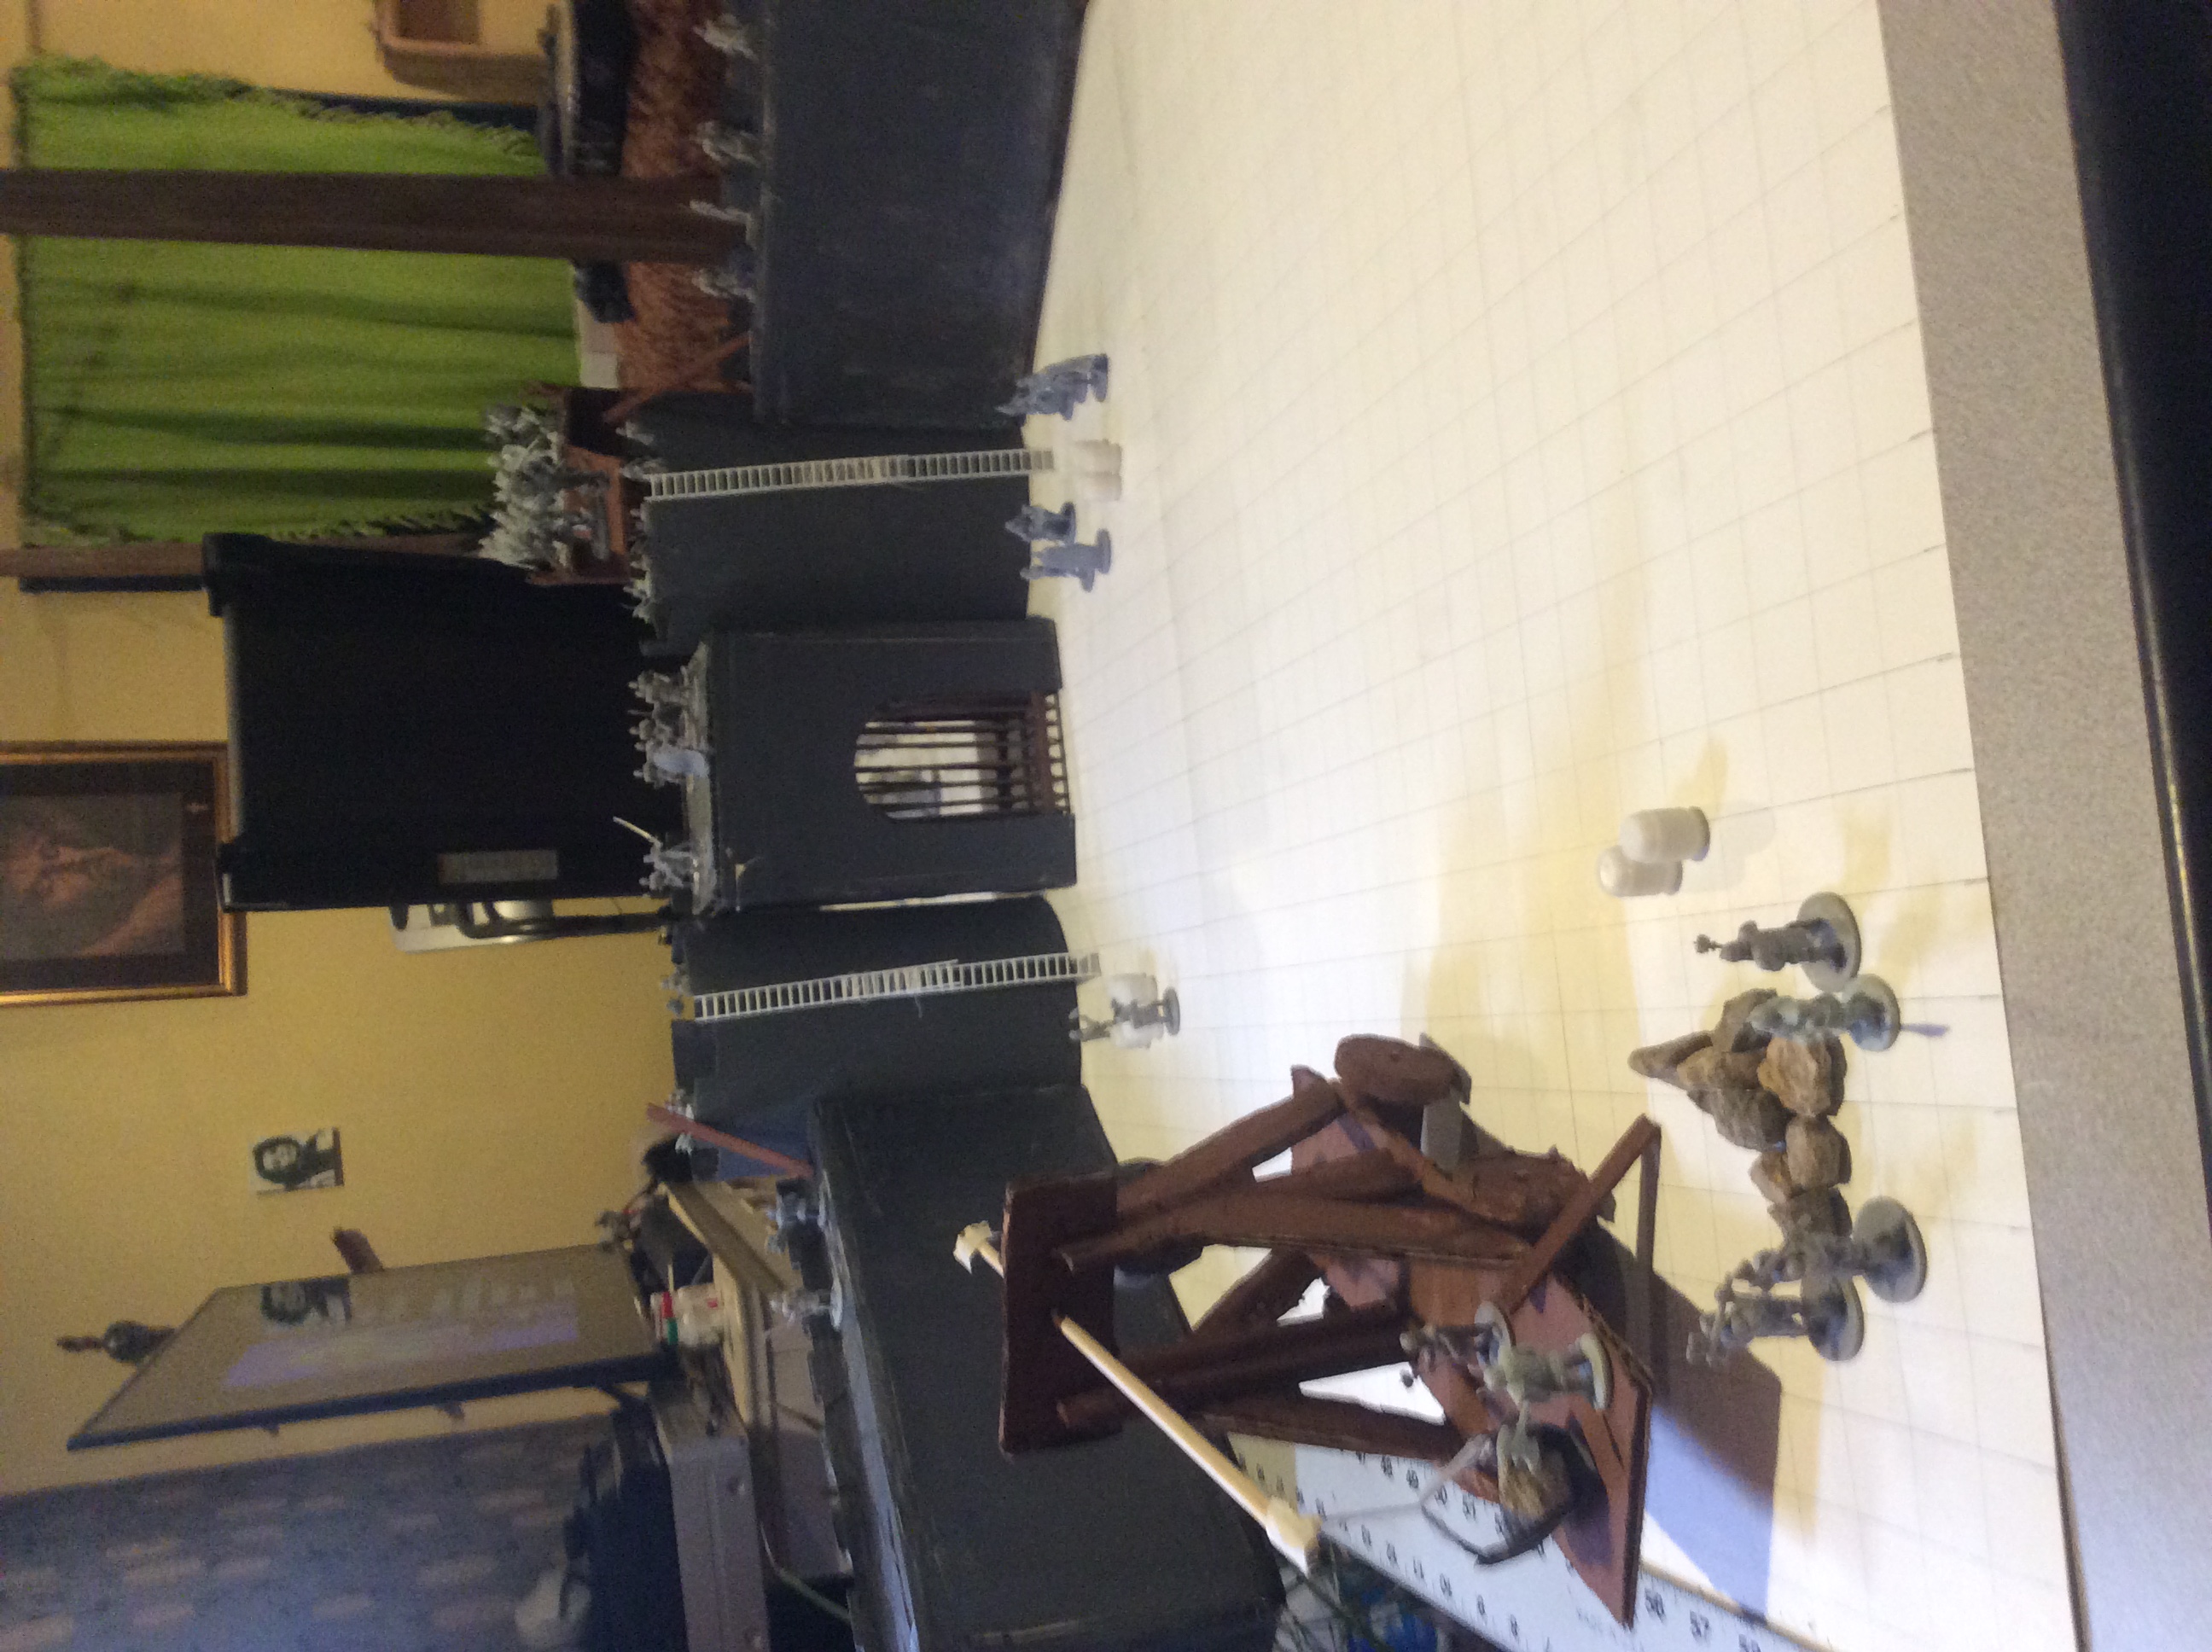
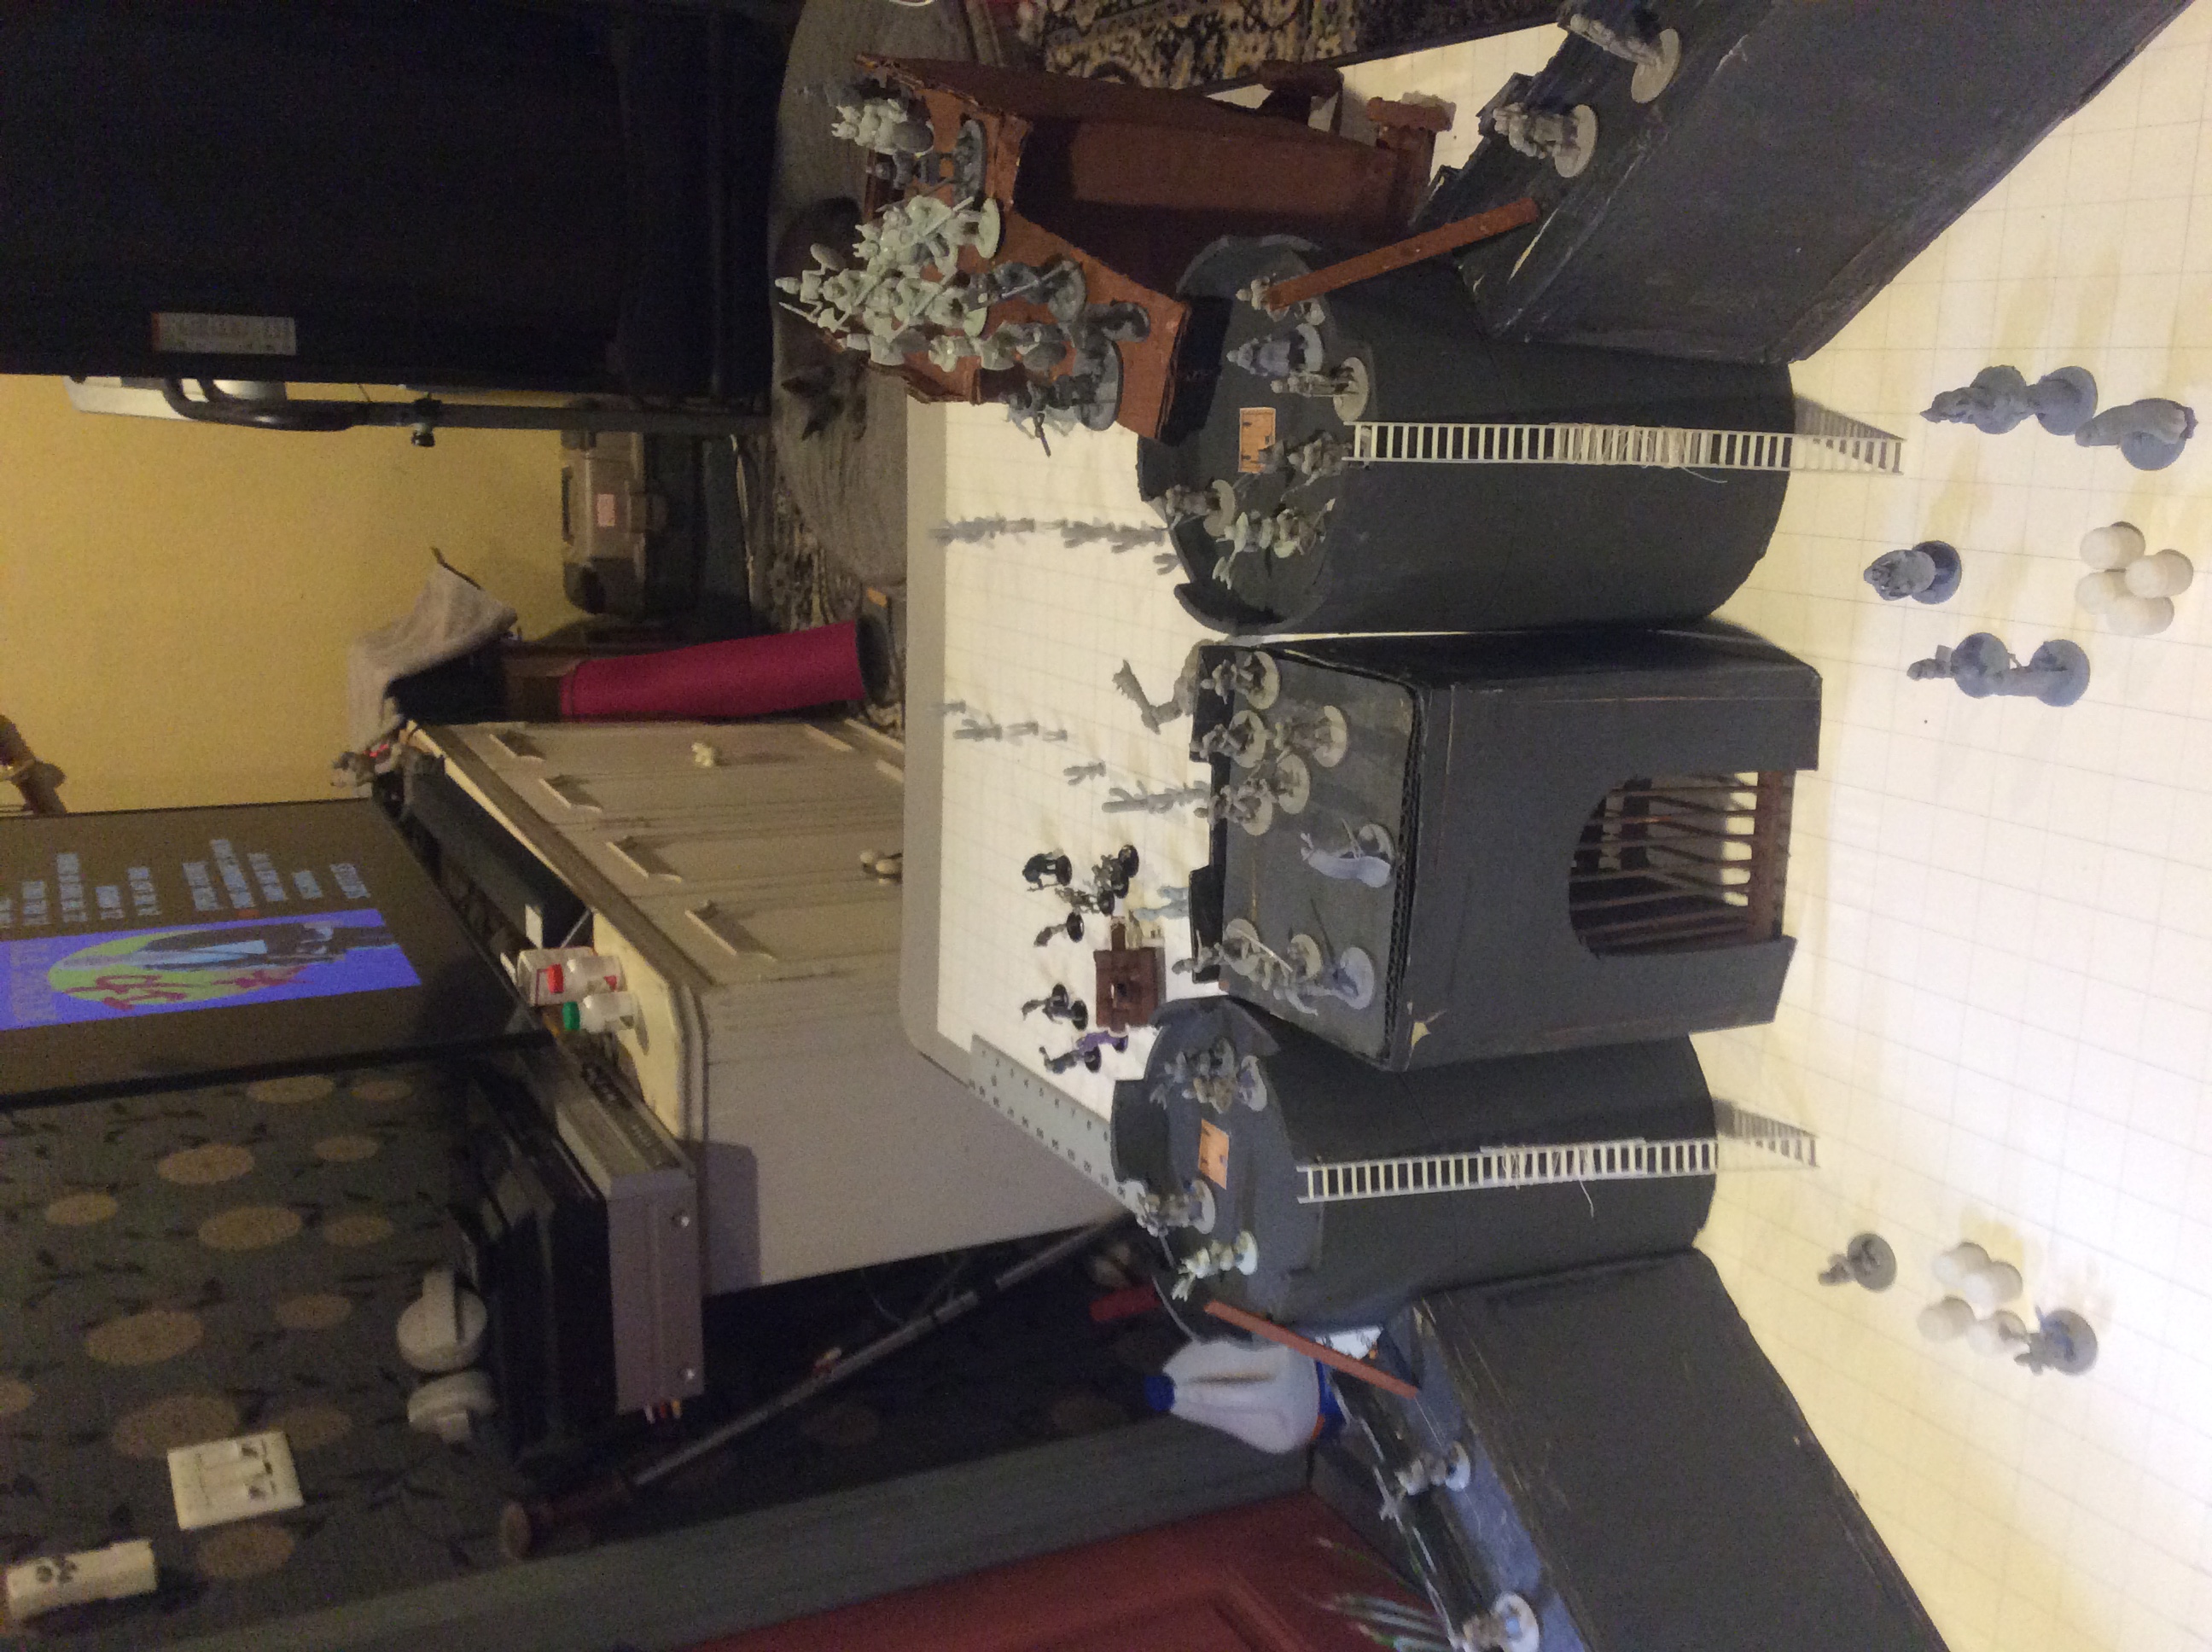
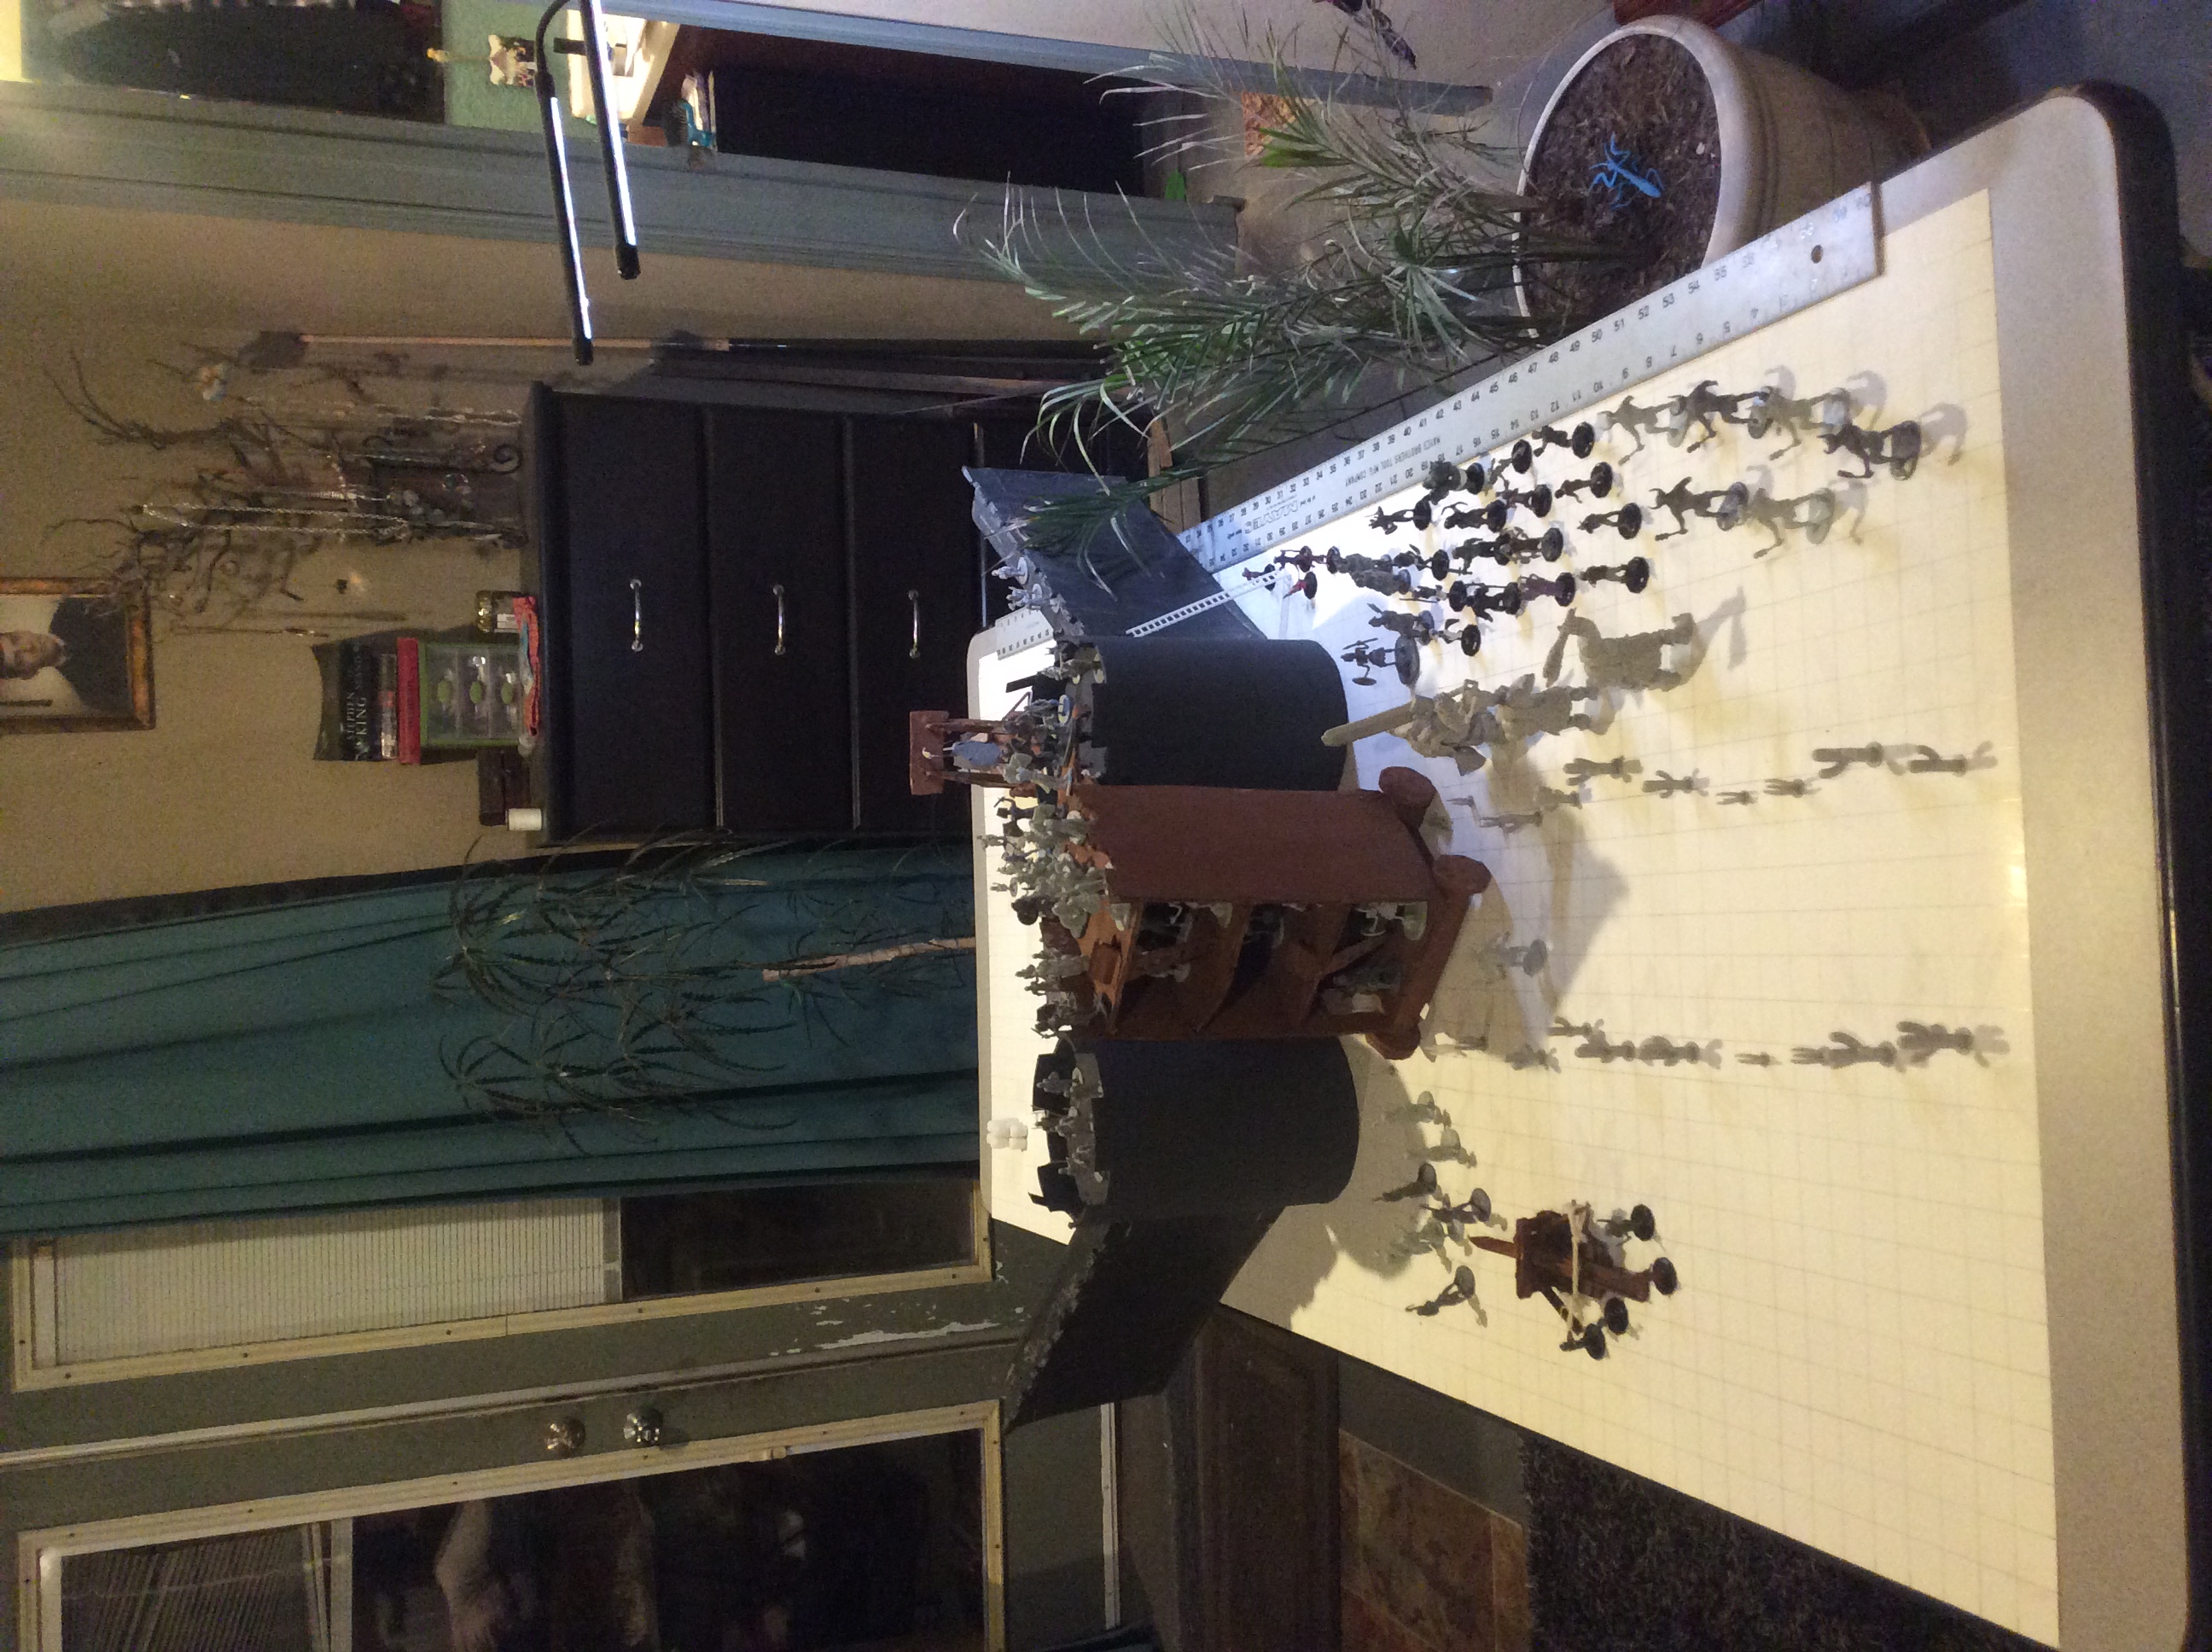
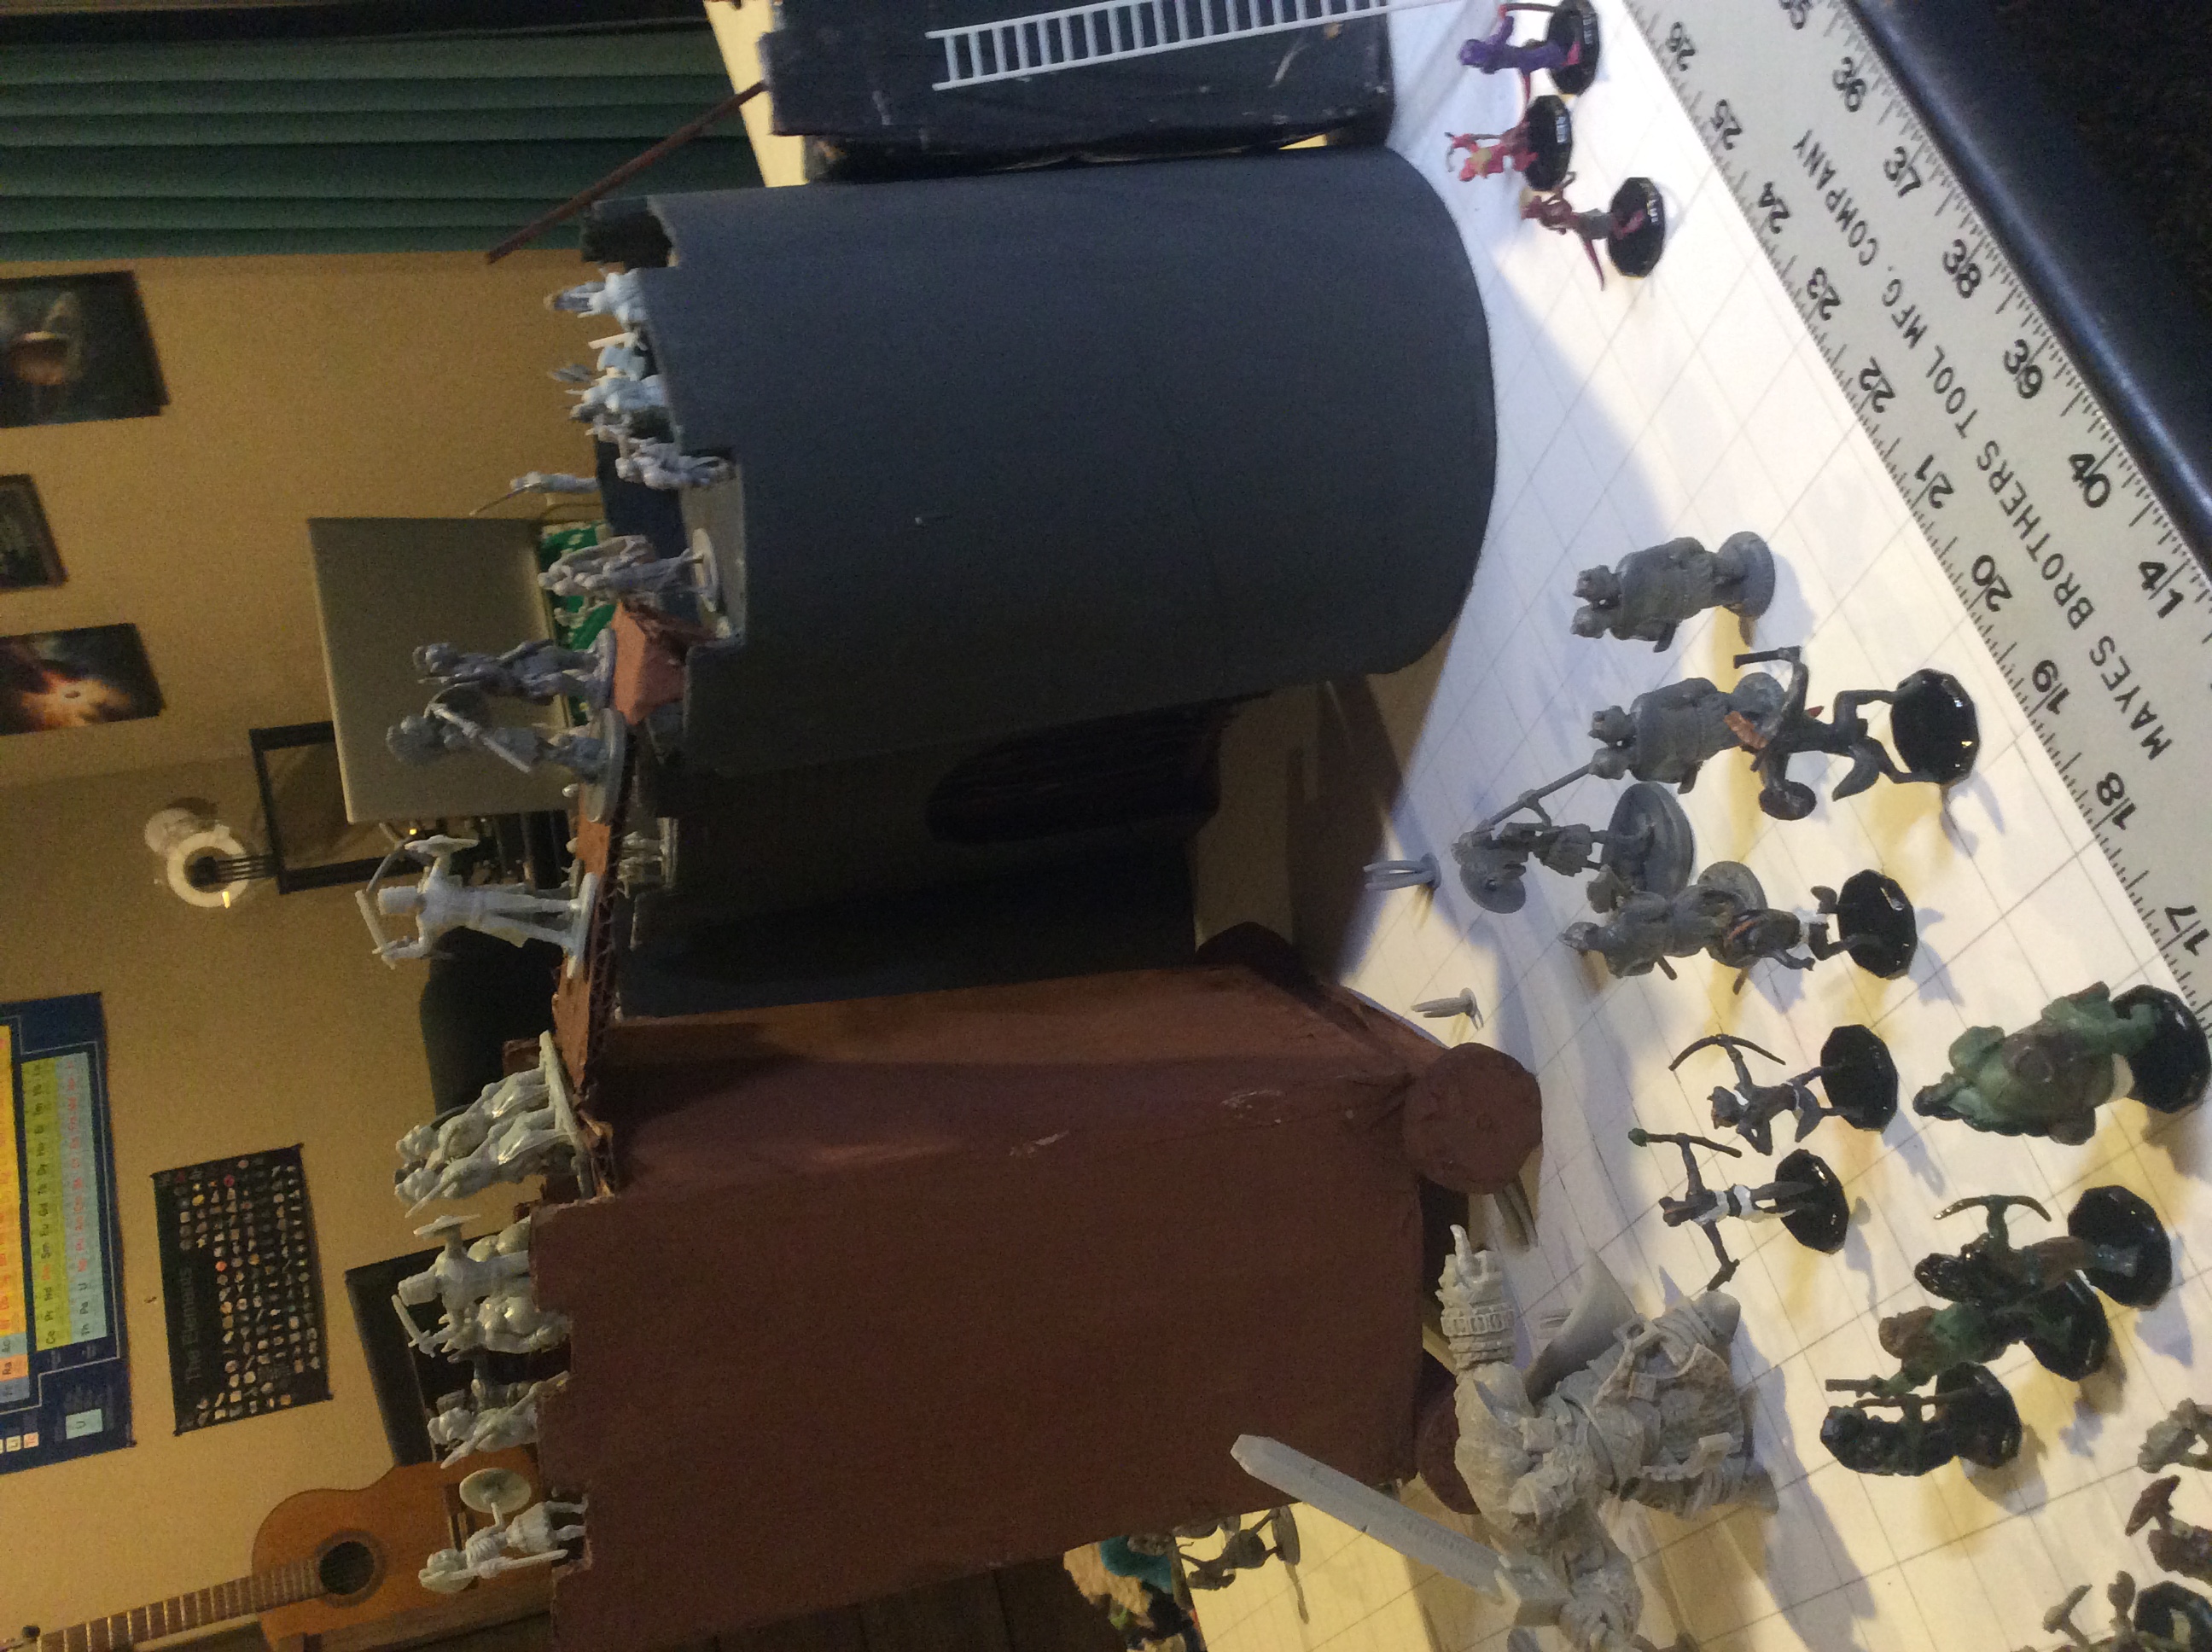
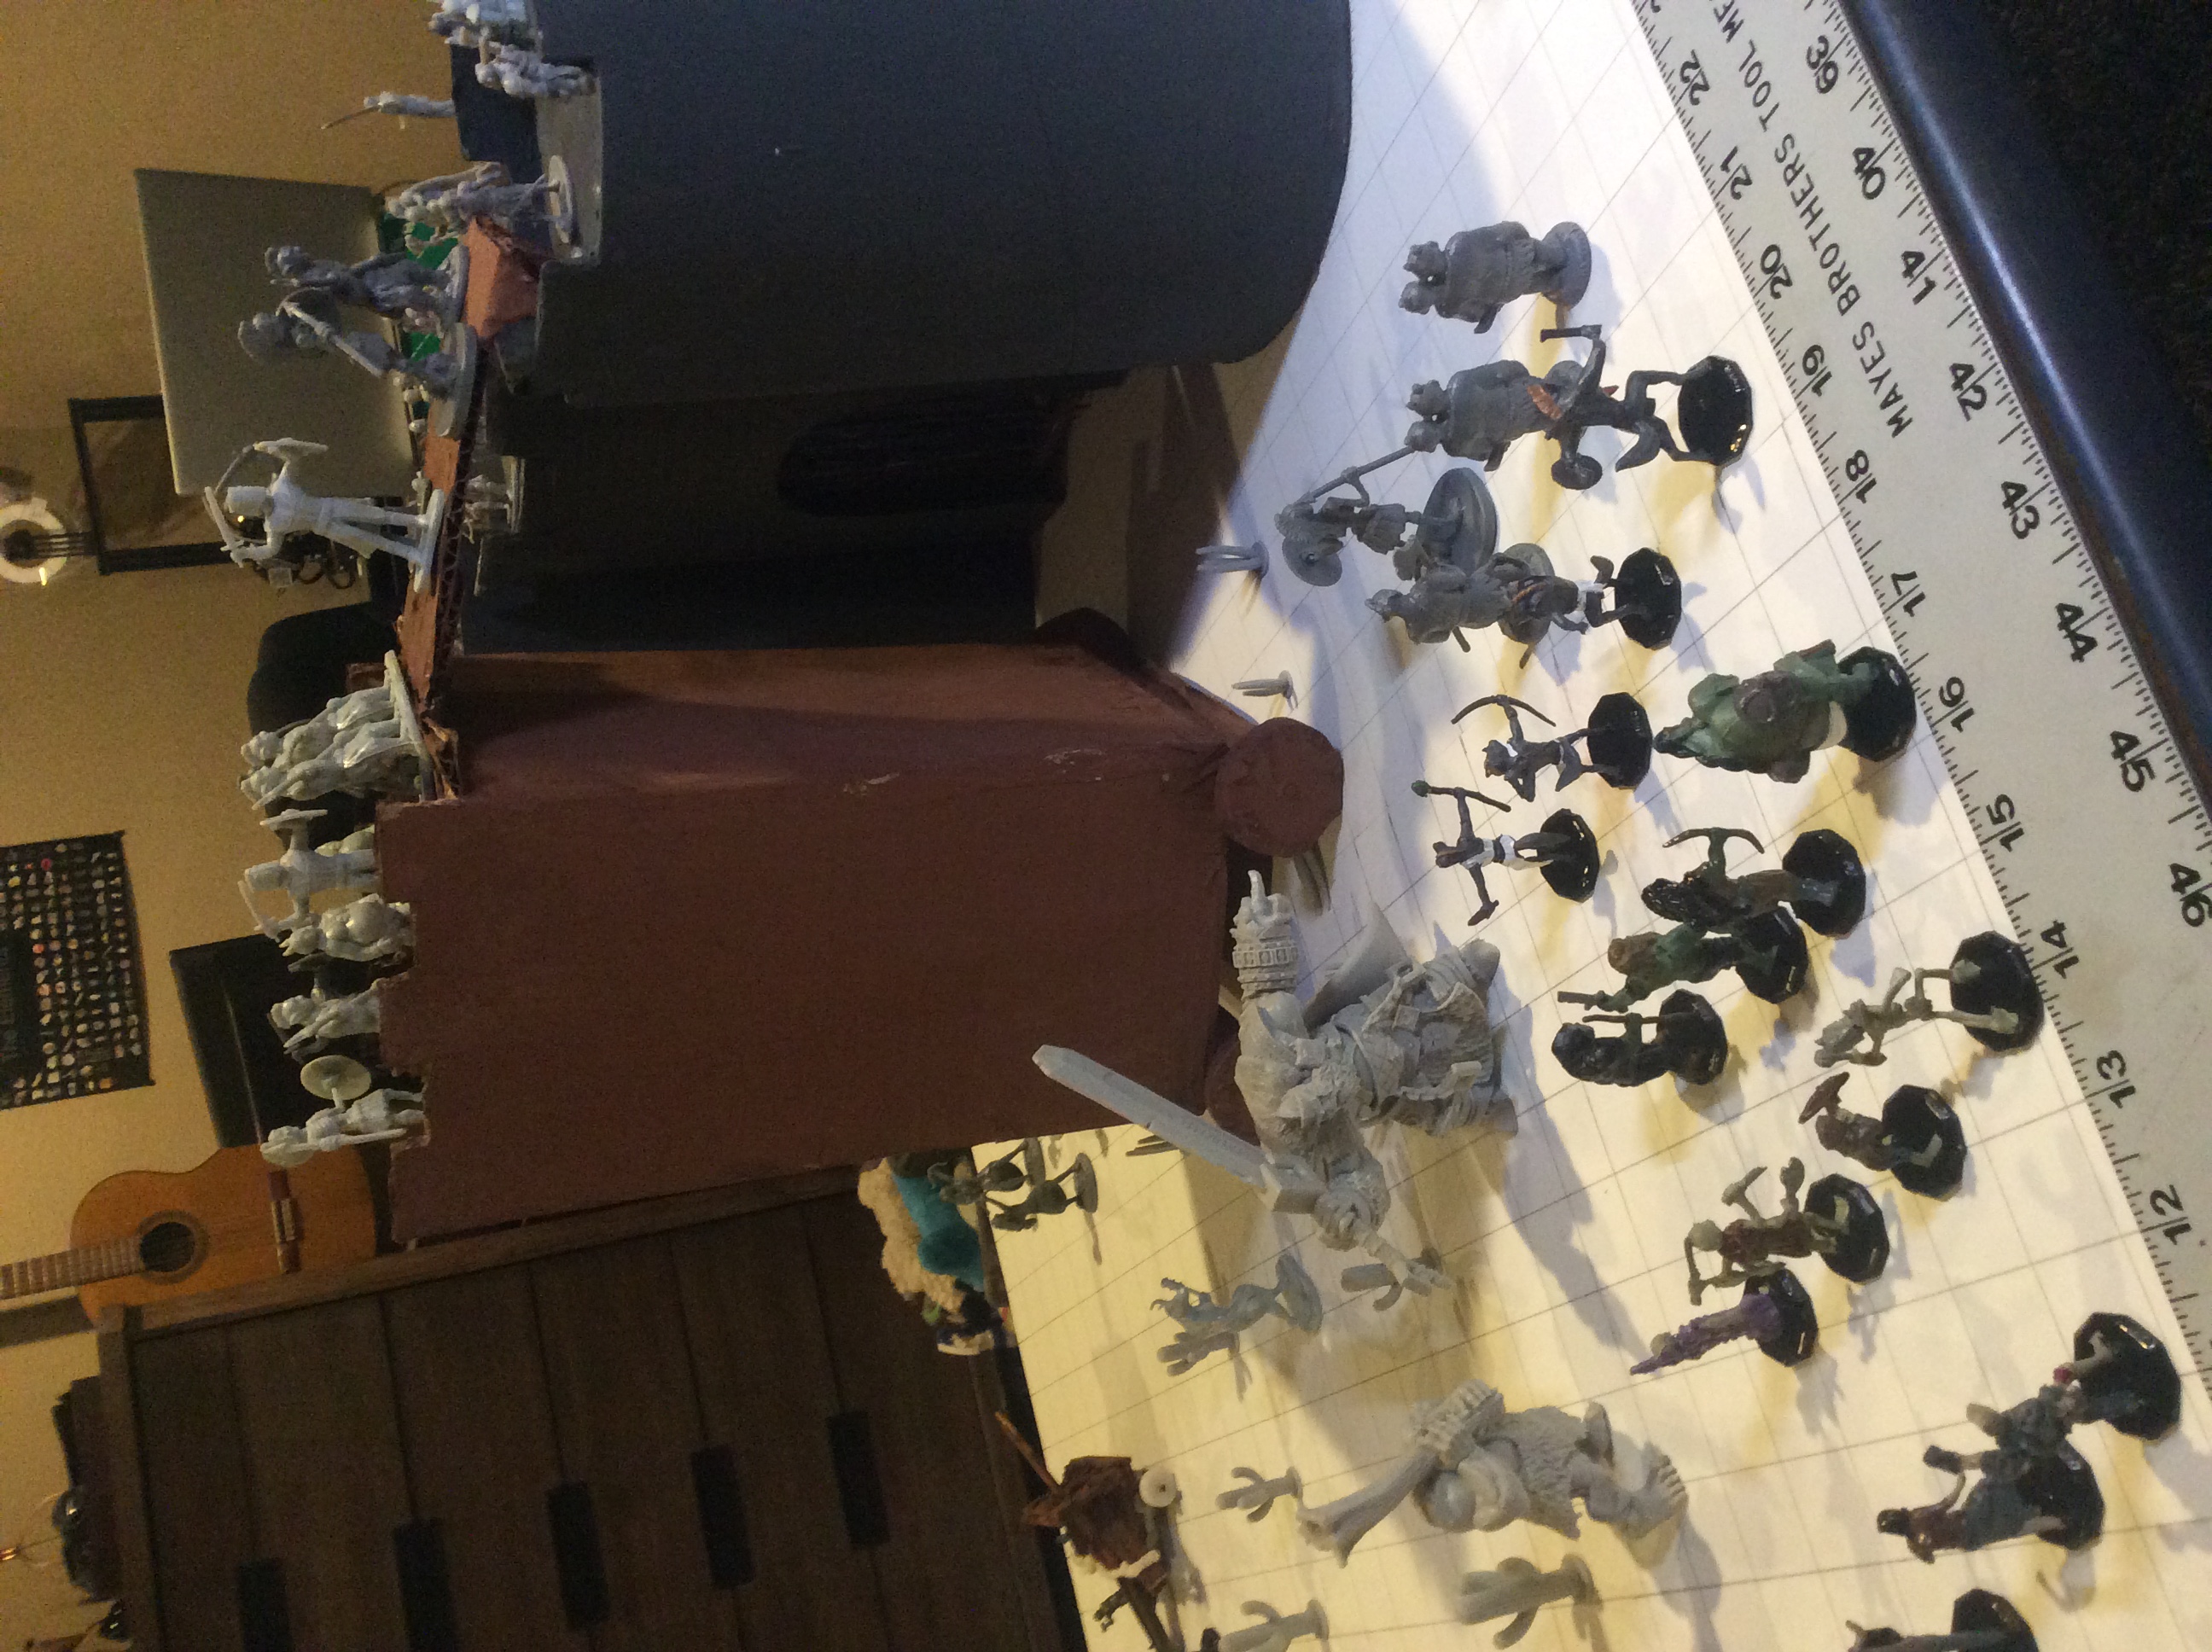
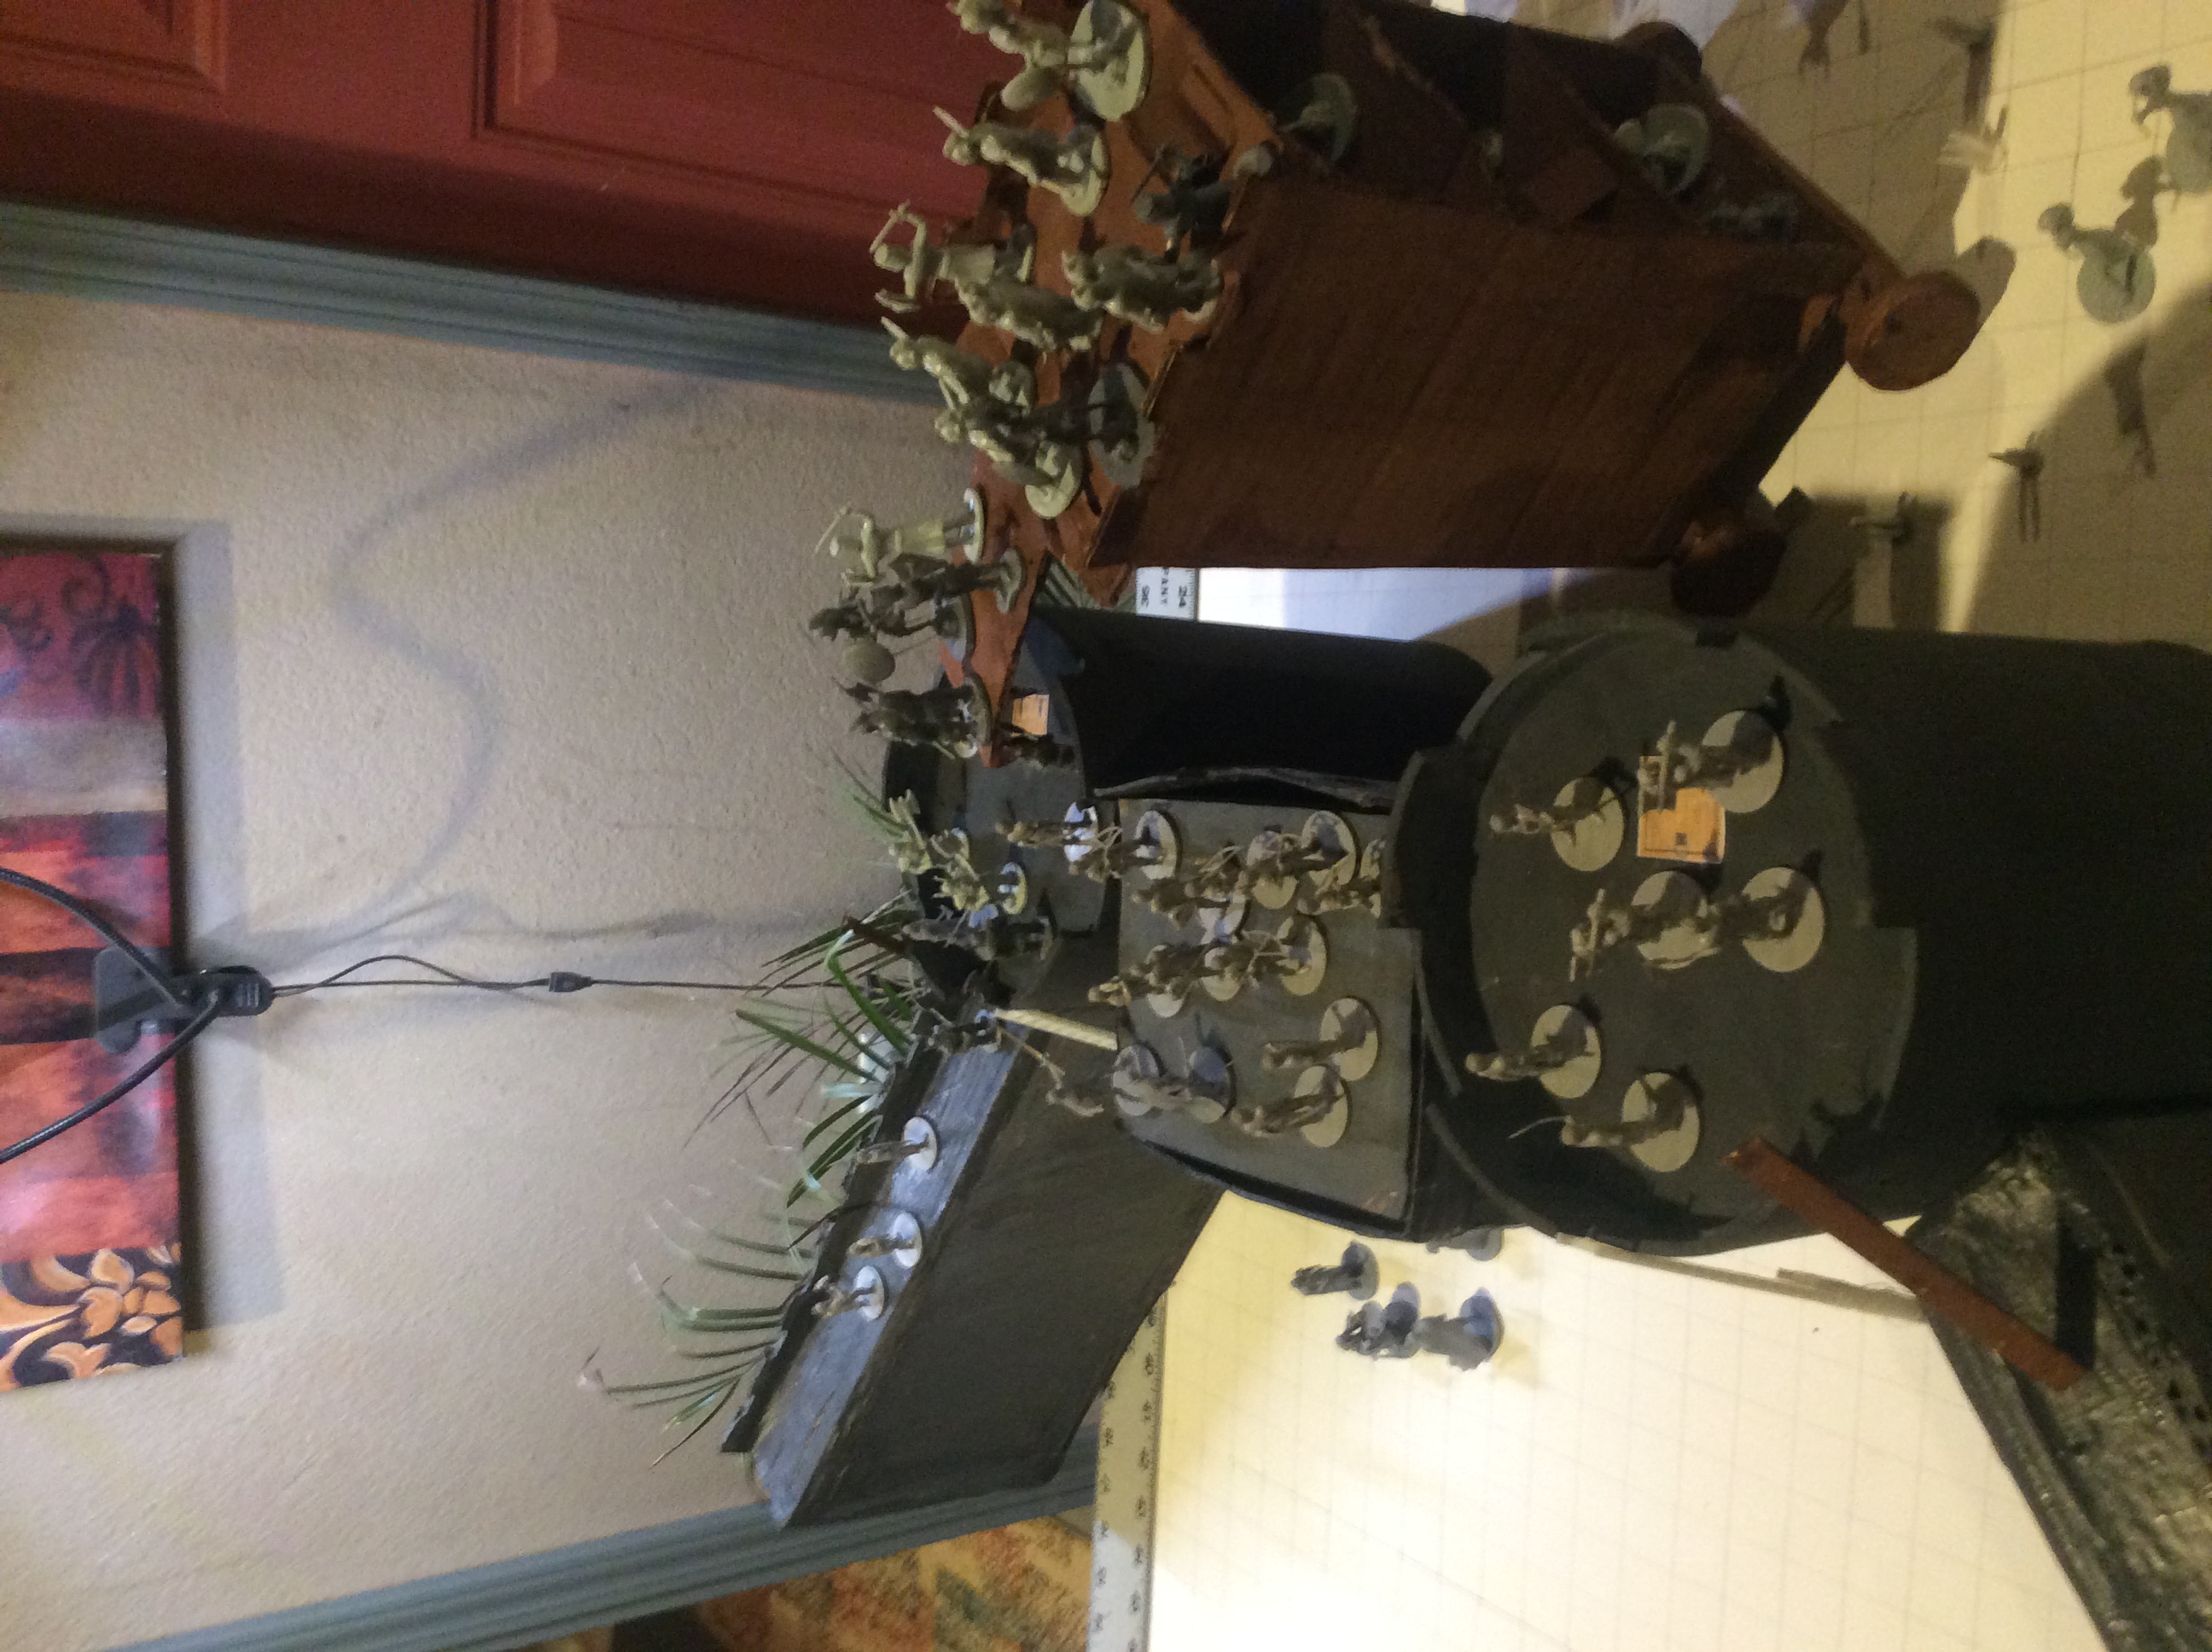
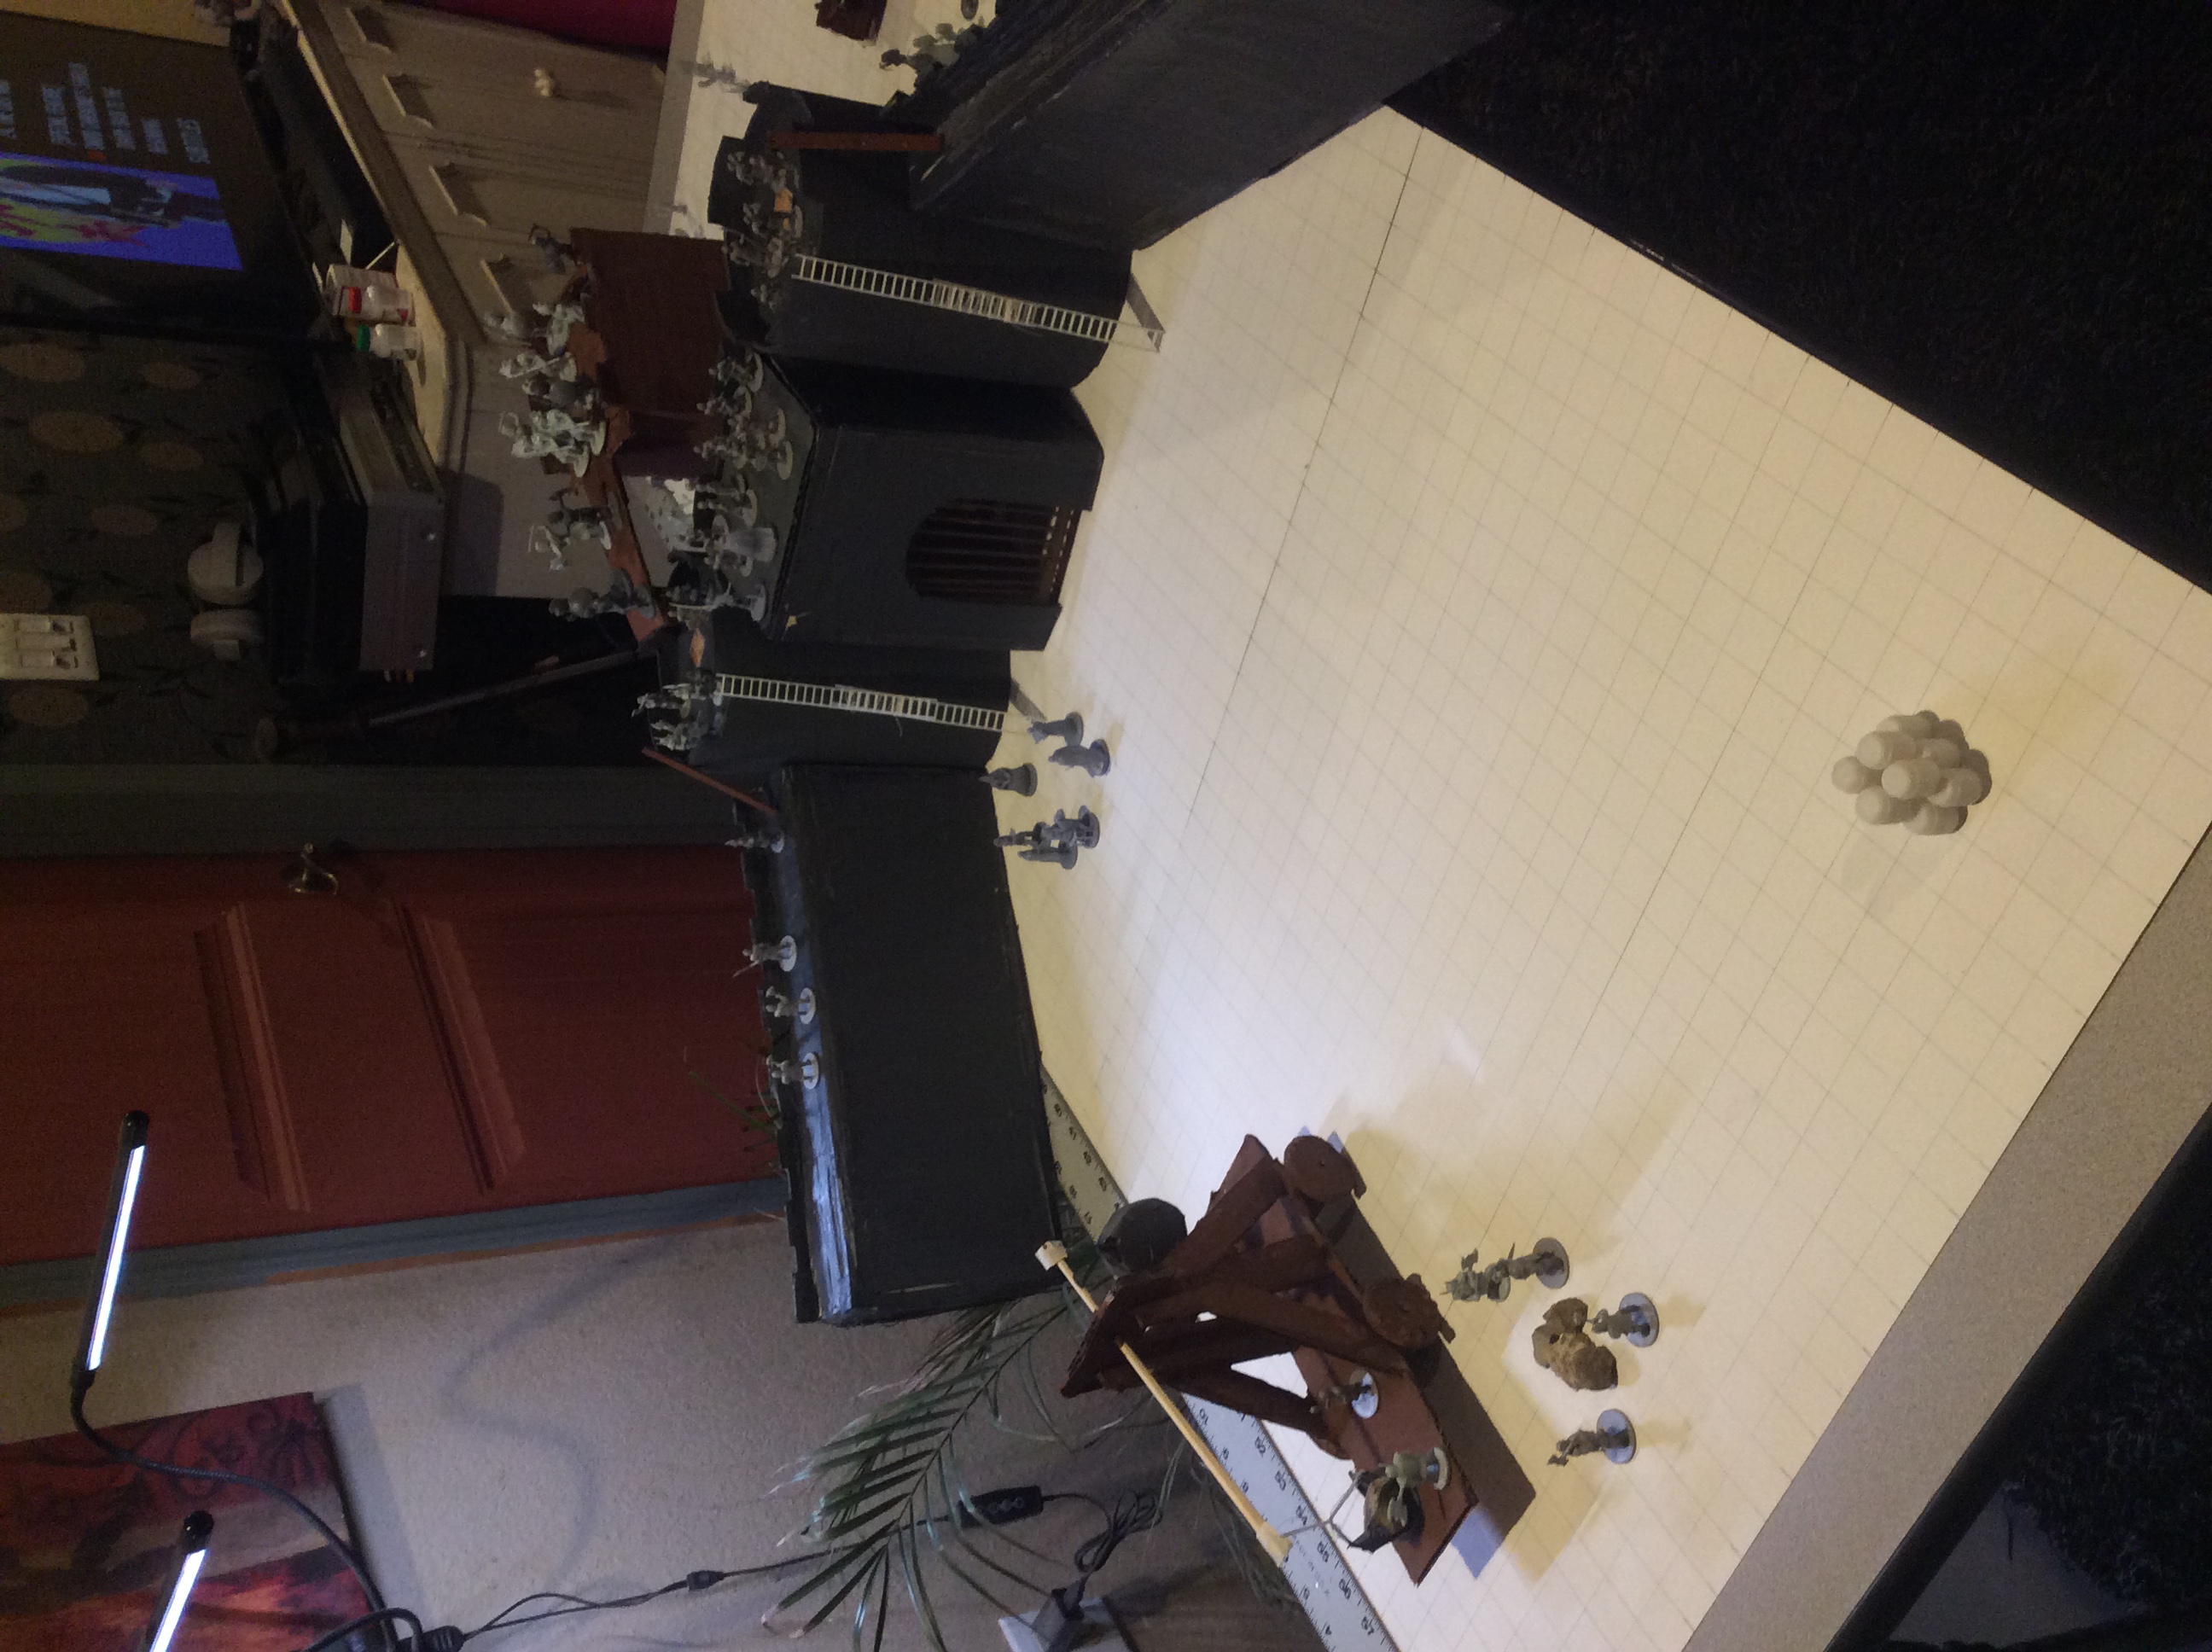
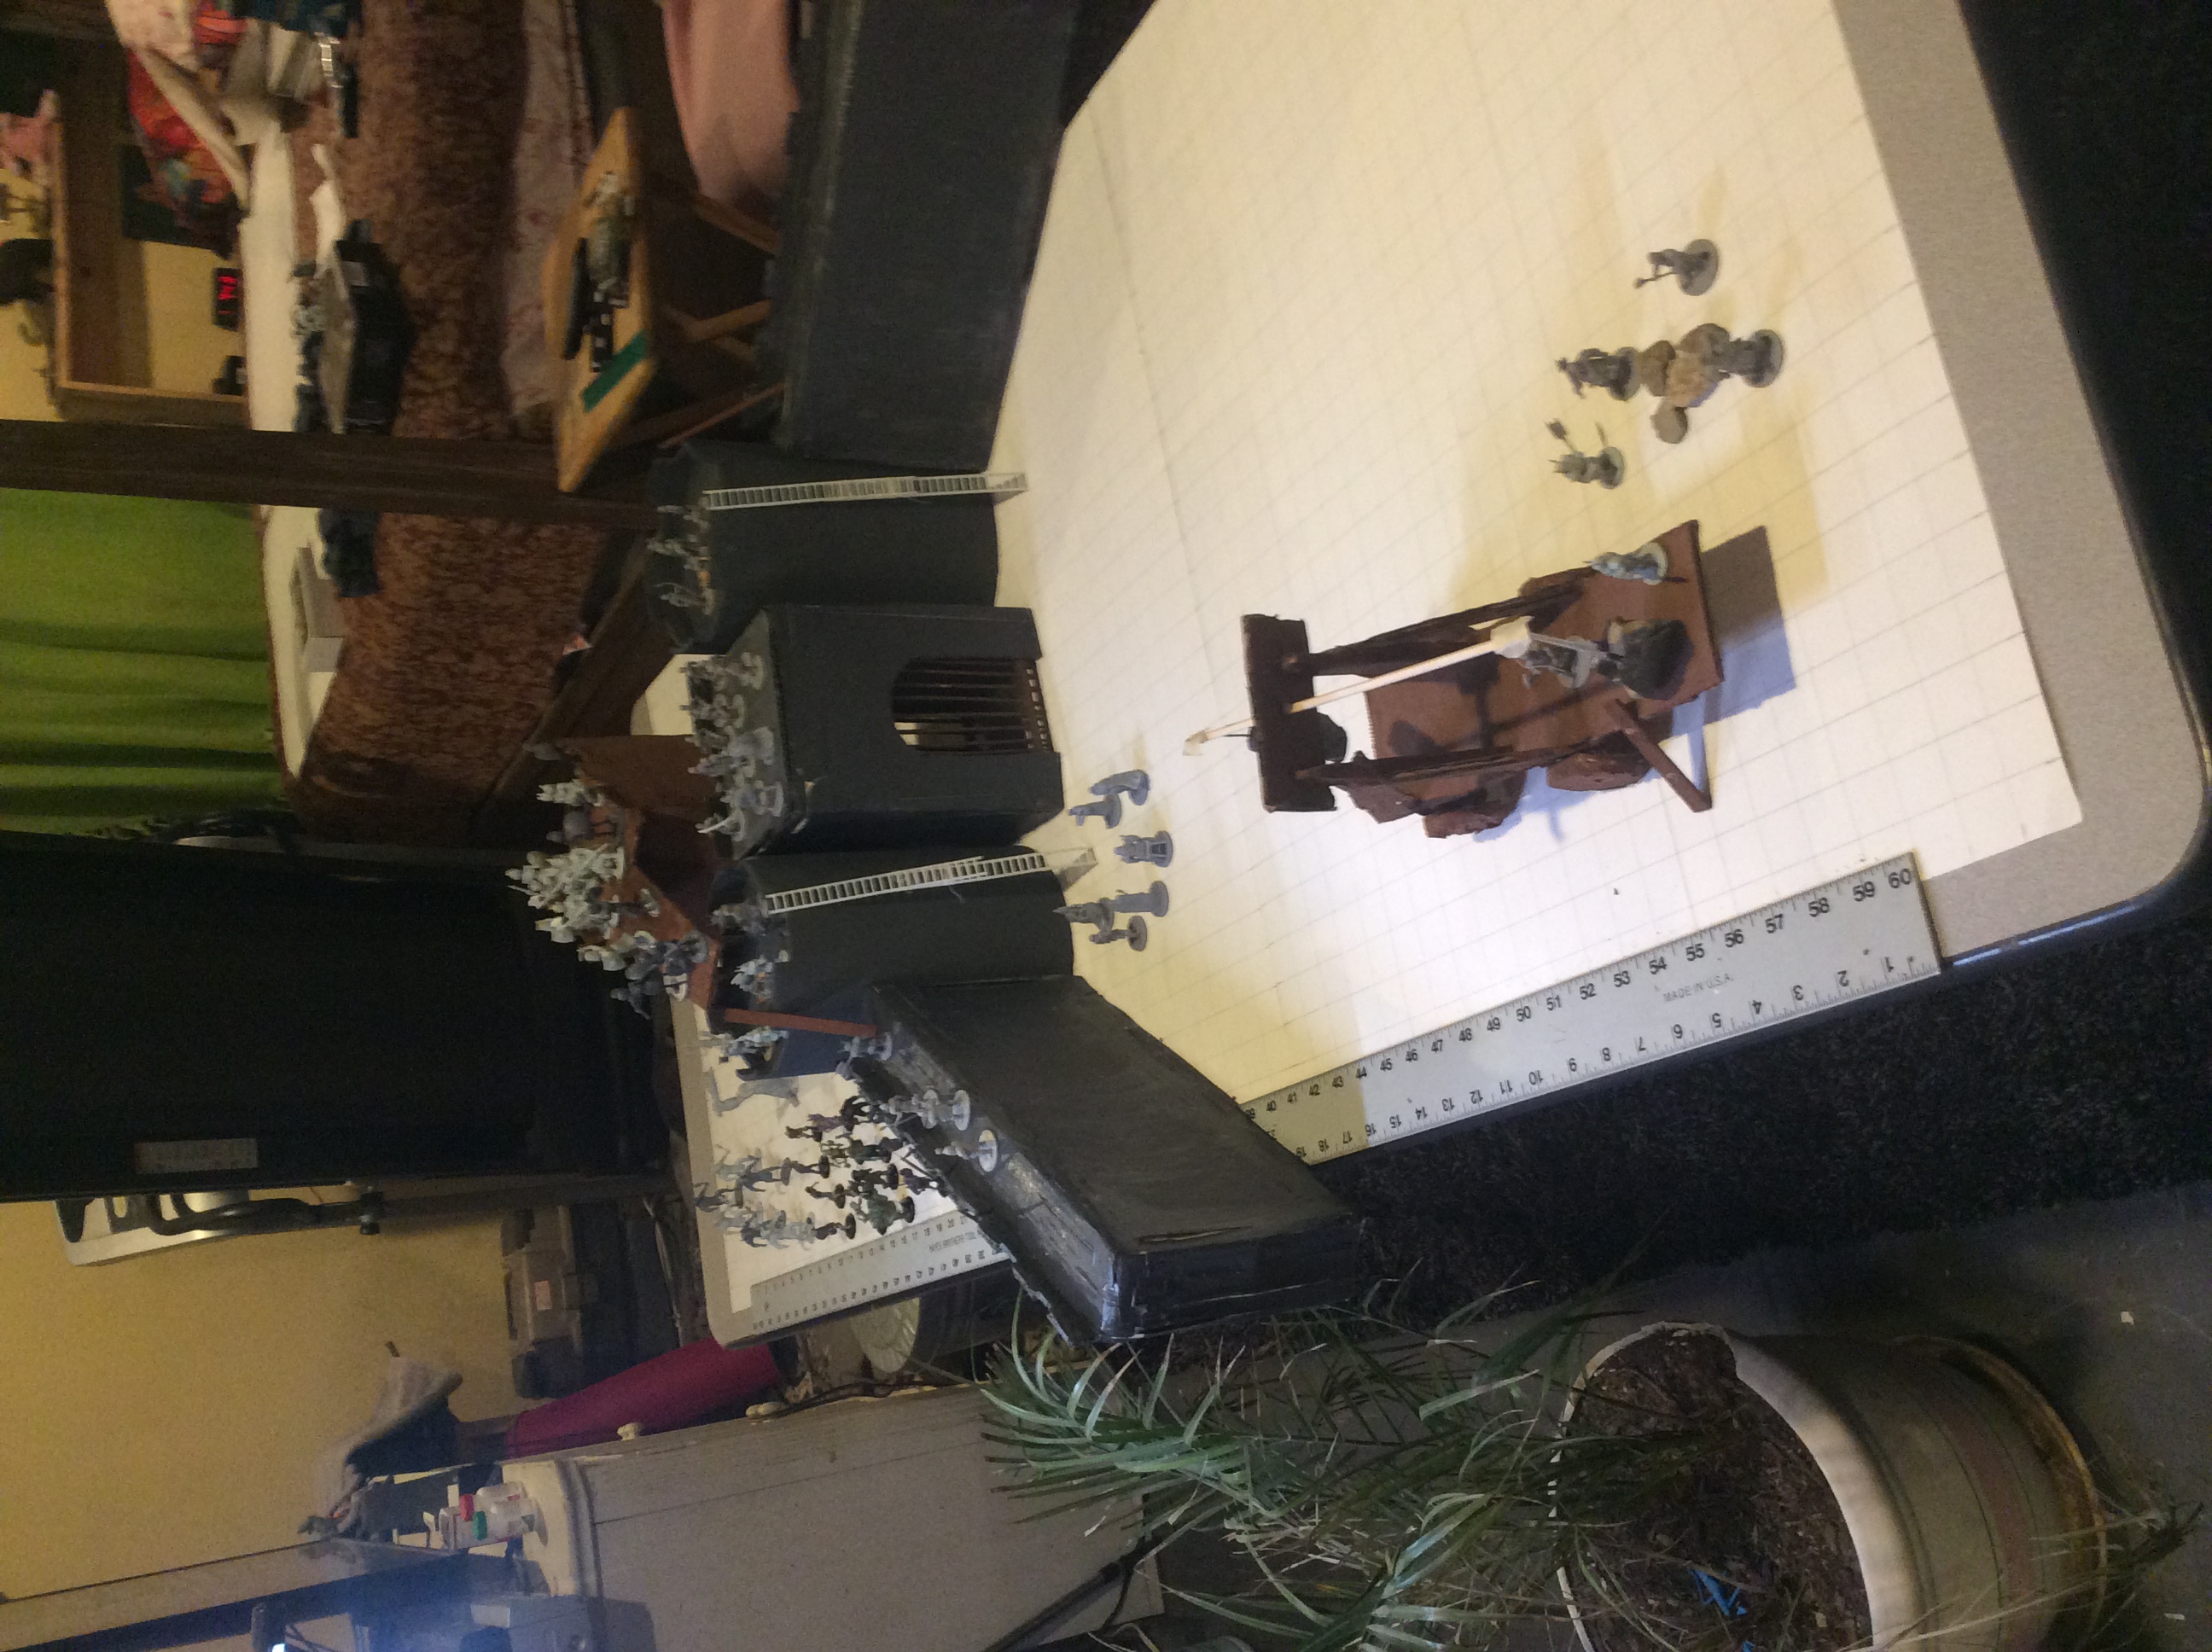
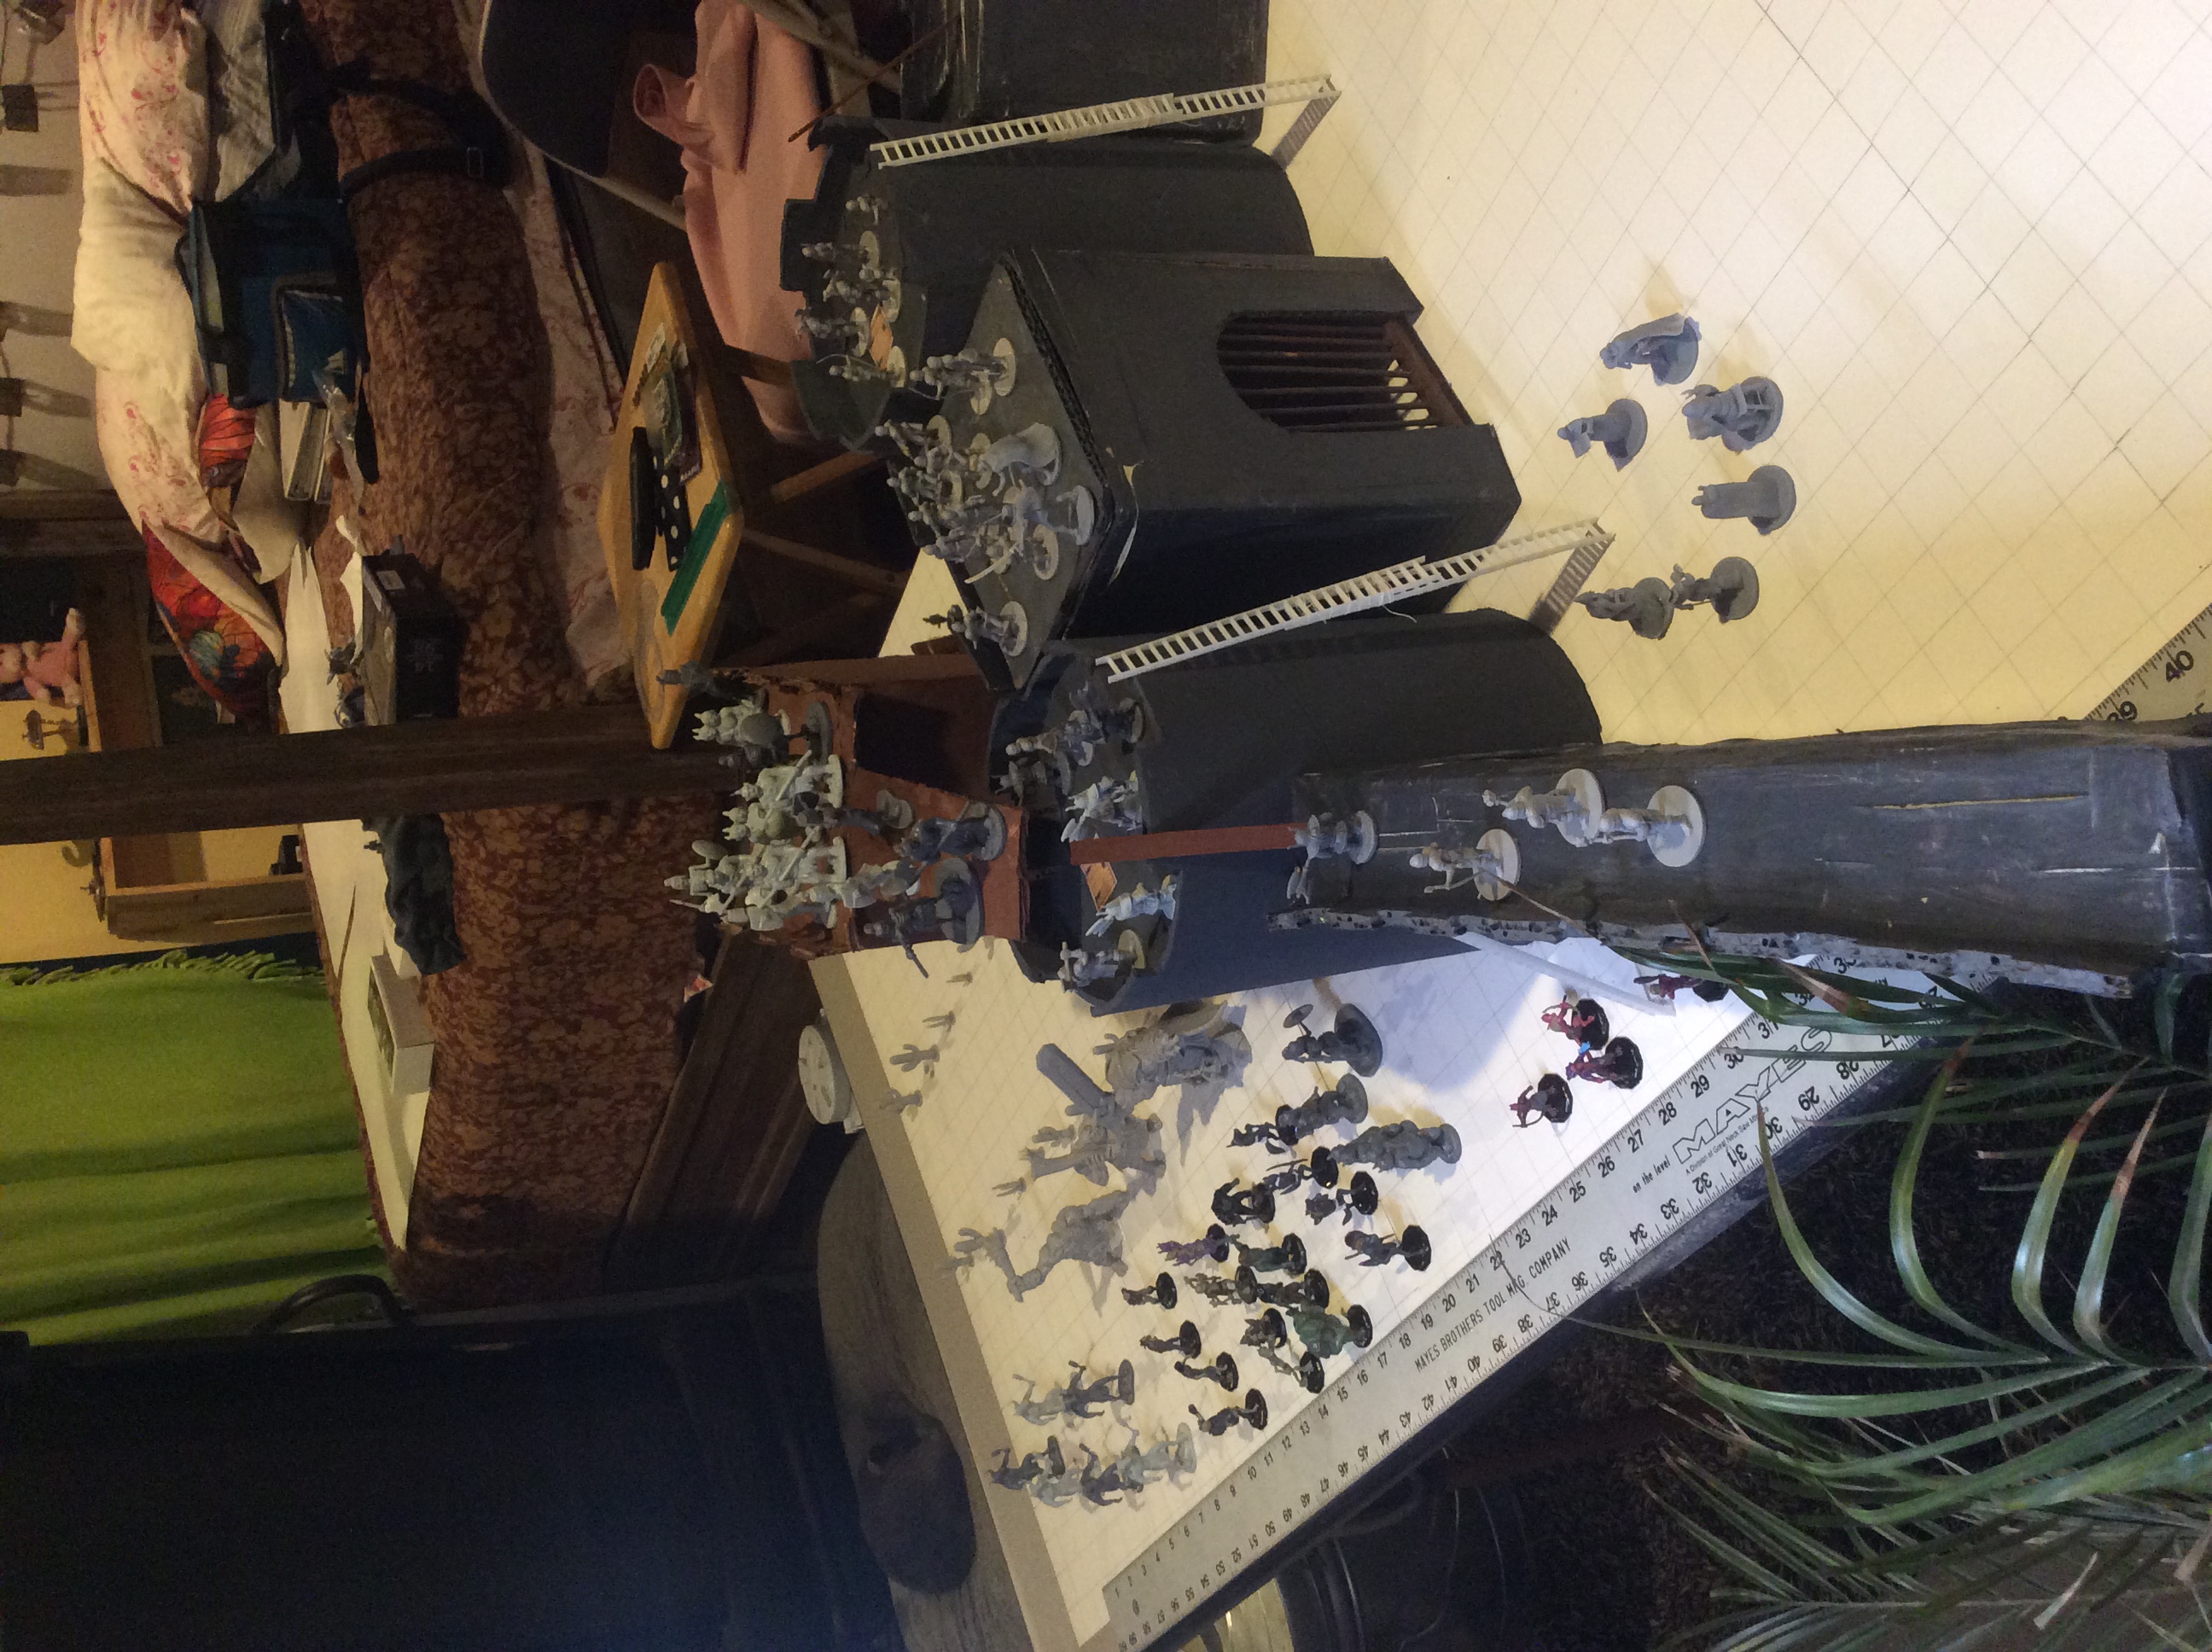
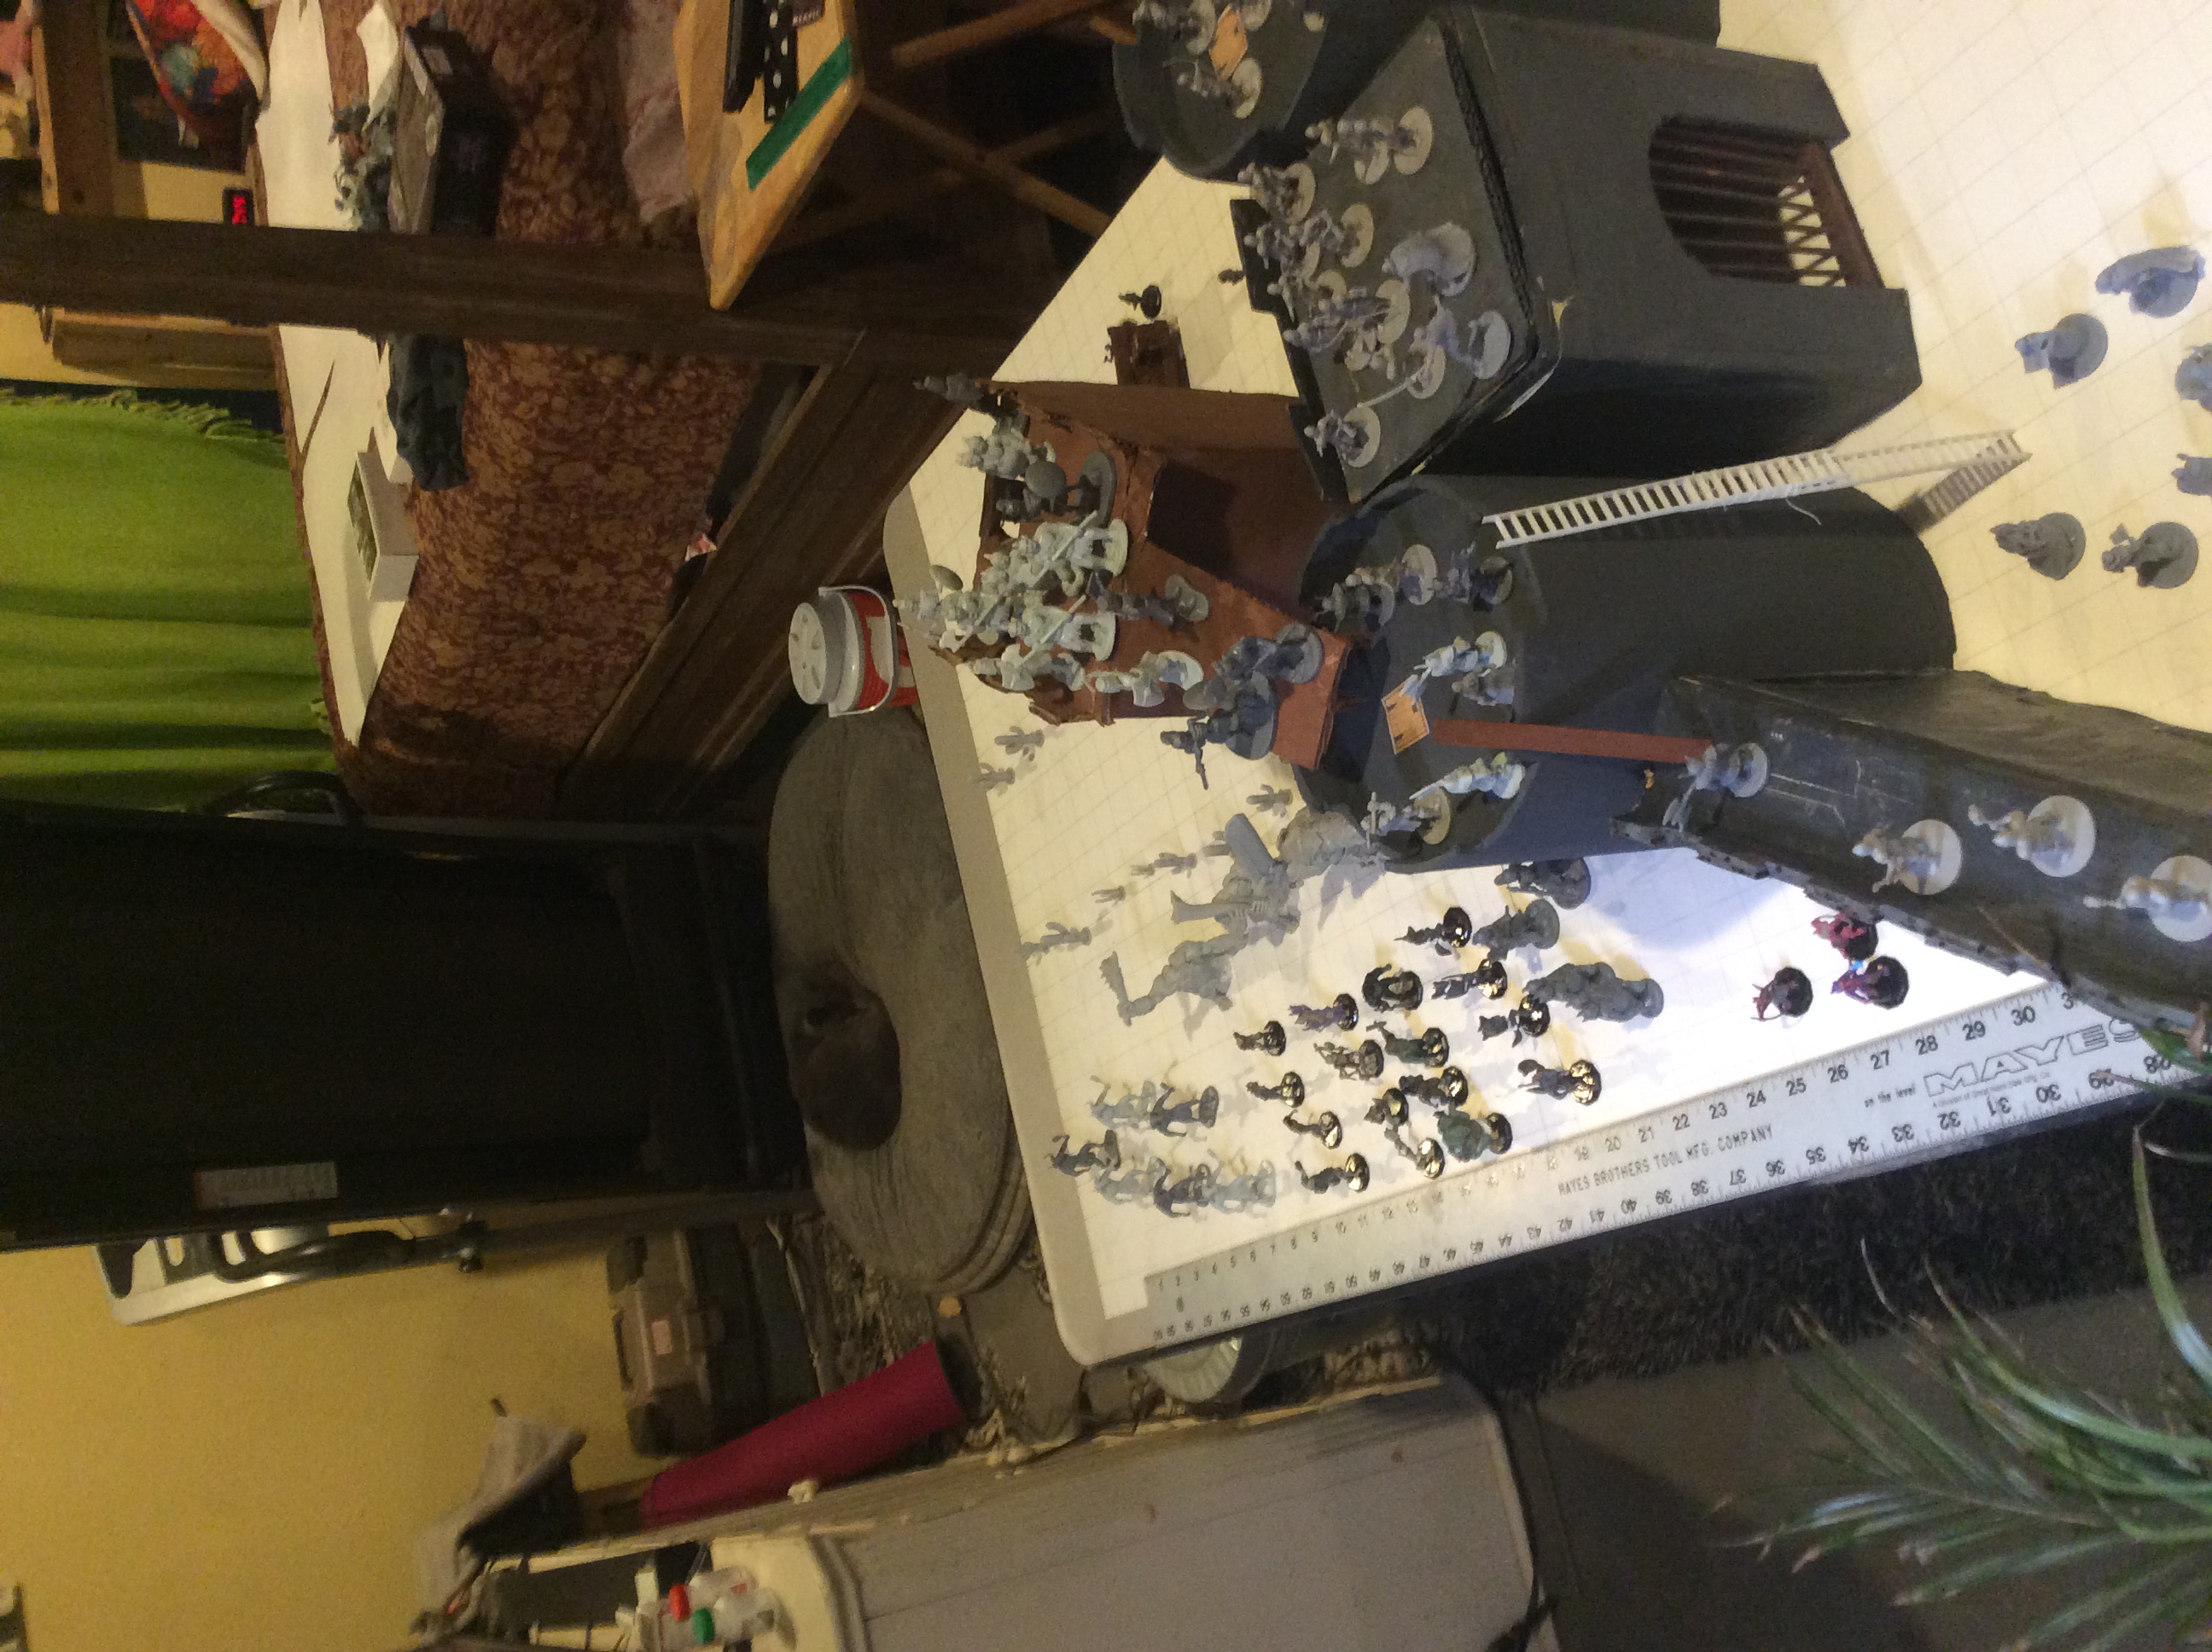
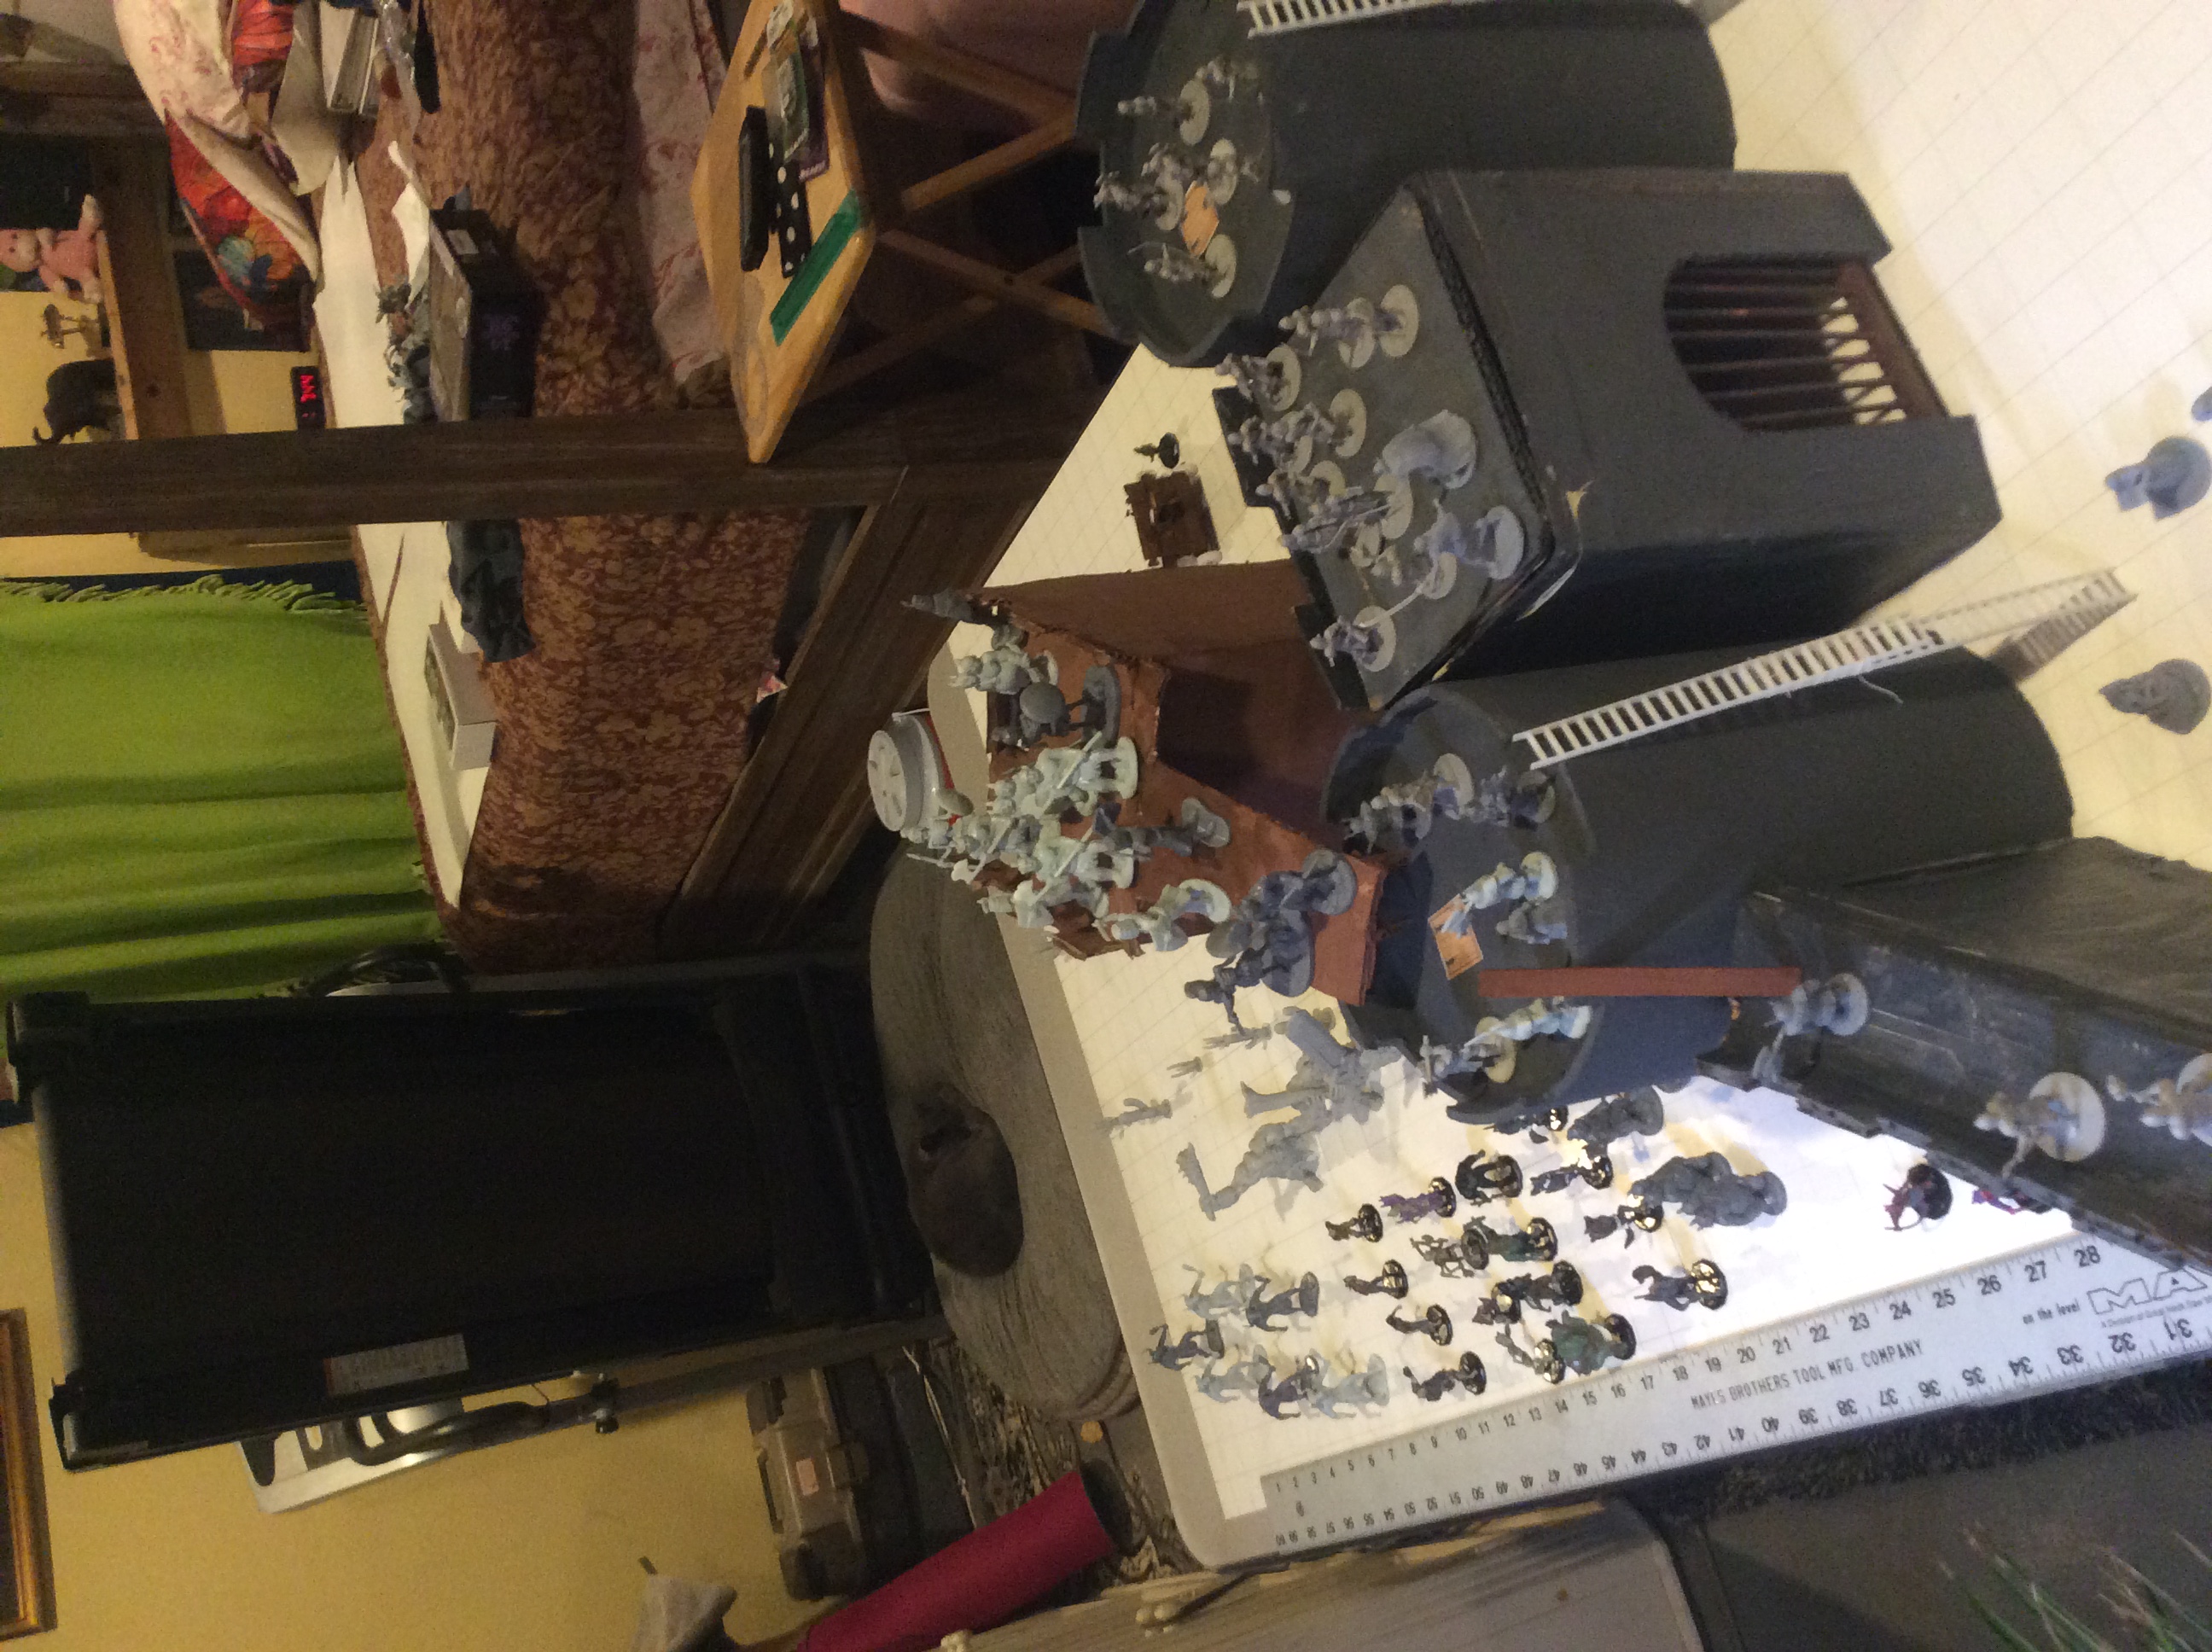
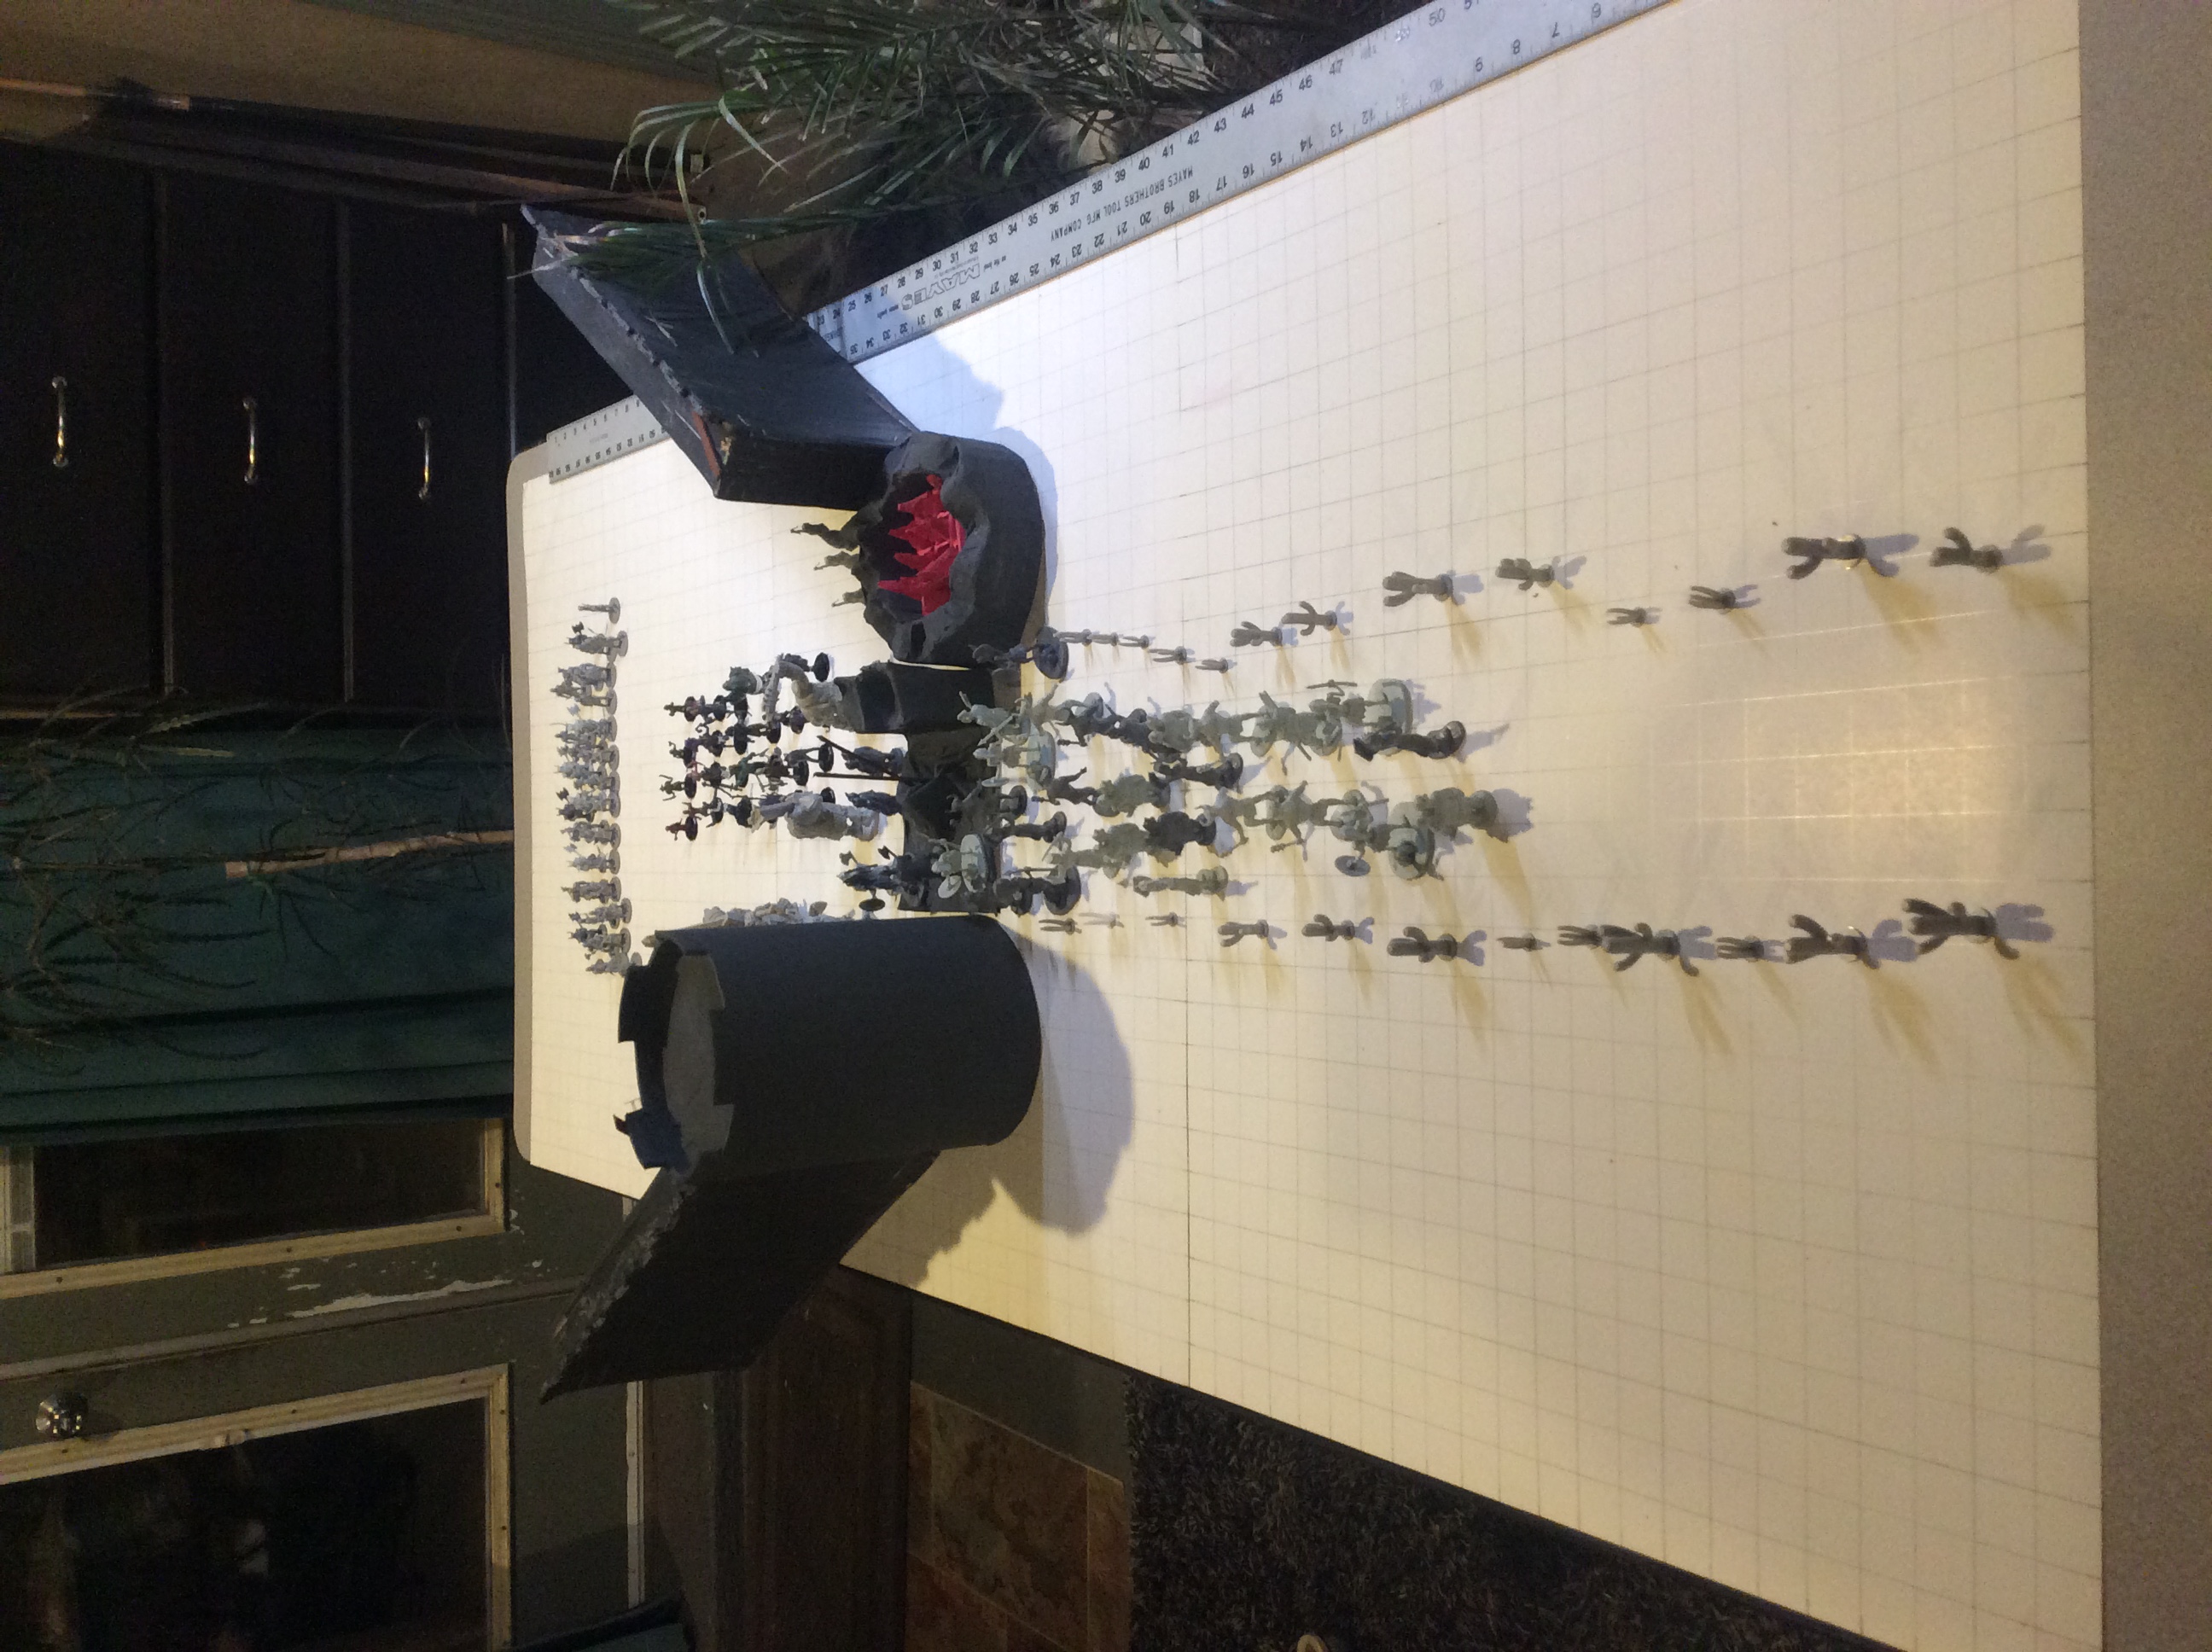
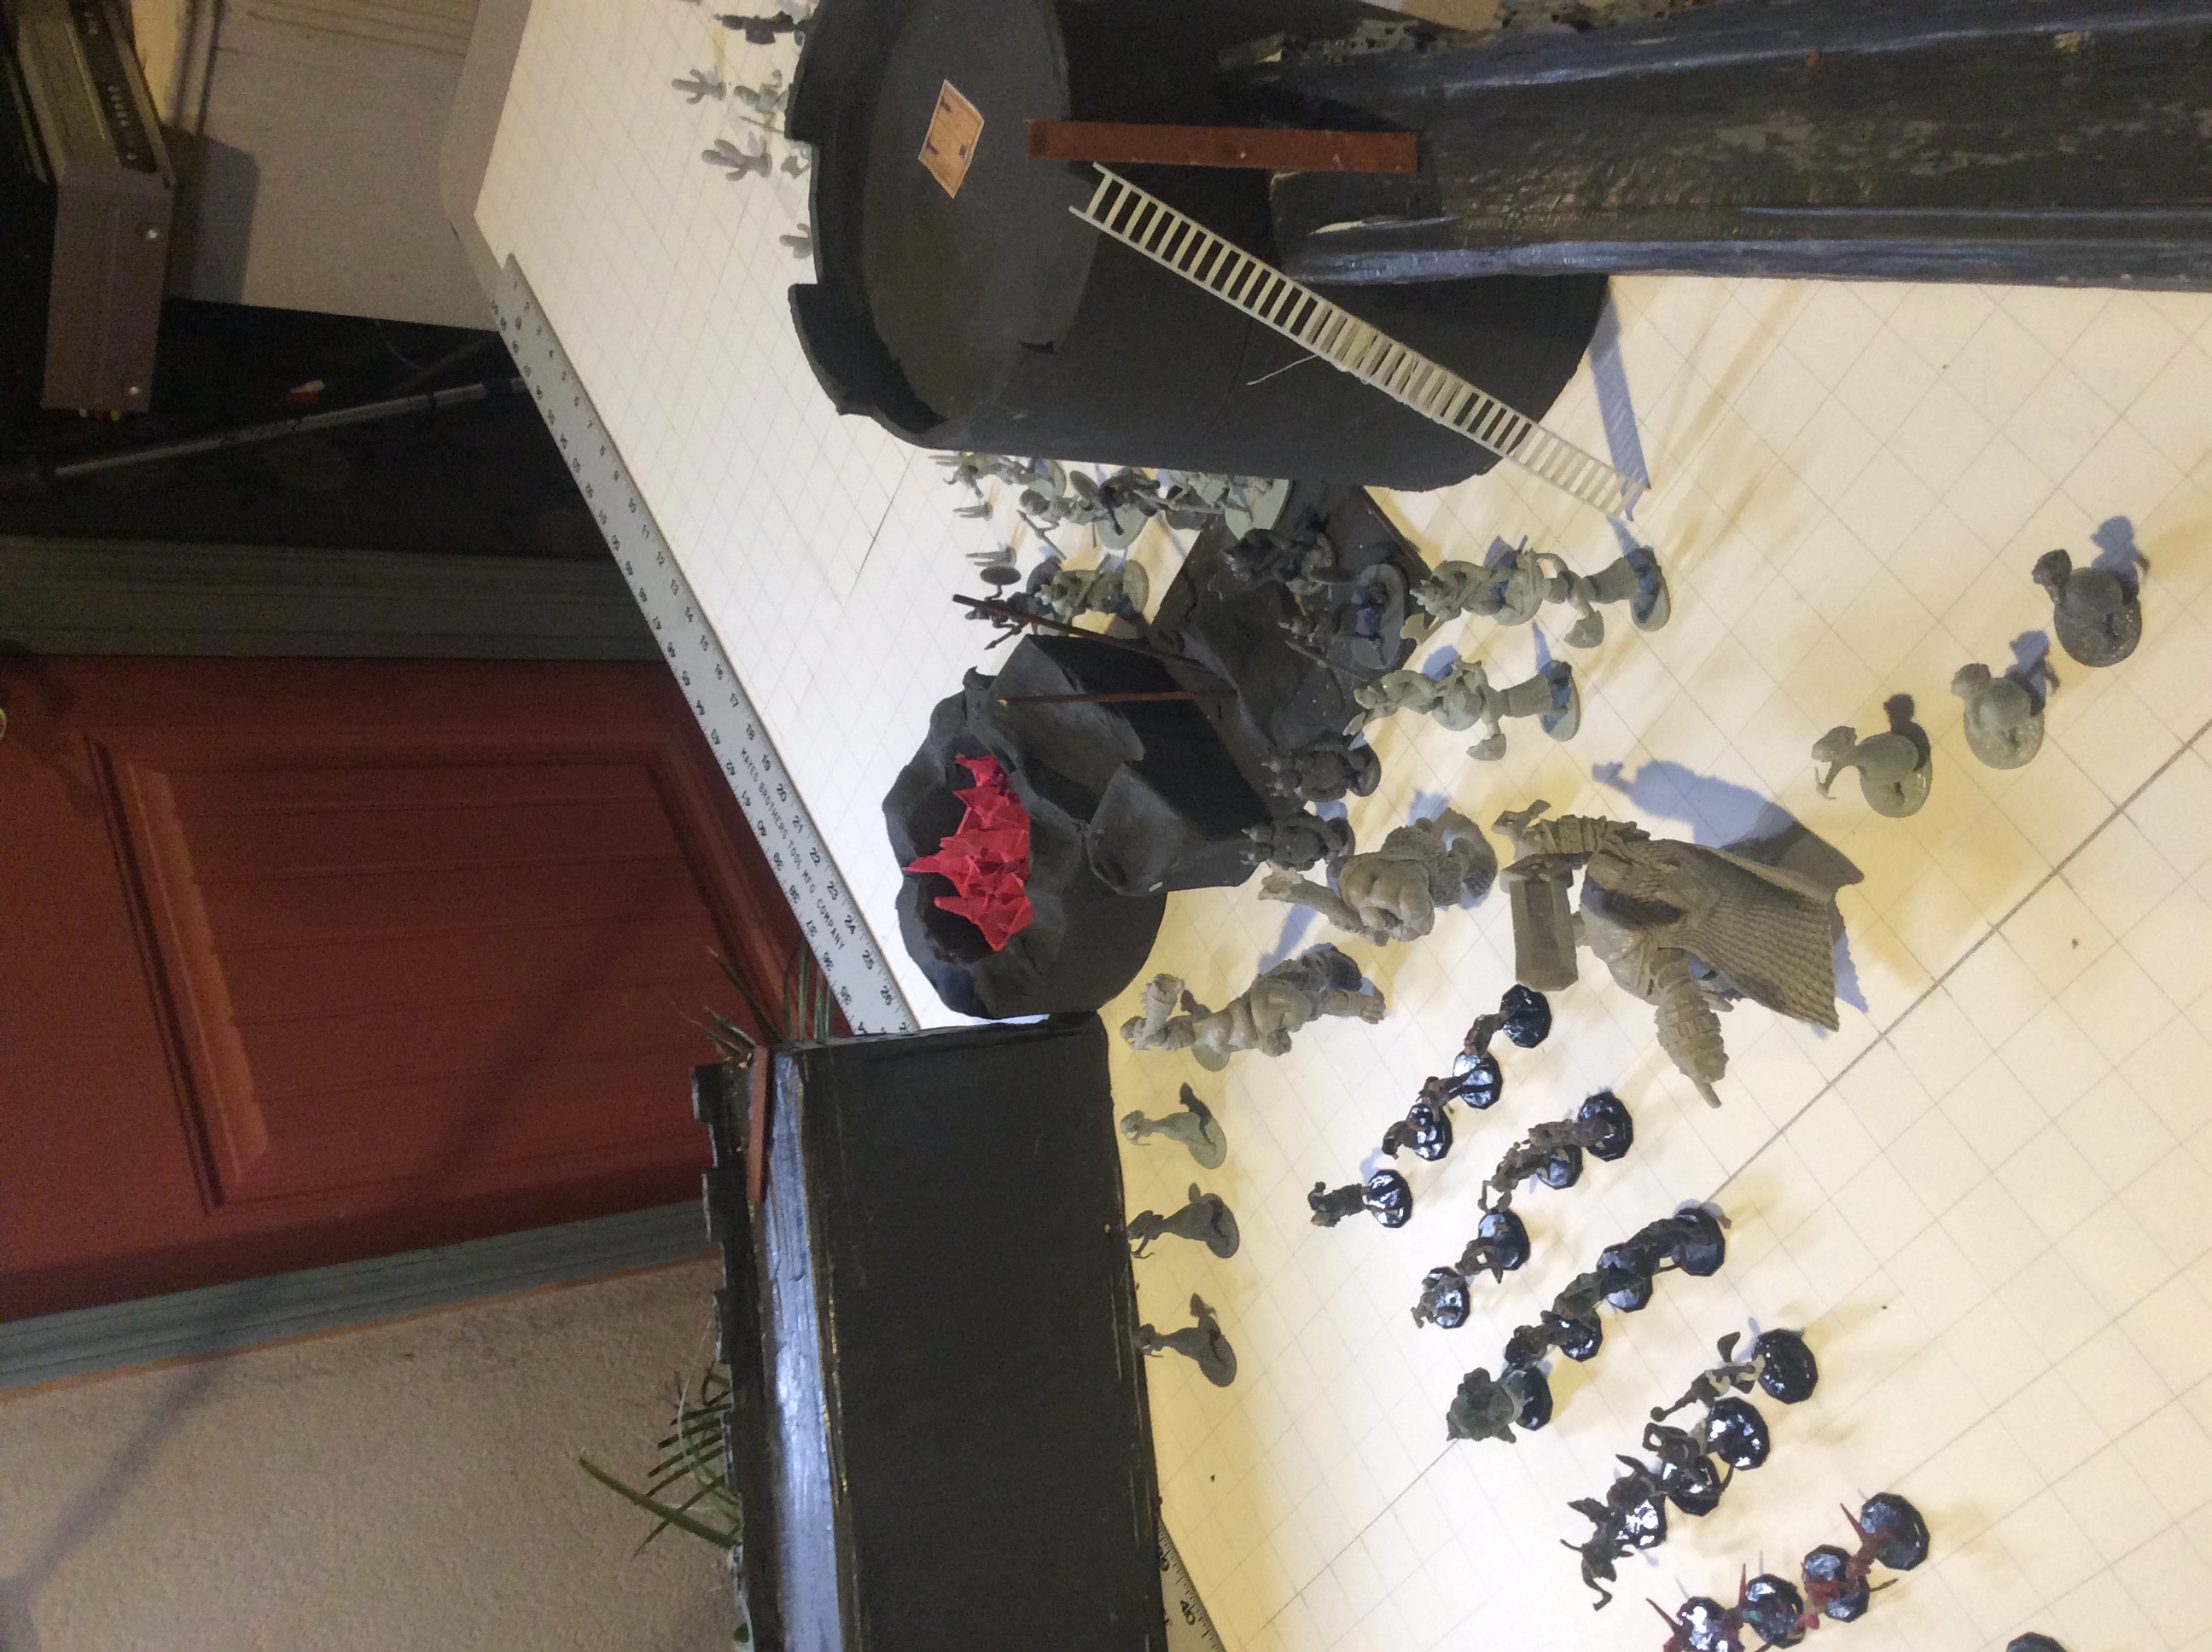
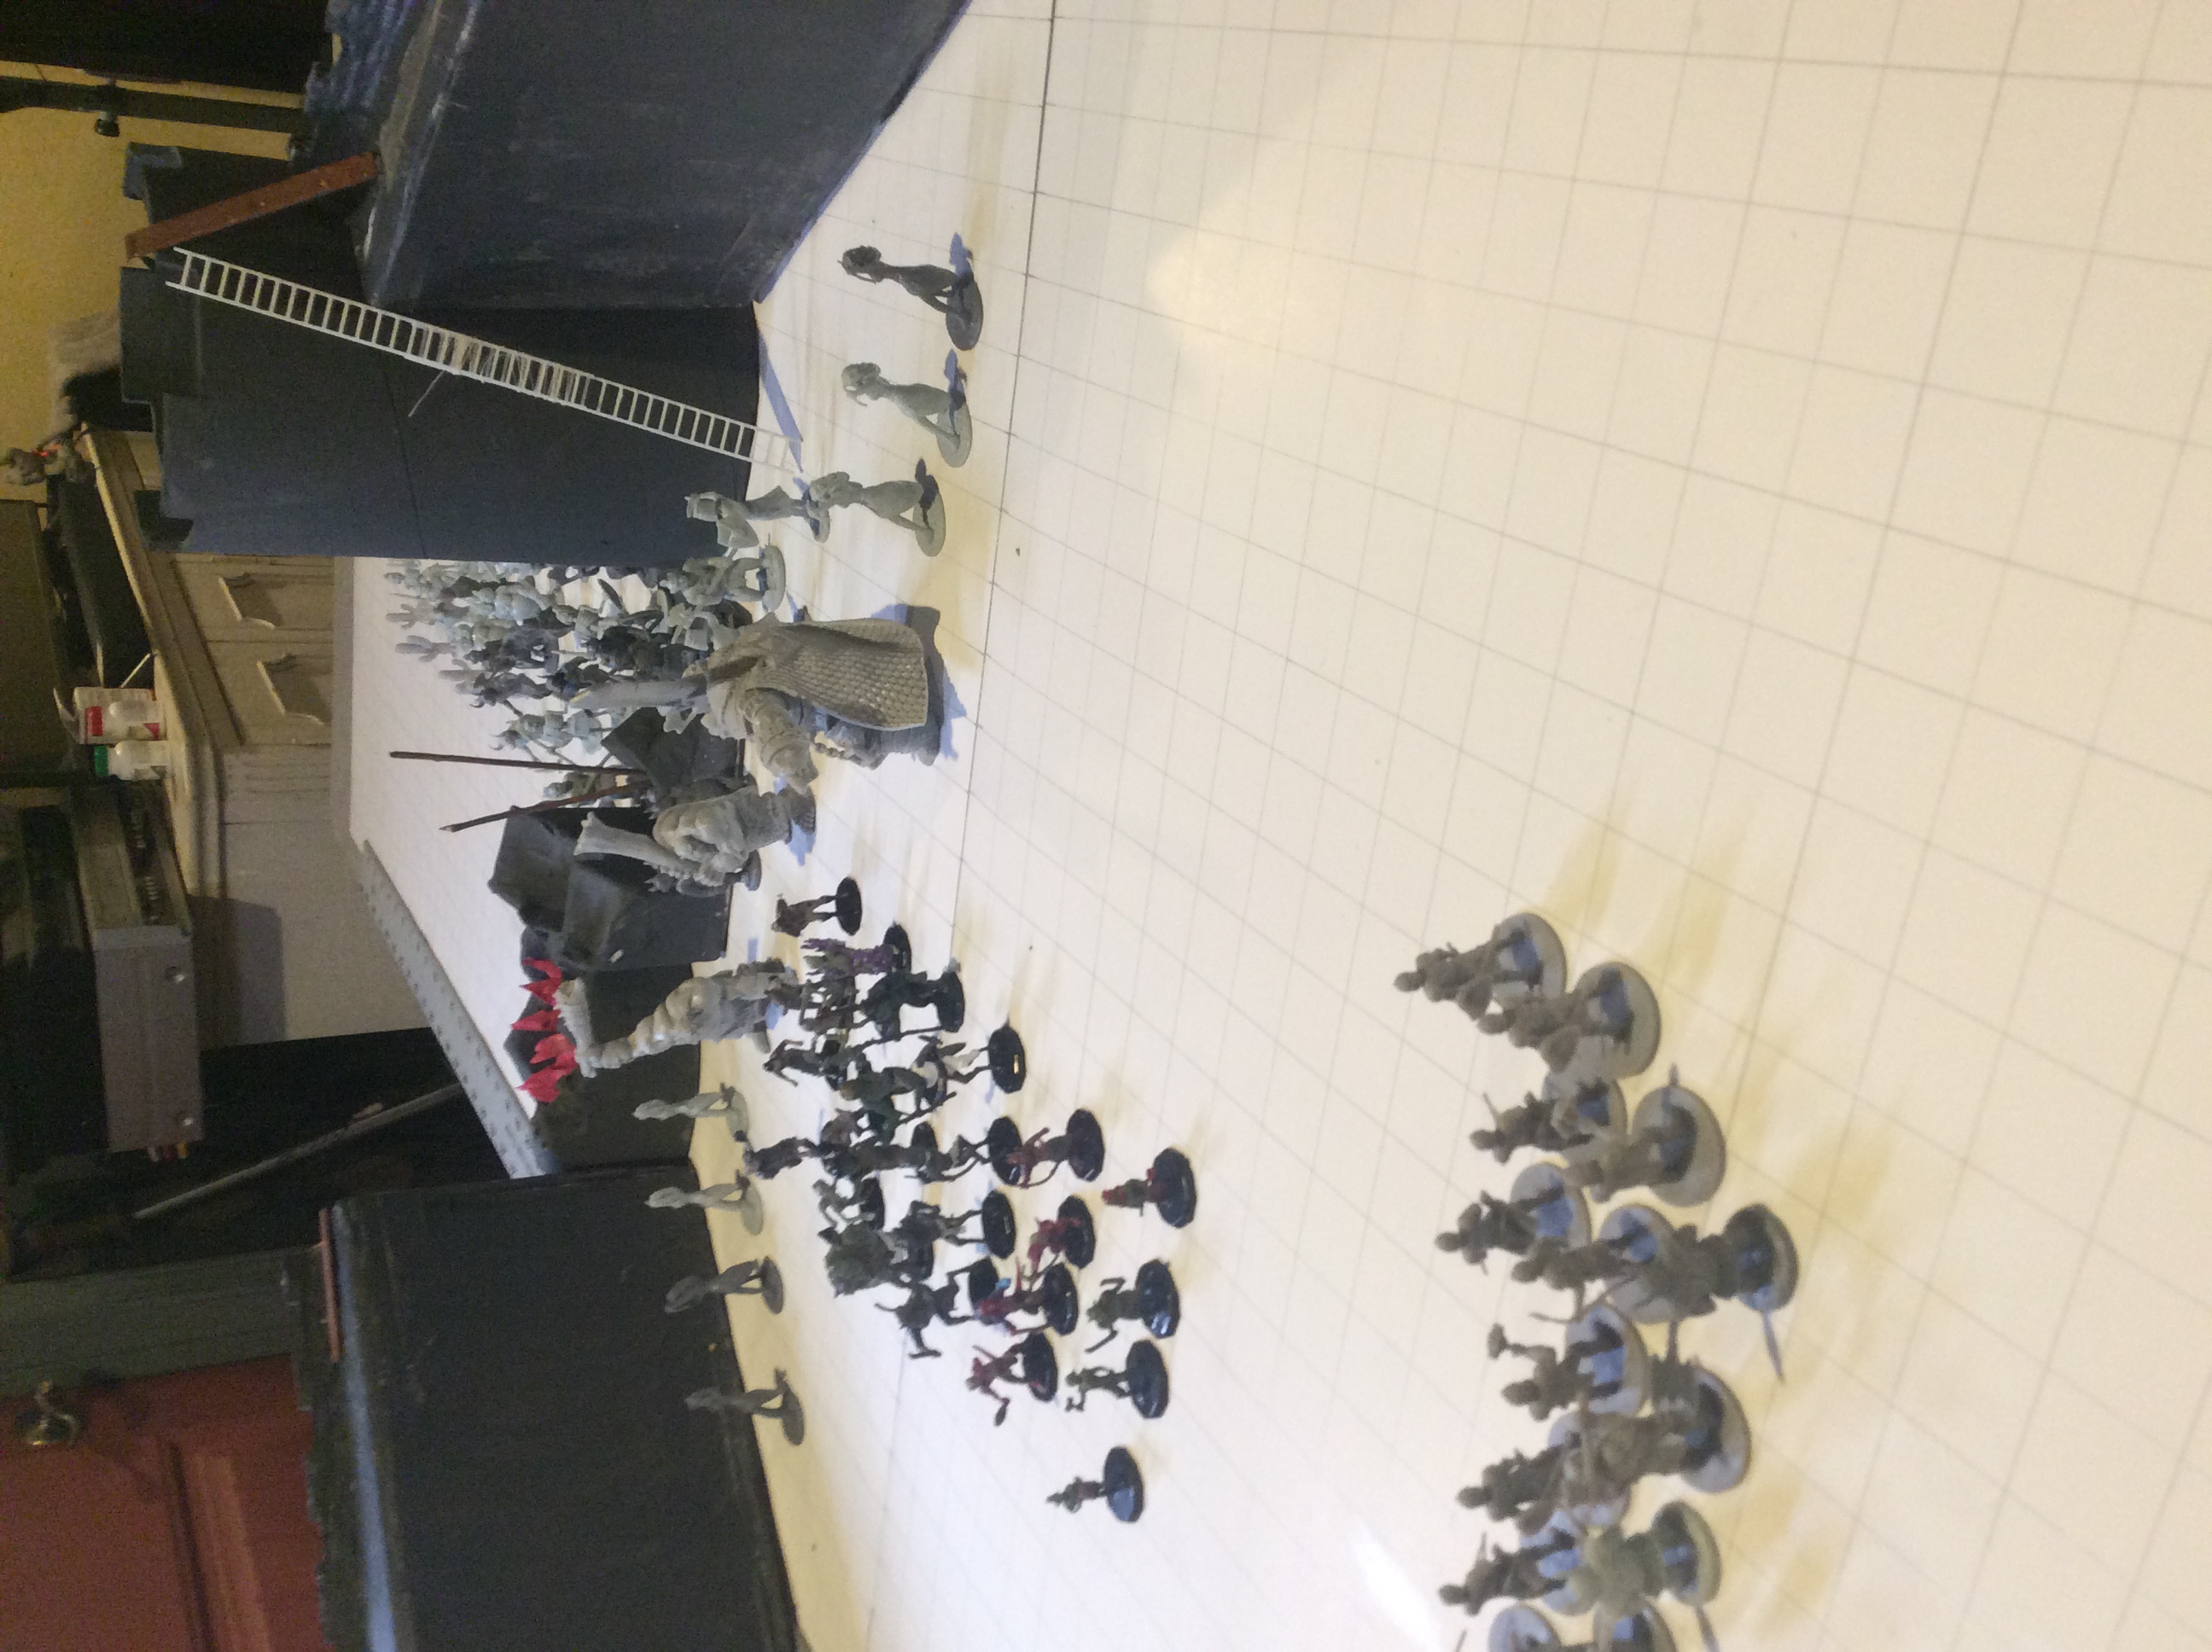
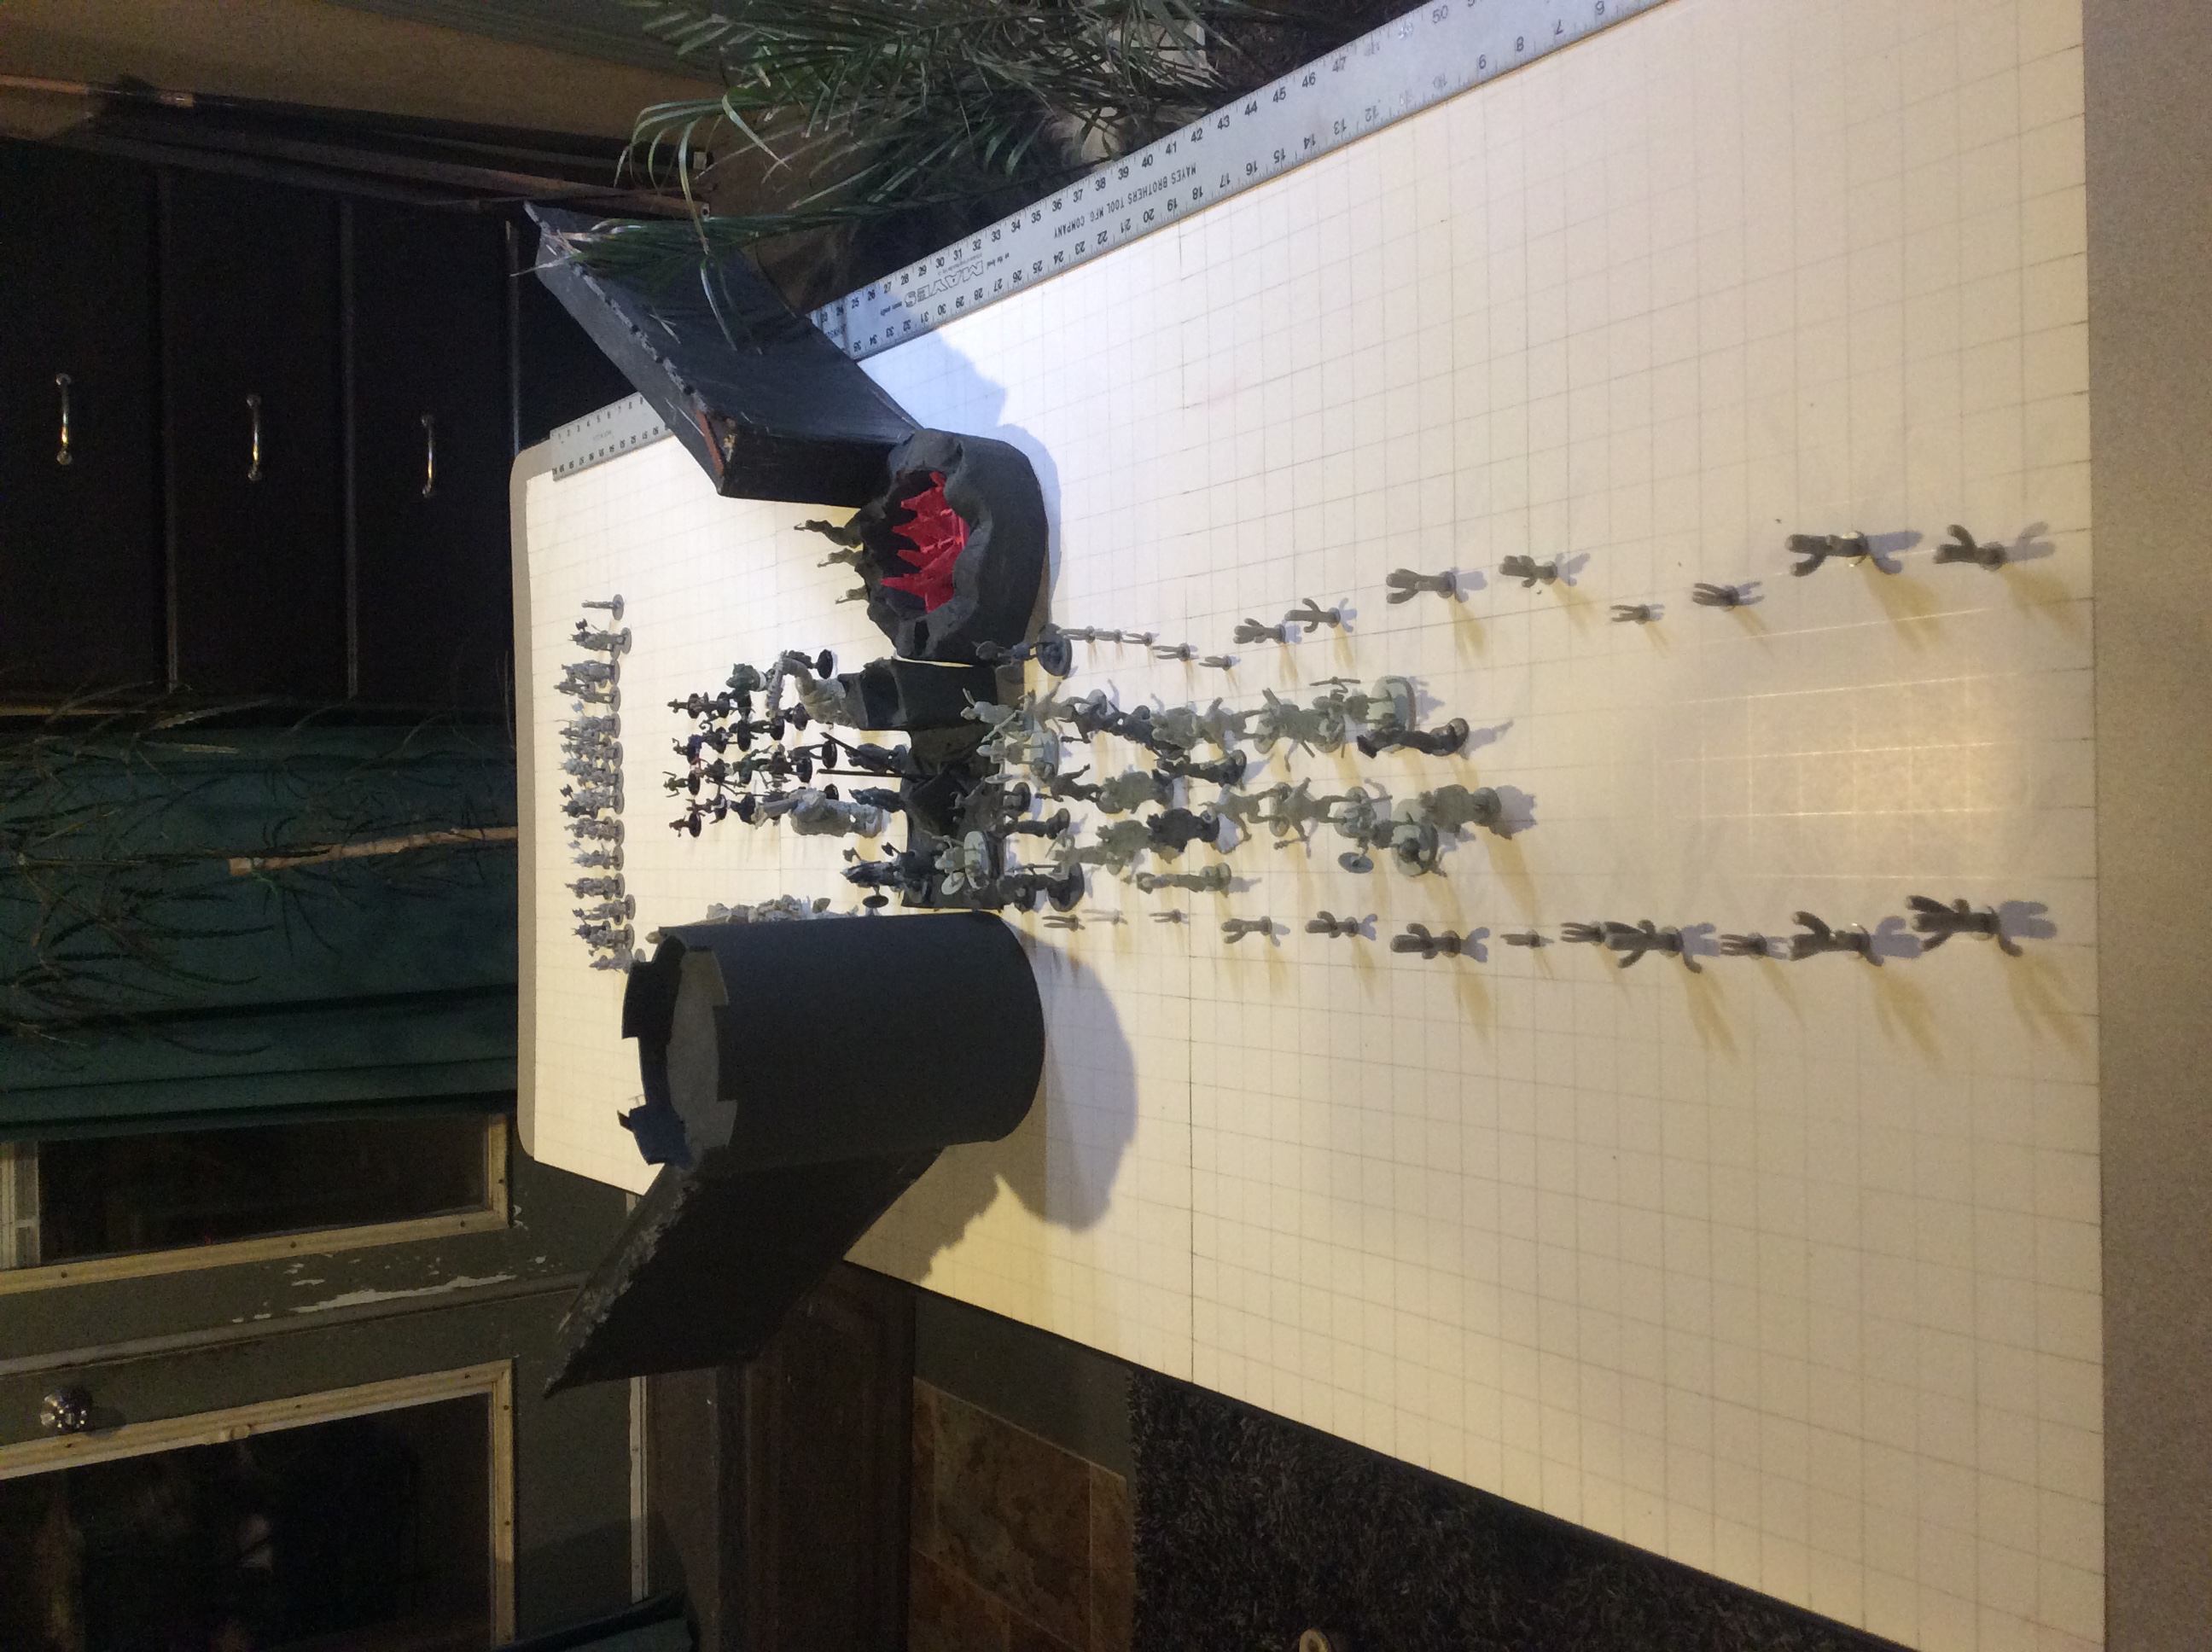
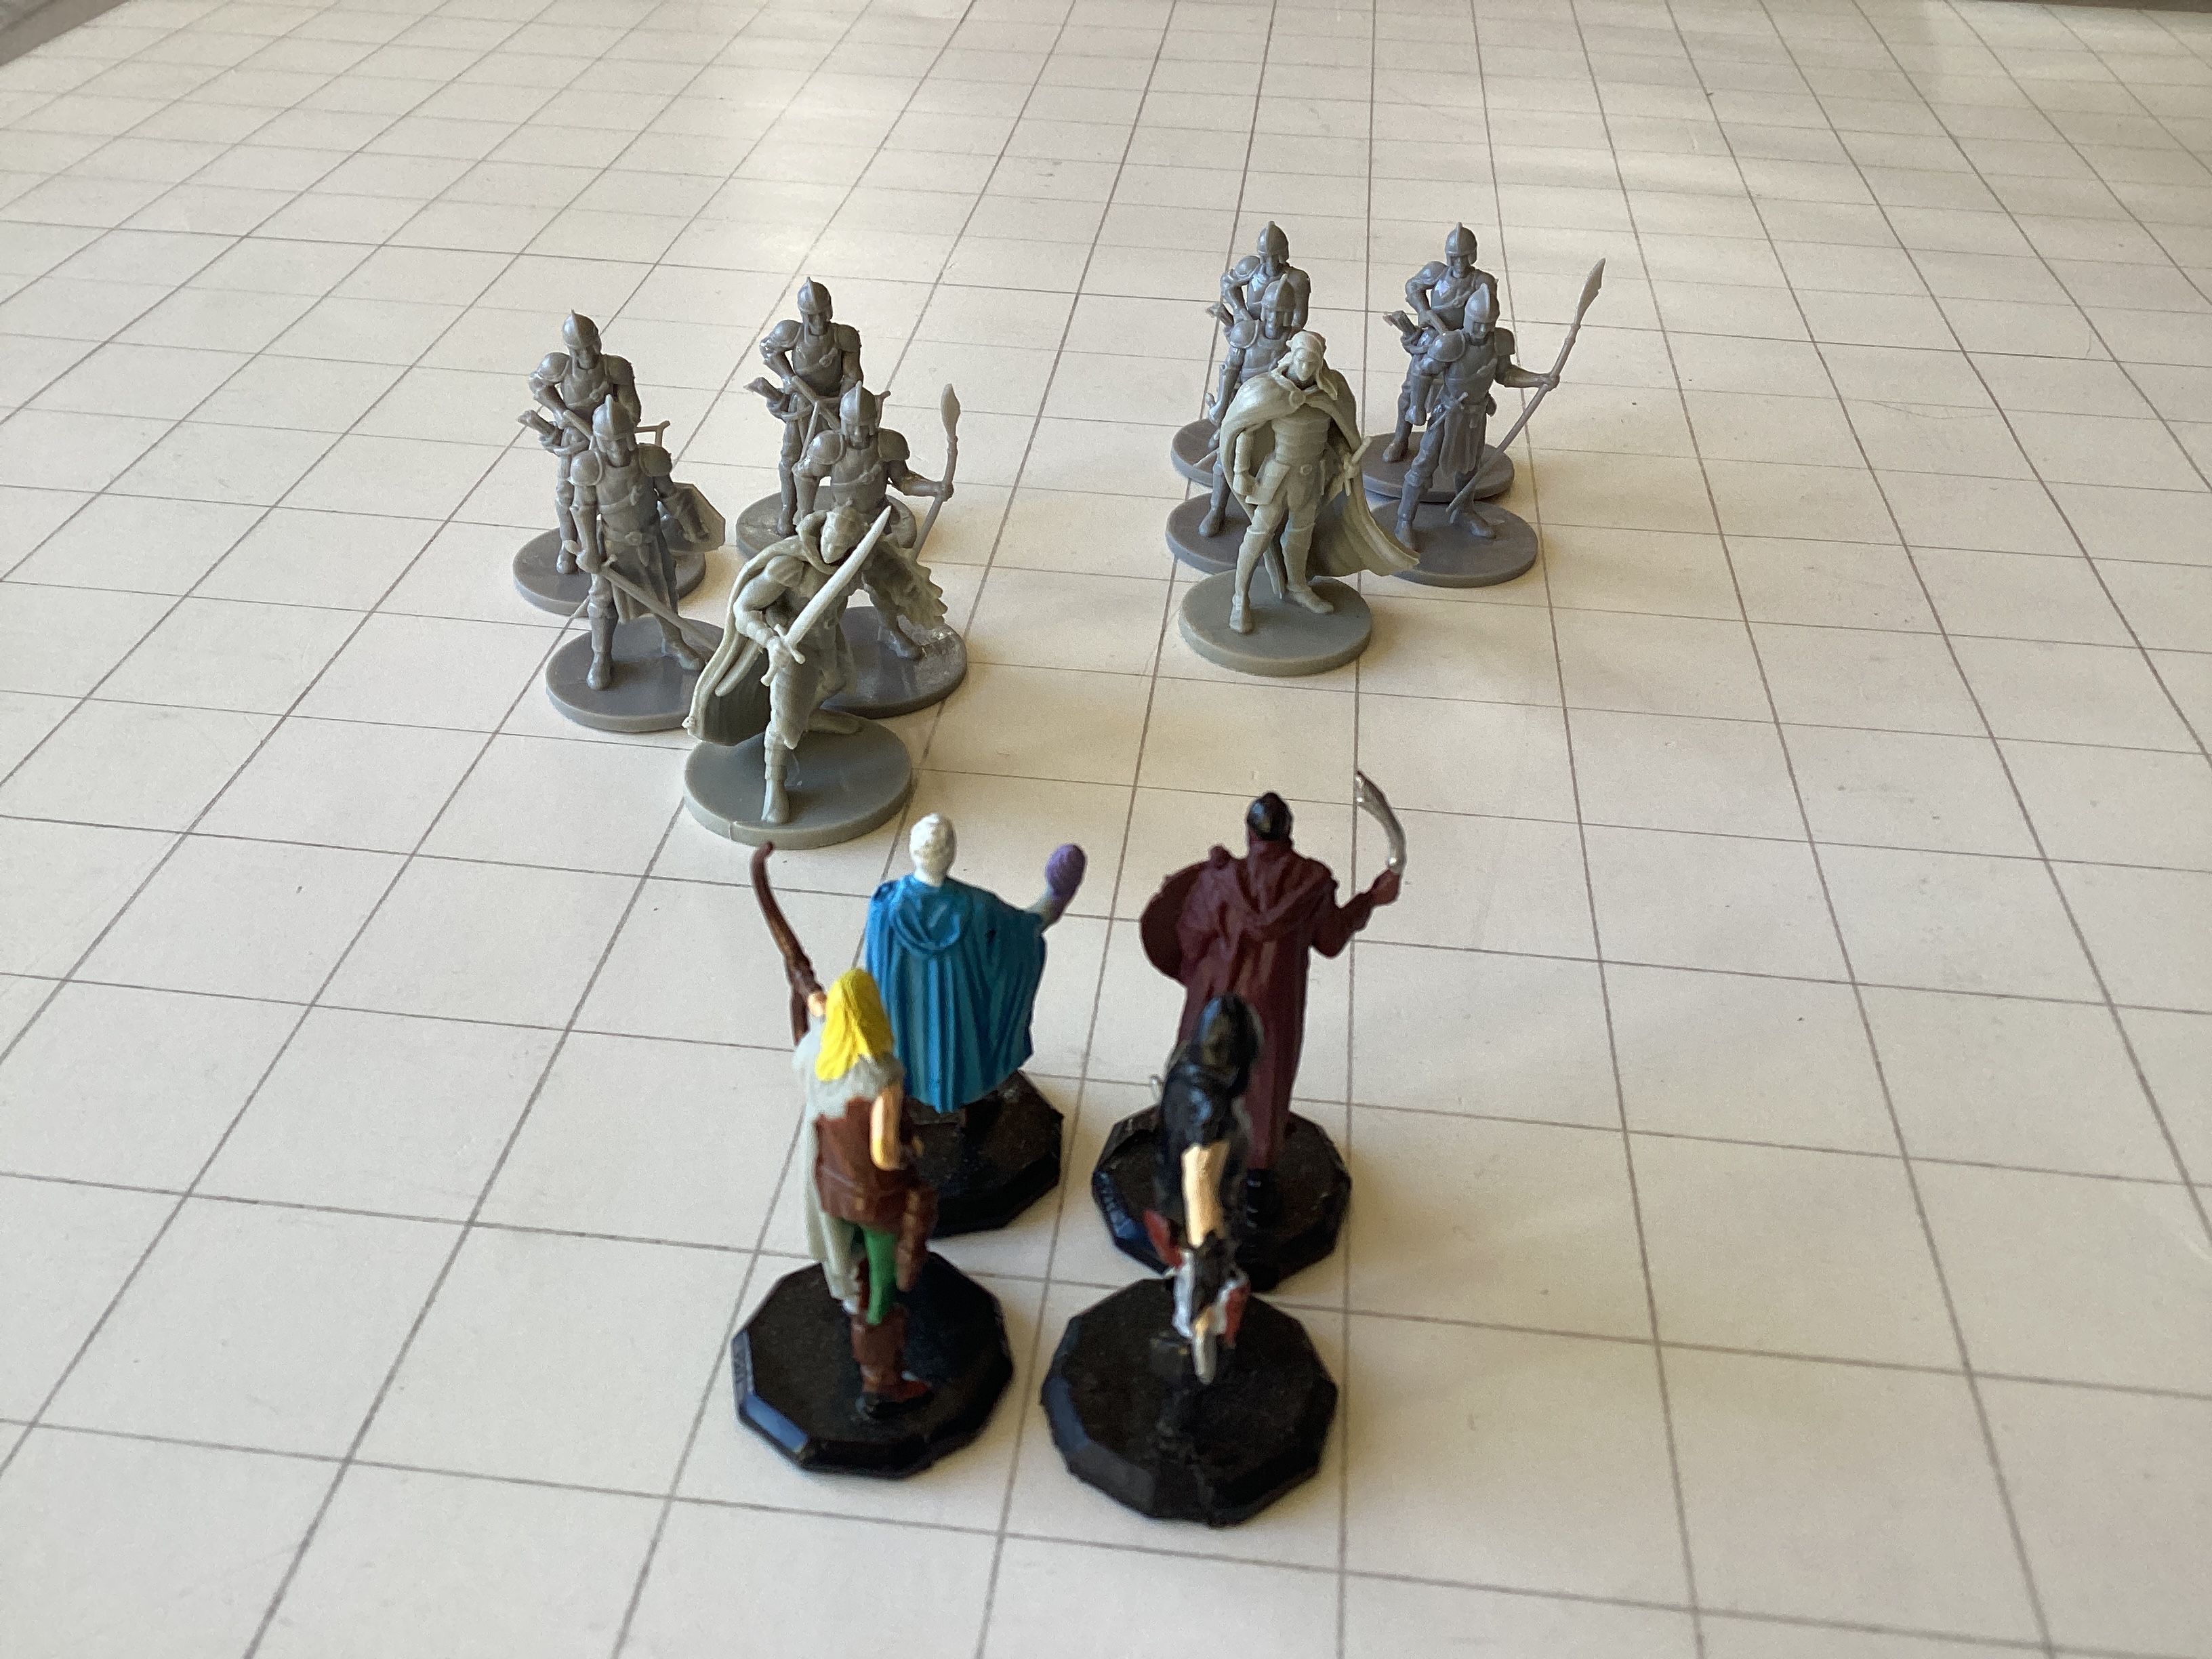
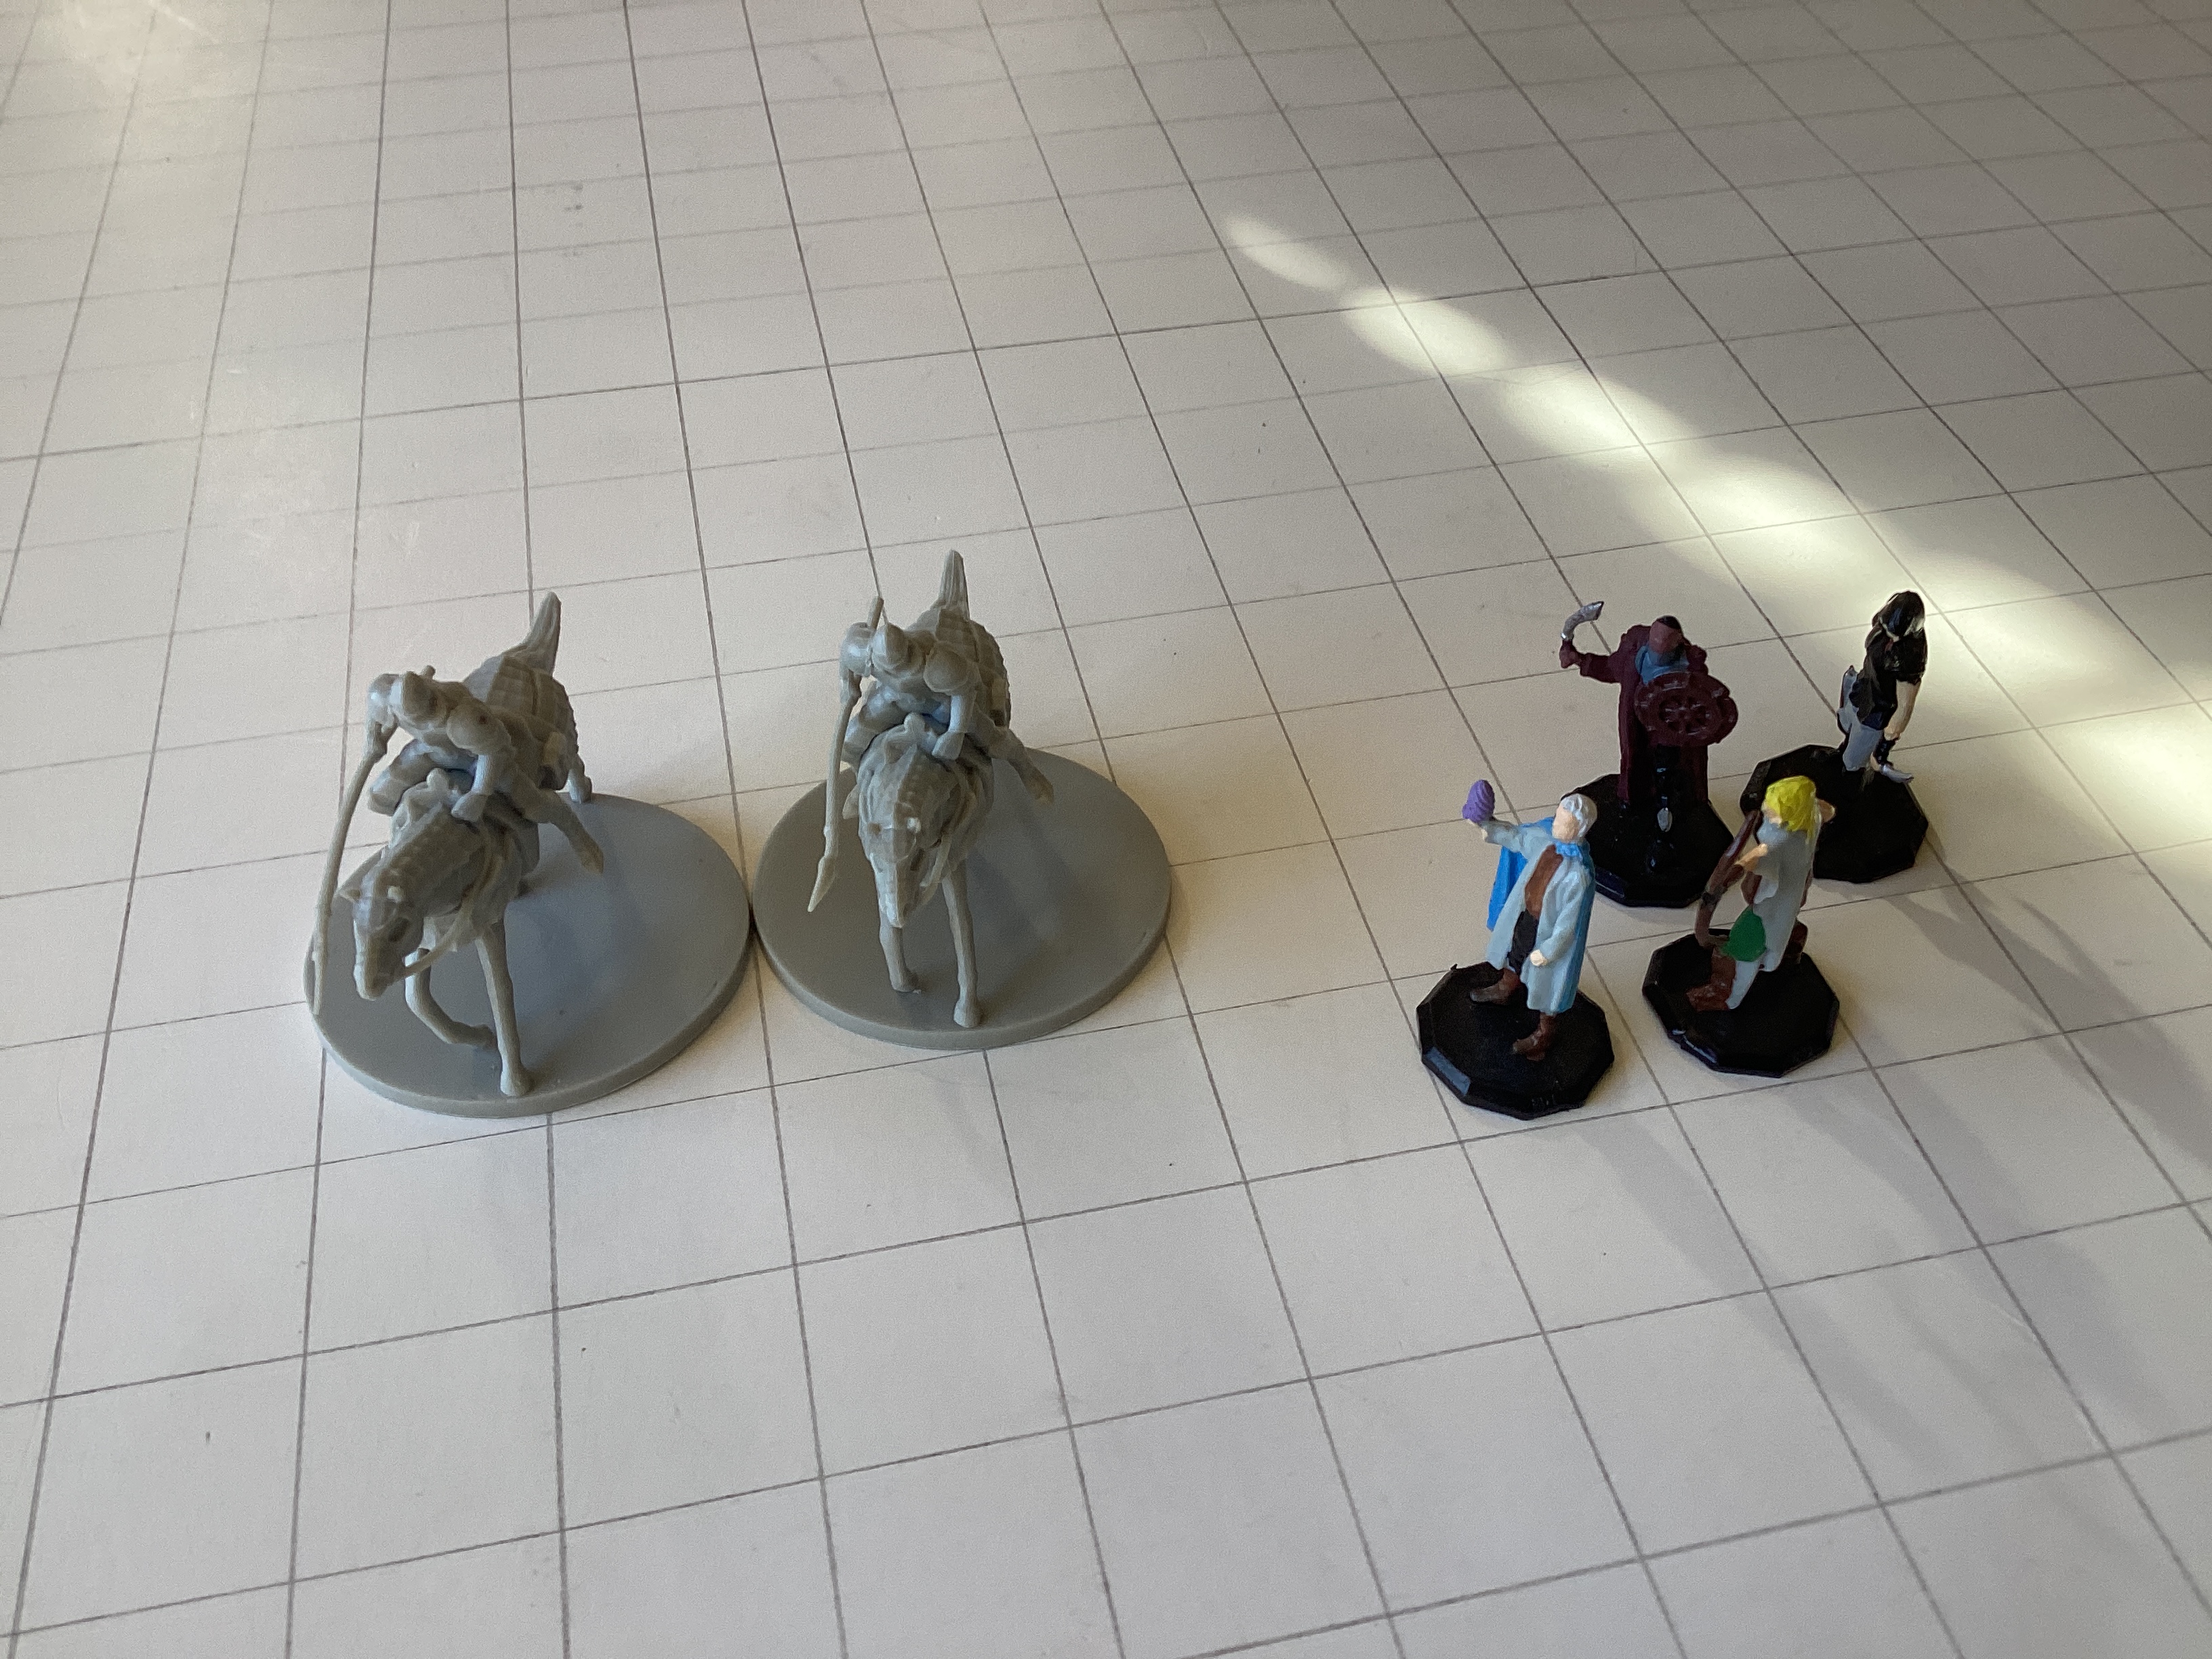
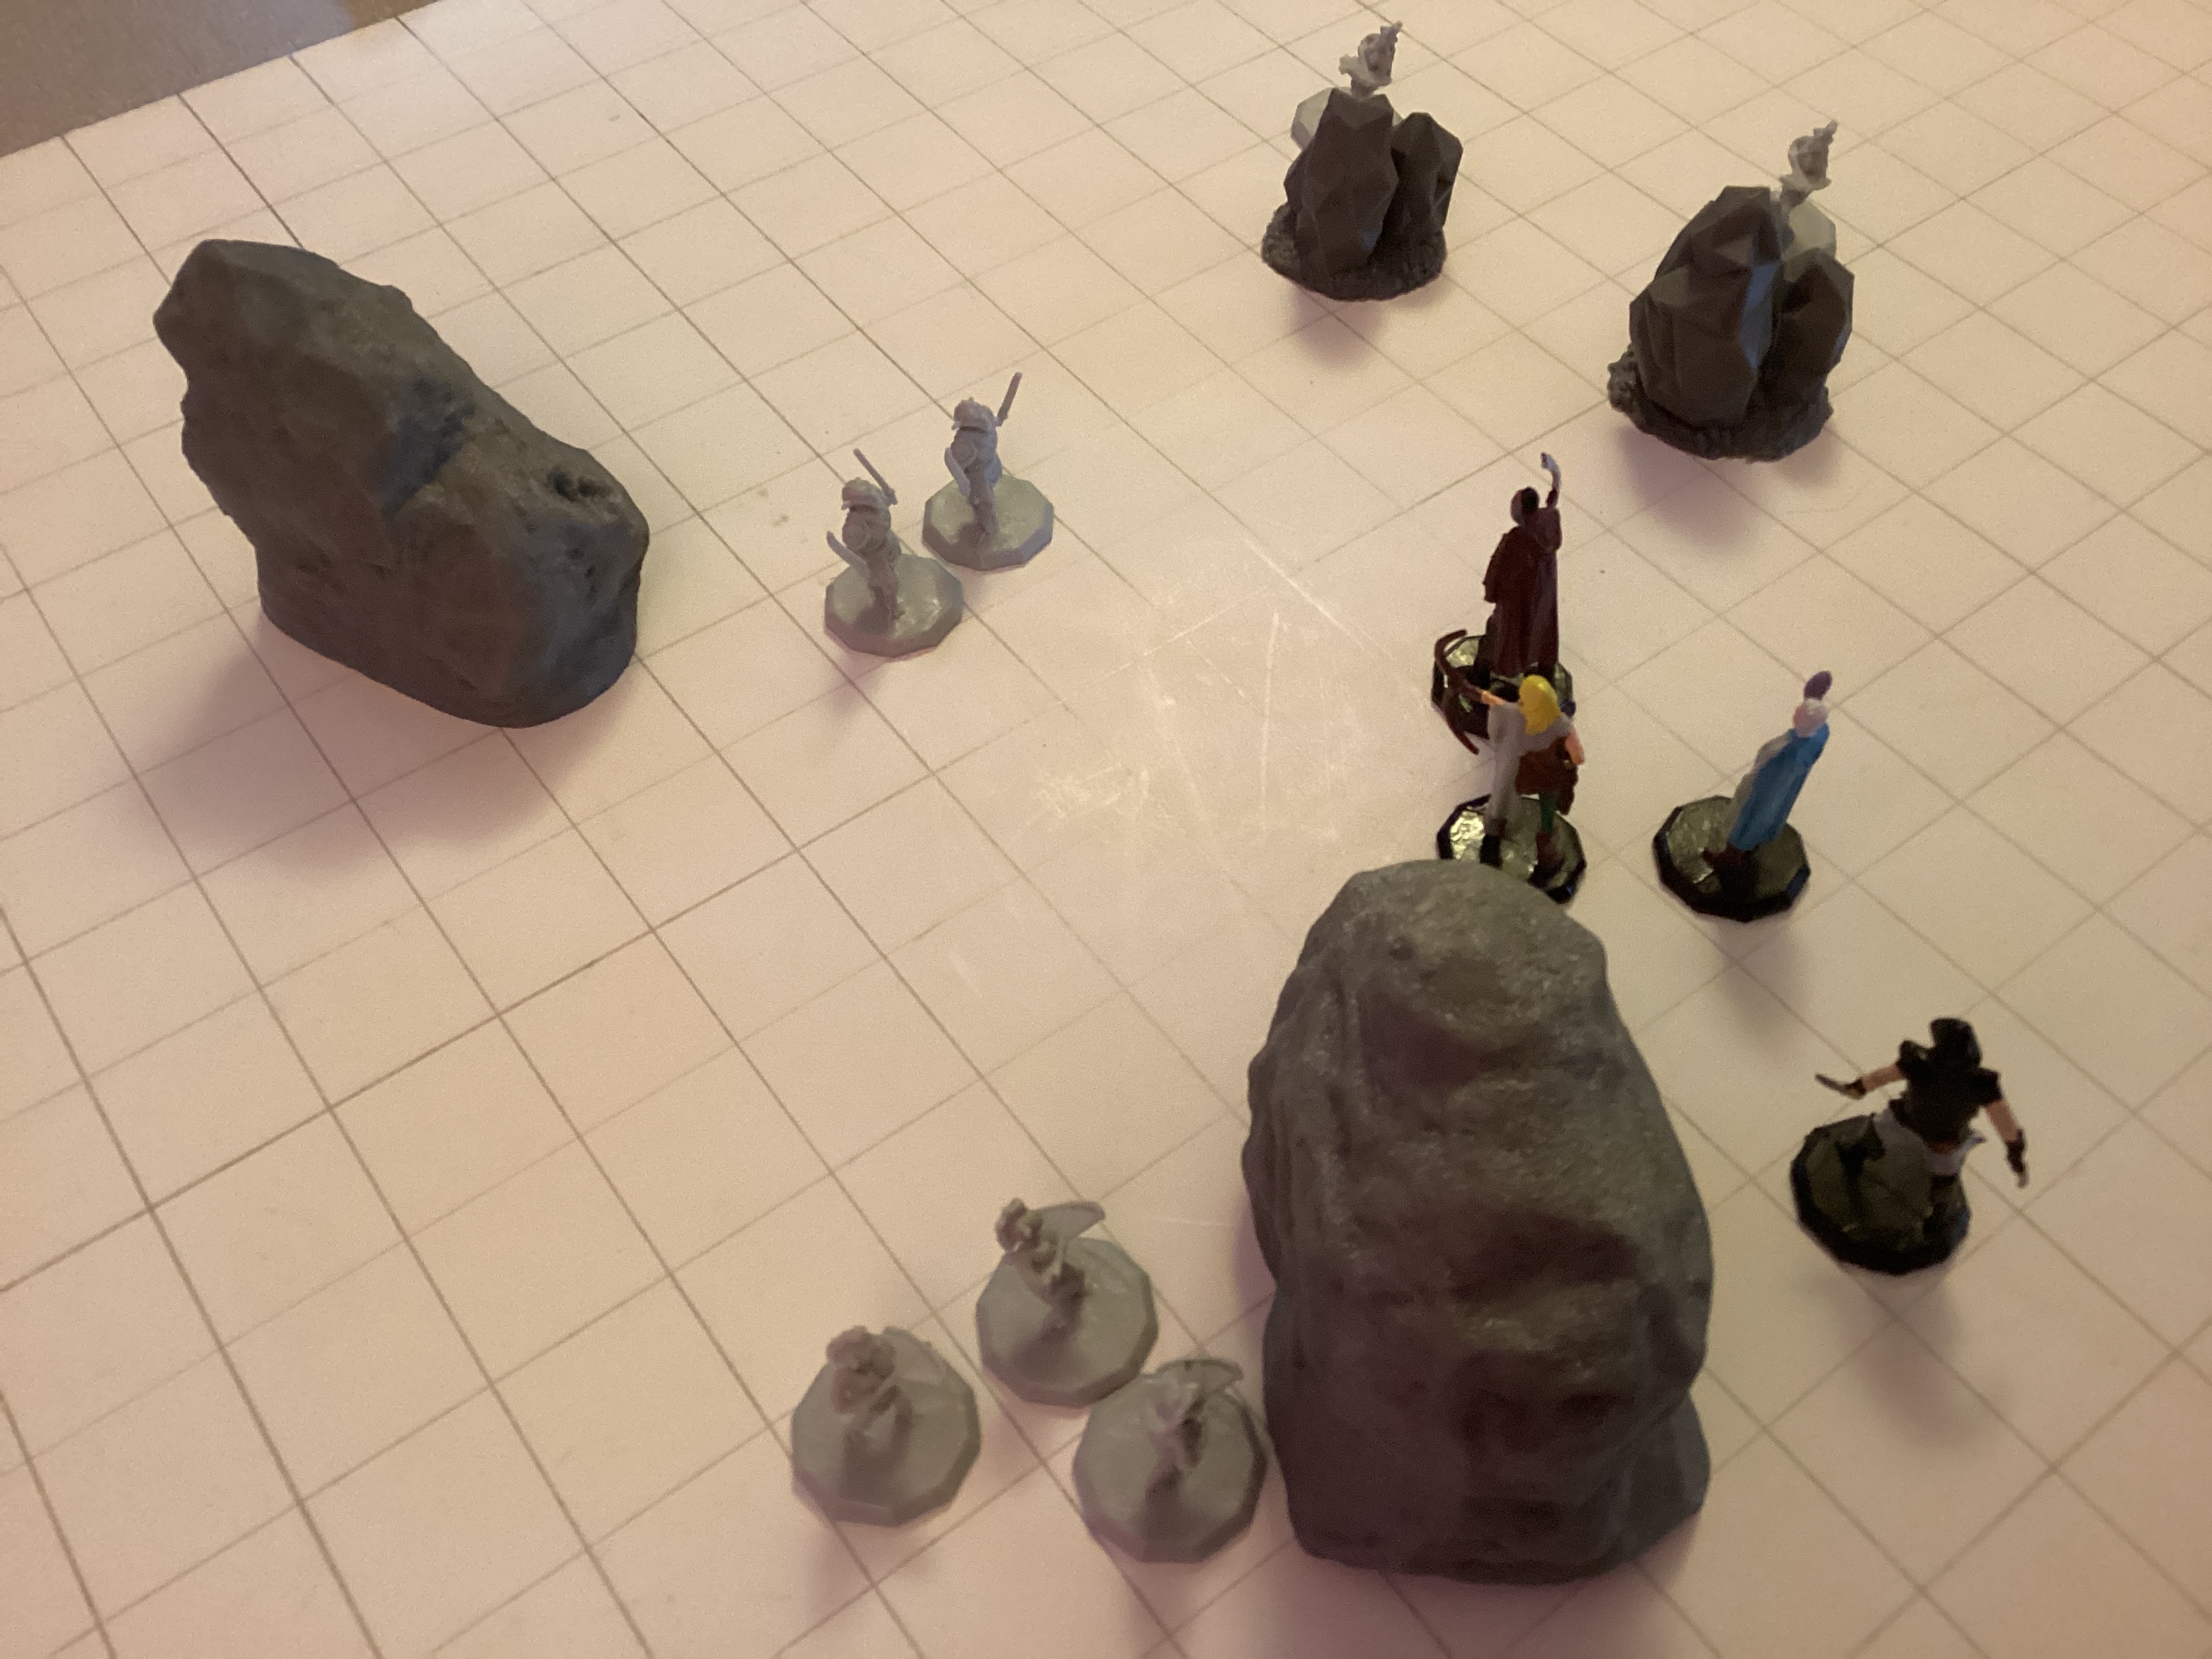
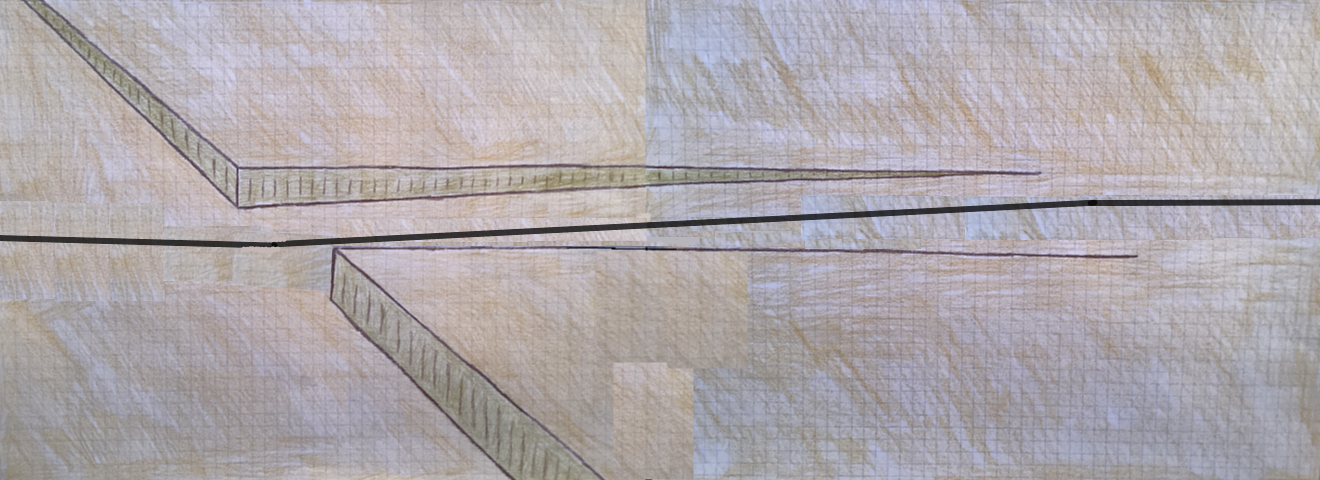
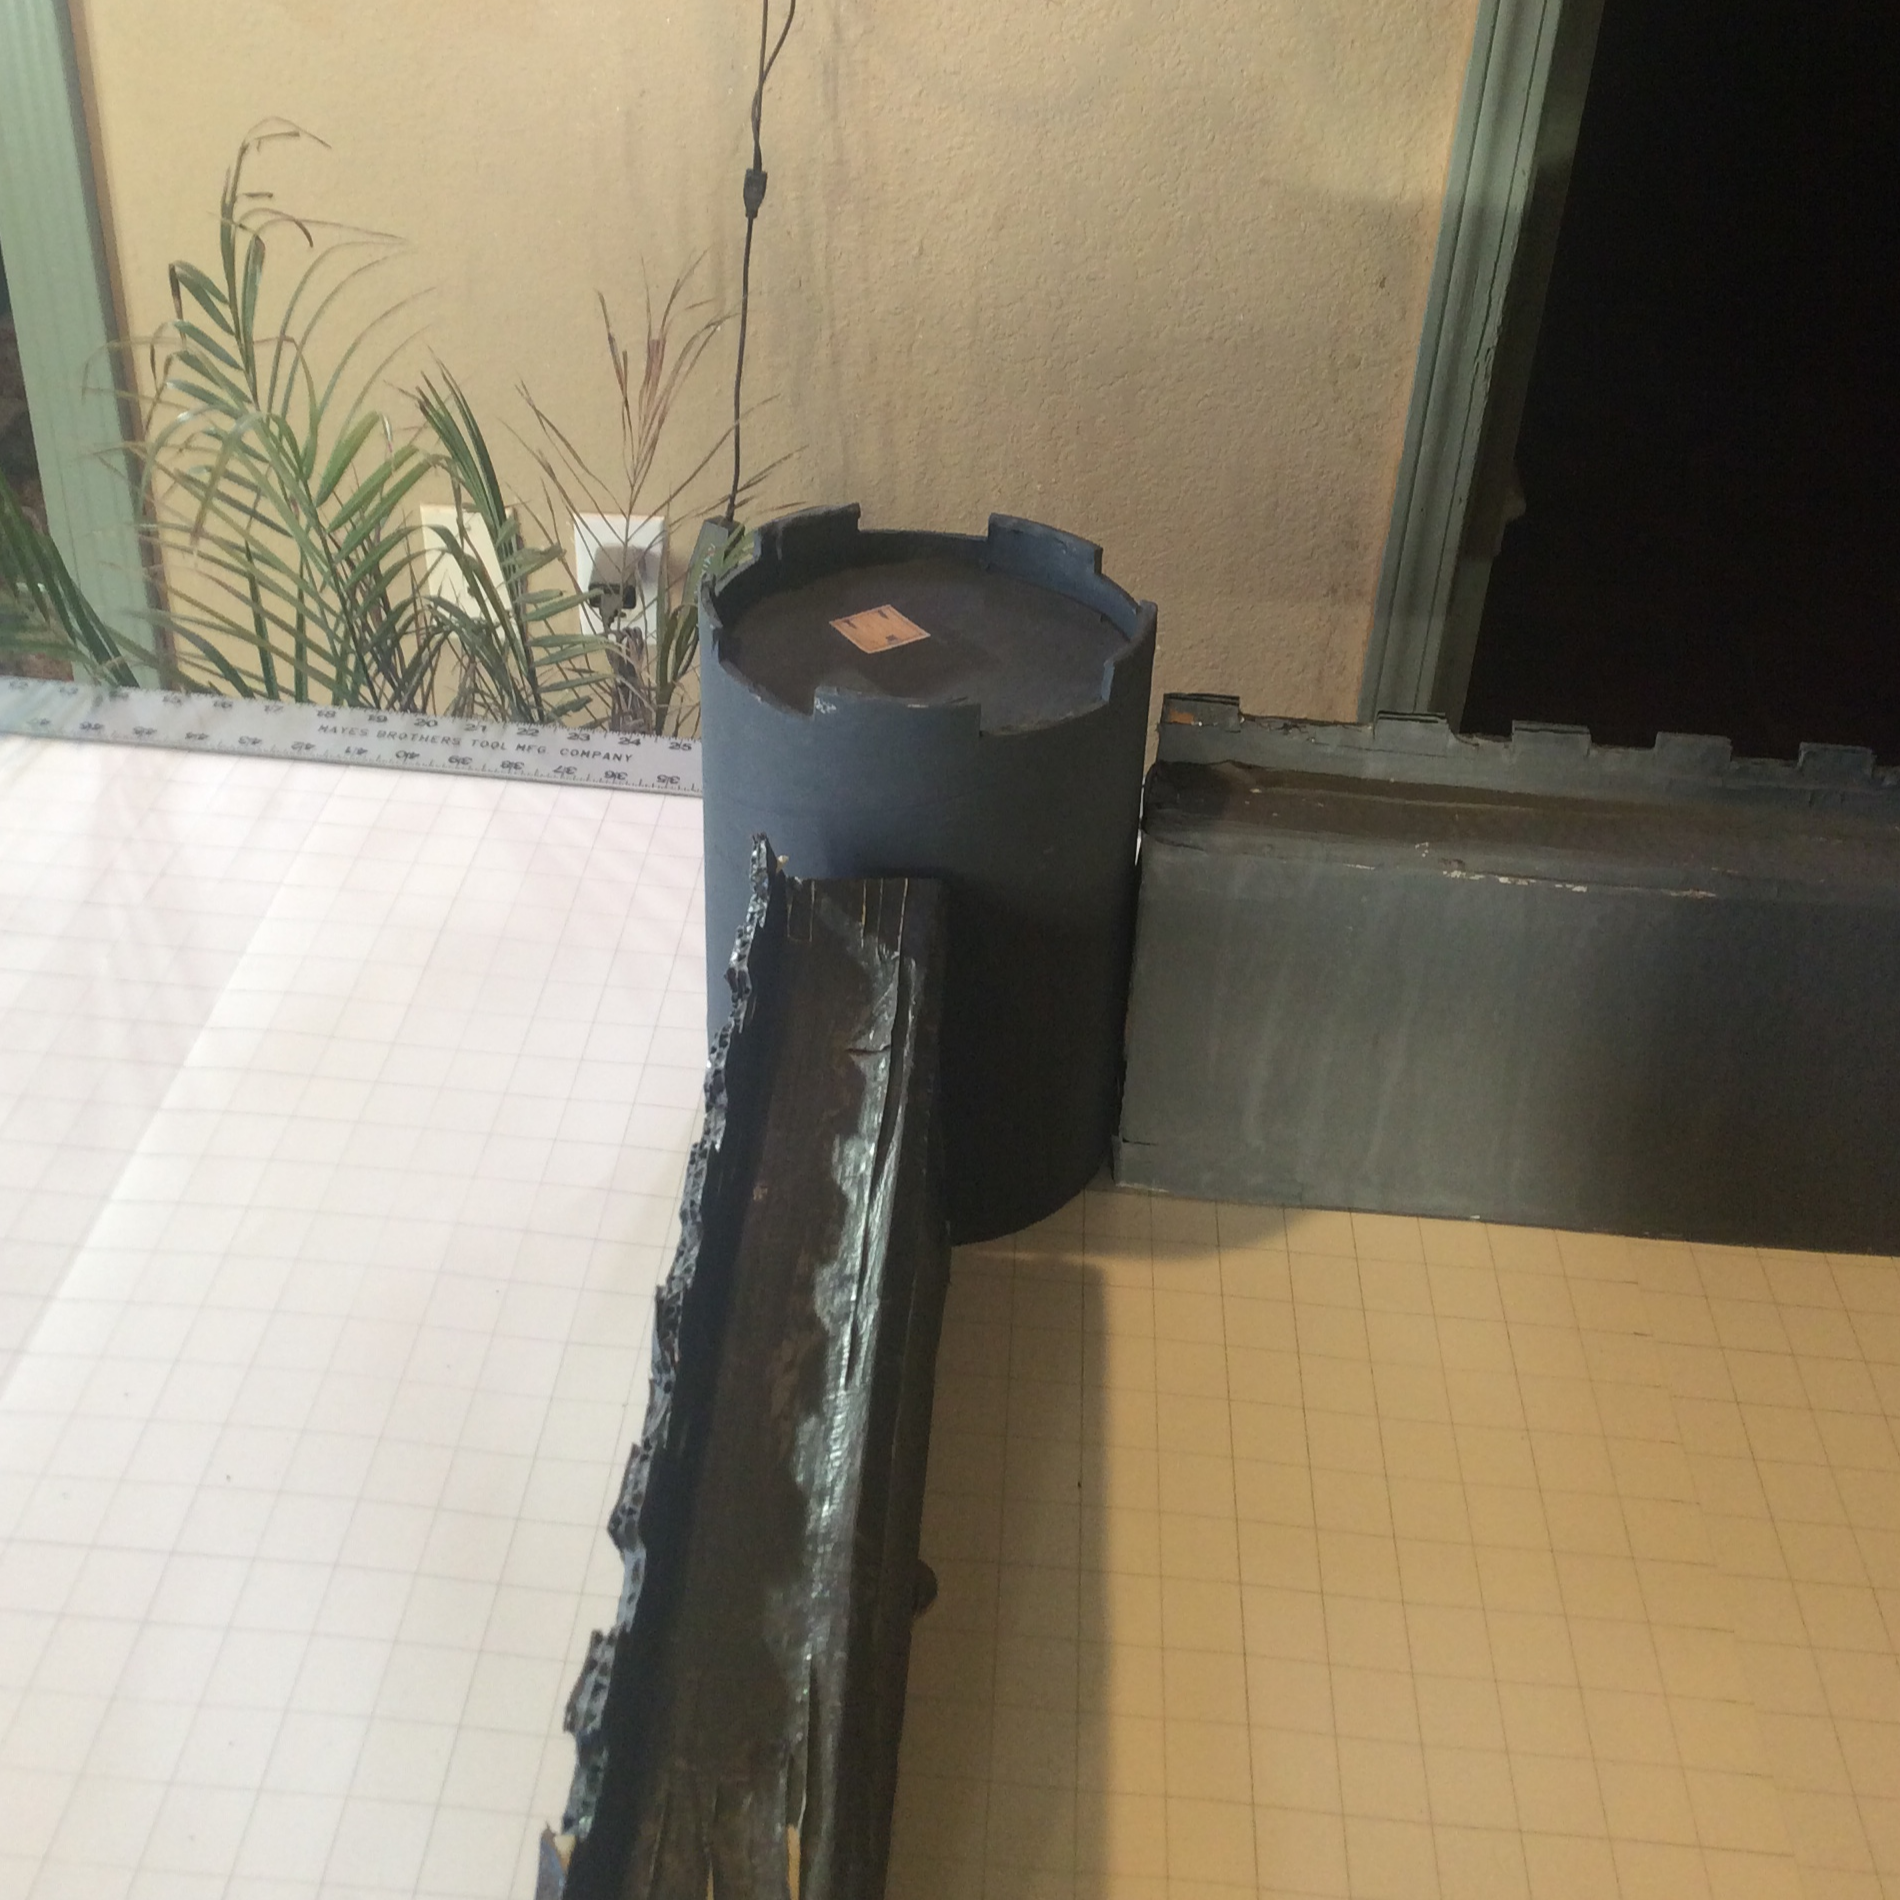
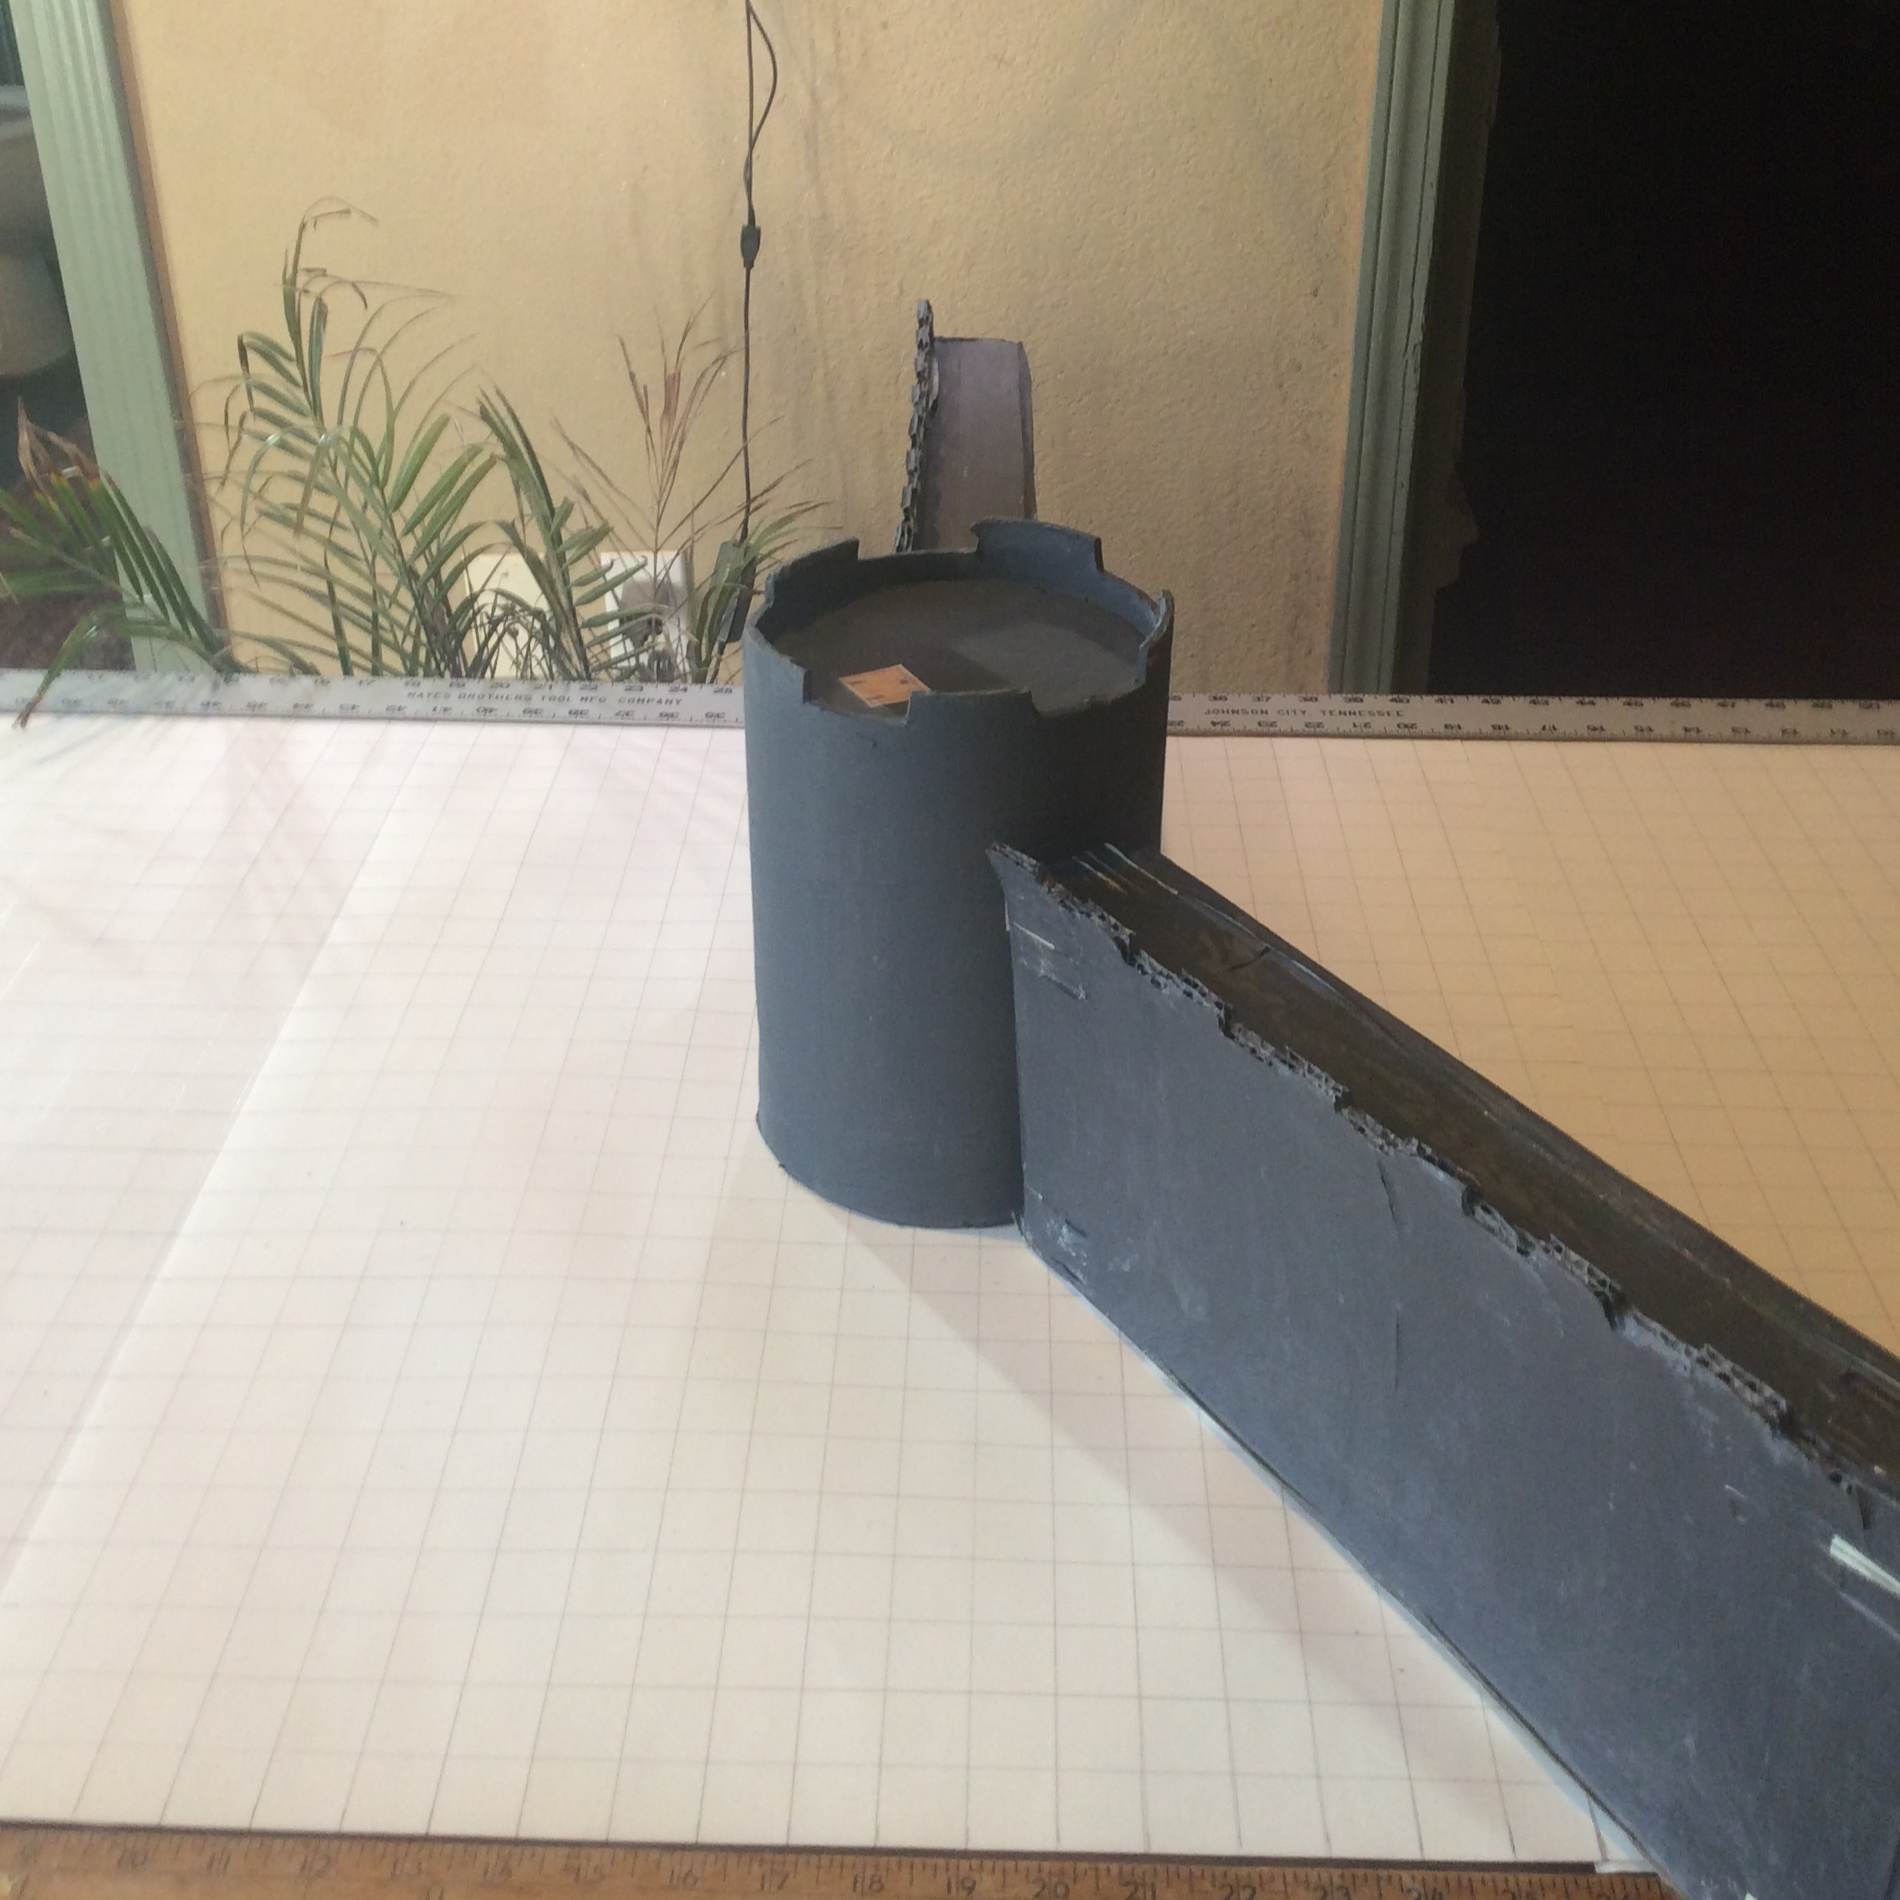
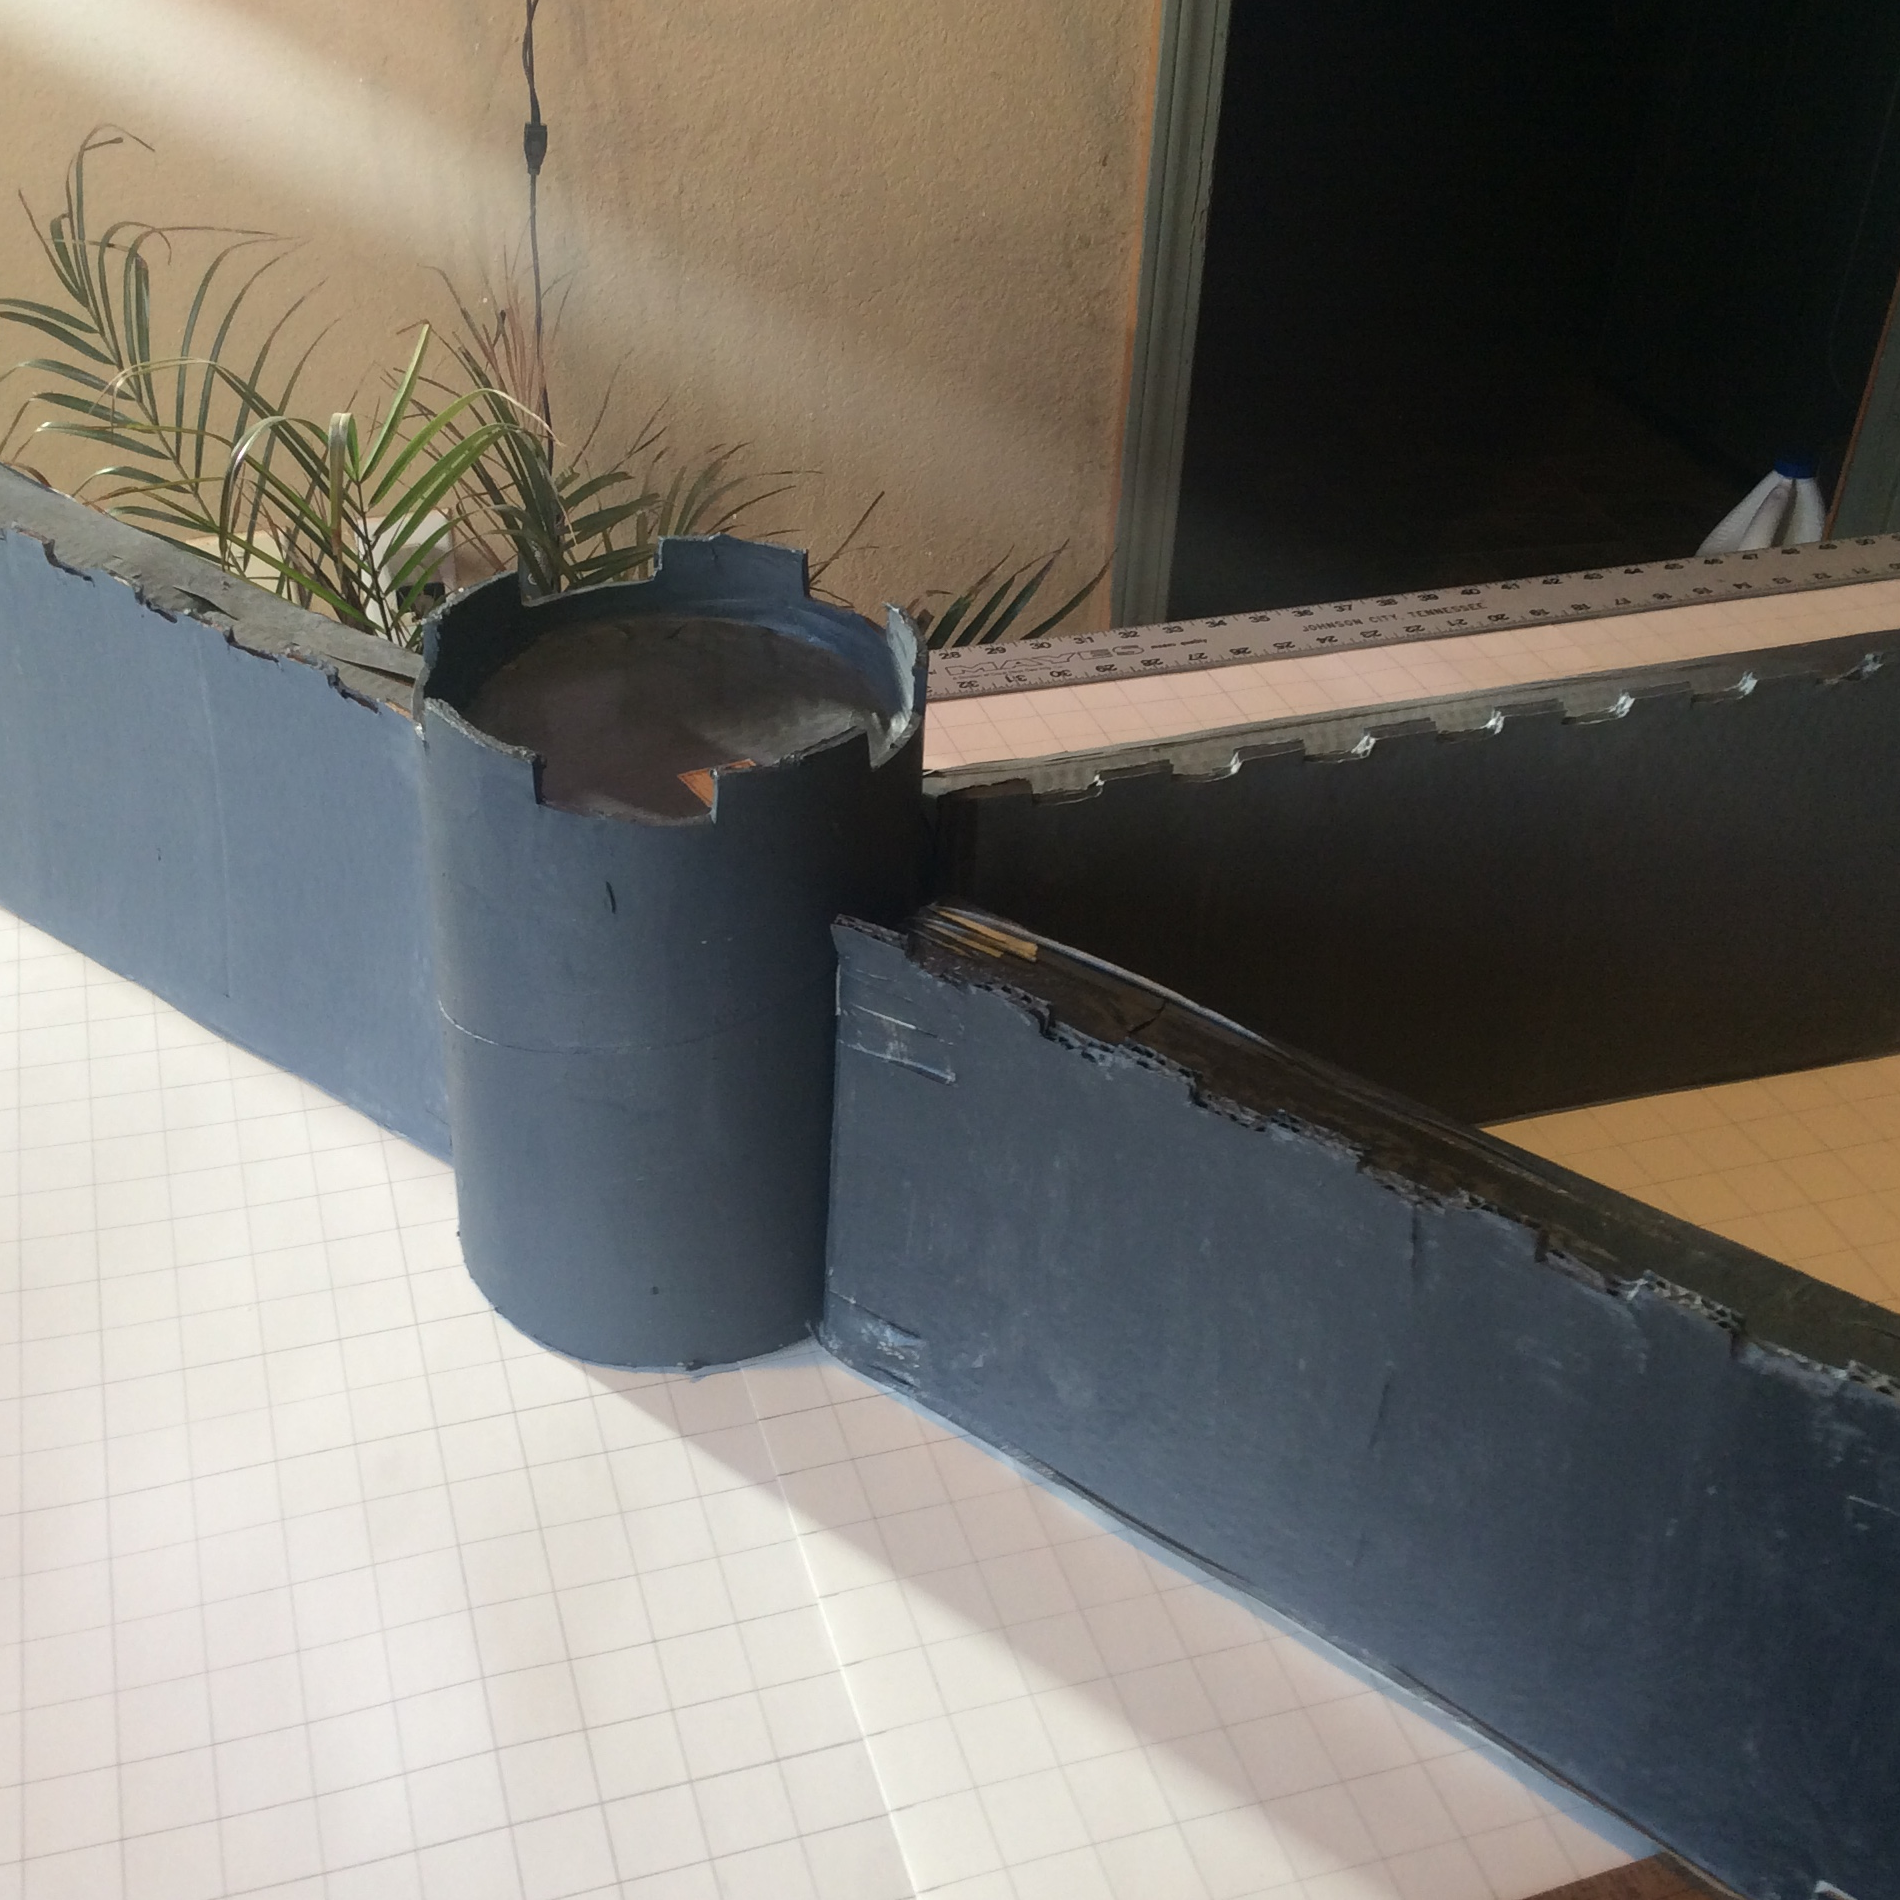
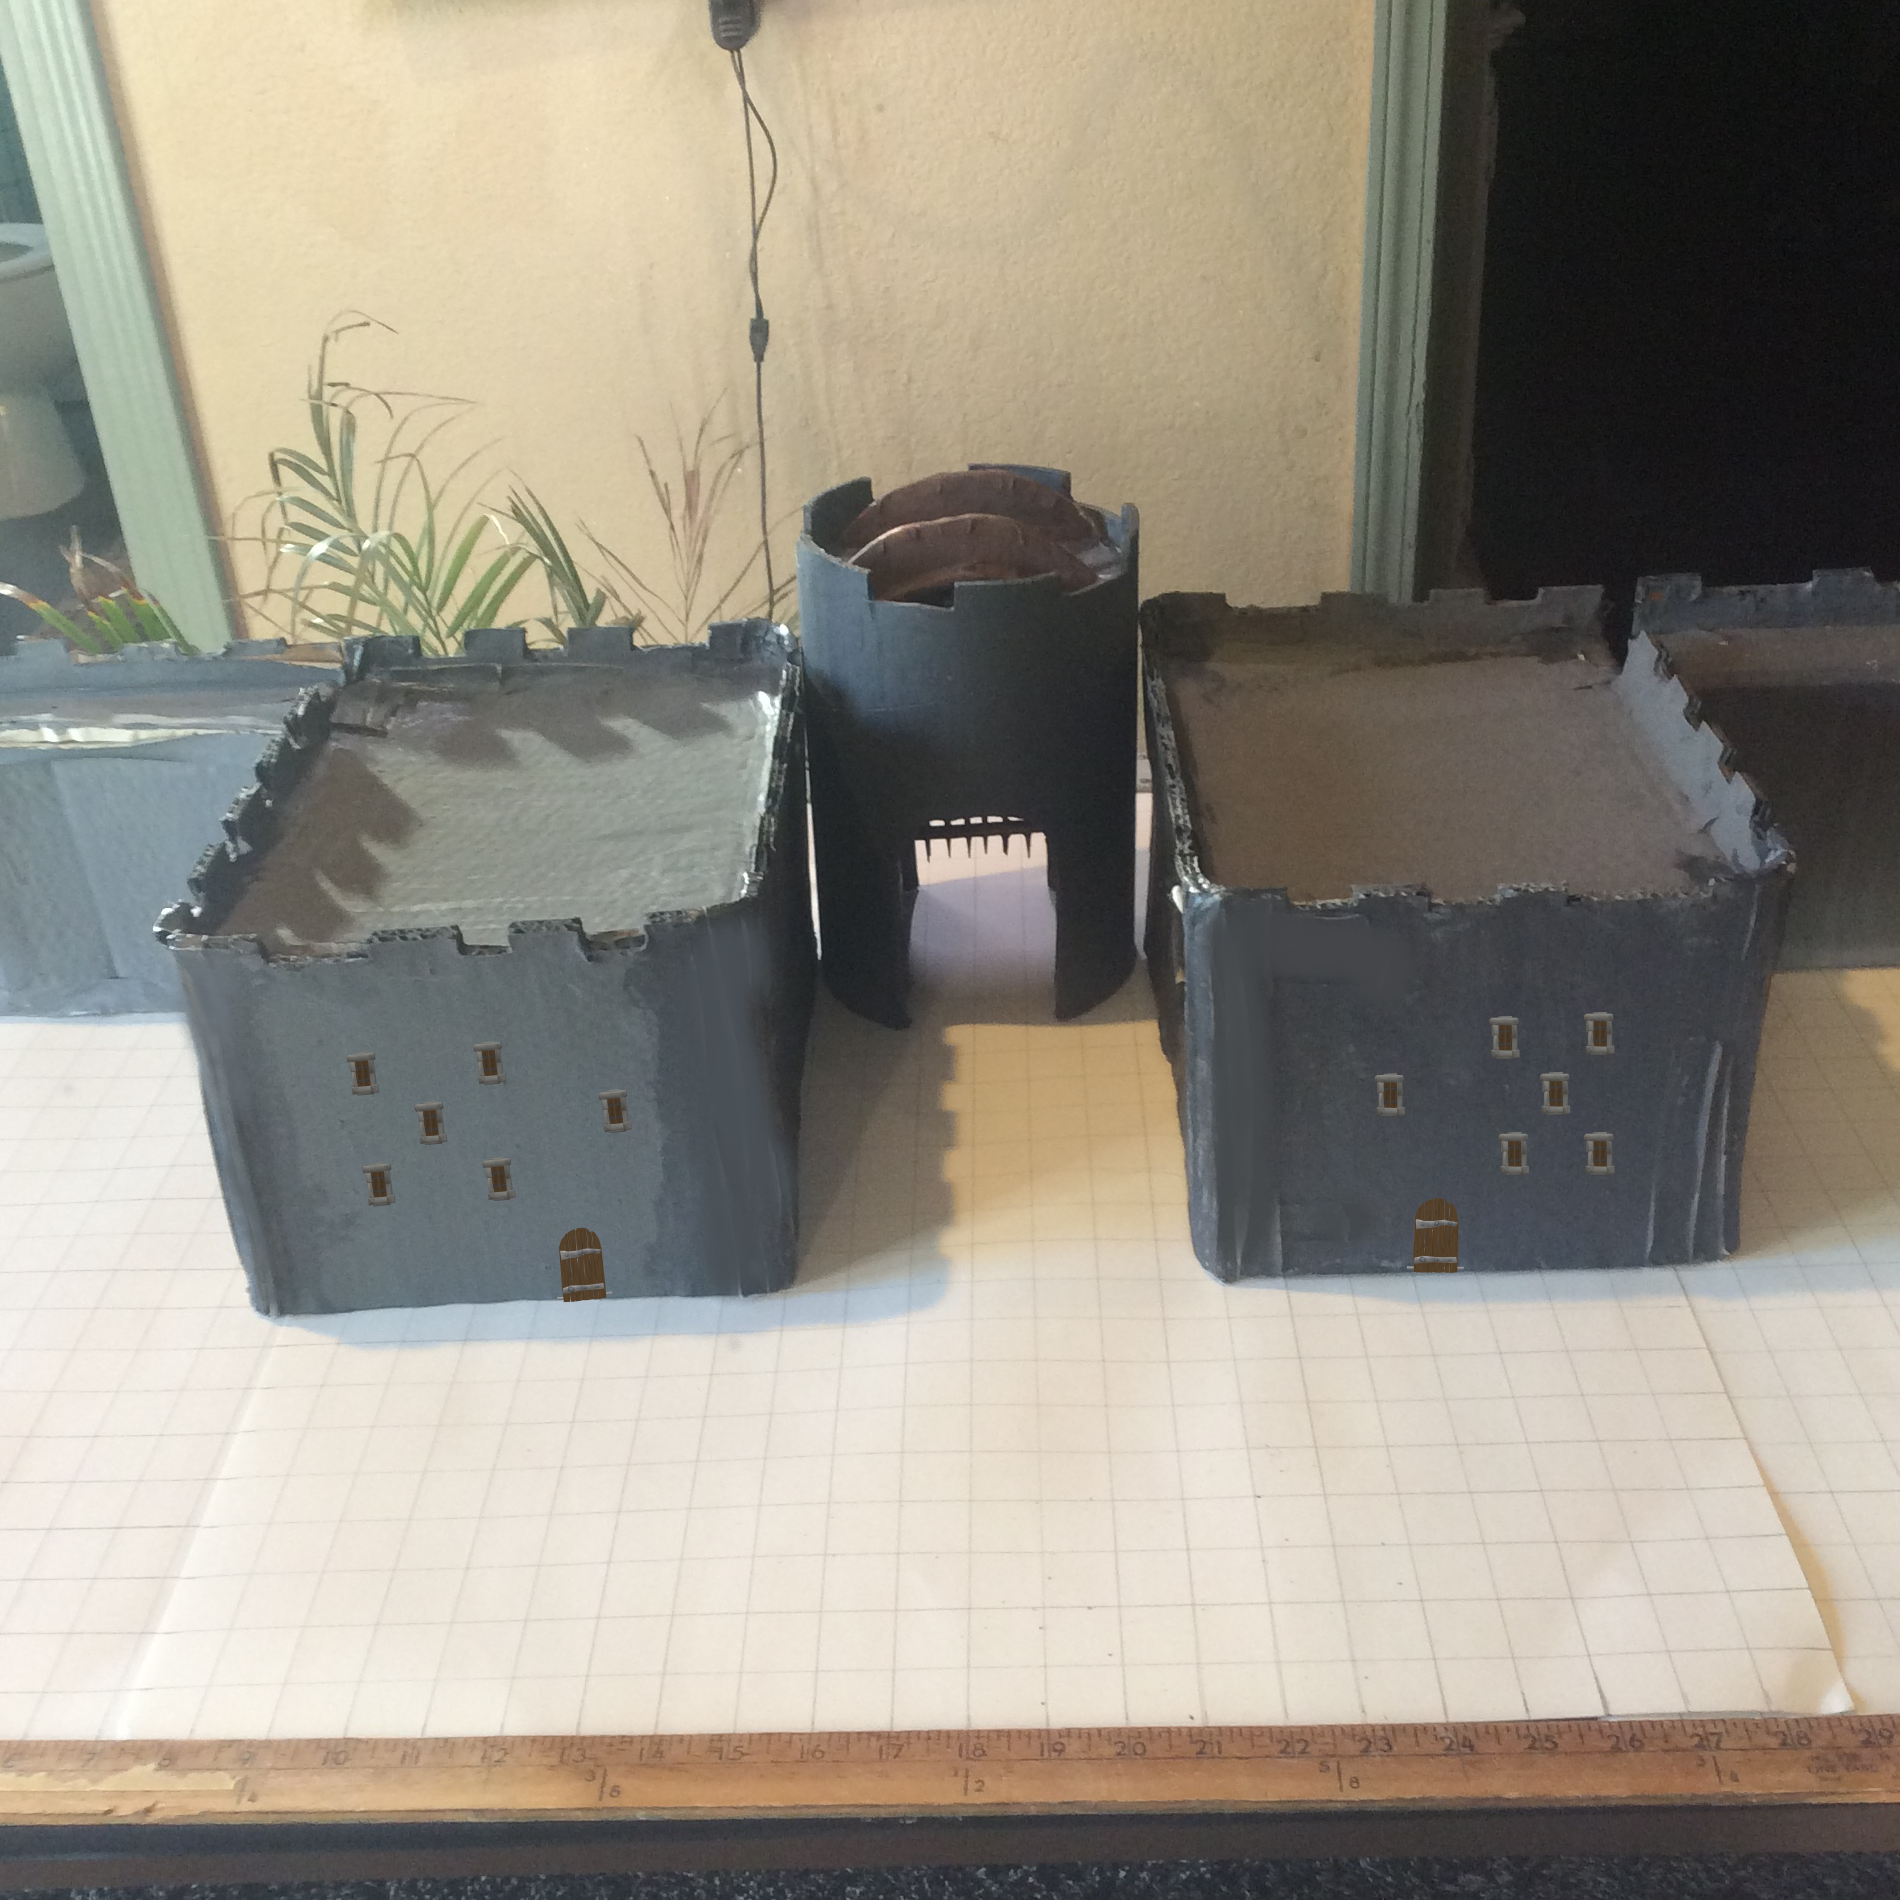
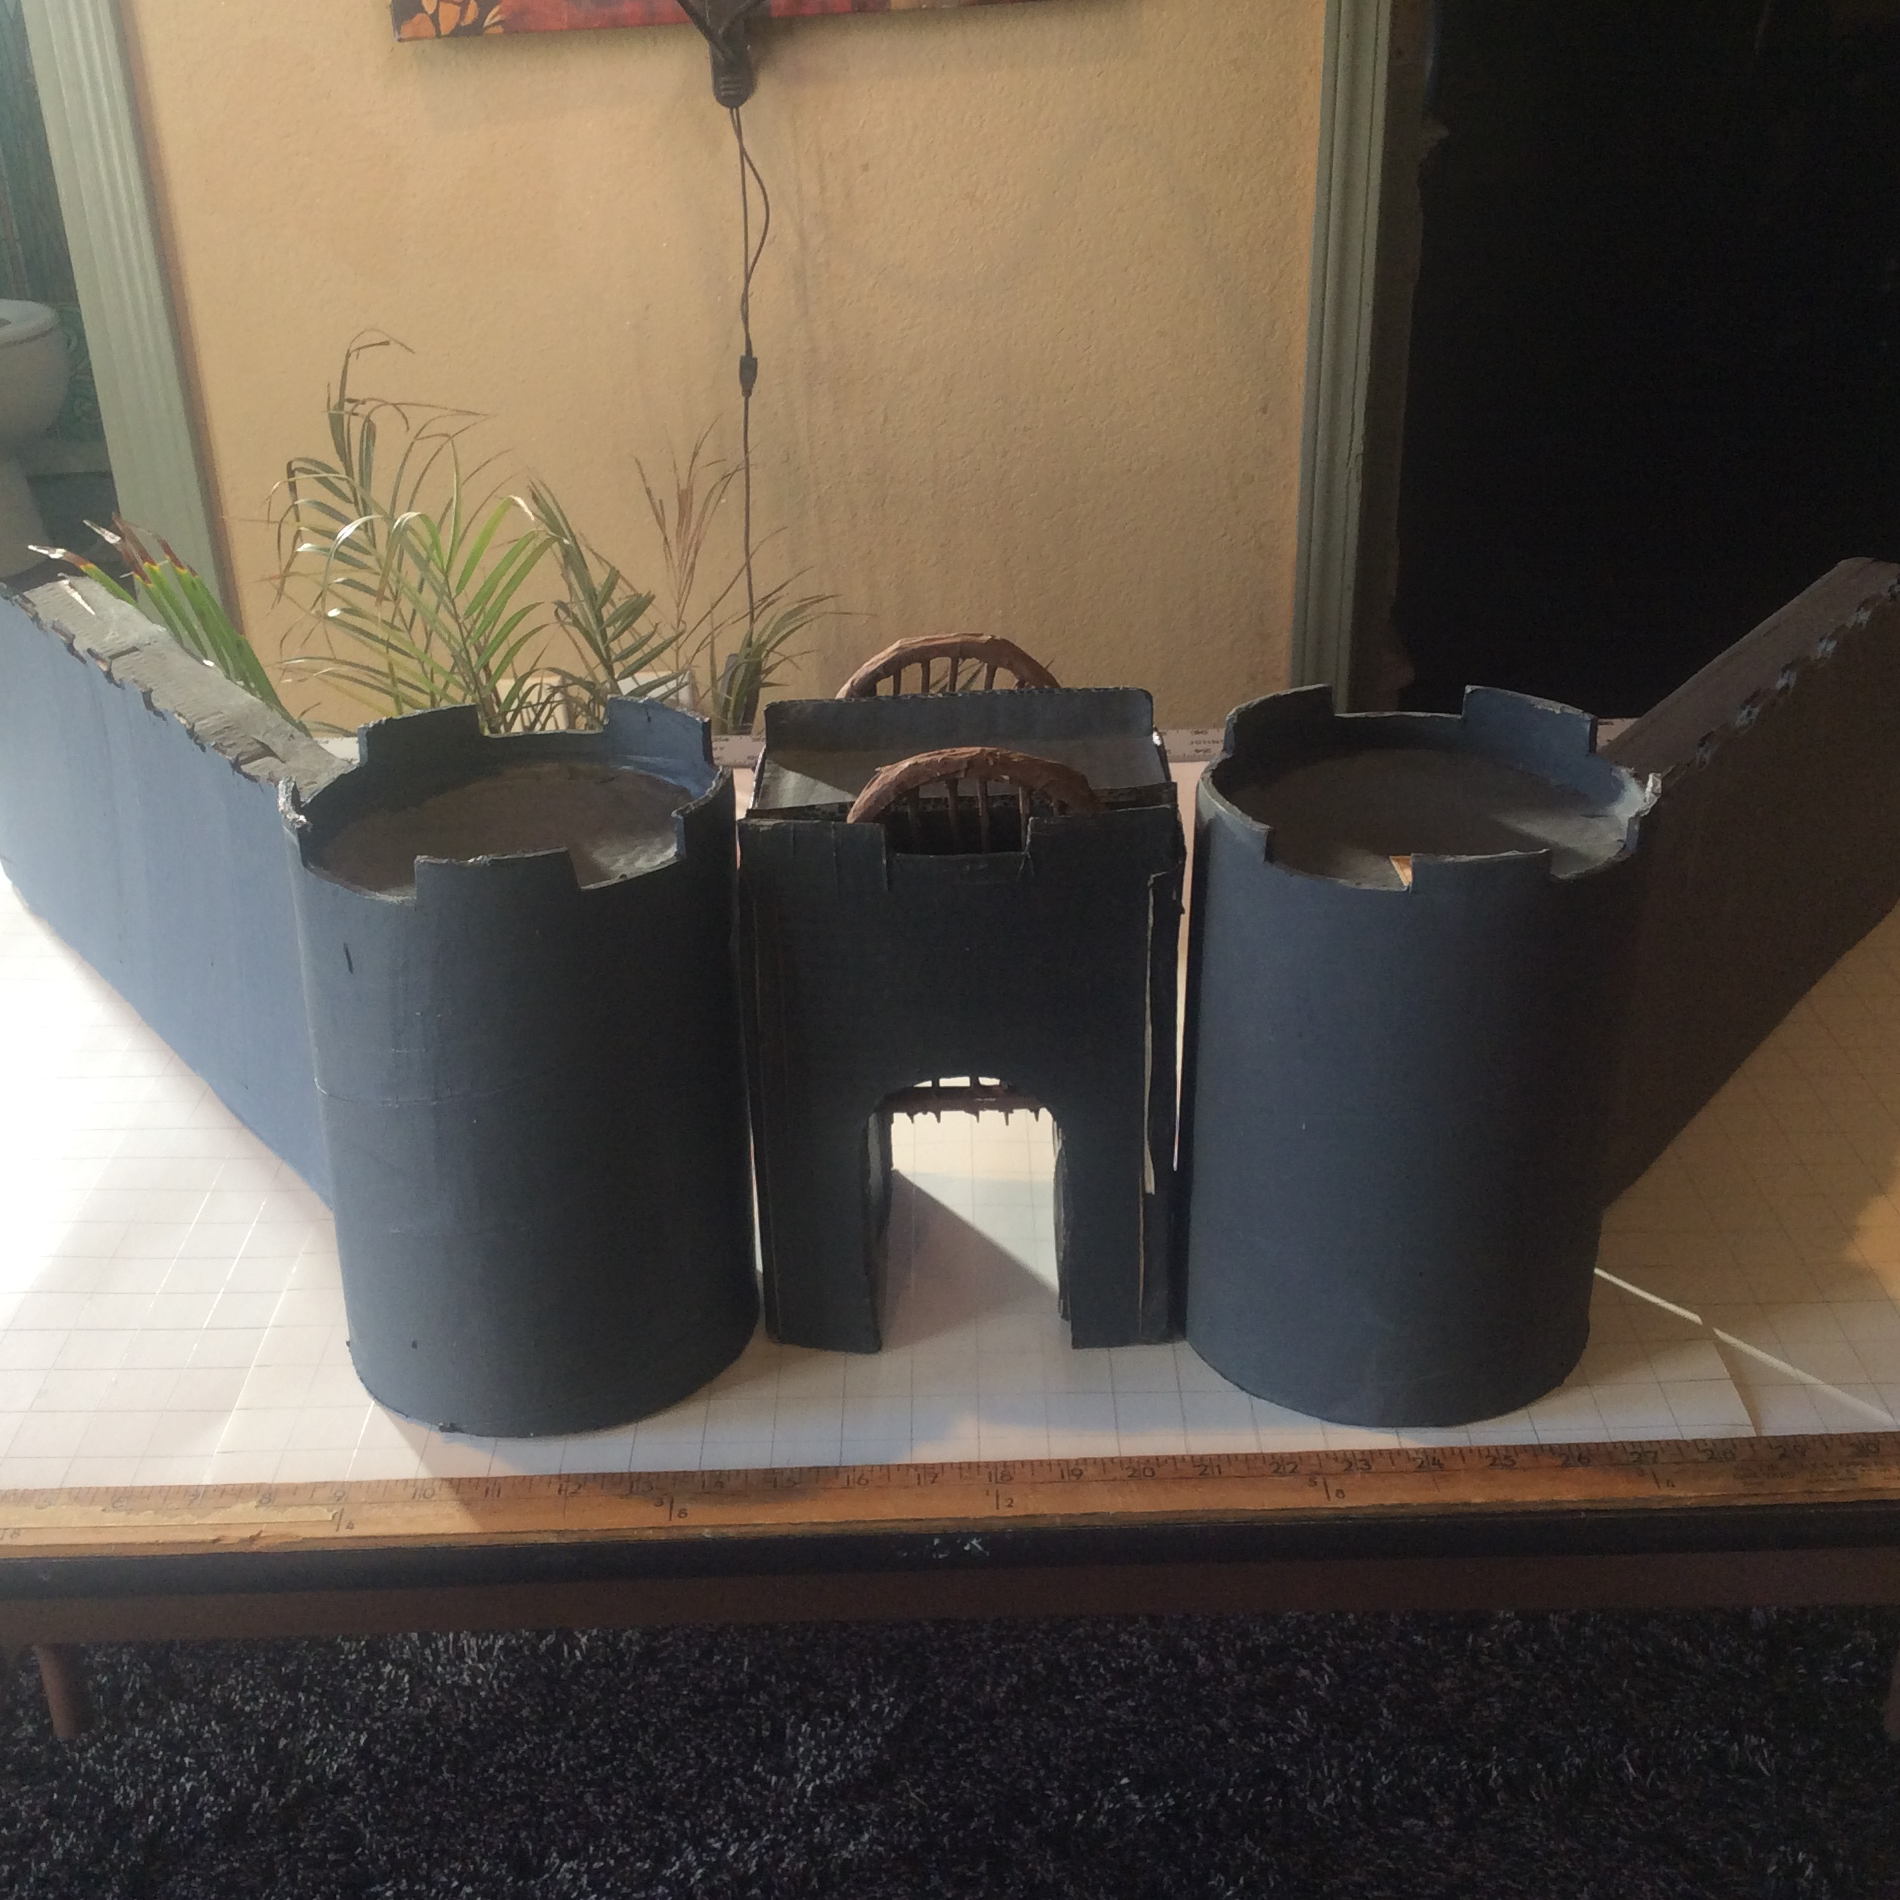
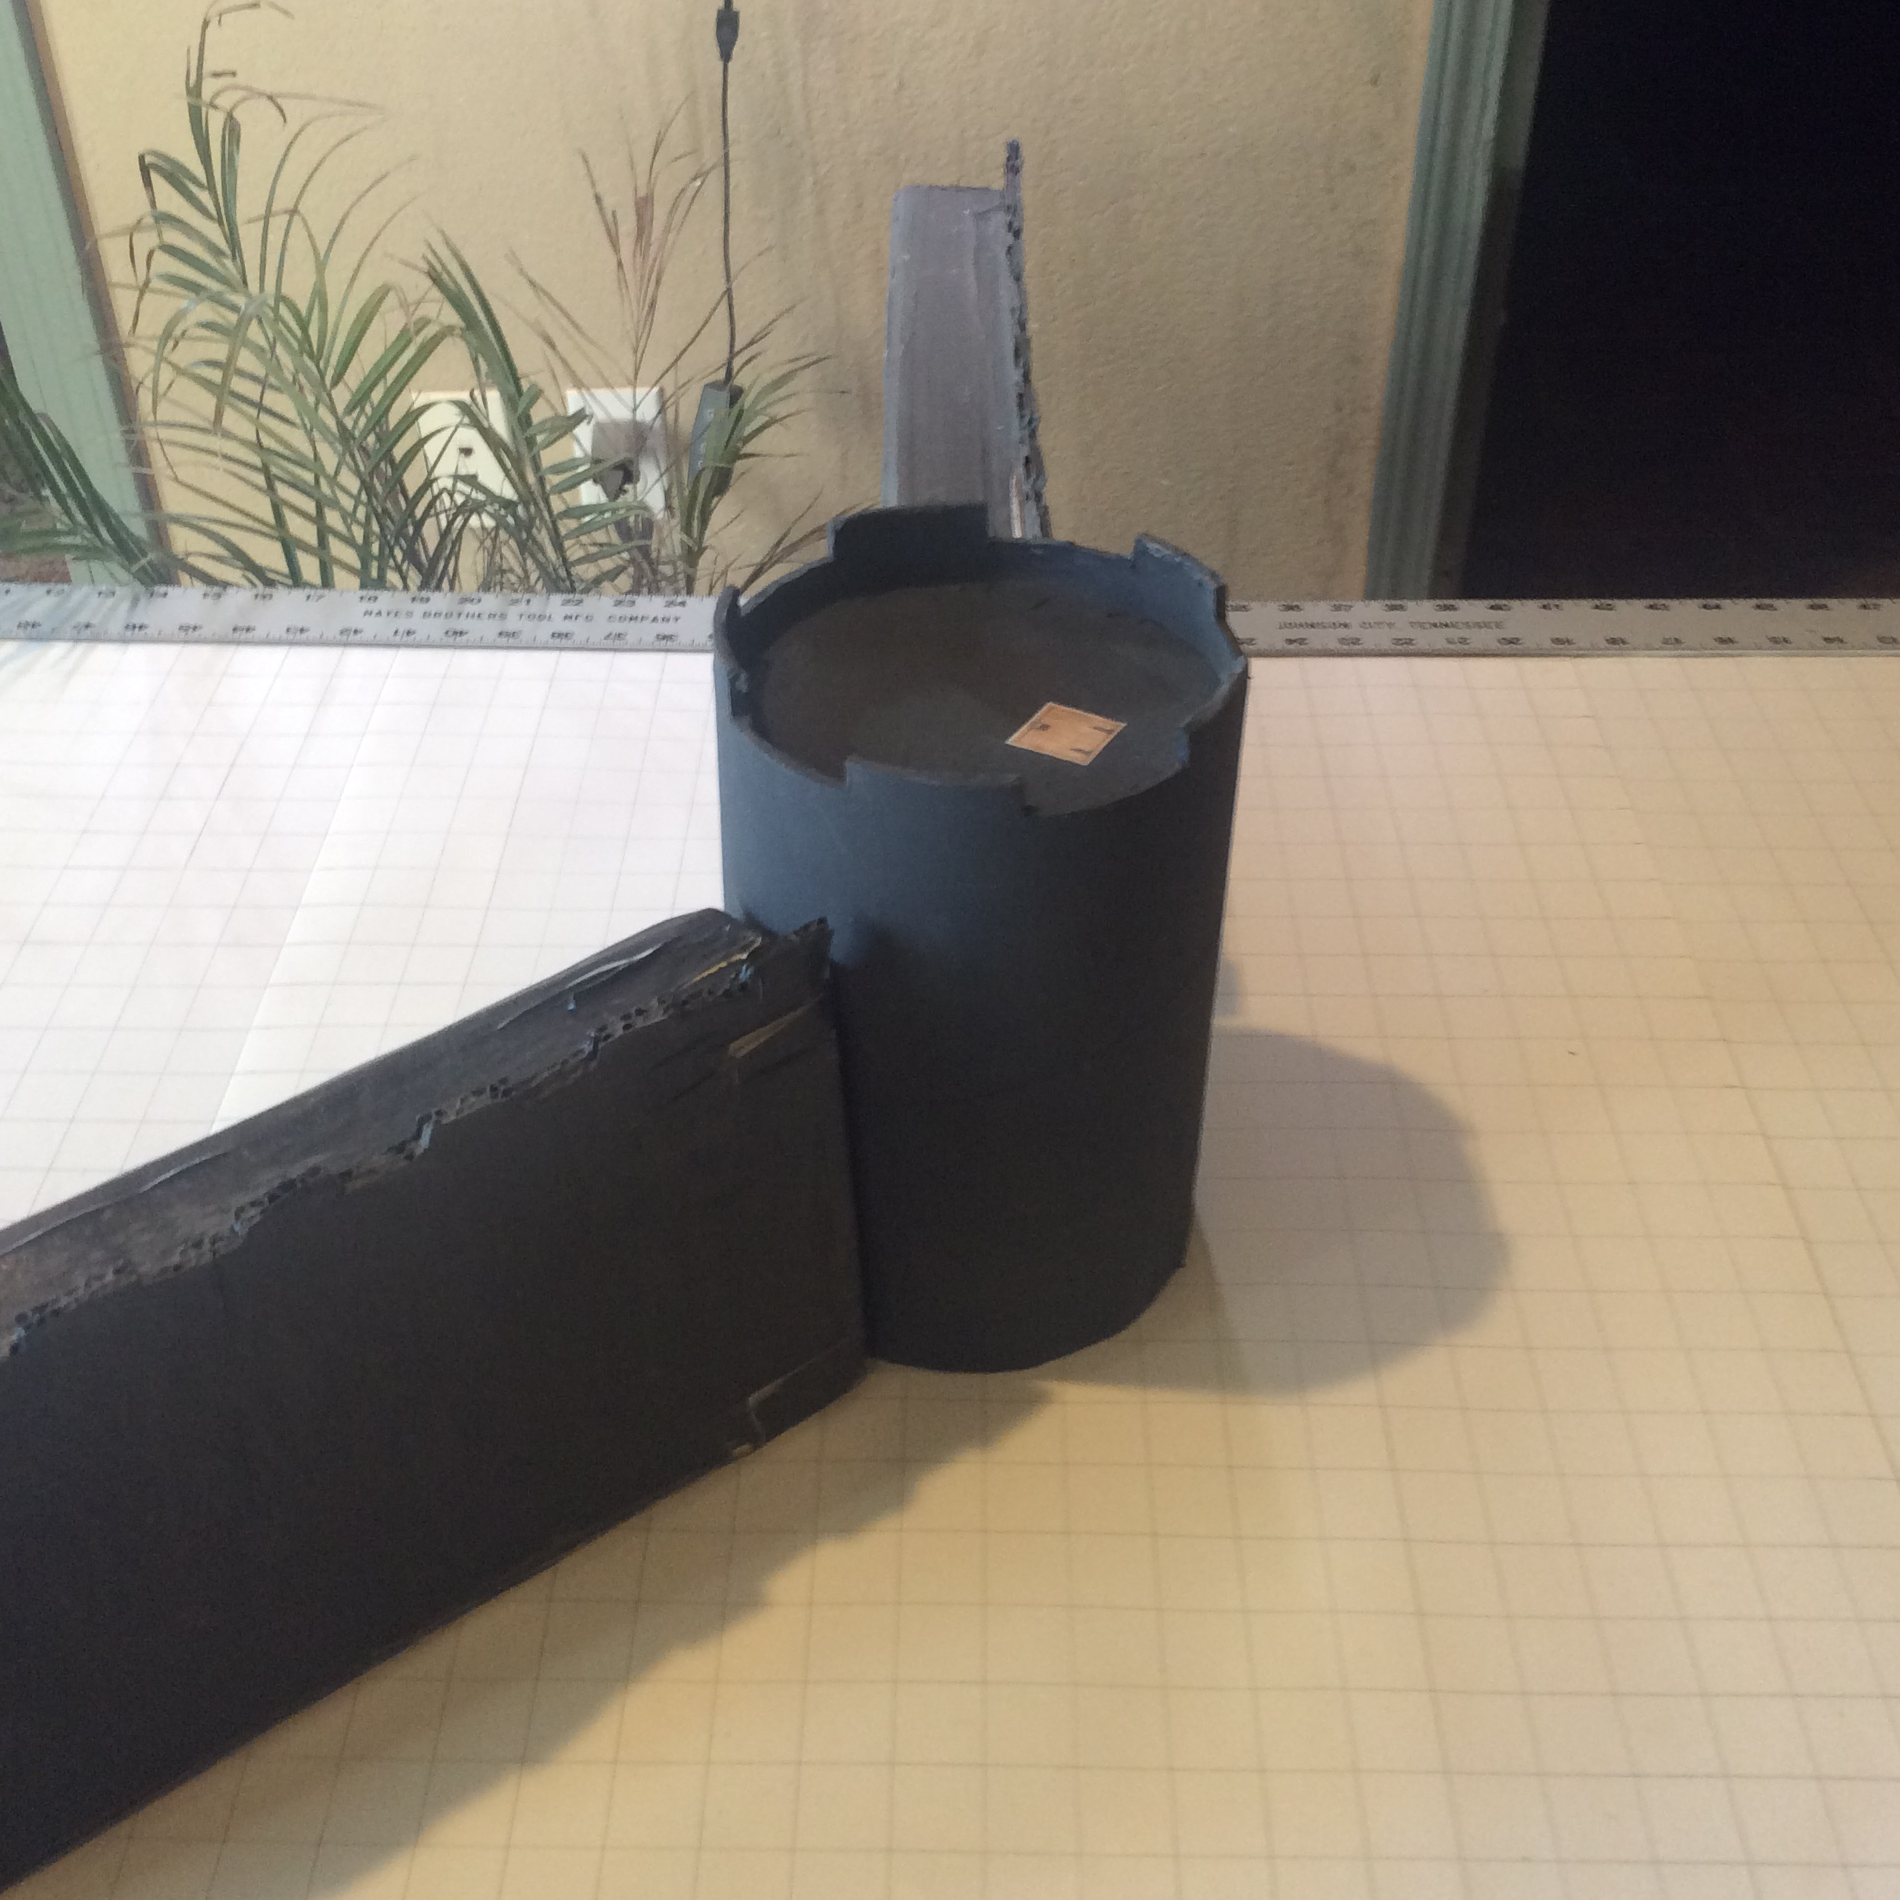
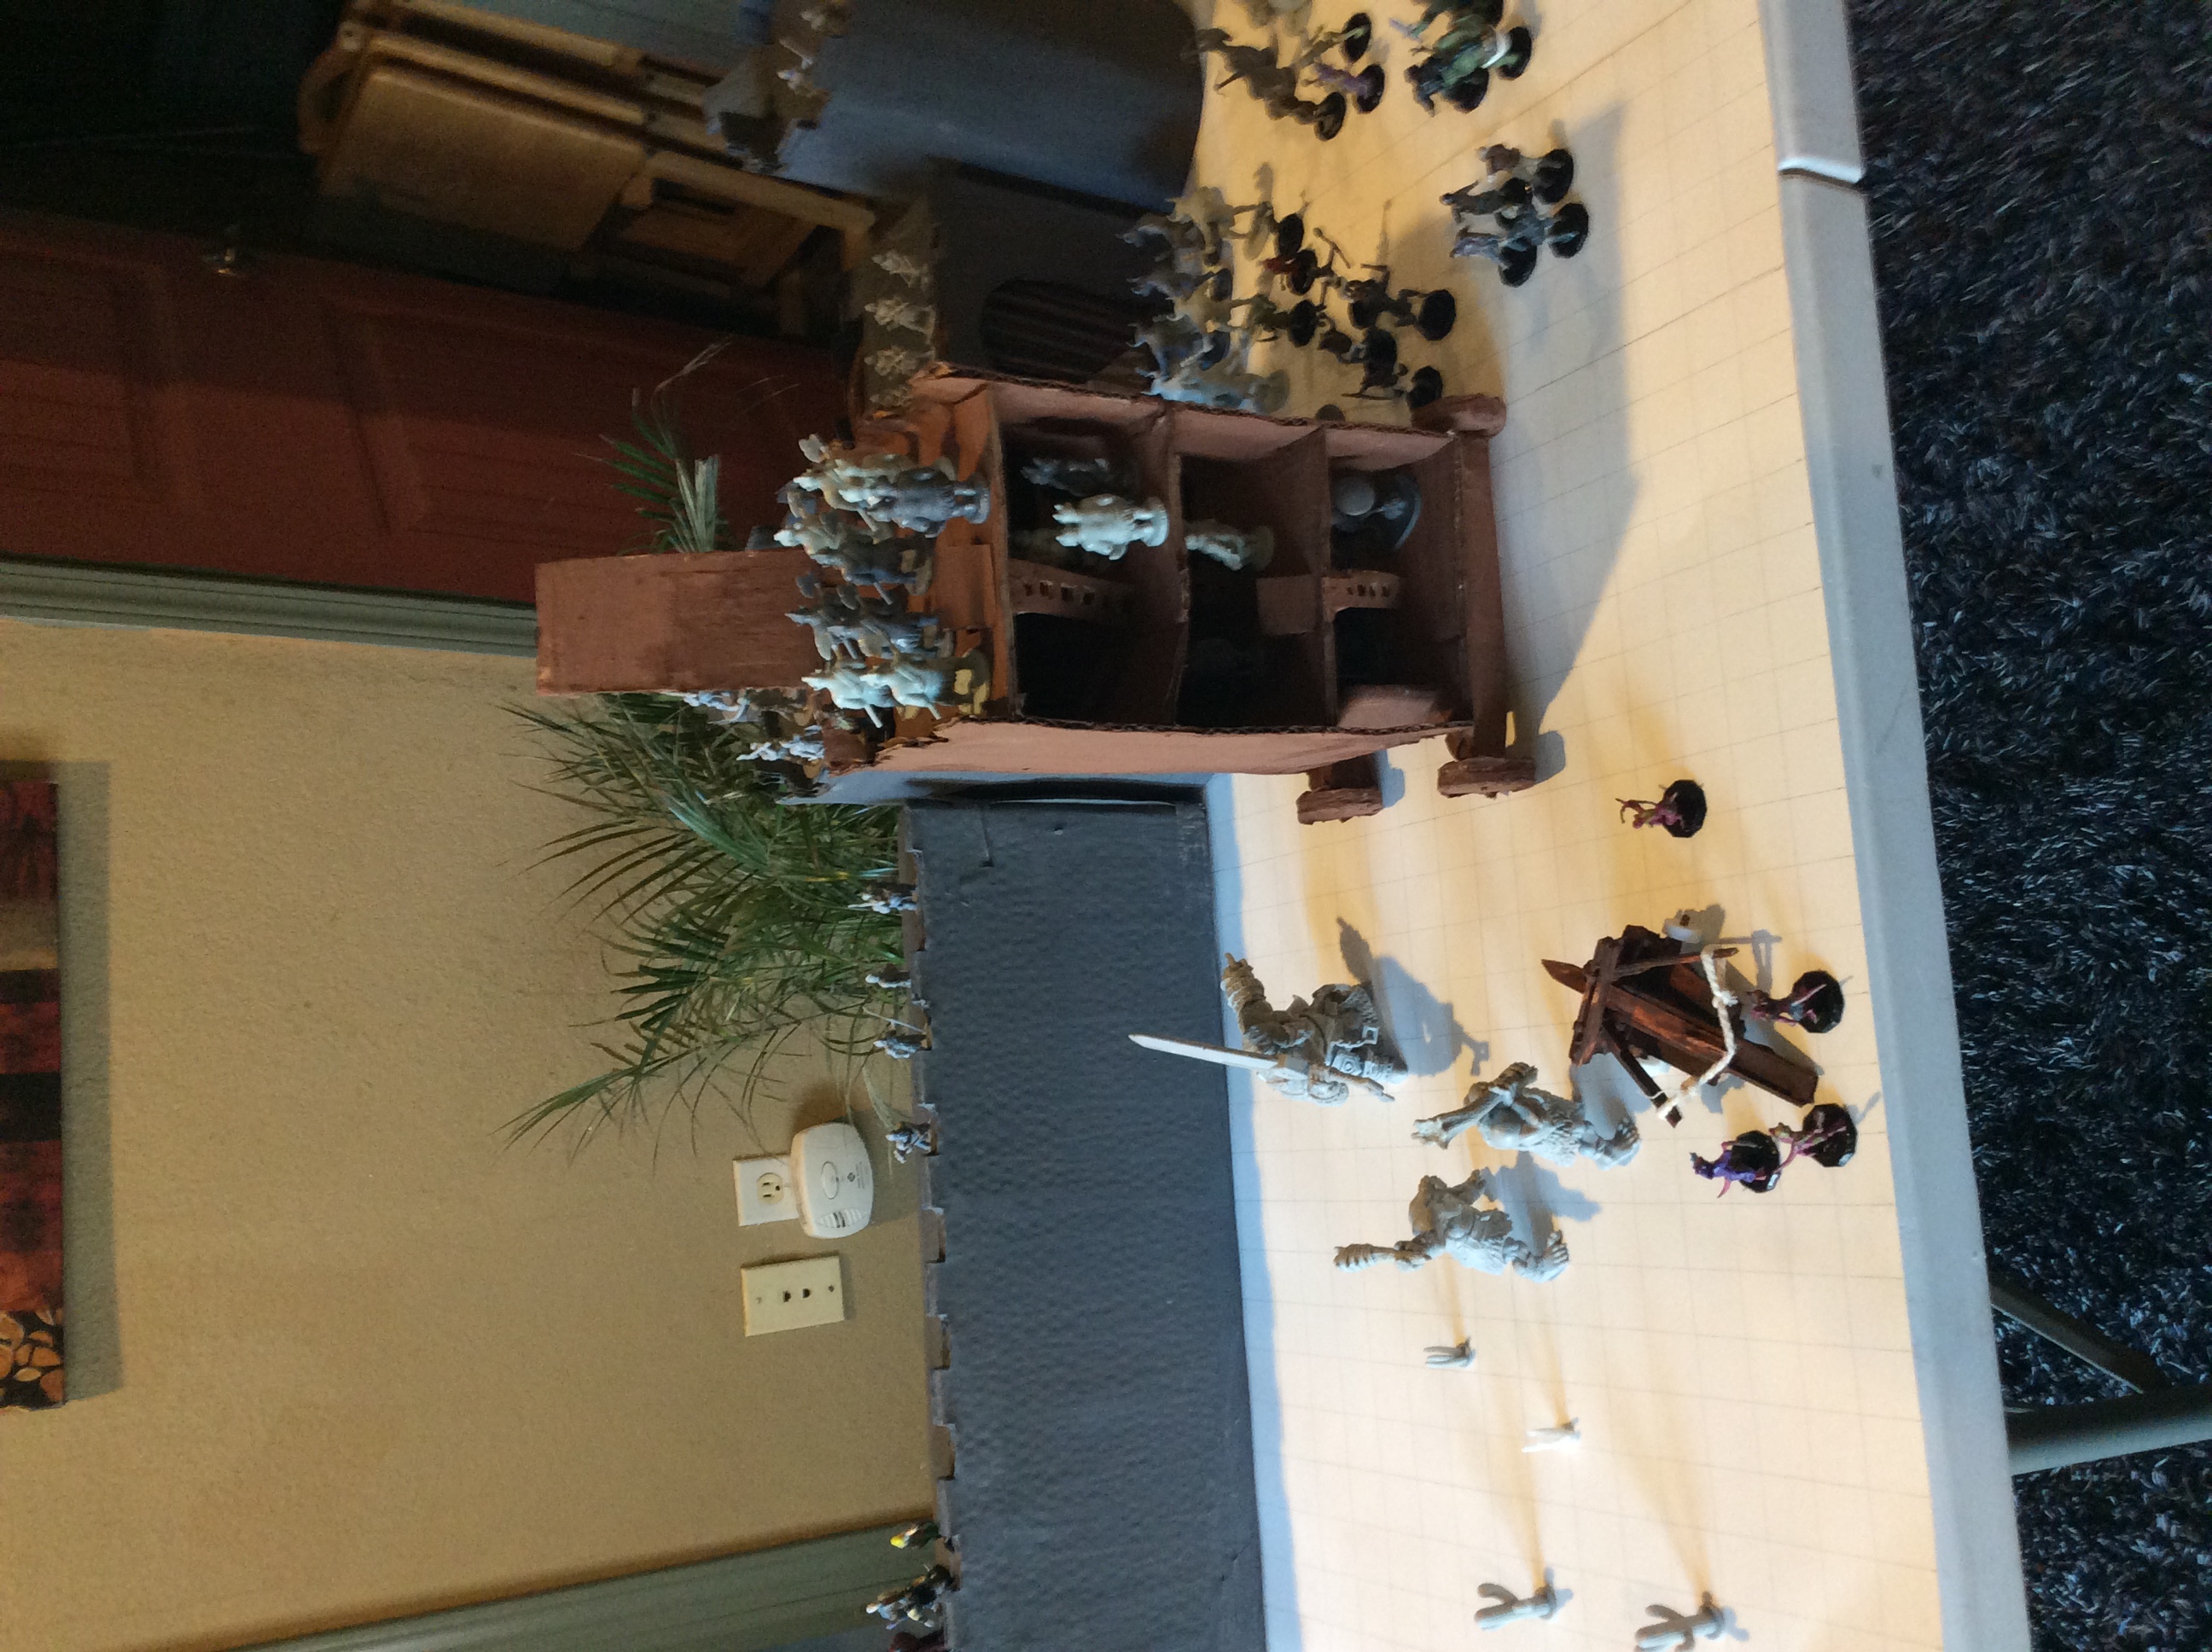
Here we have various depictions of a siege tower attacking the Front Gate. In the battle at Kahar,
three enemy siege towers burned and crumbled to their ruin before sappers dug below Tower 9 and fire got
under the tower. The first row depicts the attack from the siege tower the goblinoids named Tork.
Though it latched onto Tower 9 and some invading gobliniods made it to the roof, they were ultimately beat back
and Tork was consumed in flame from the defenders.
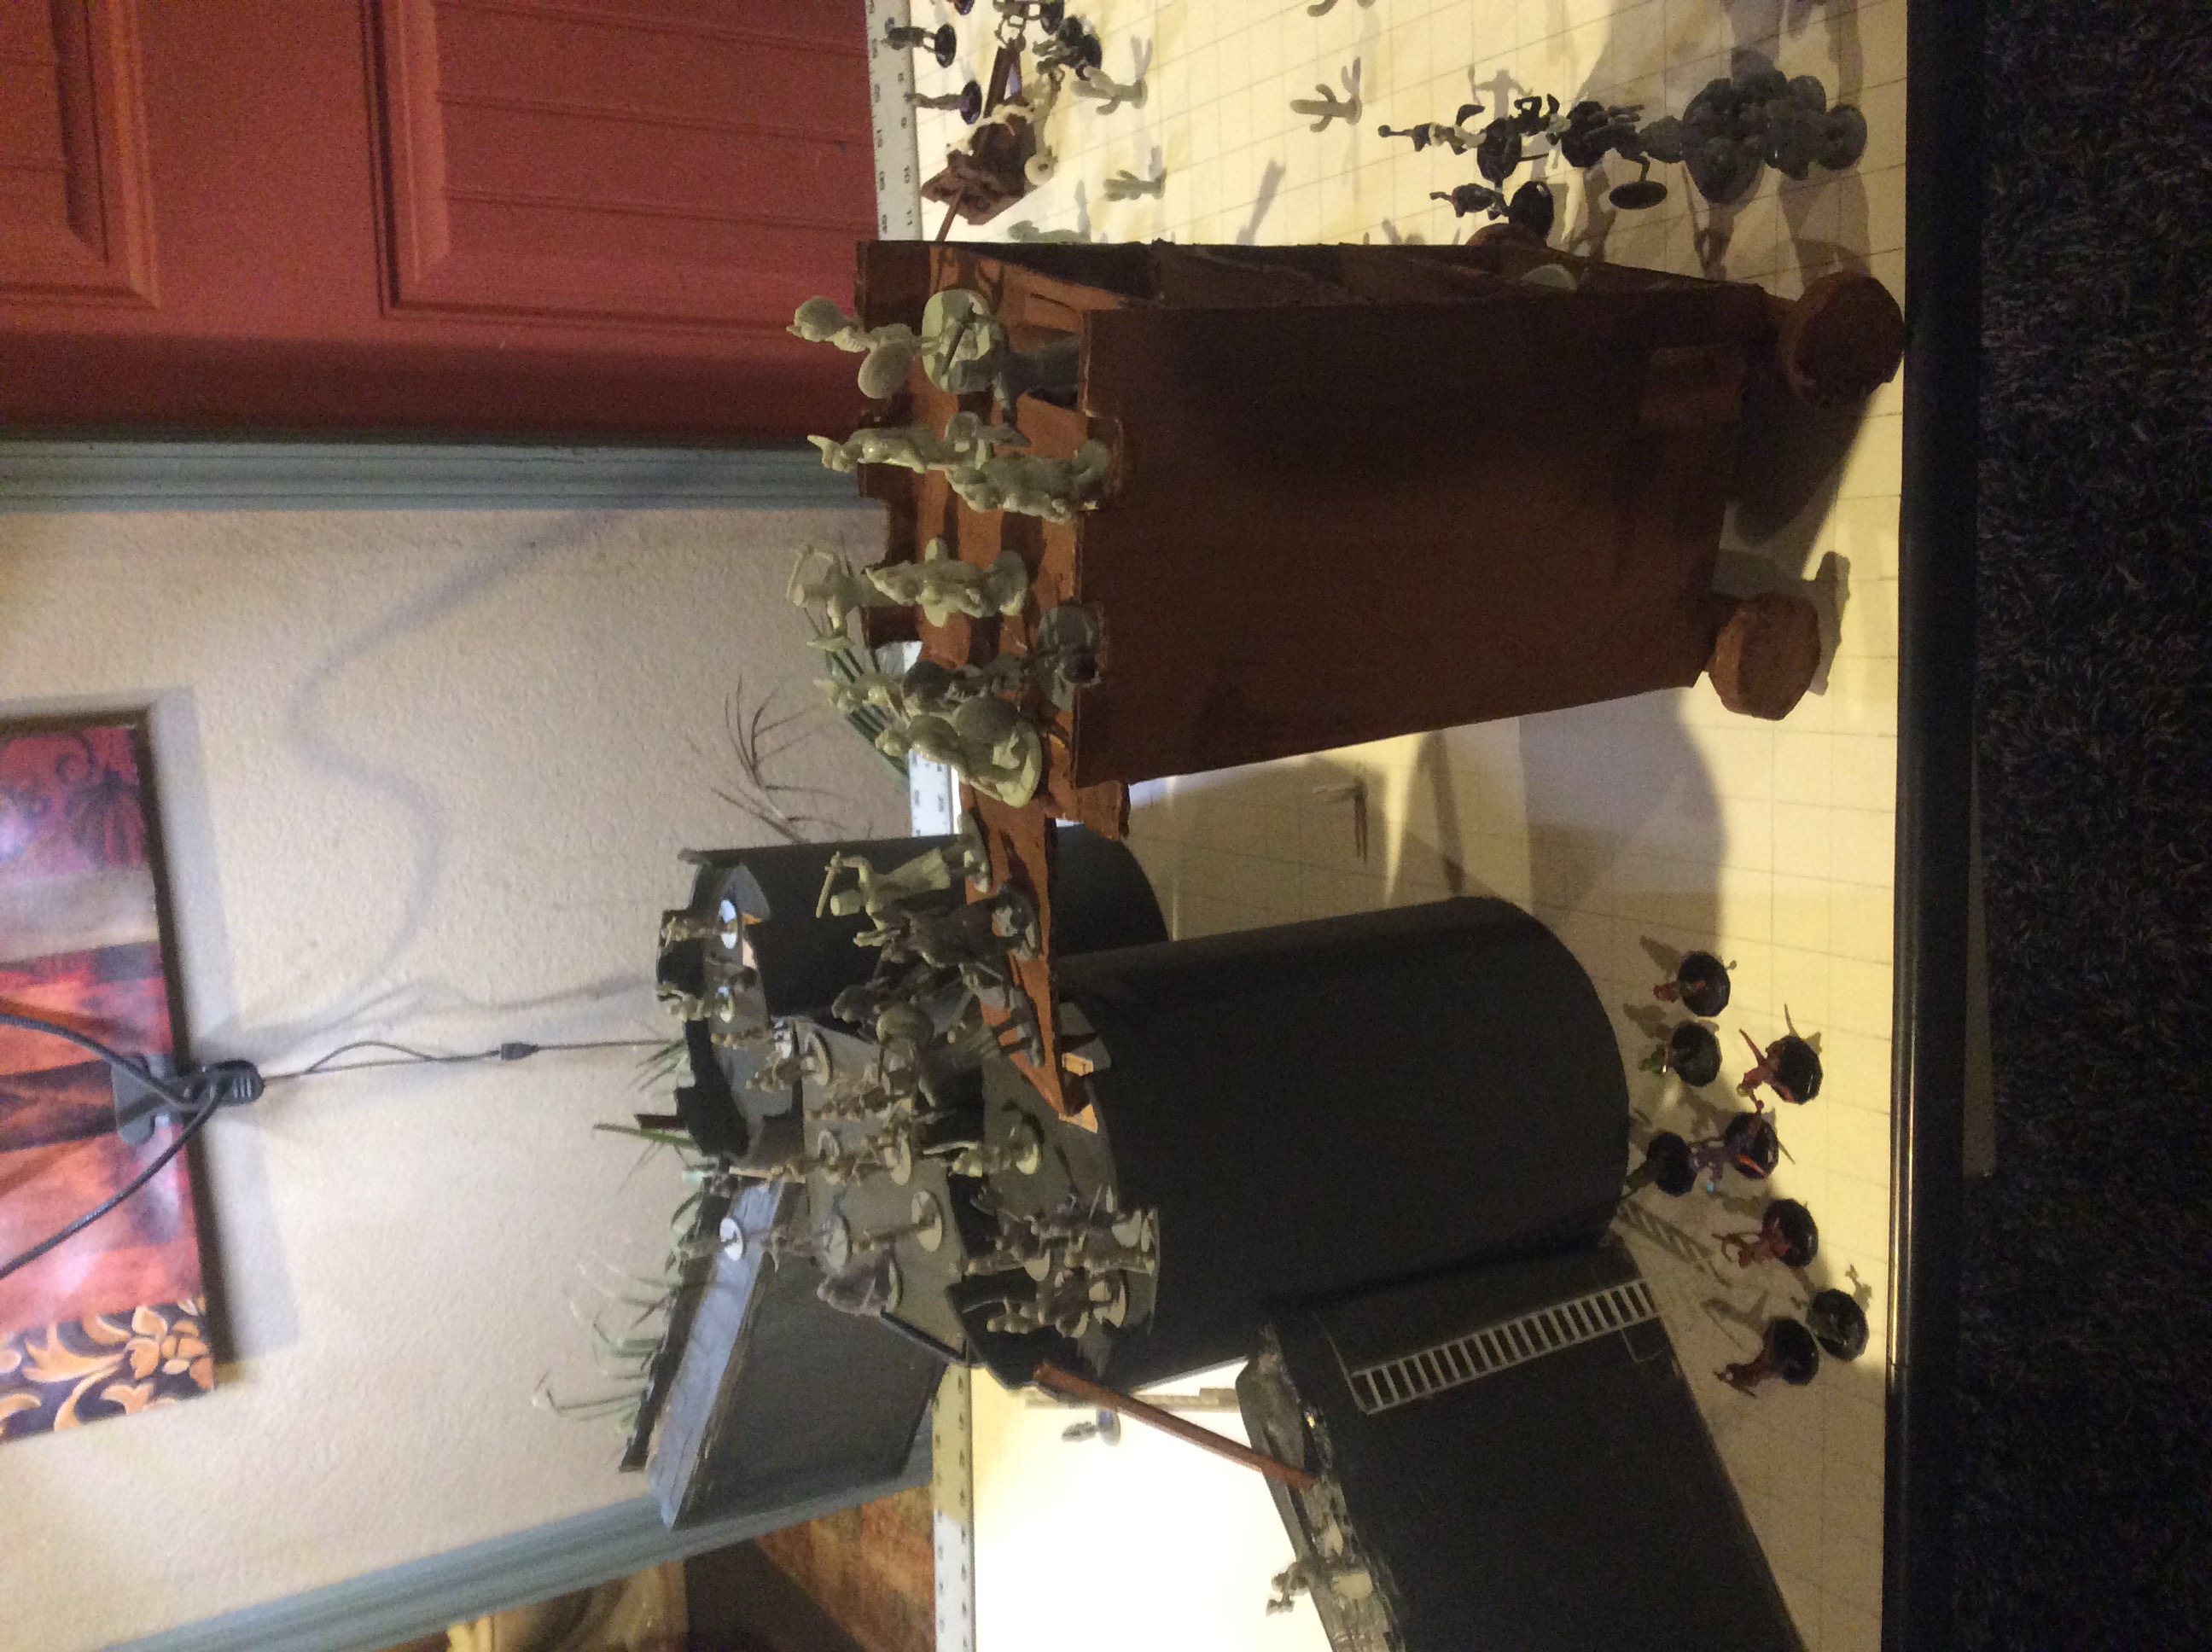
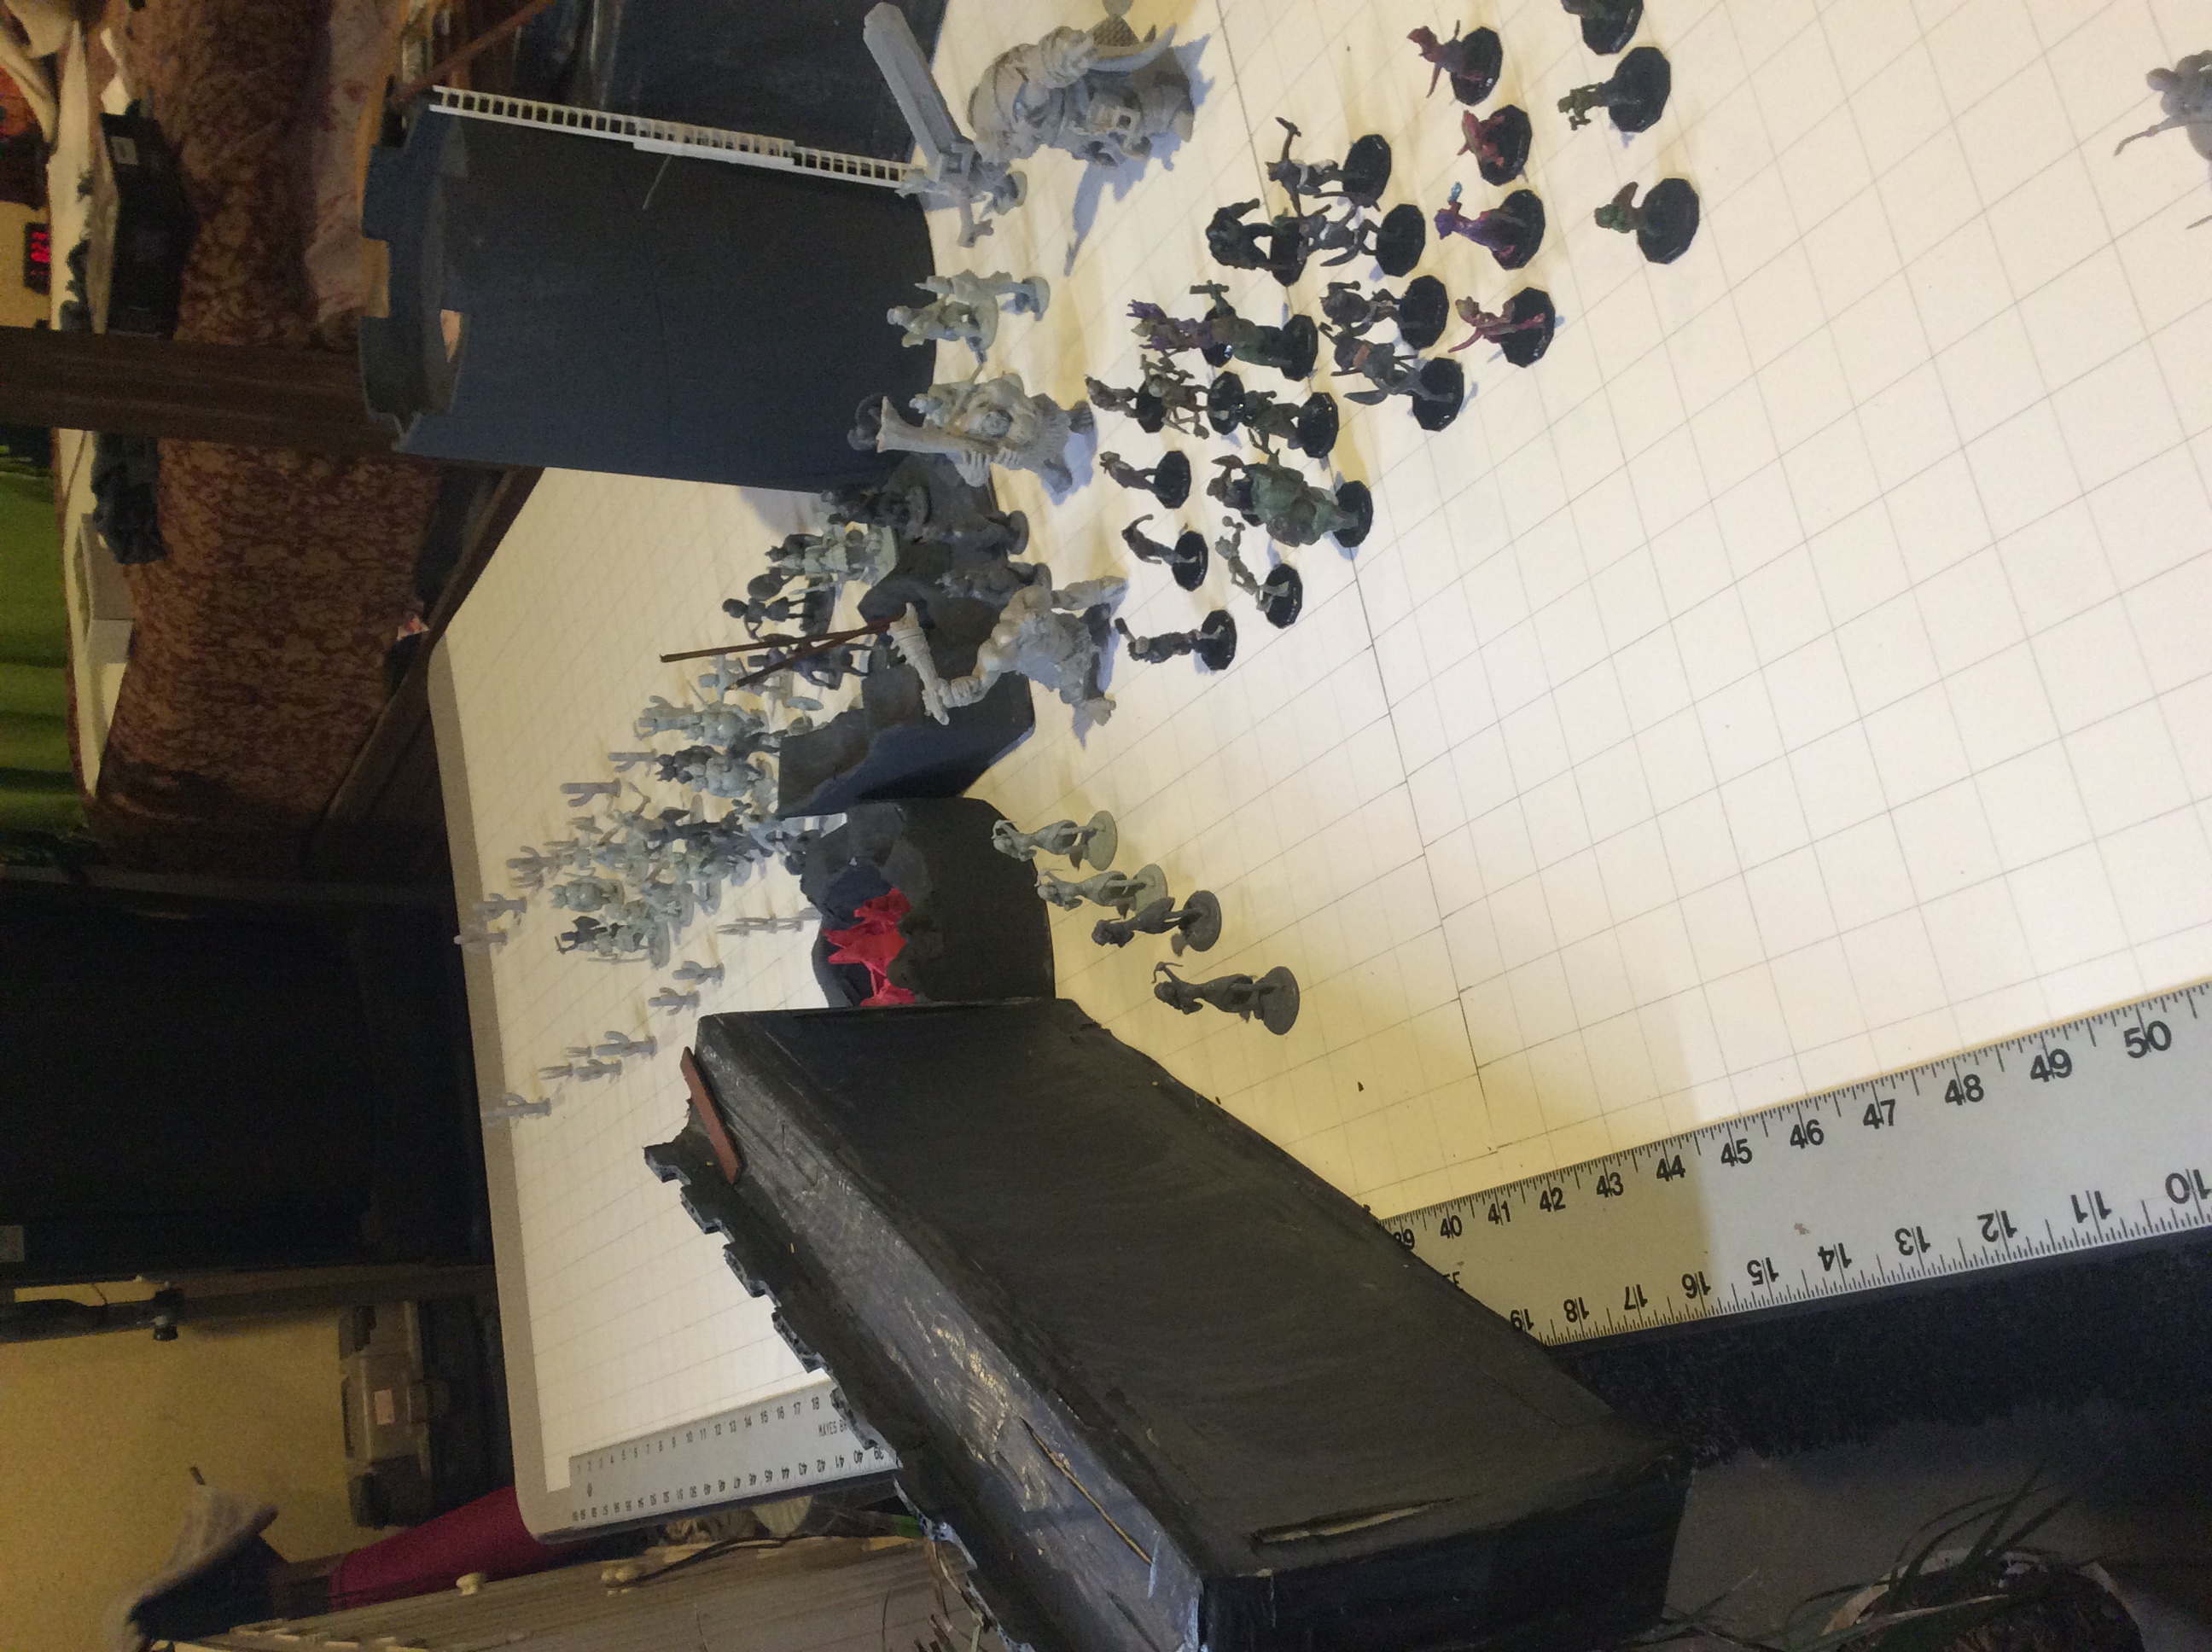
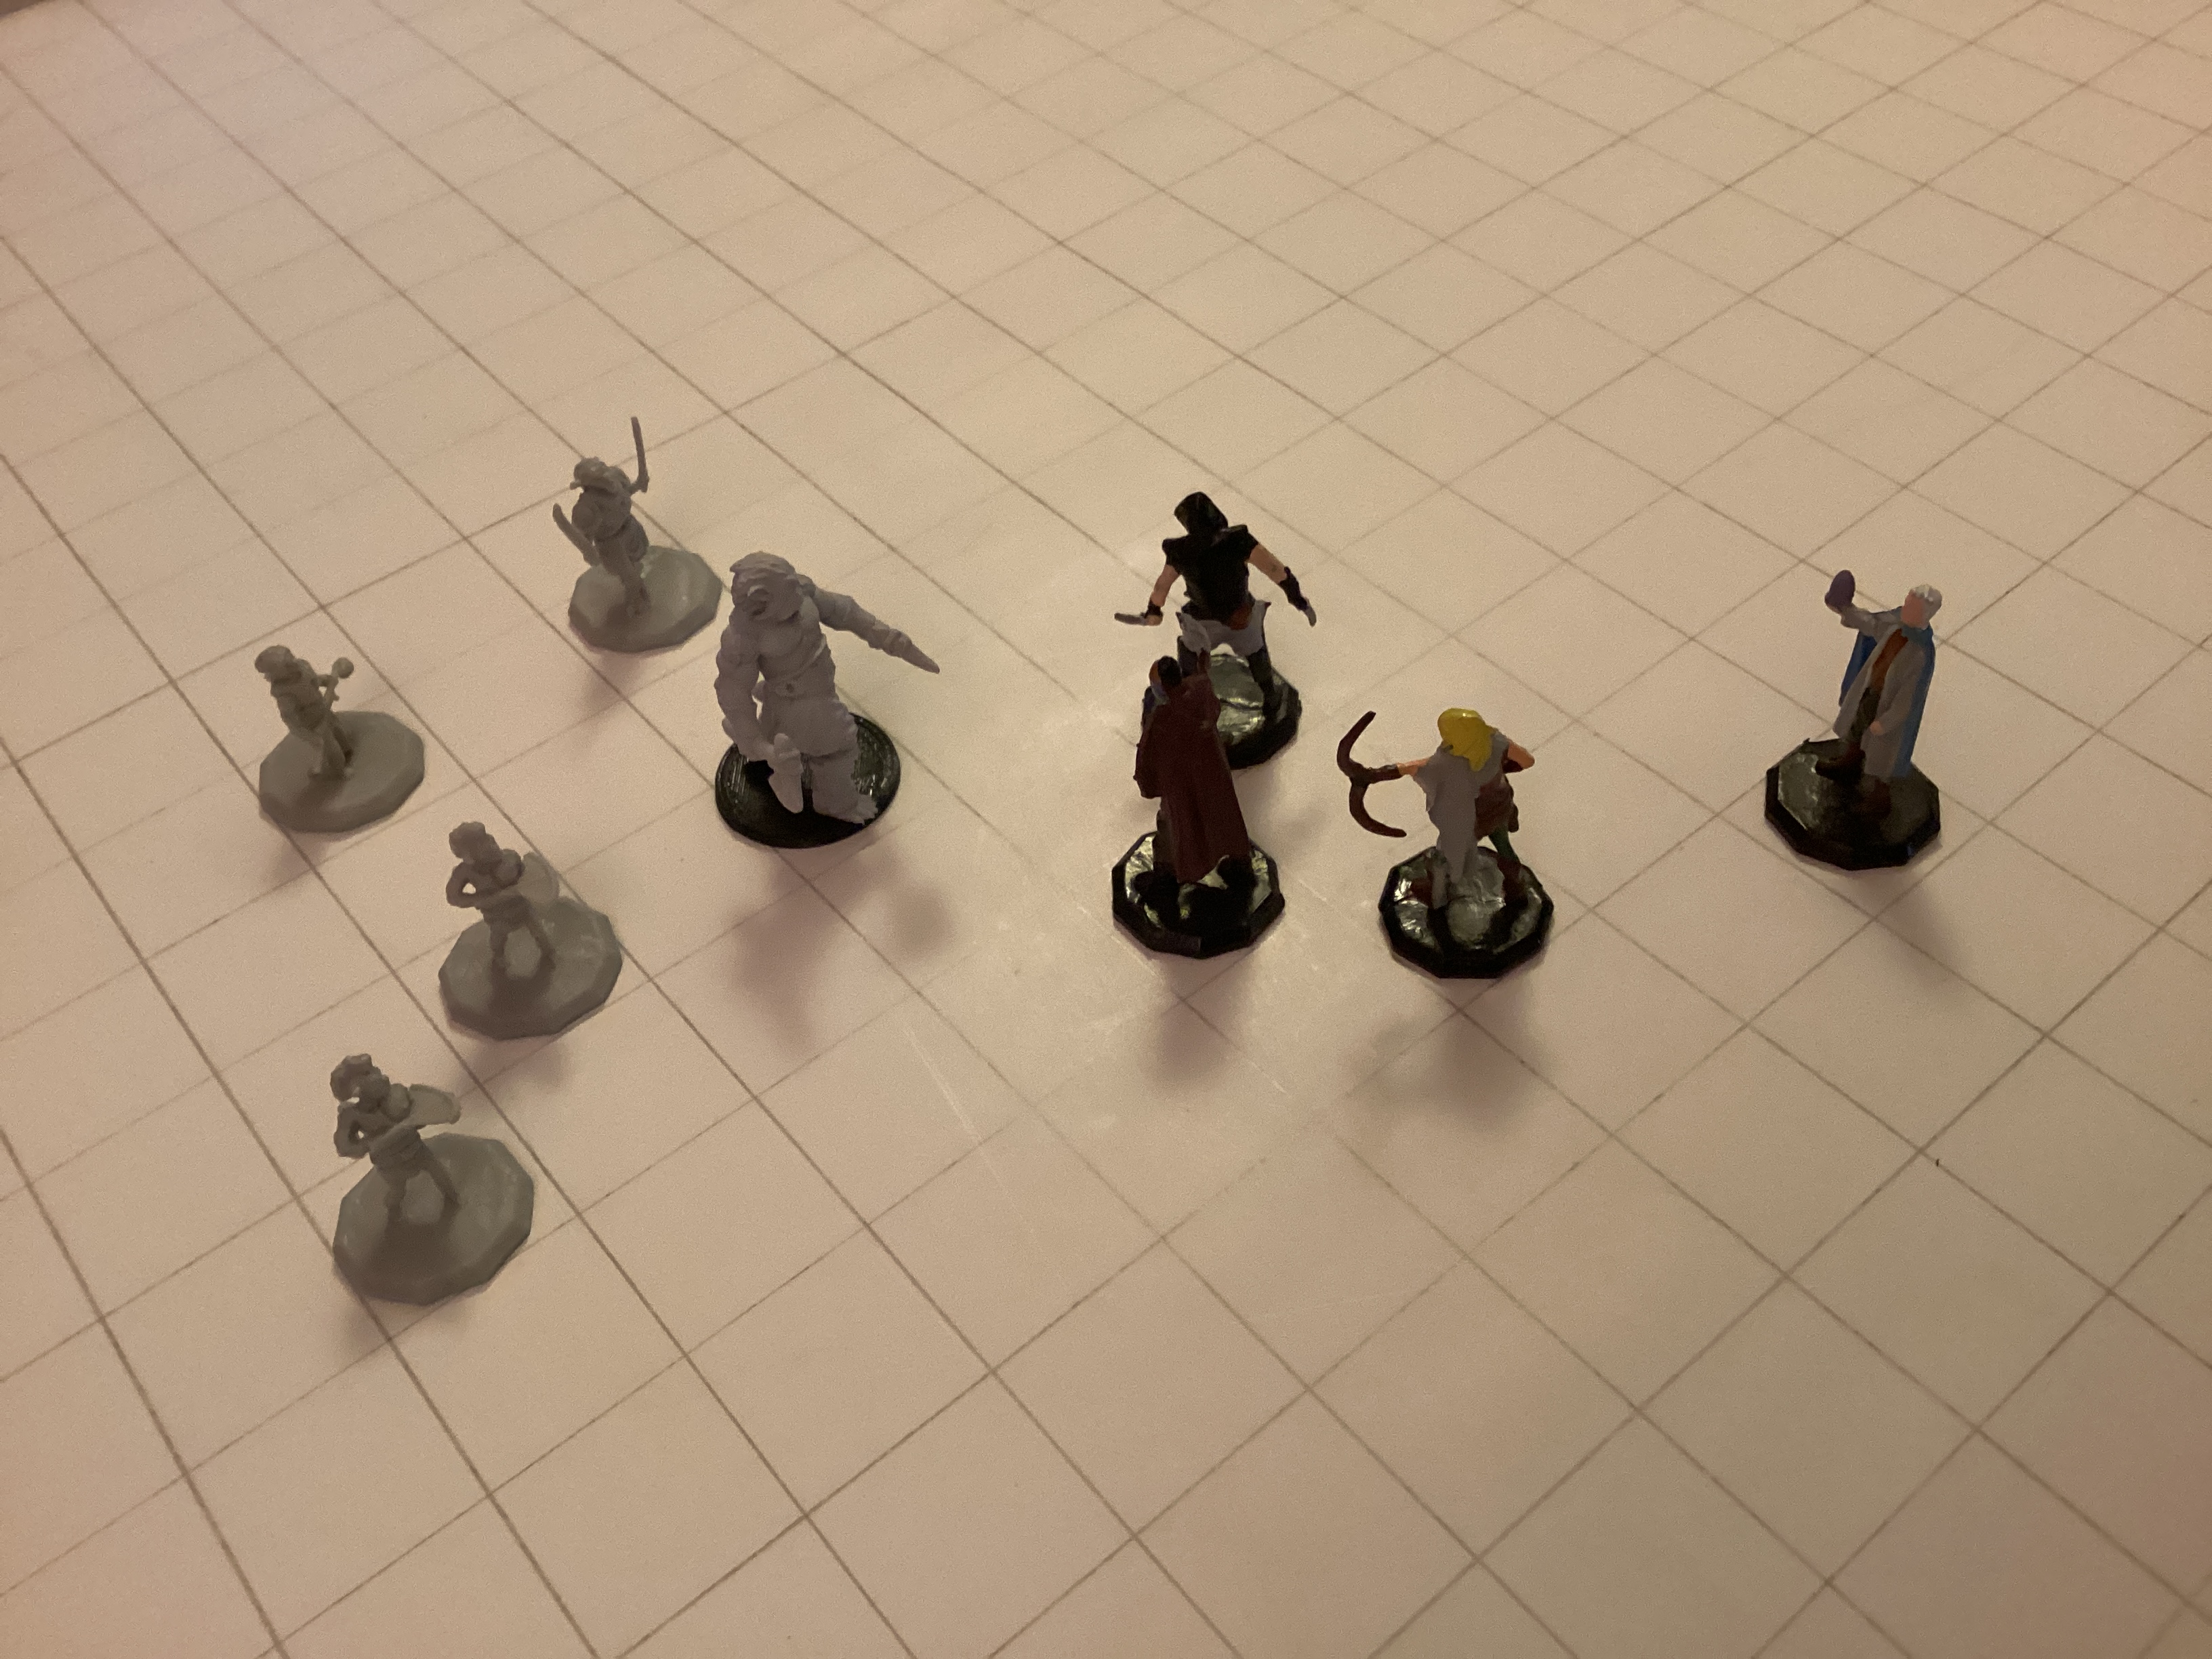
The second row shows the attack from siege Tower Pooka, which latched onto Tower 1 and killed many Goldenshield
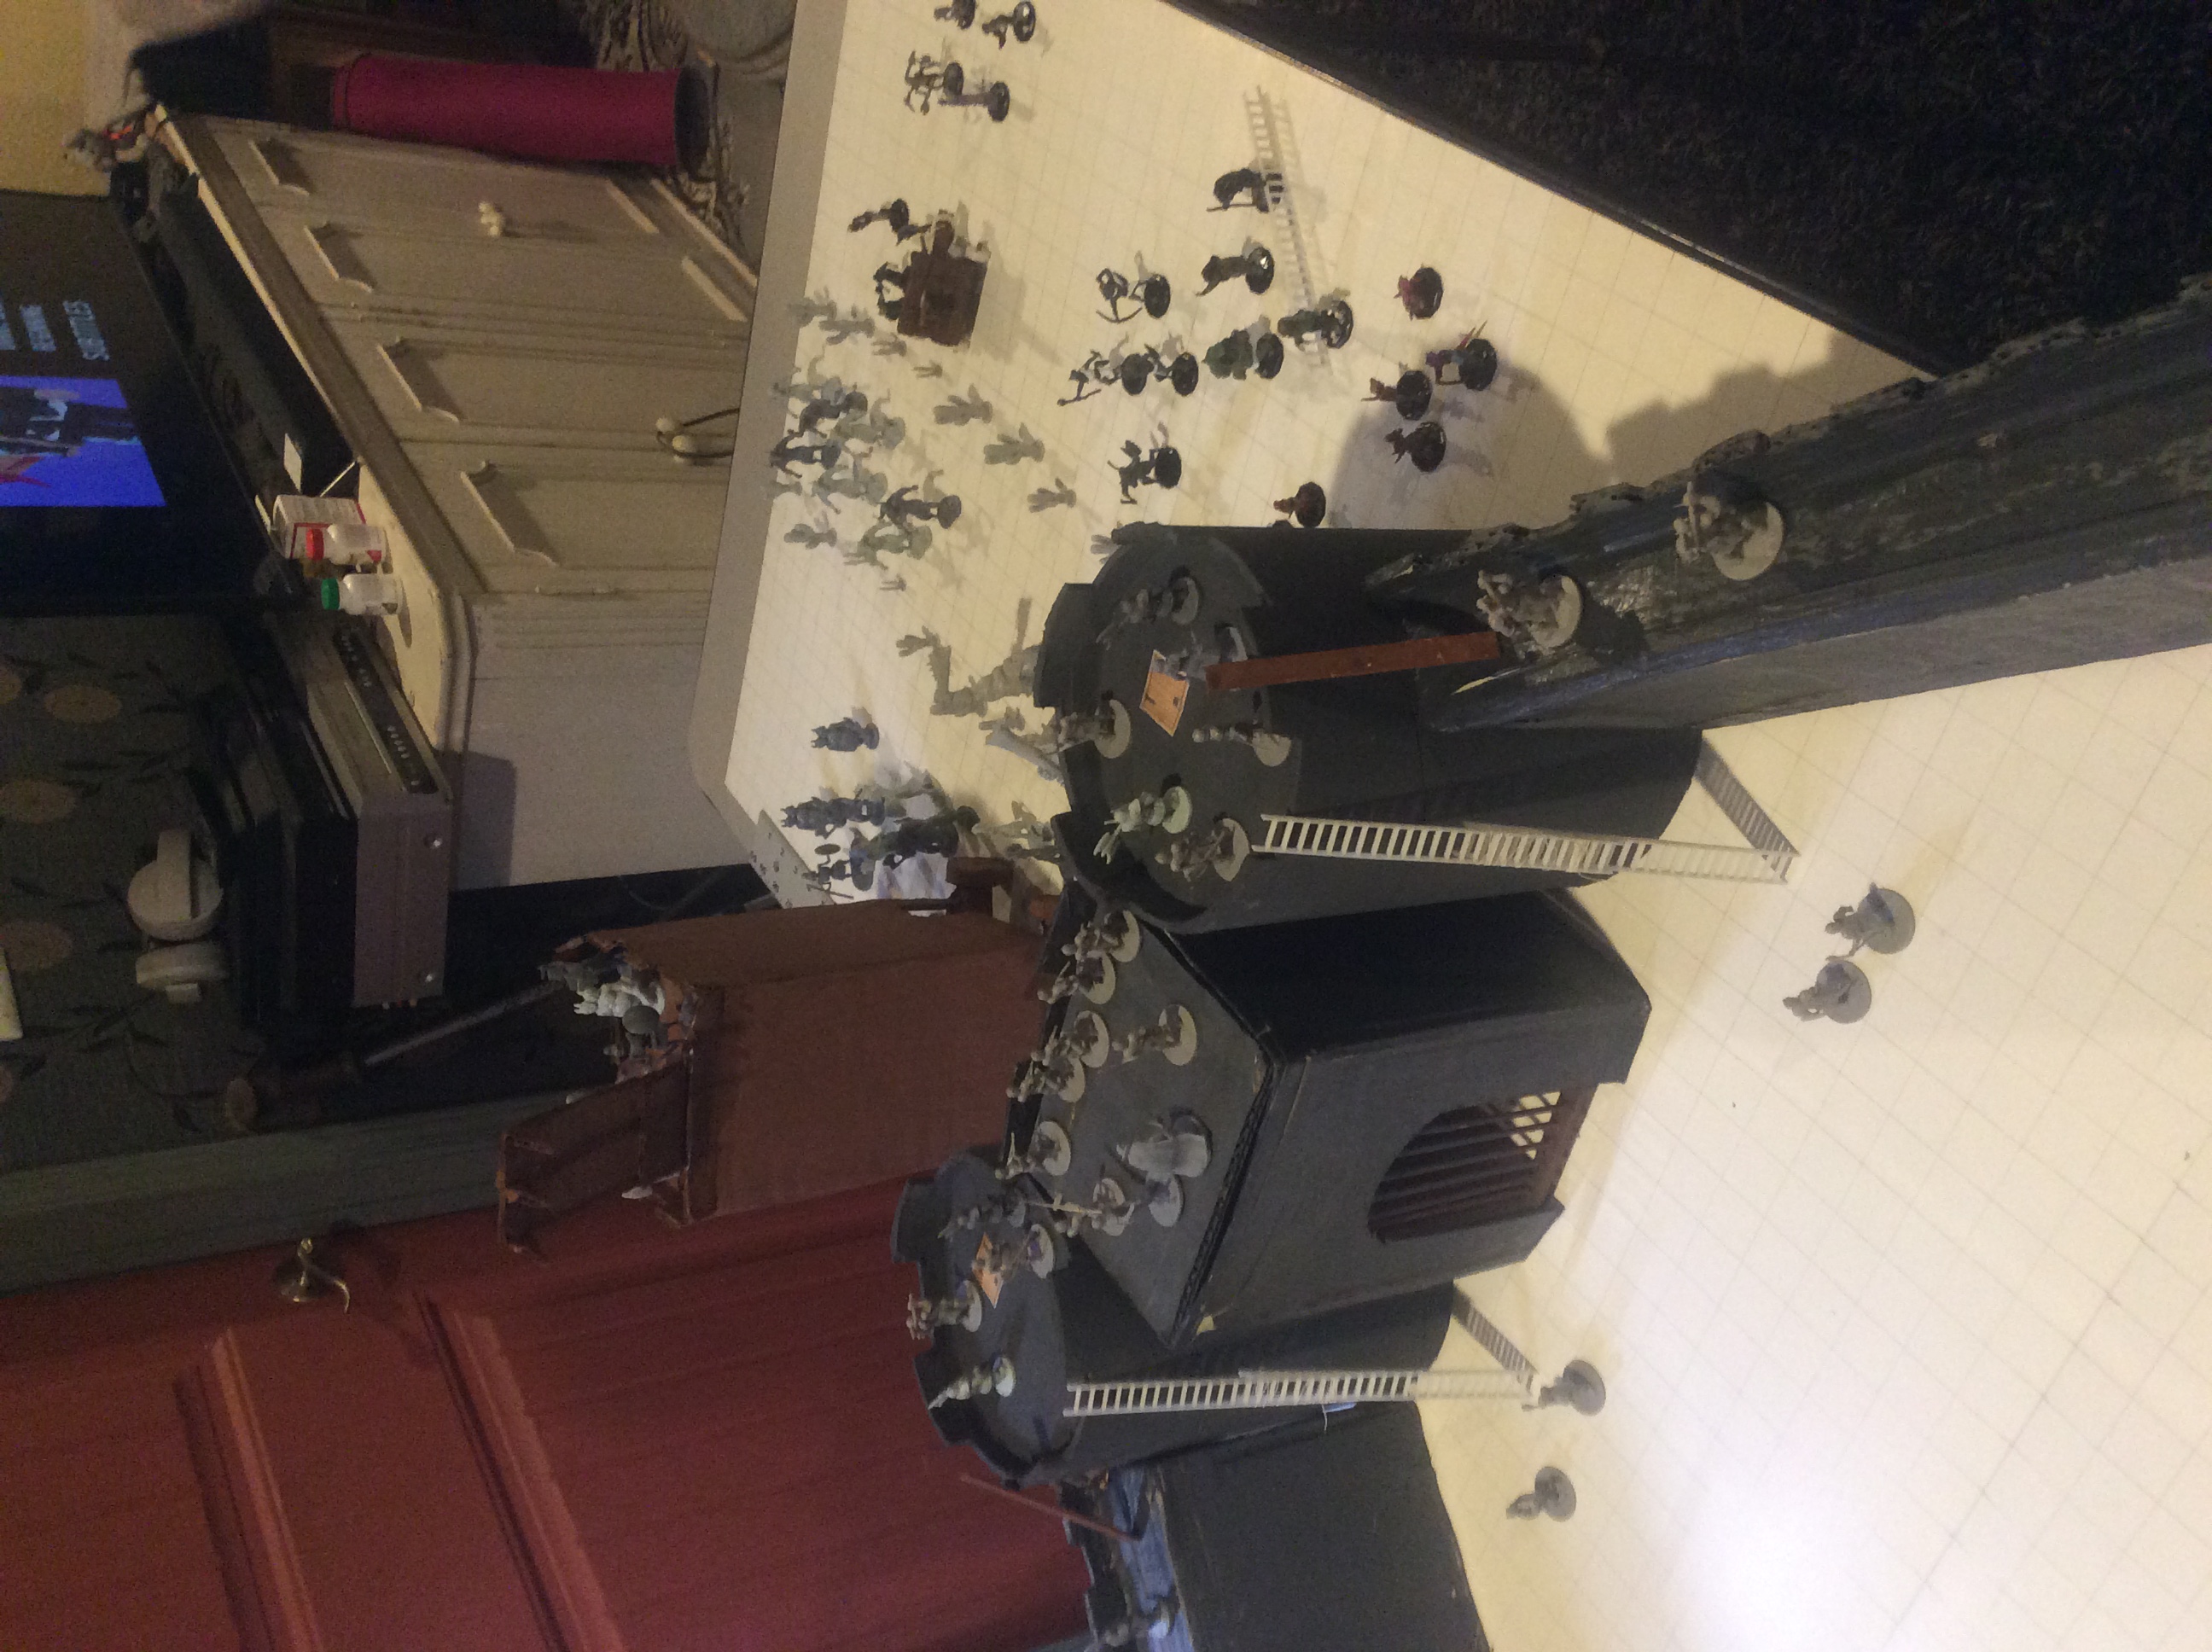
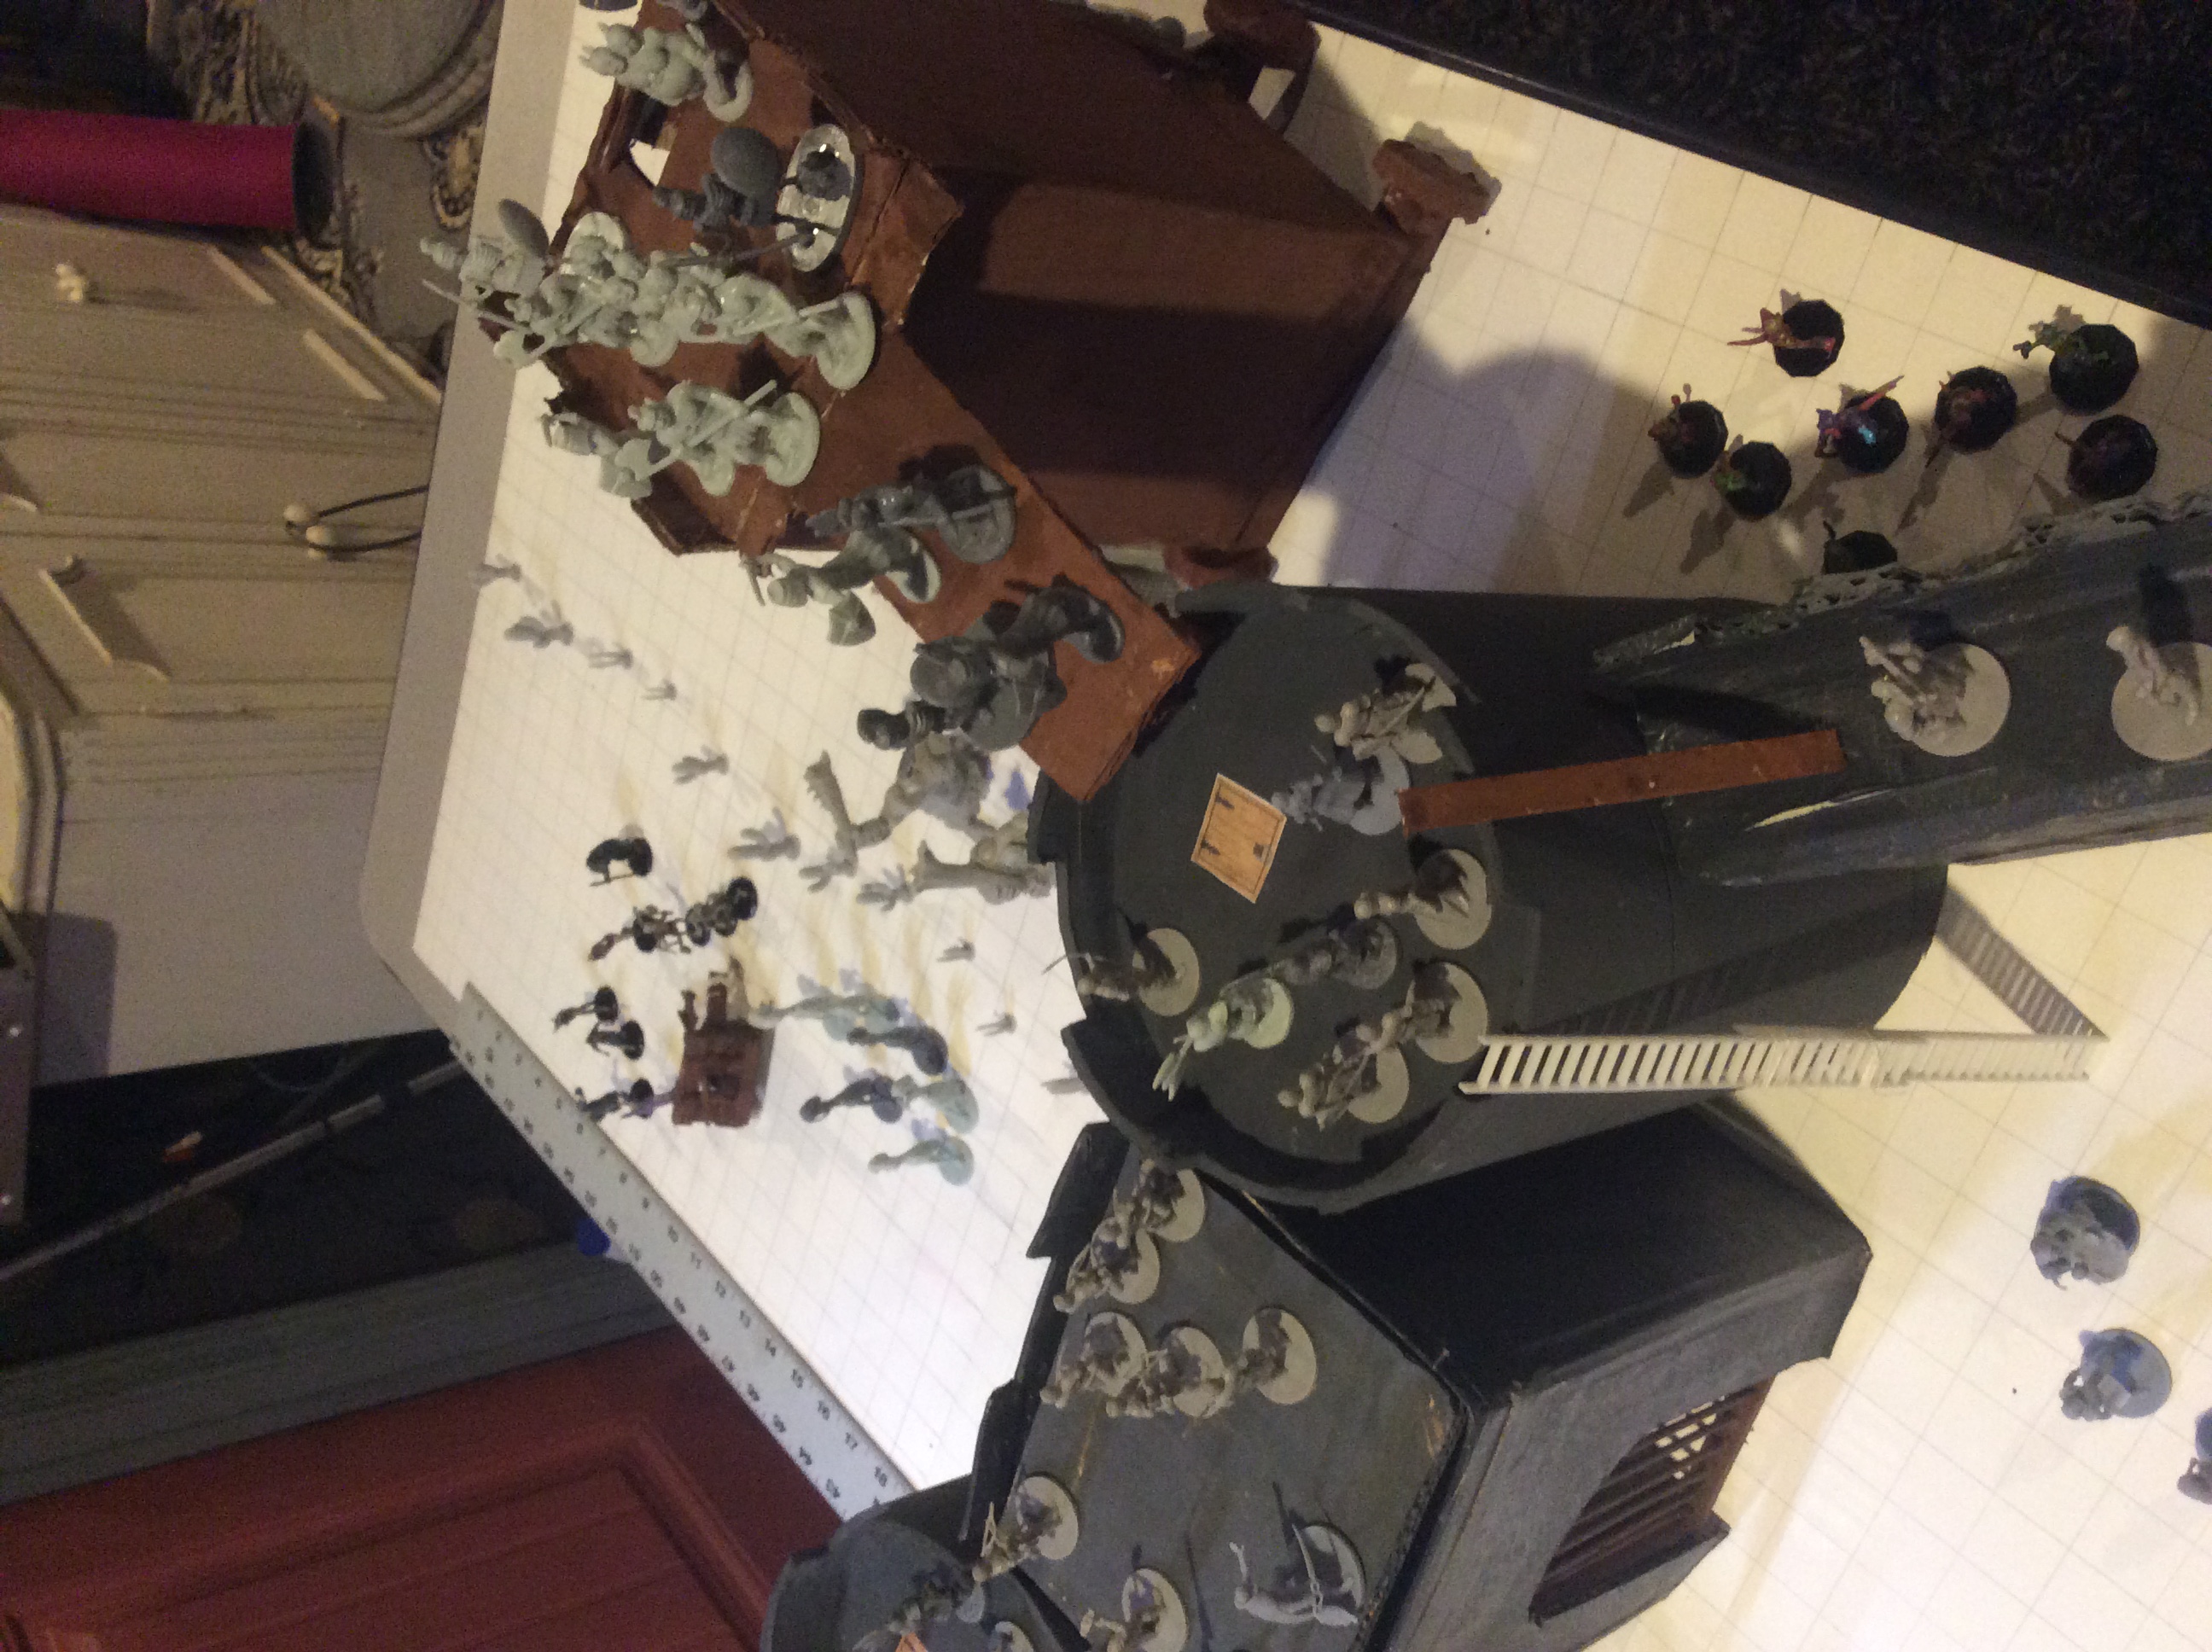
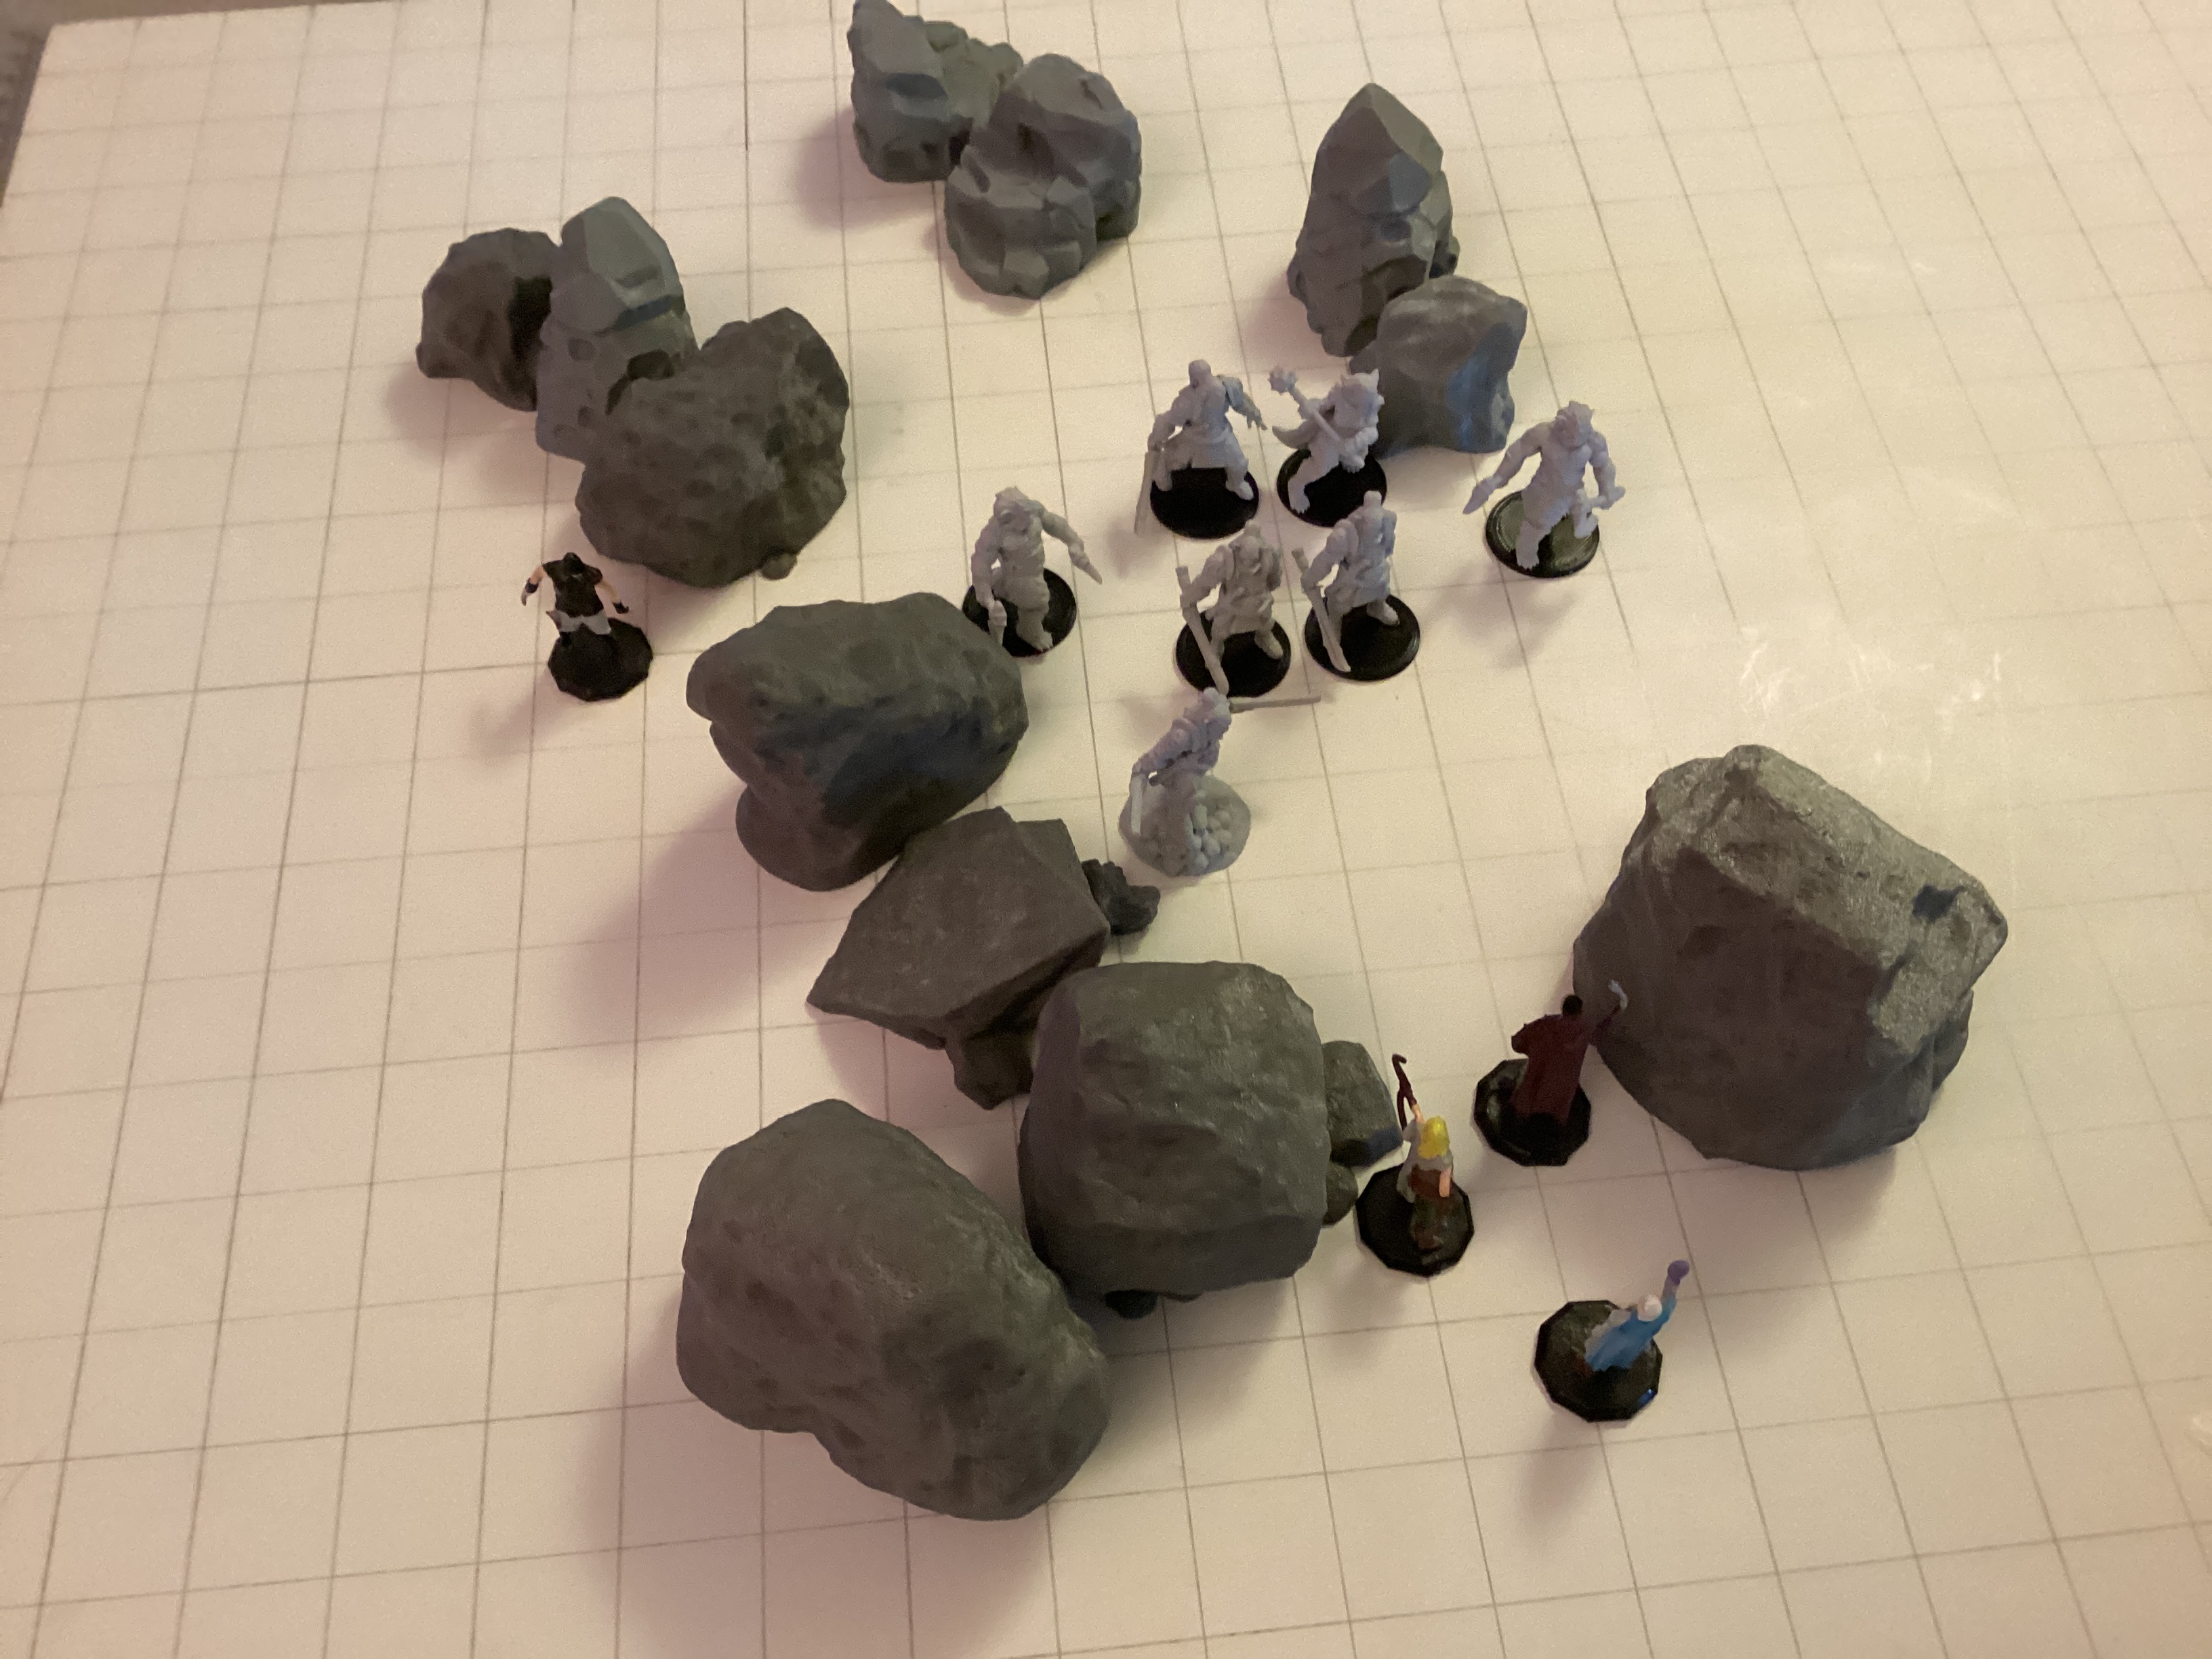
soldiers before it also was consumed in flames by the defenders. The third row, shows
the attack from siege tower Wiga, which assaulted Tower 1 and stayed latched onto it long after the war was over.
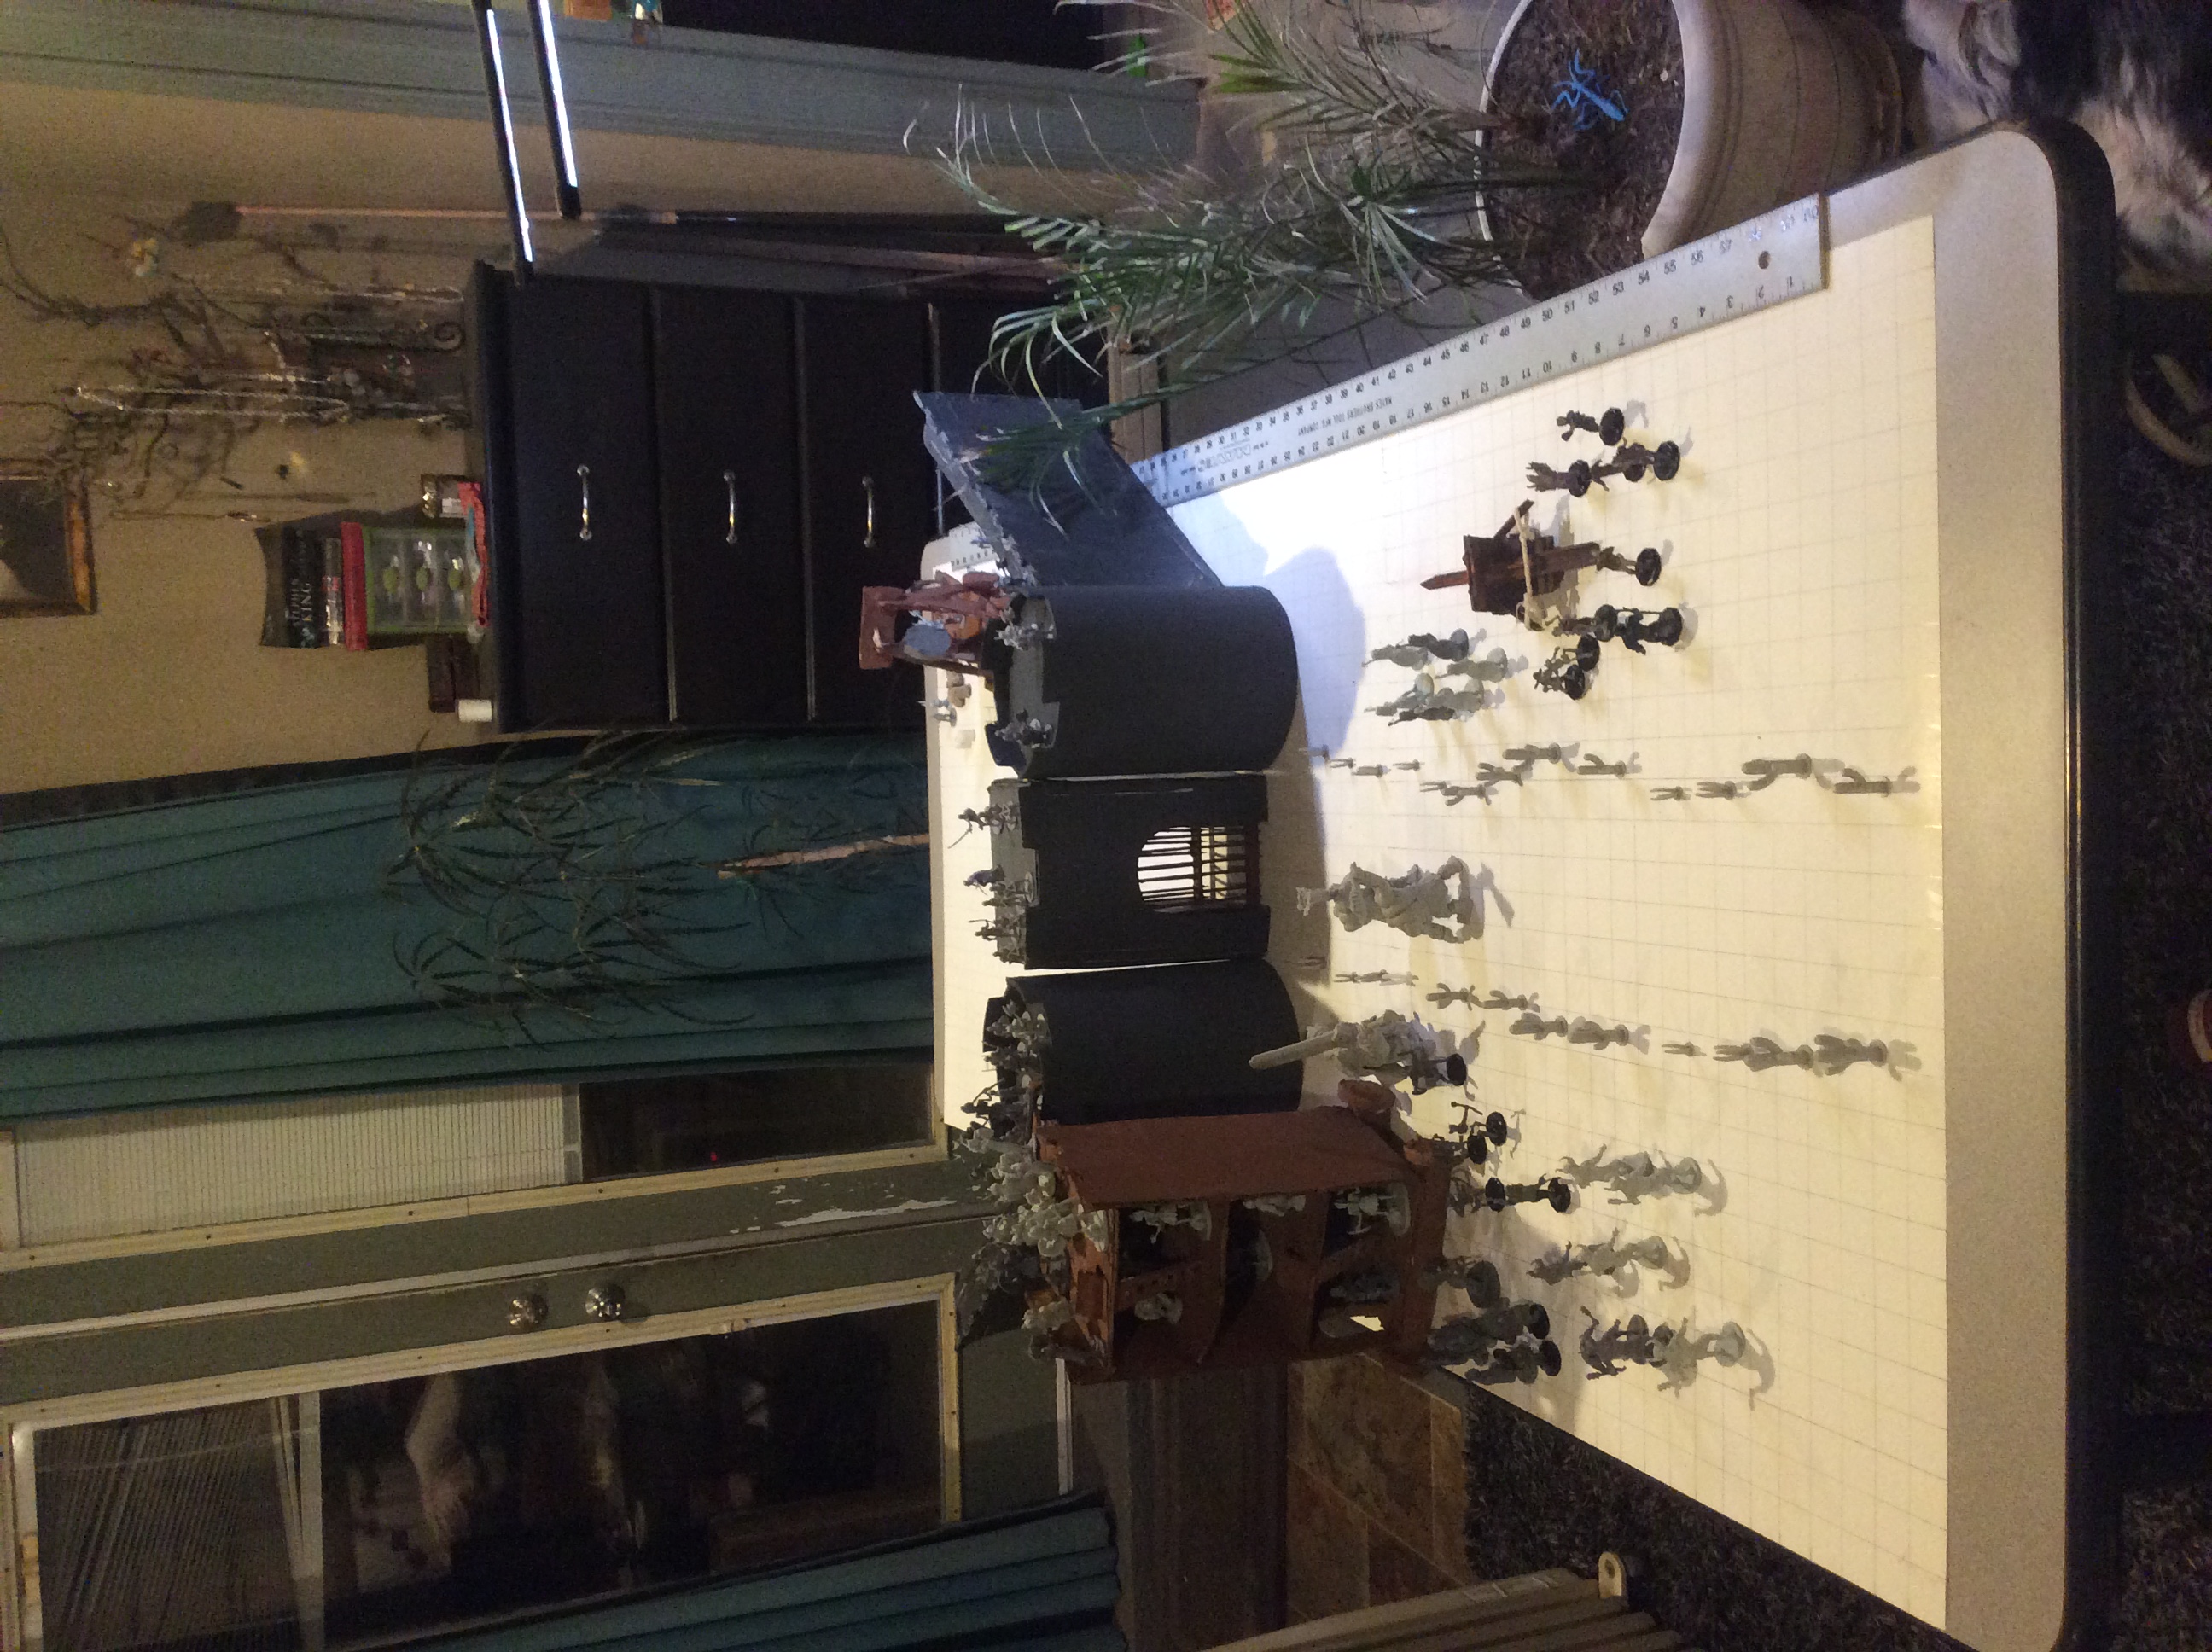
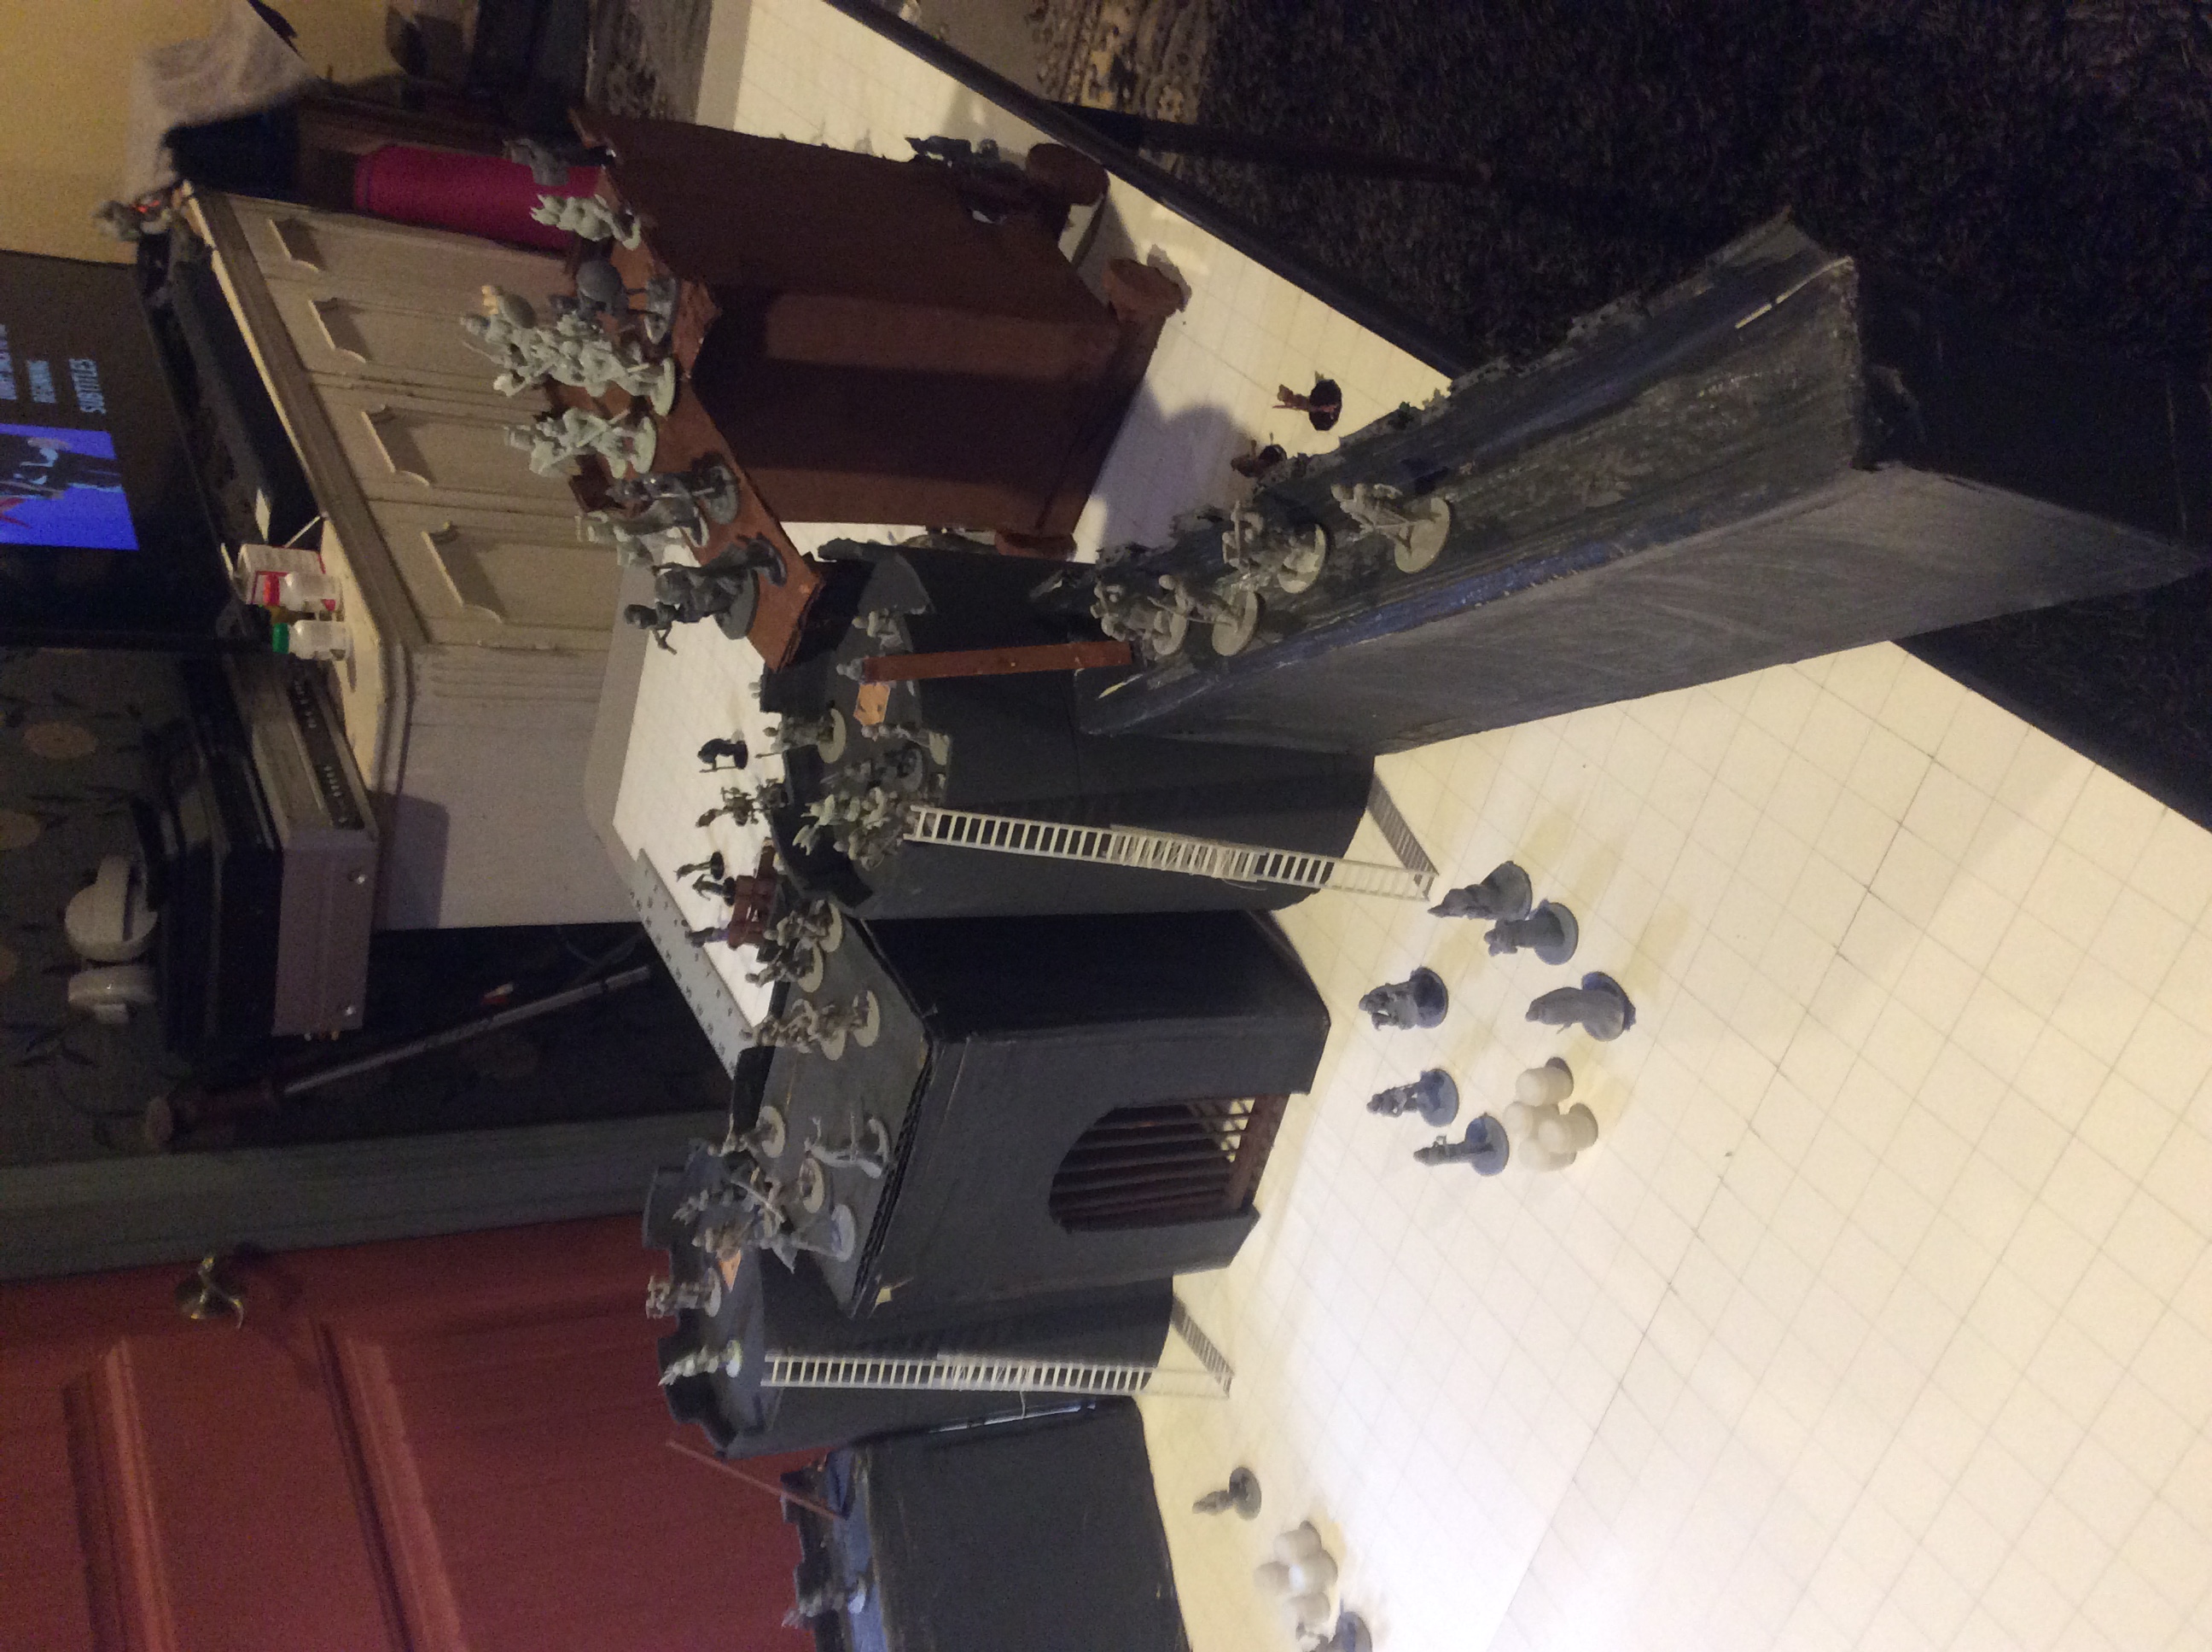
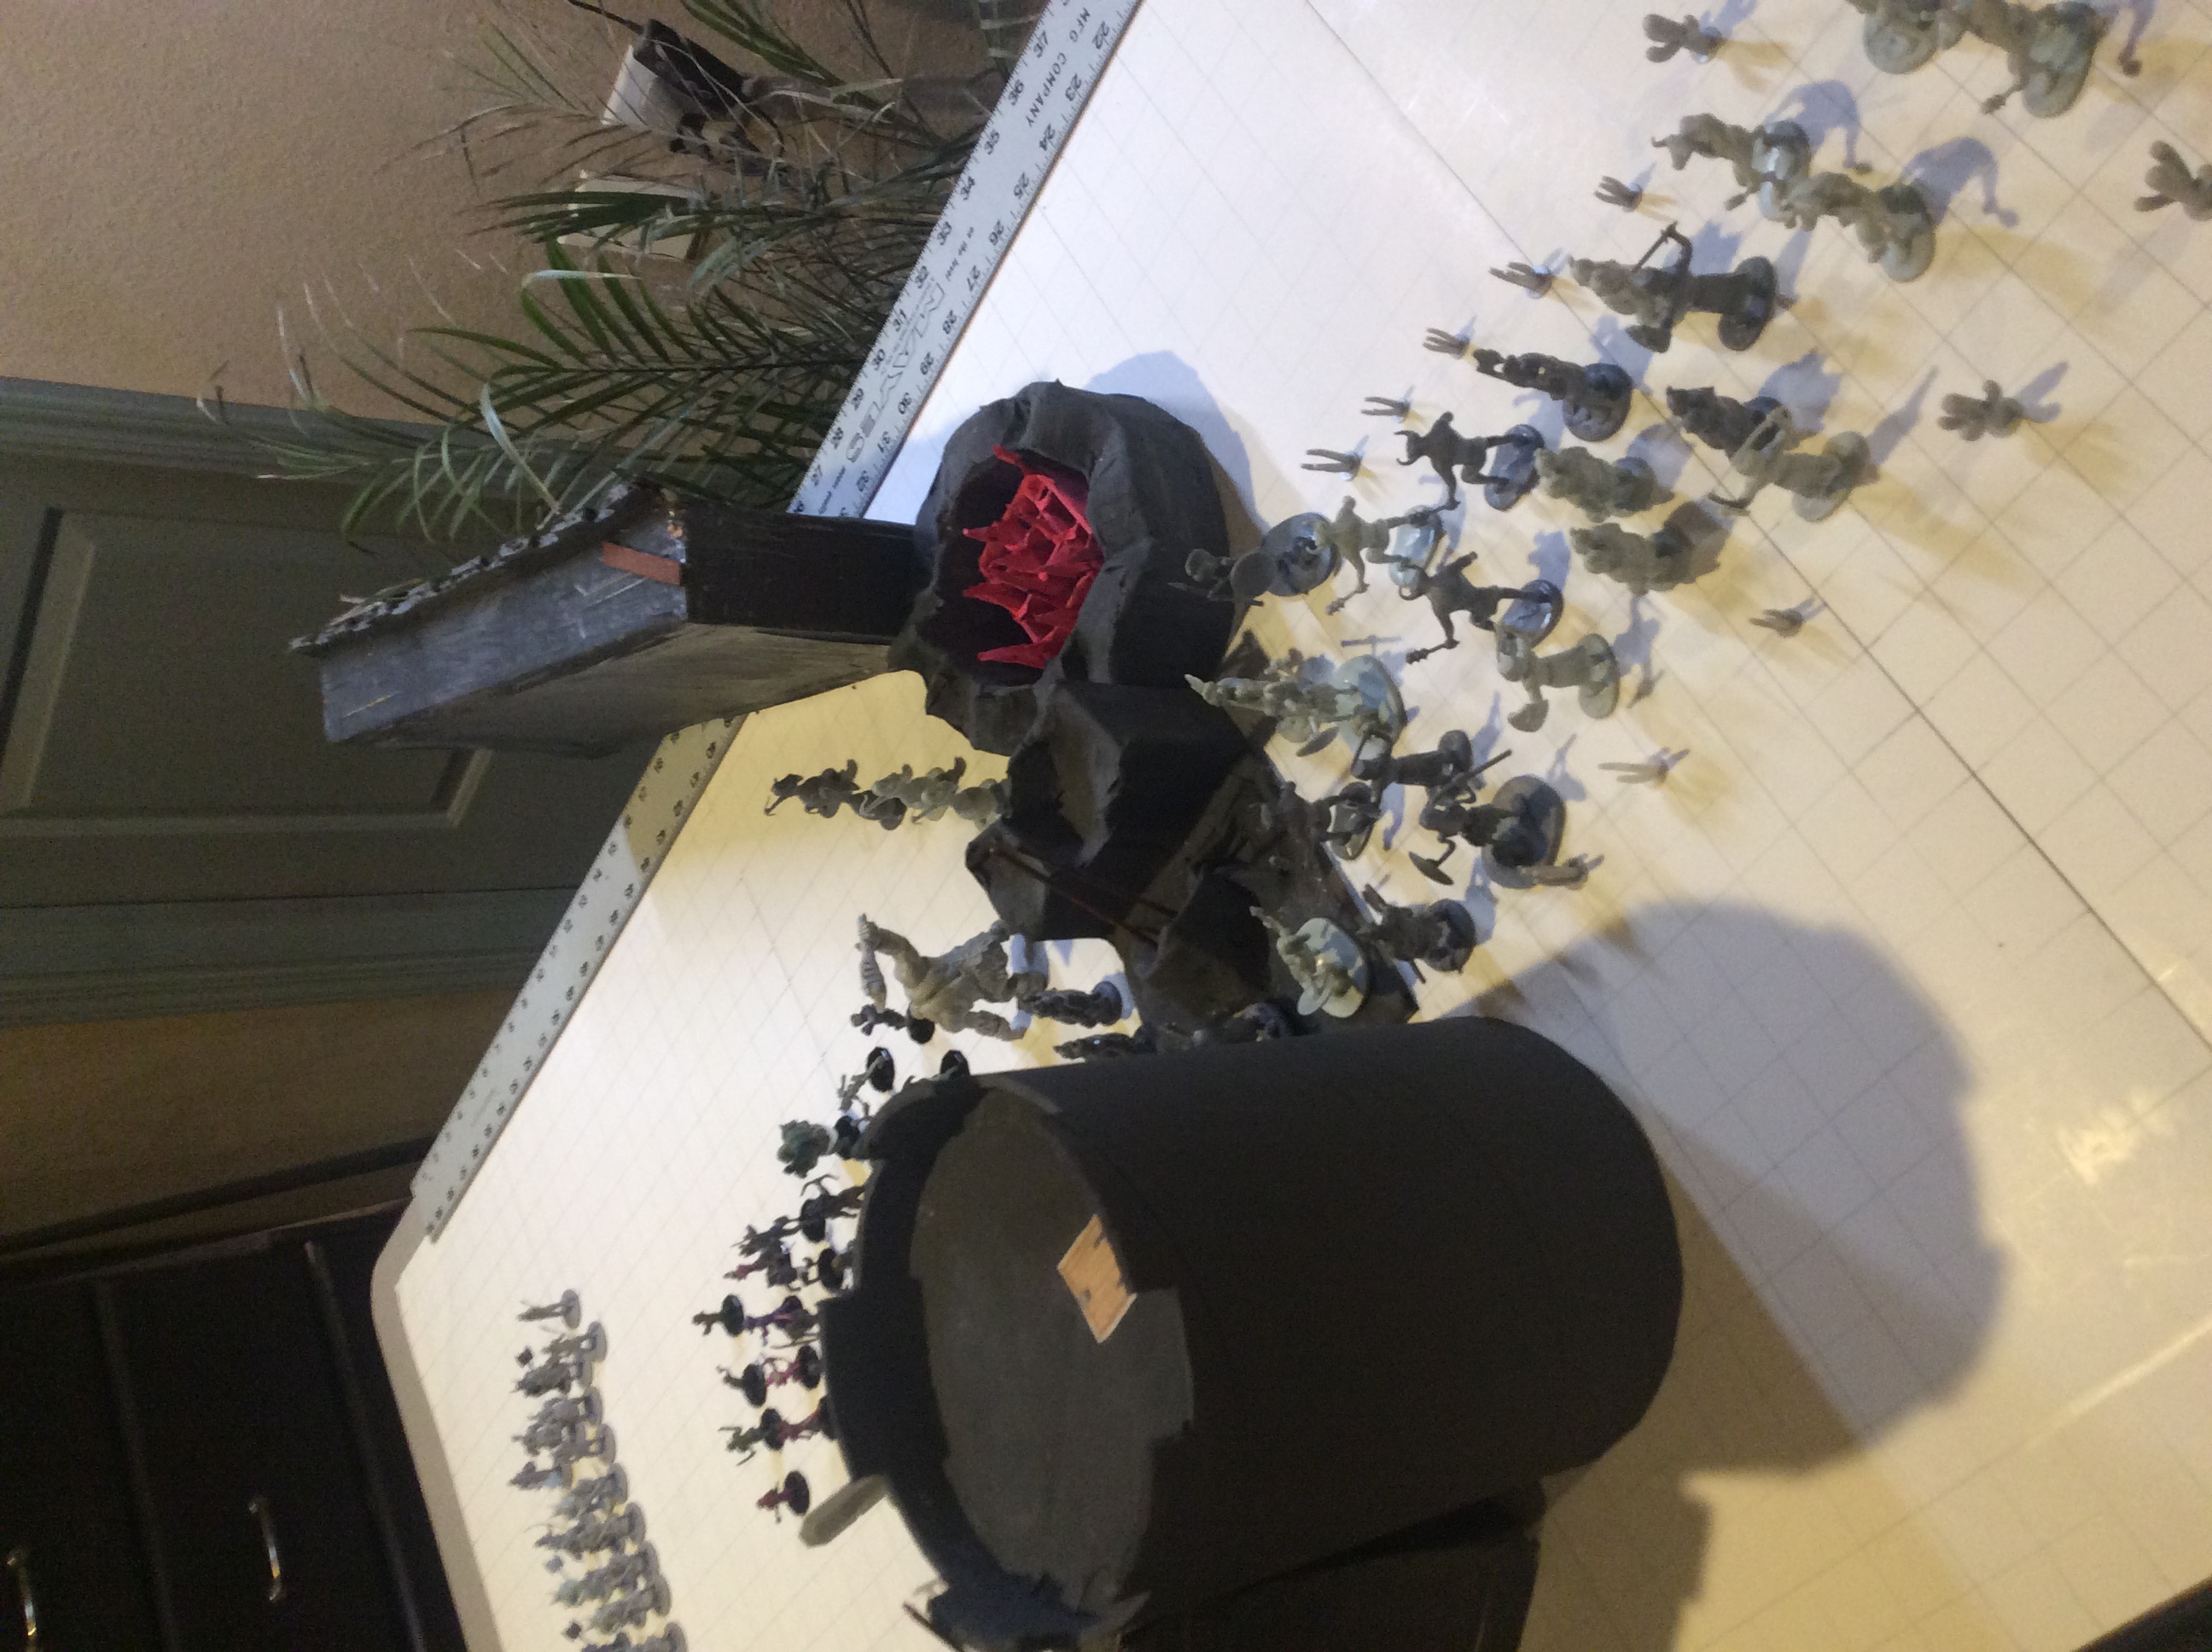
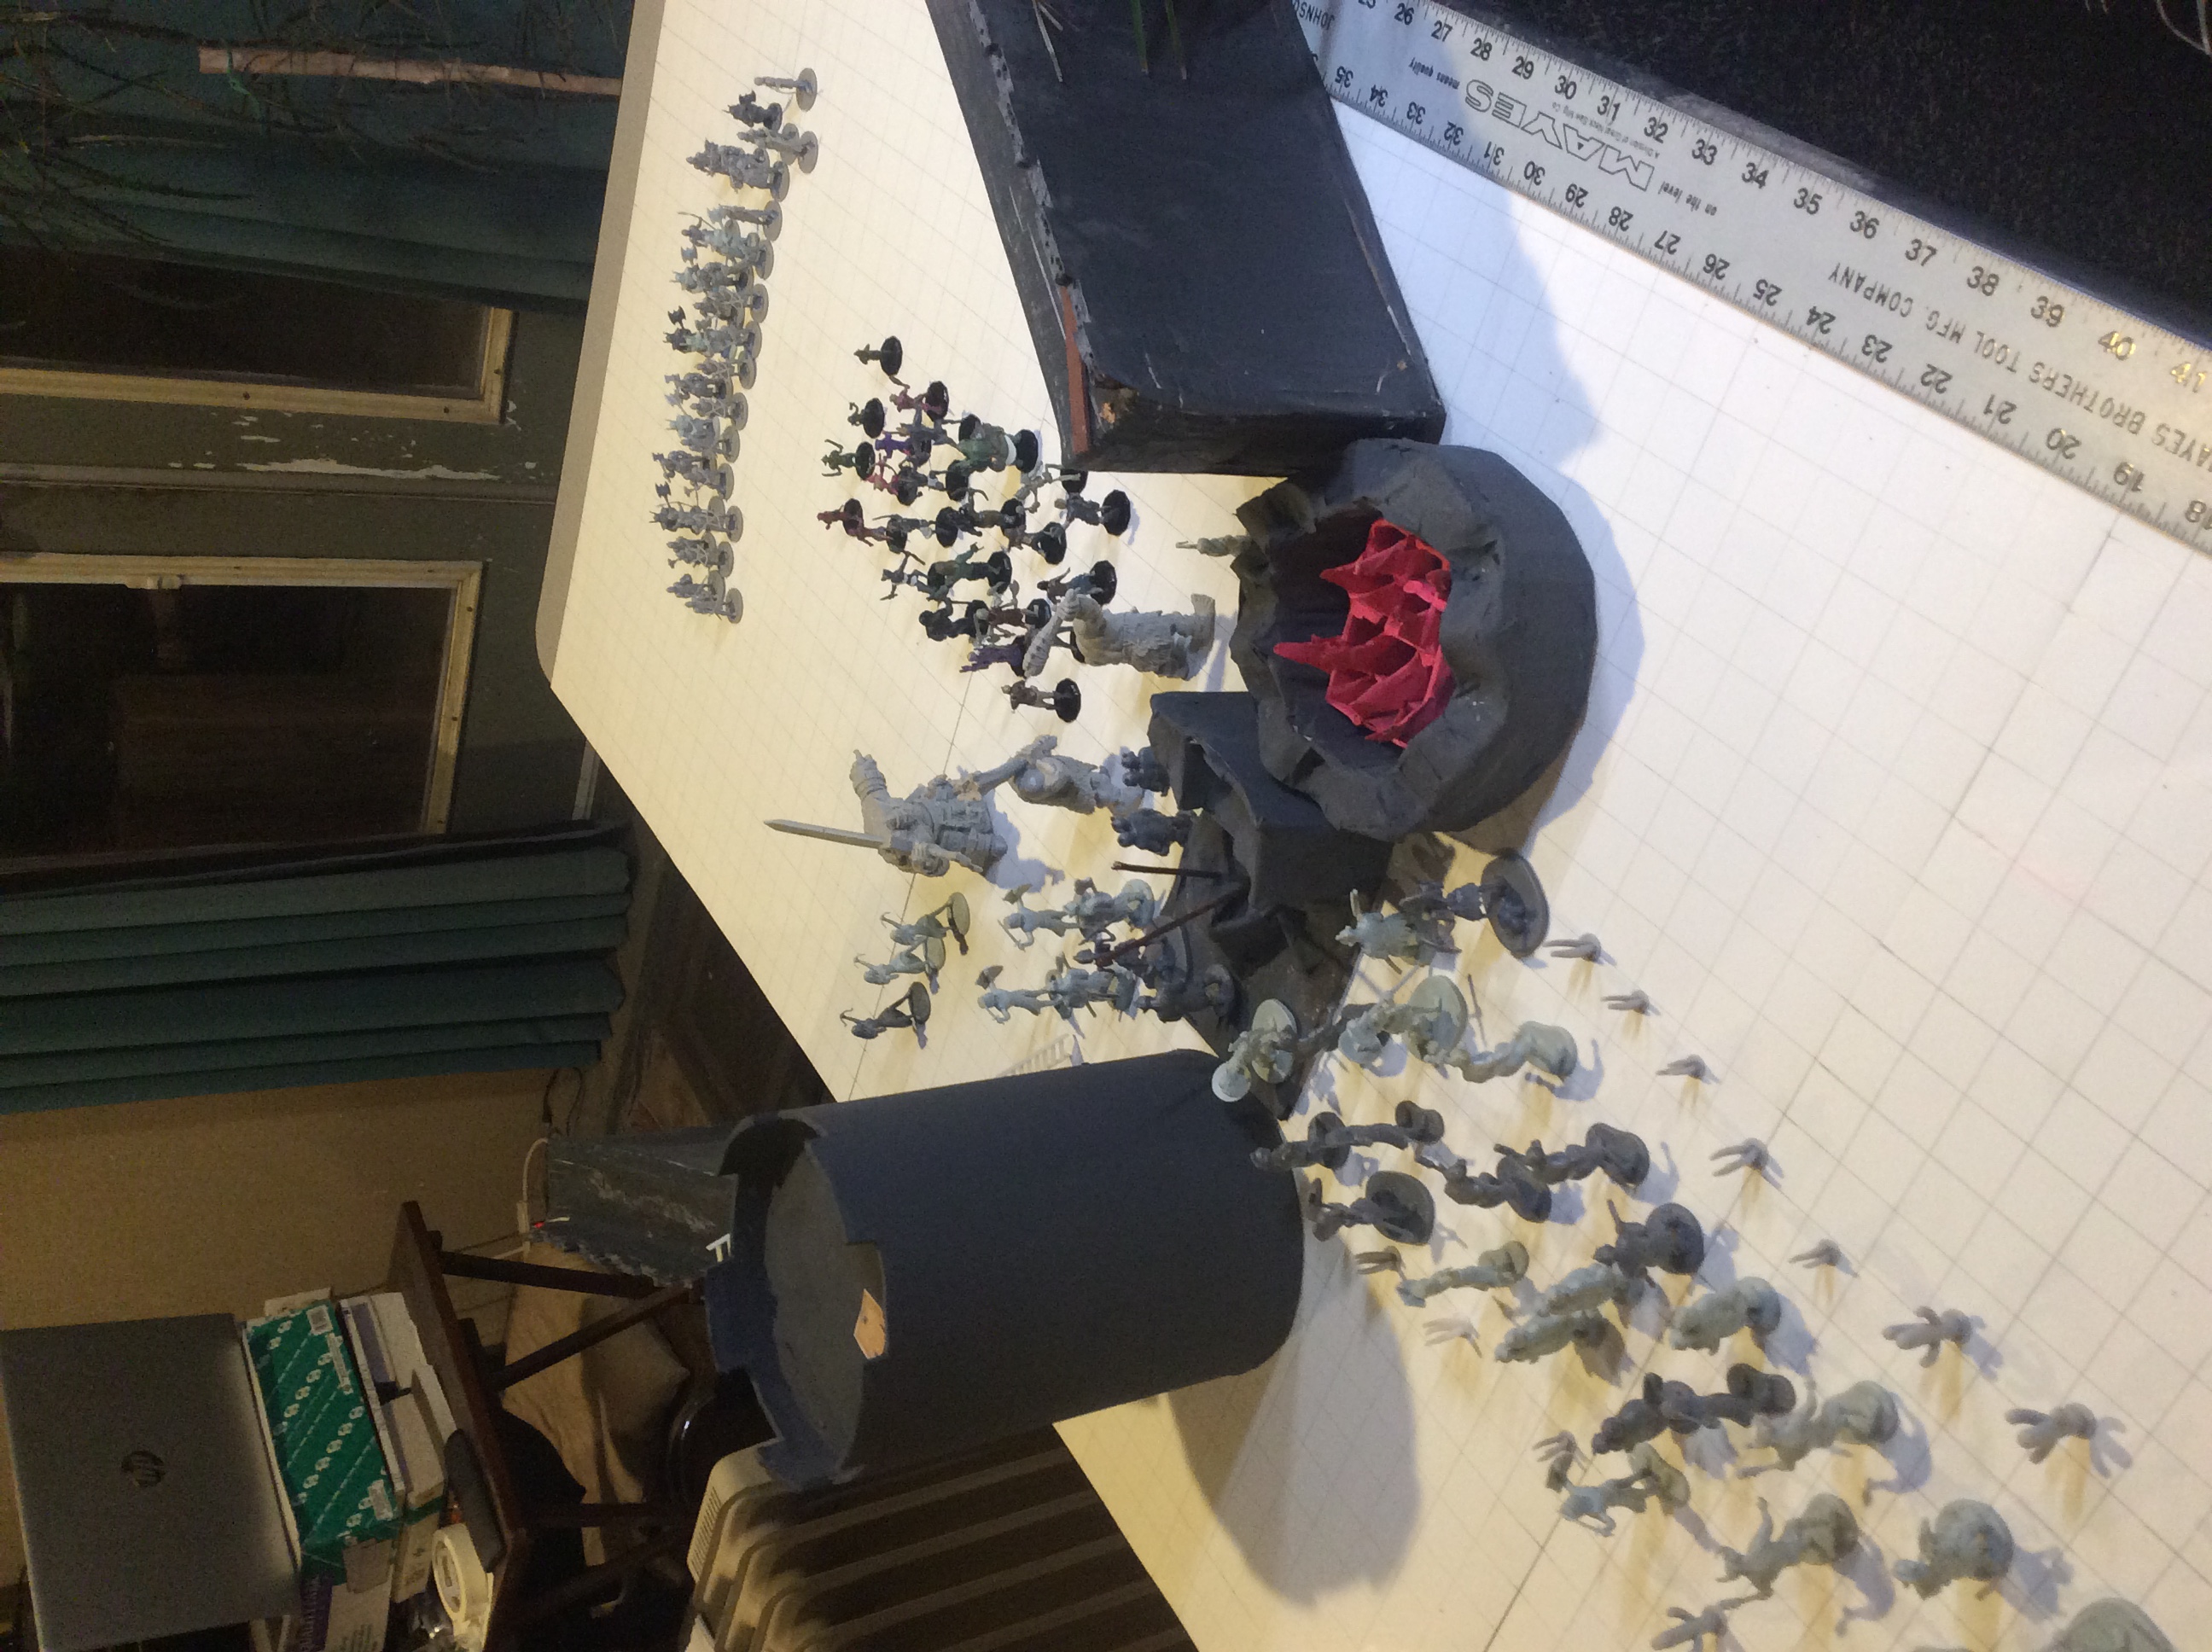
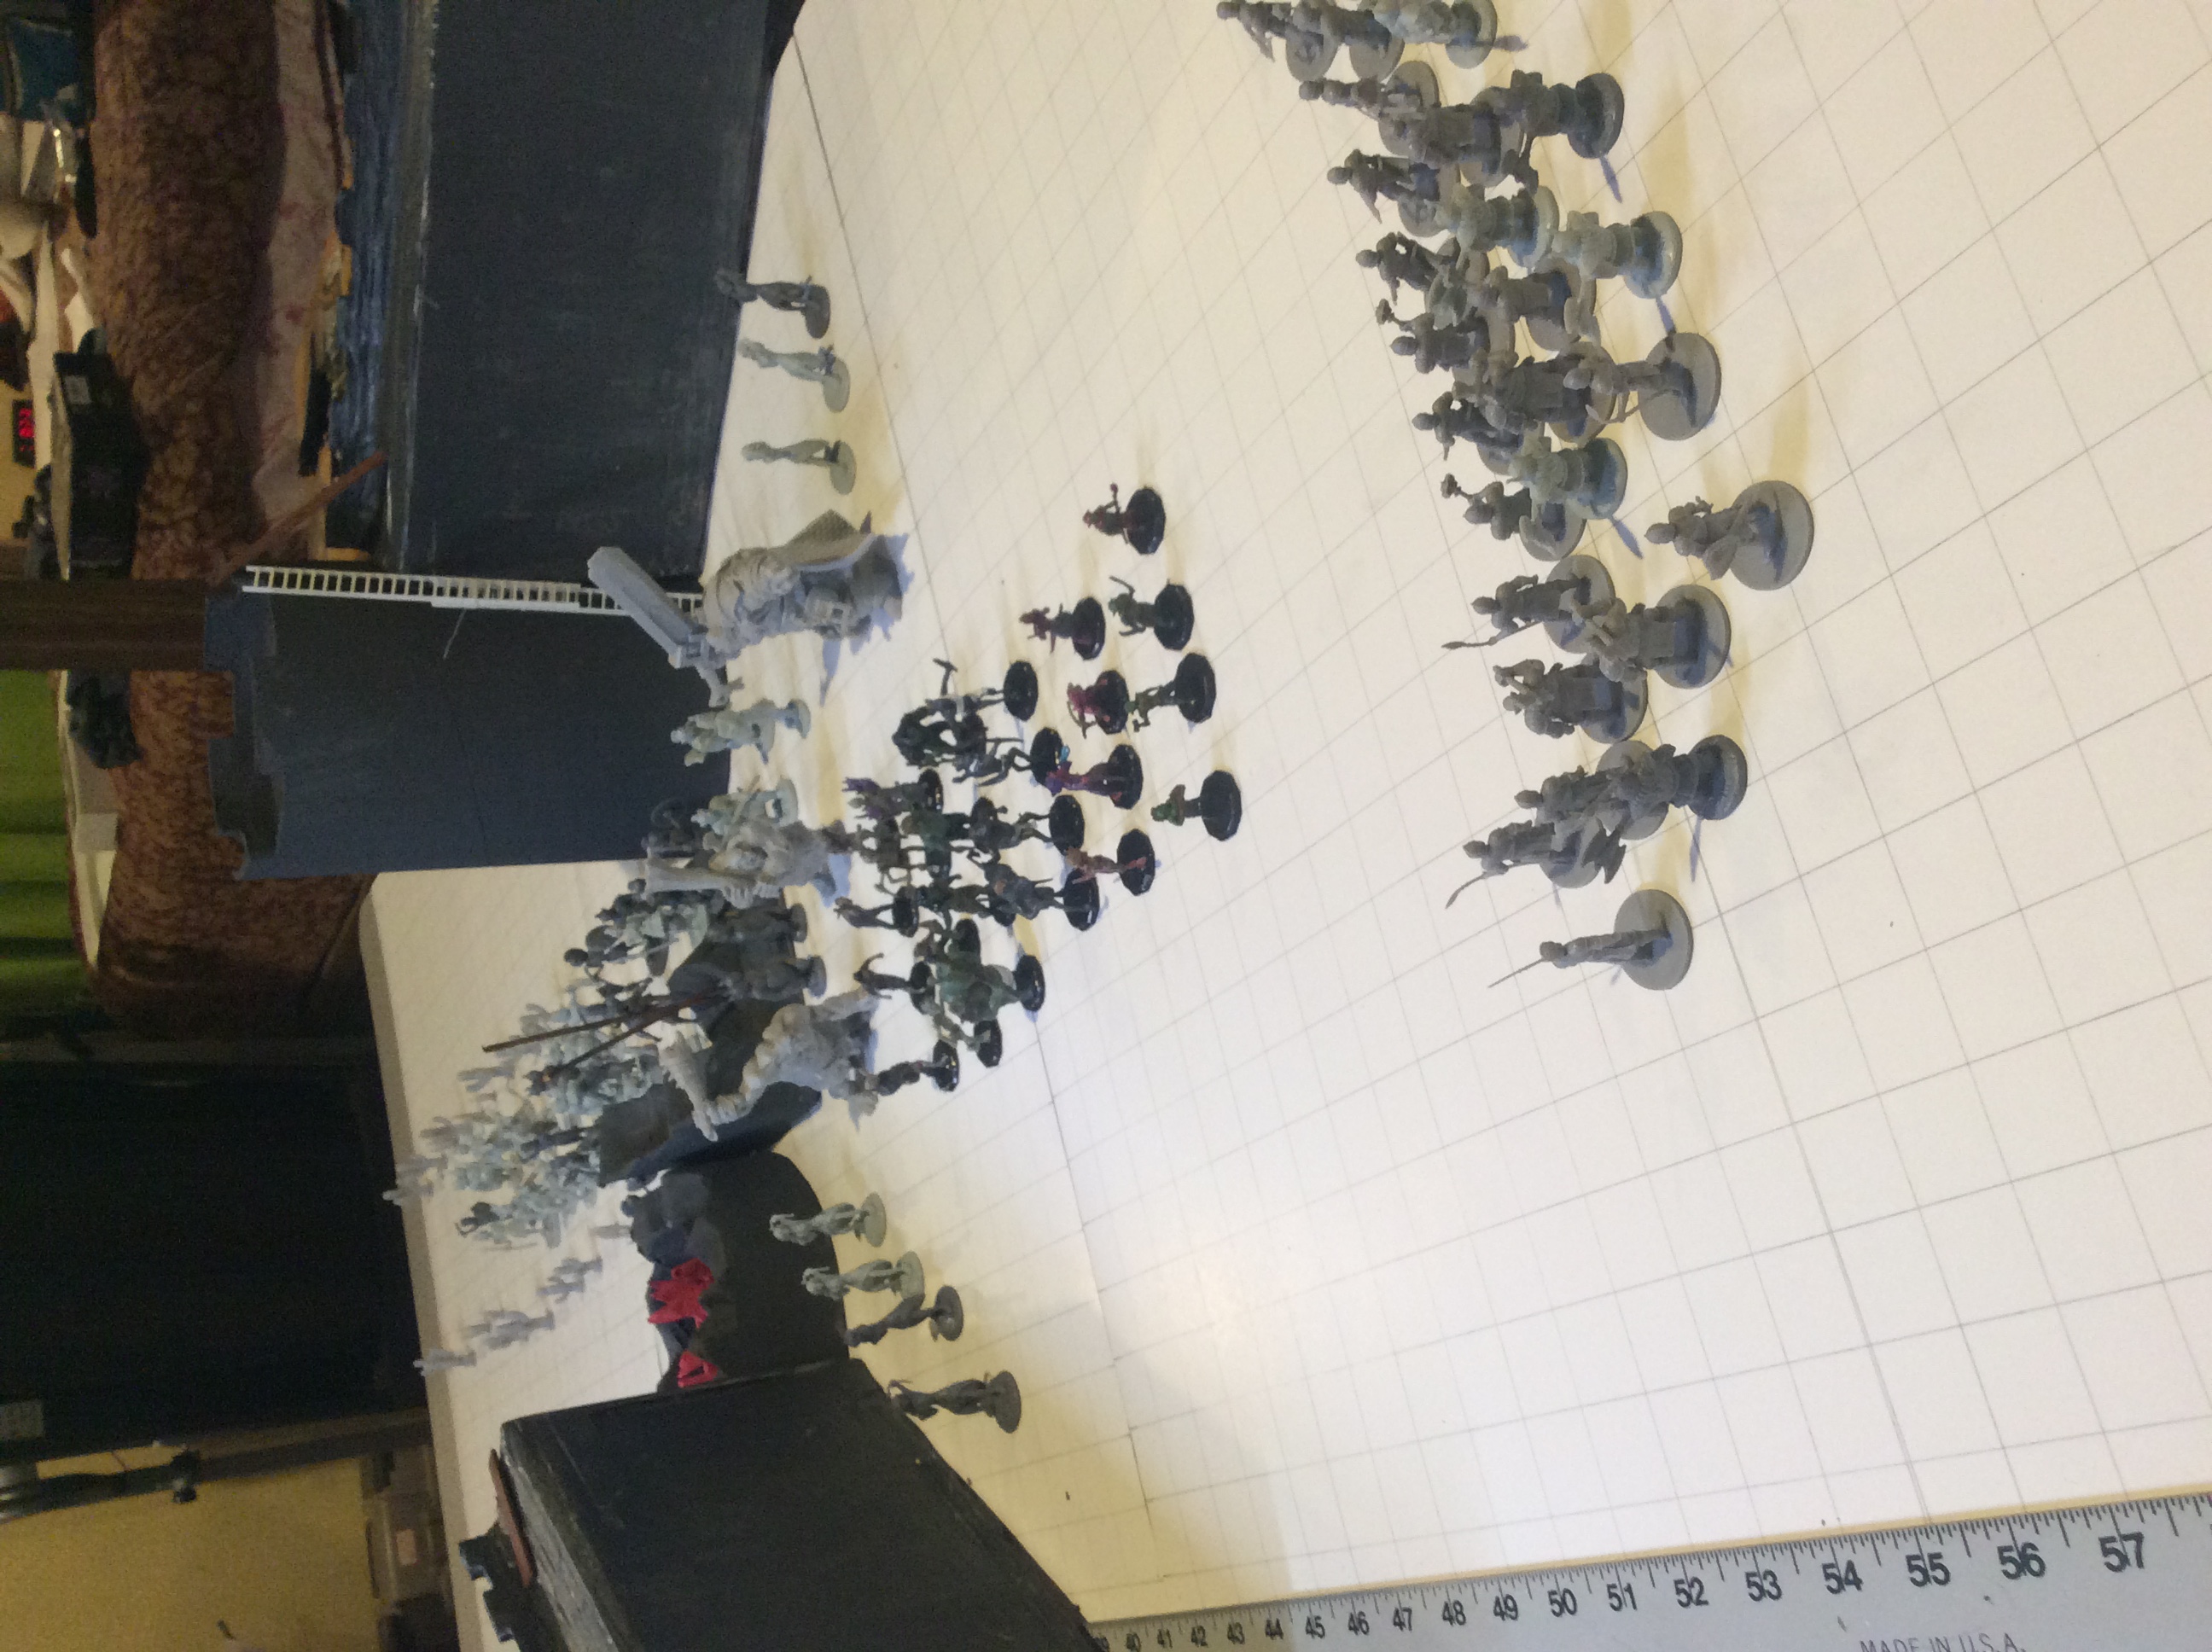
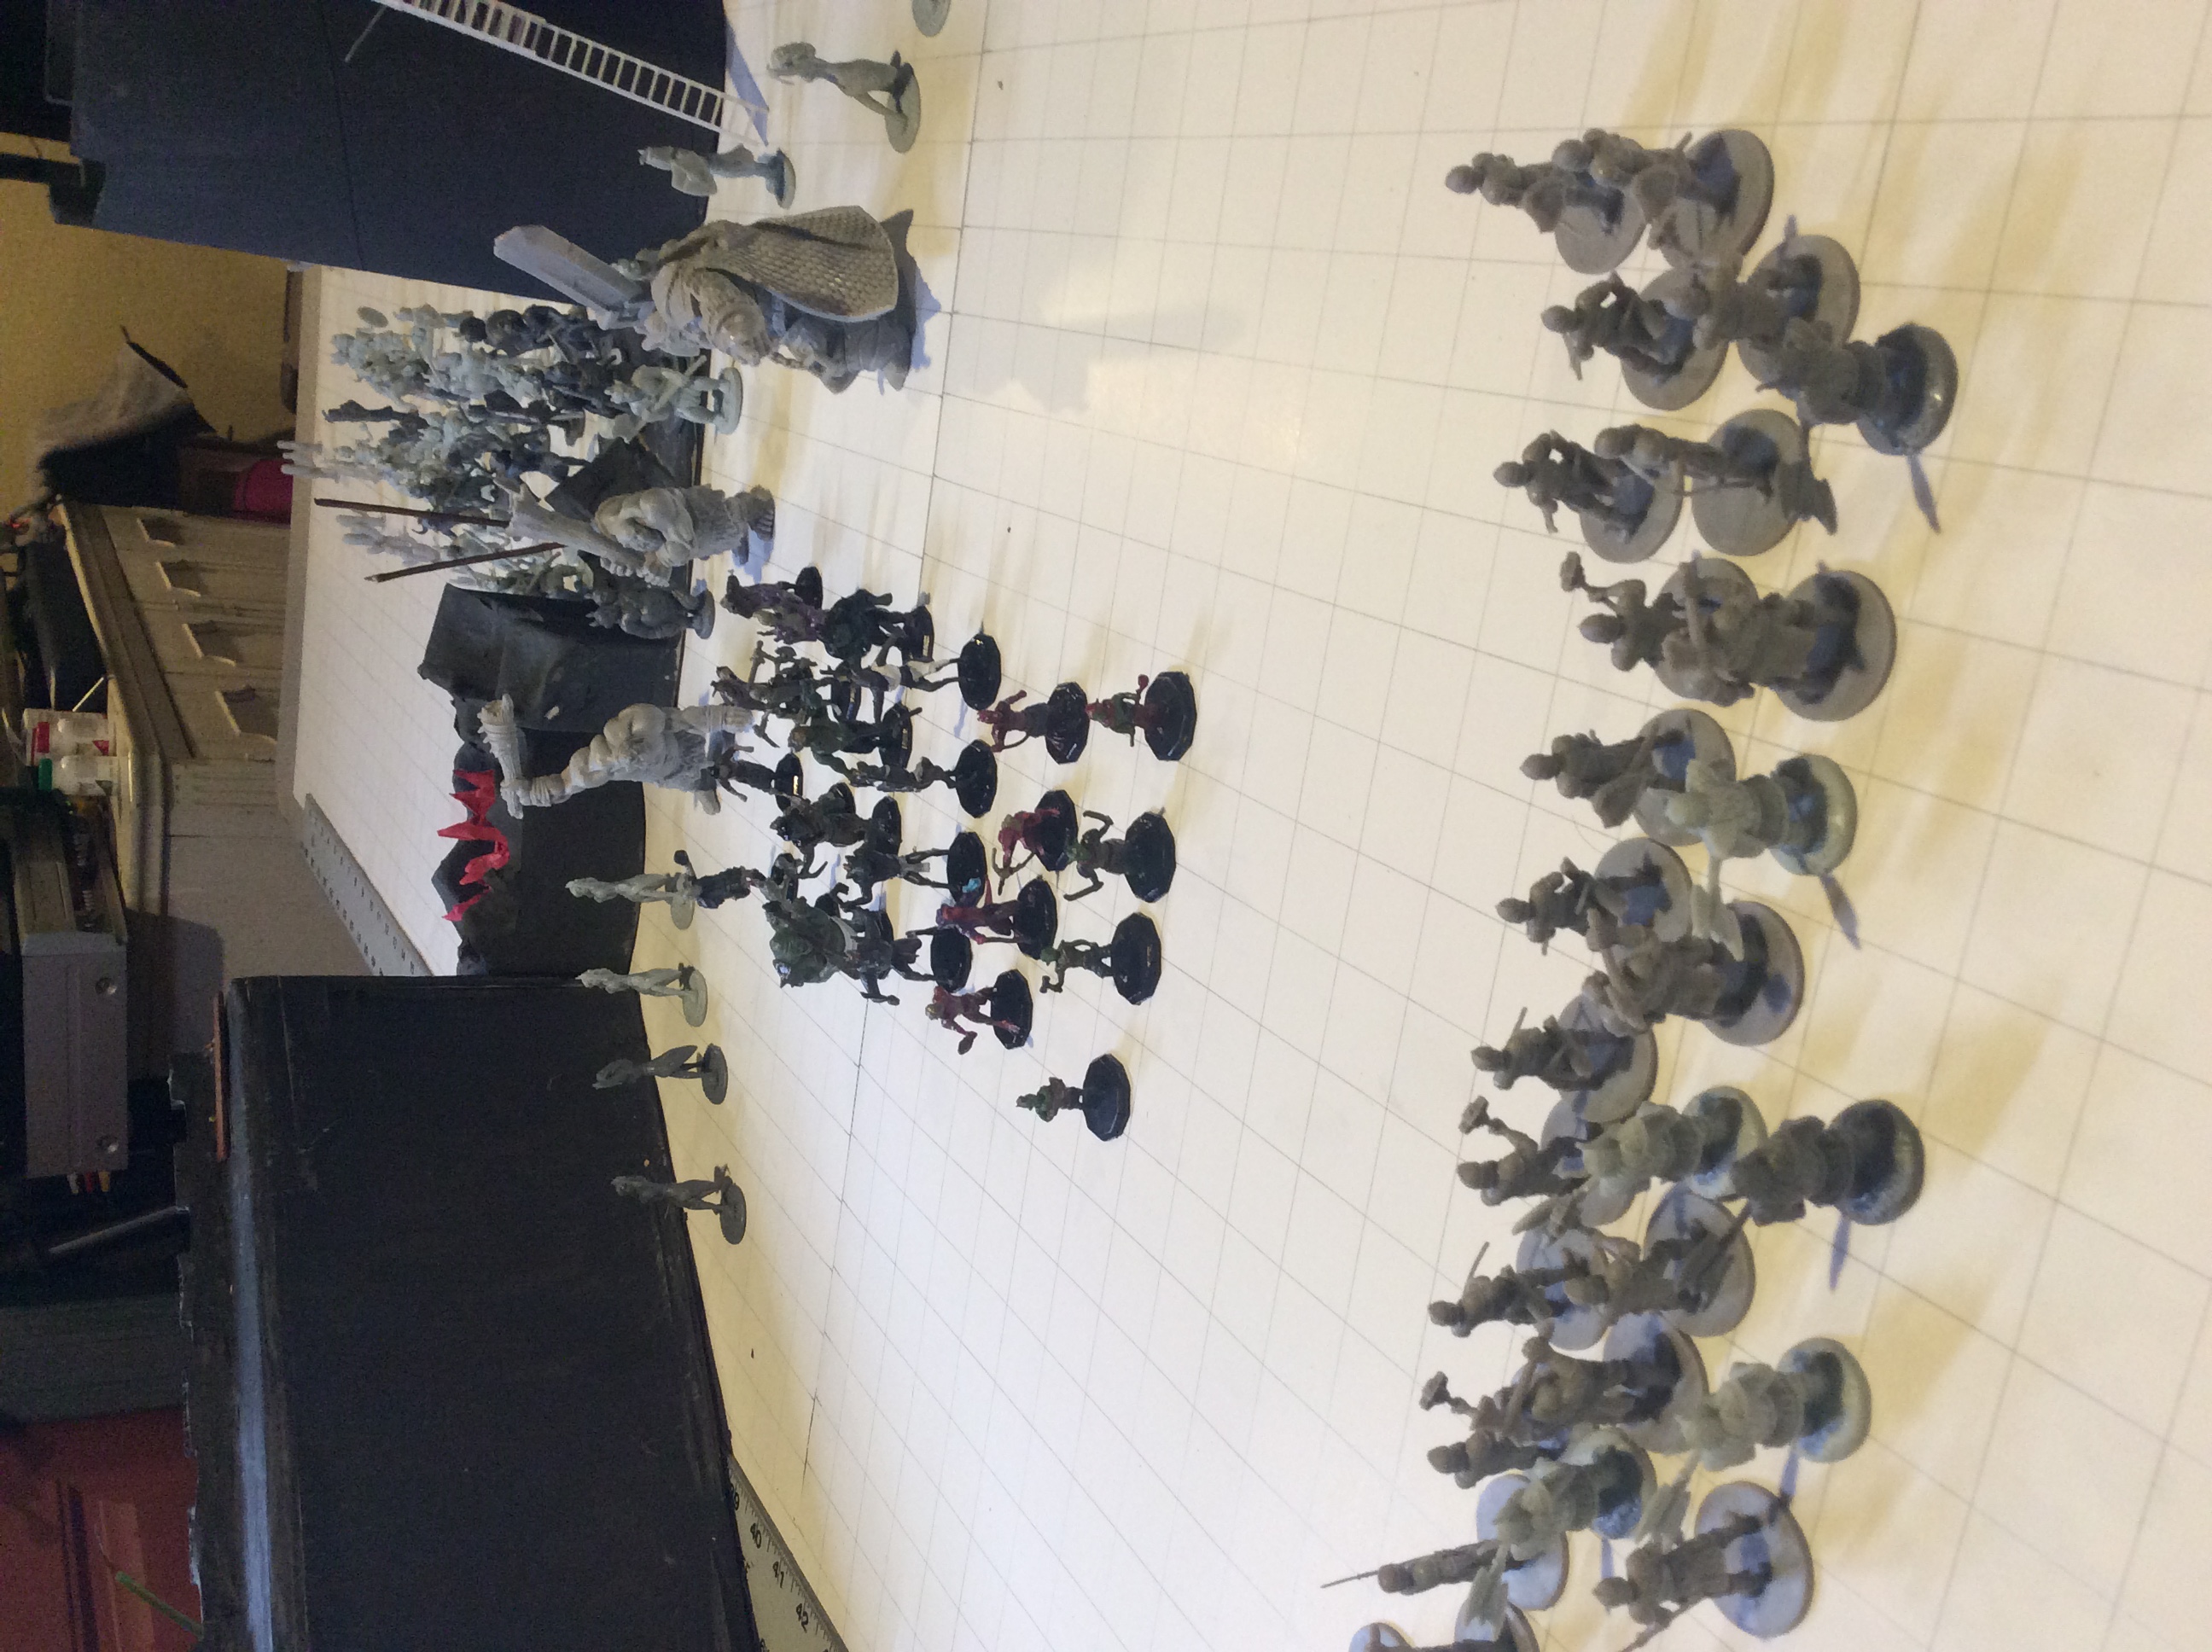
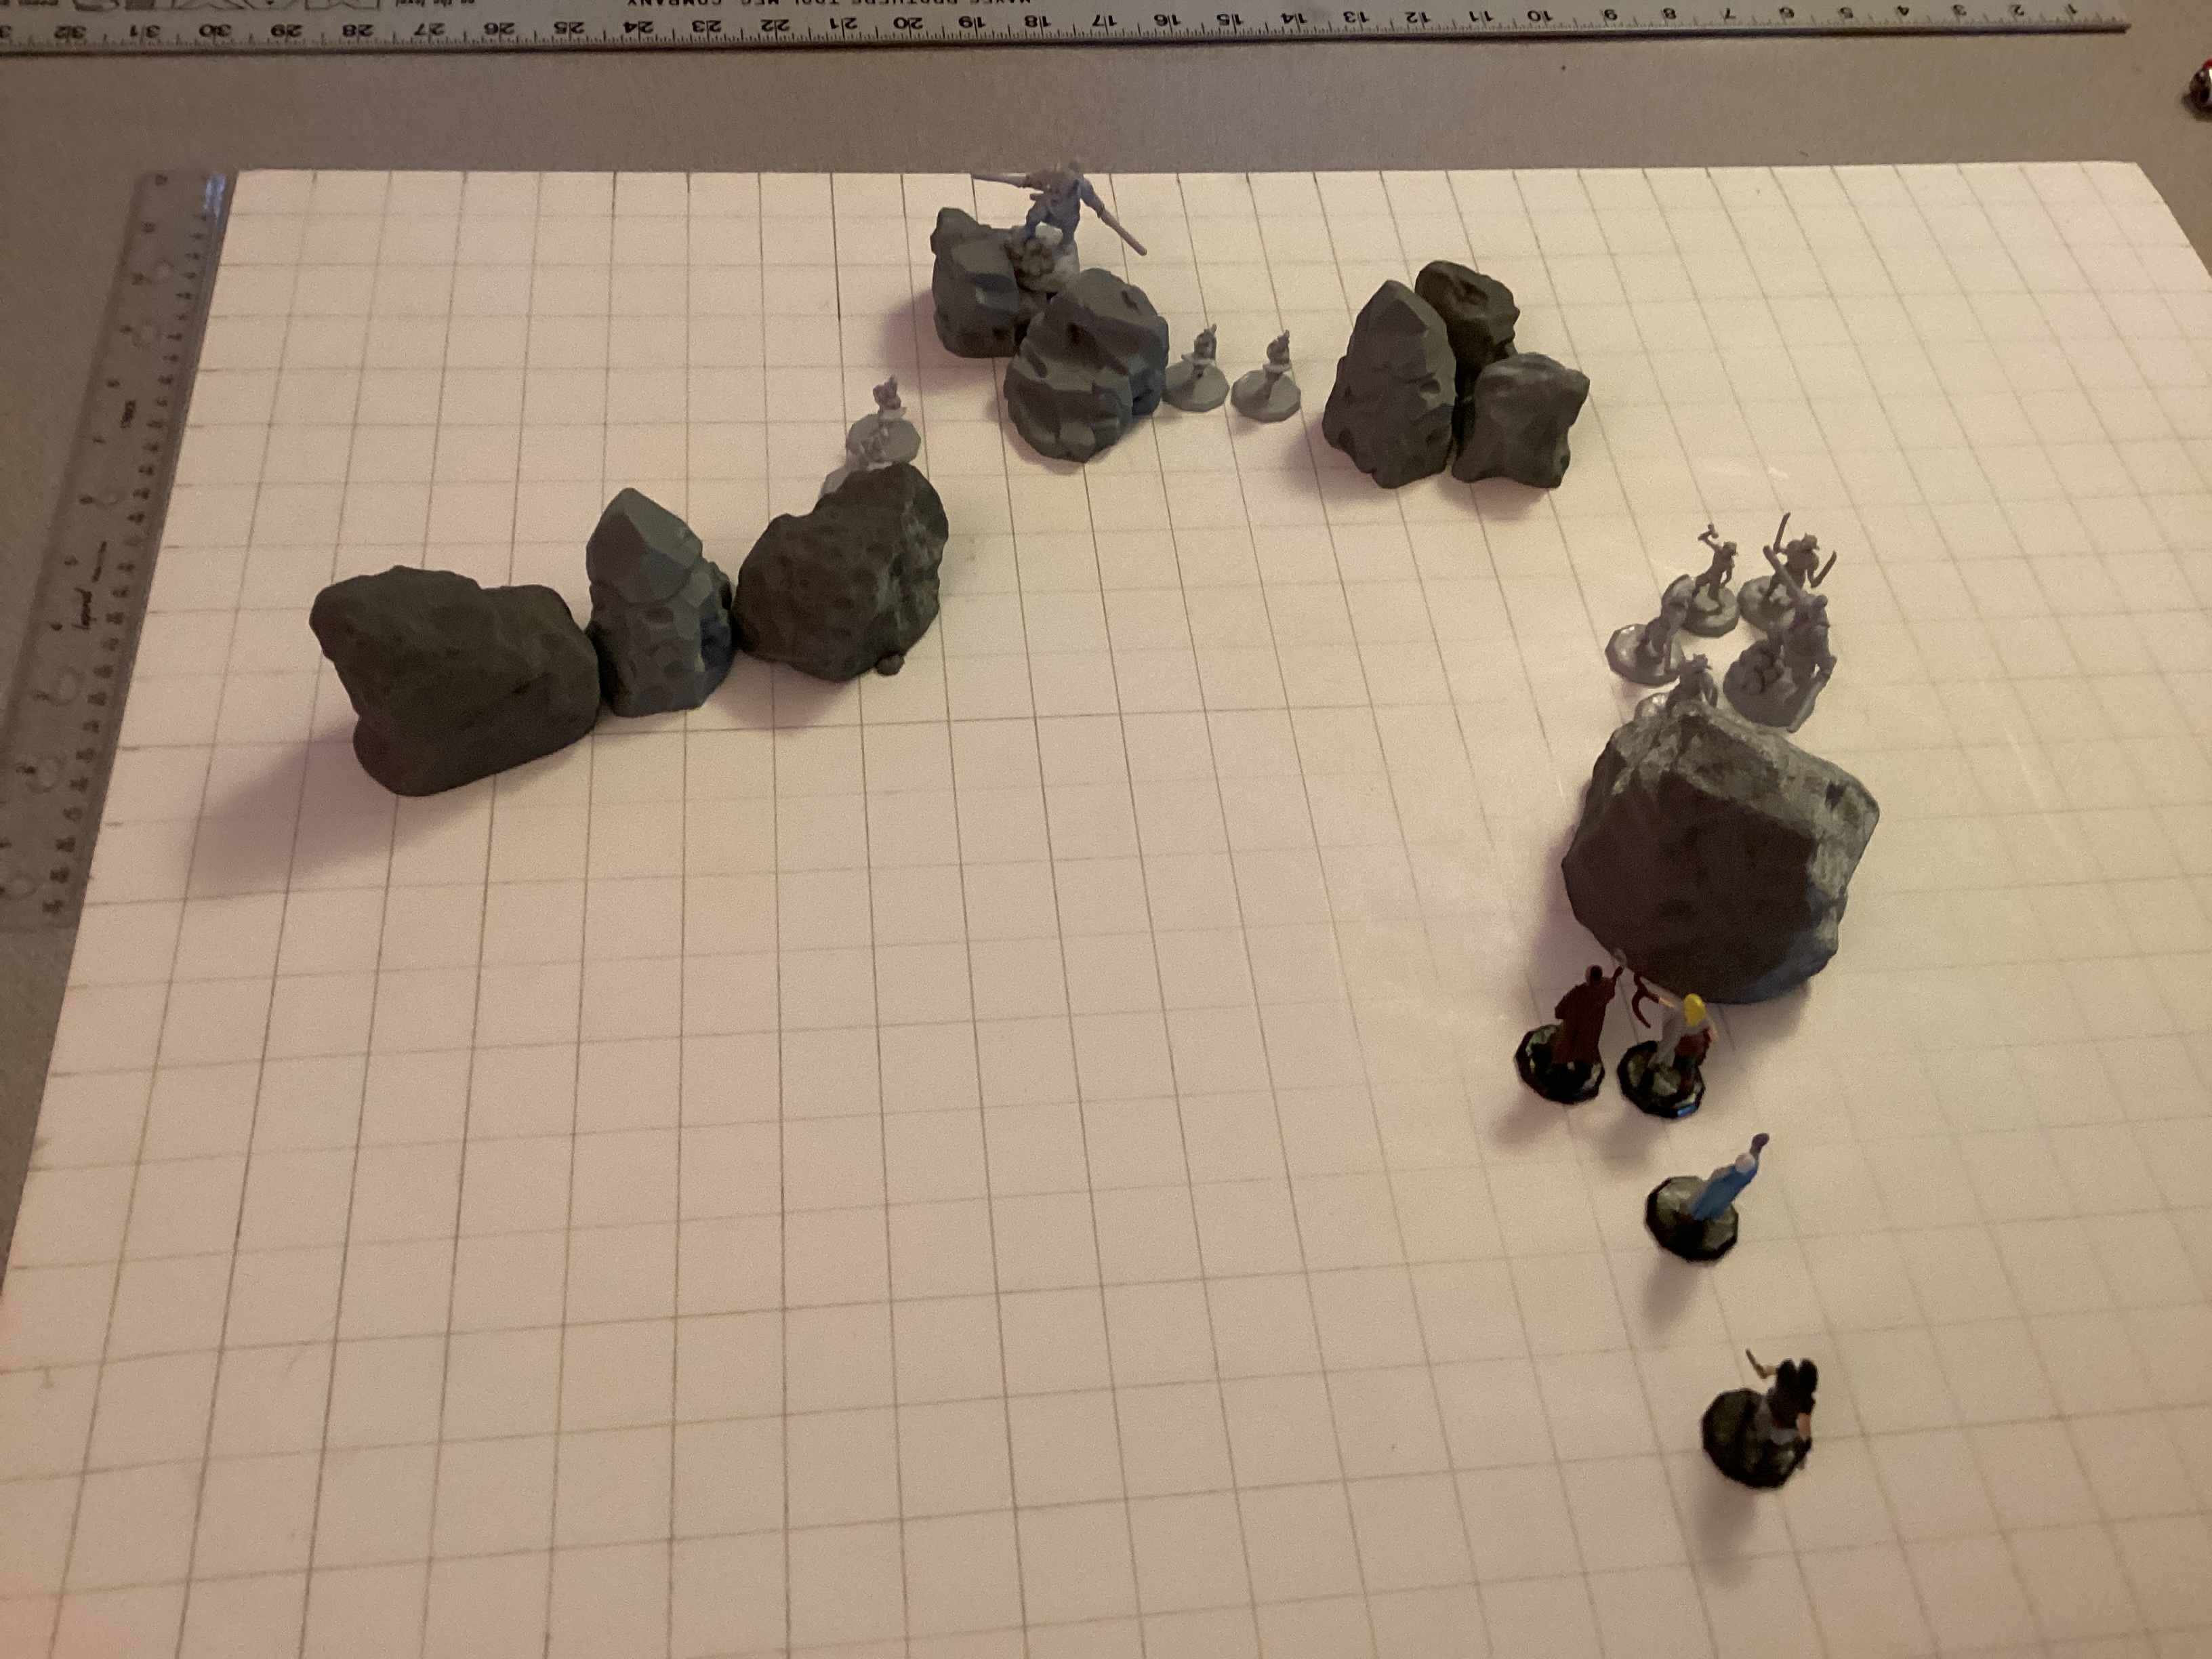
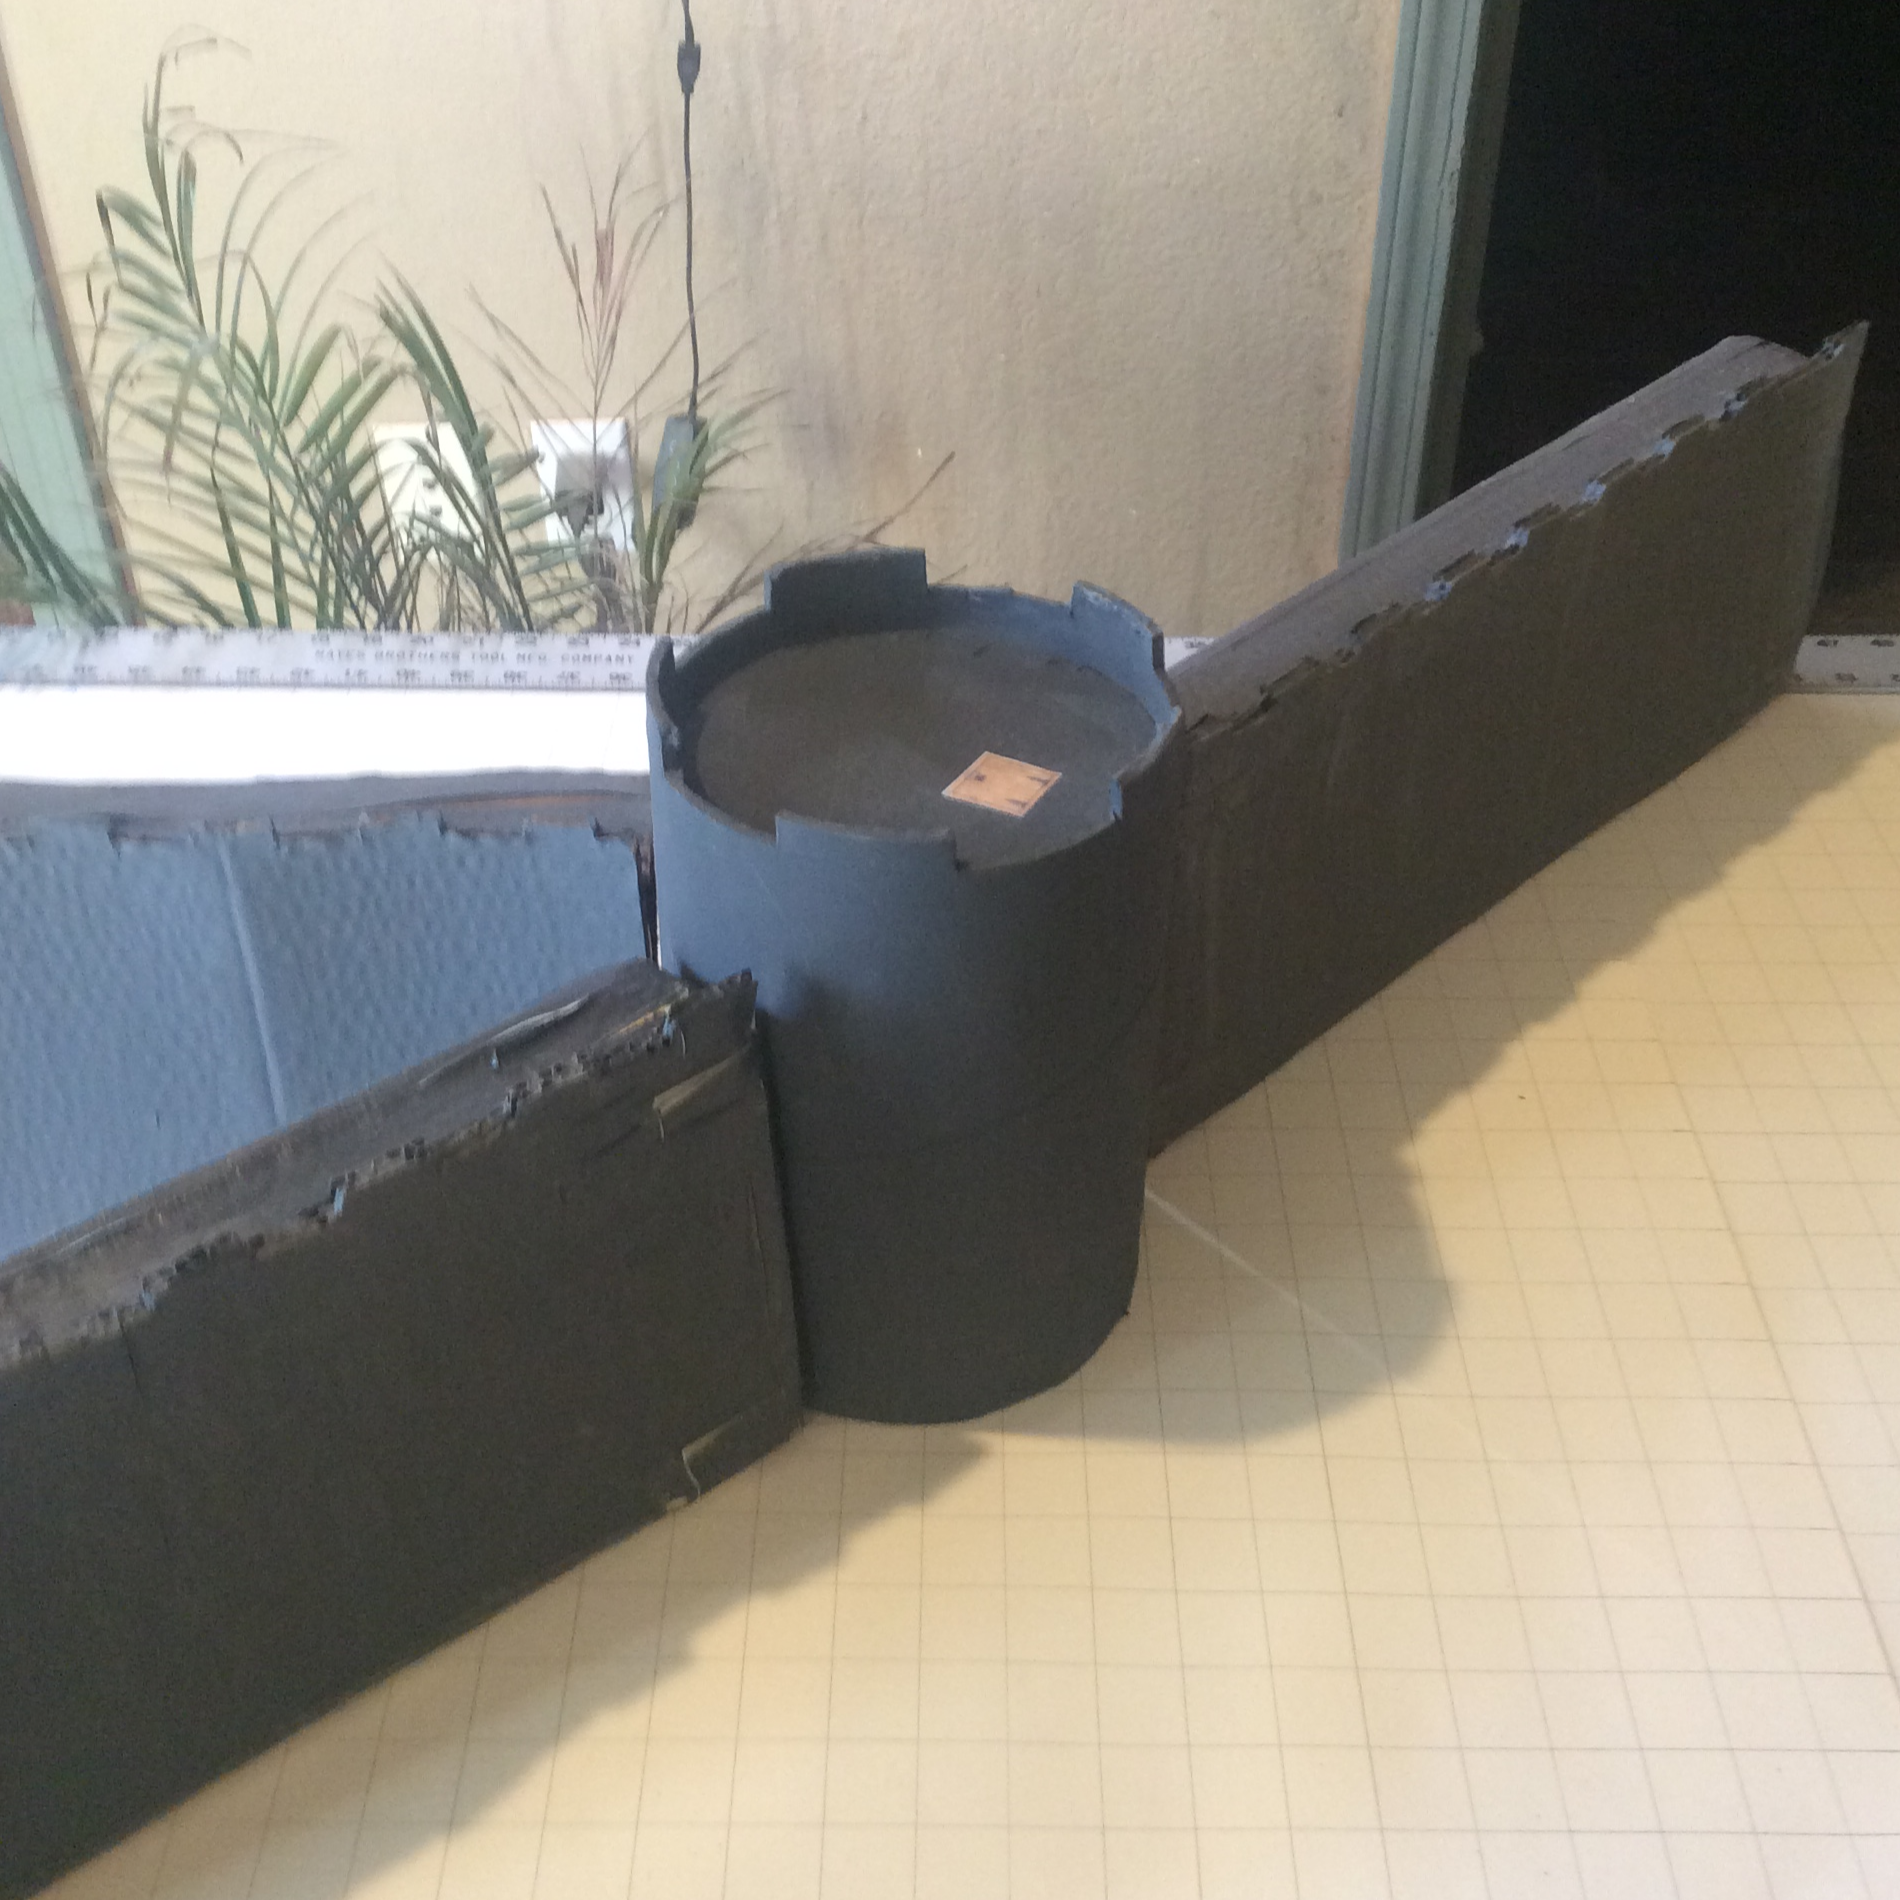
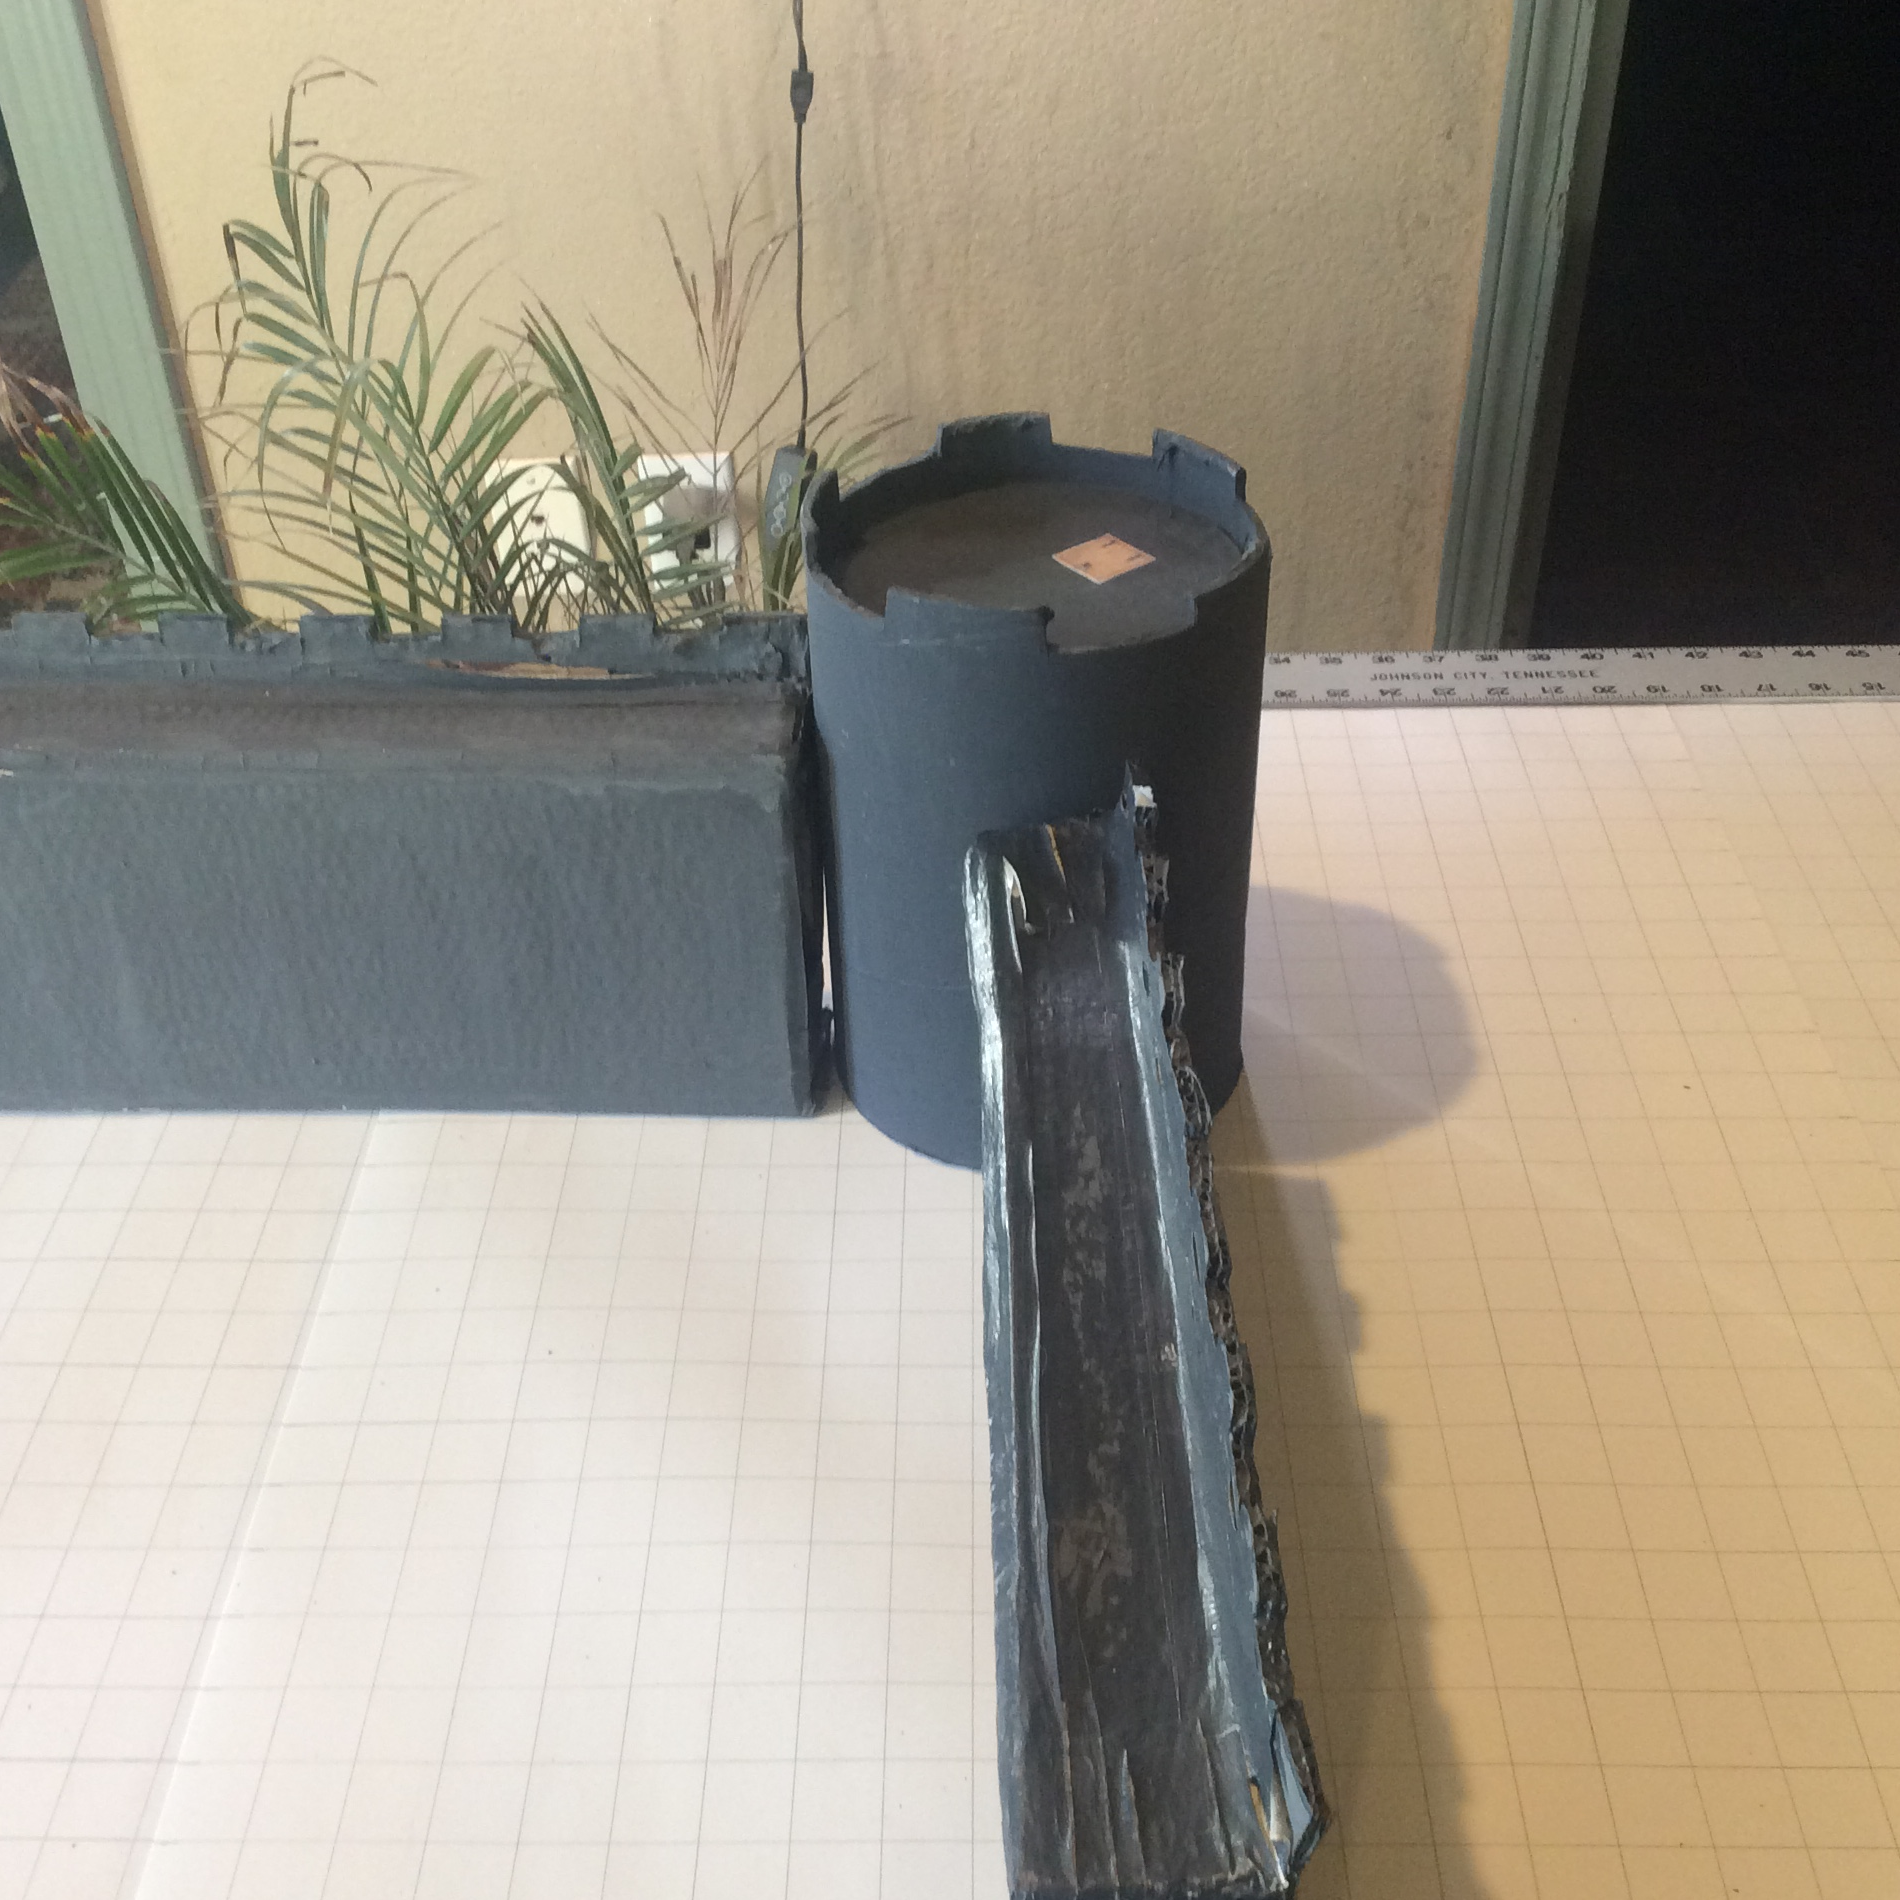
The last row shows how bad Tower 9 burns.
It burns so bad that the only thing that will remain of Tower 9 is a ring of stones that was once the base
of the tower, inside the ring a fire blazes continually and a small river of molten lava spills out and runs north
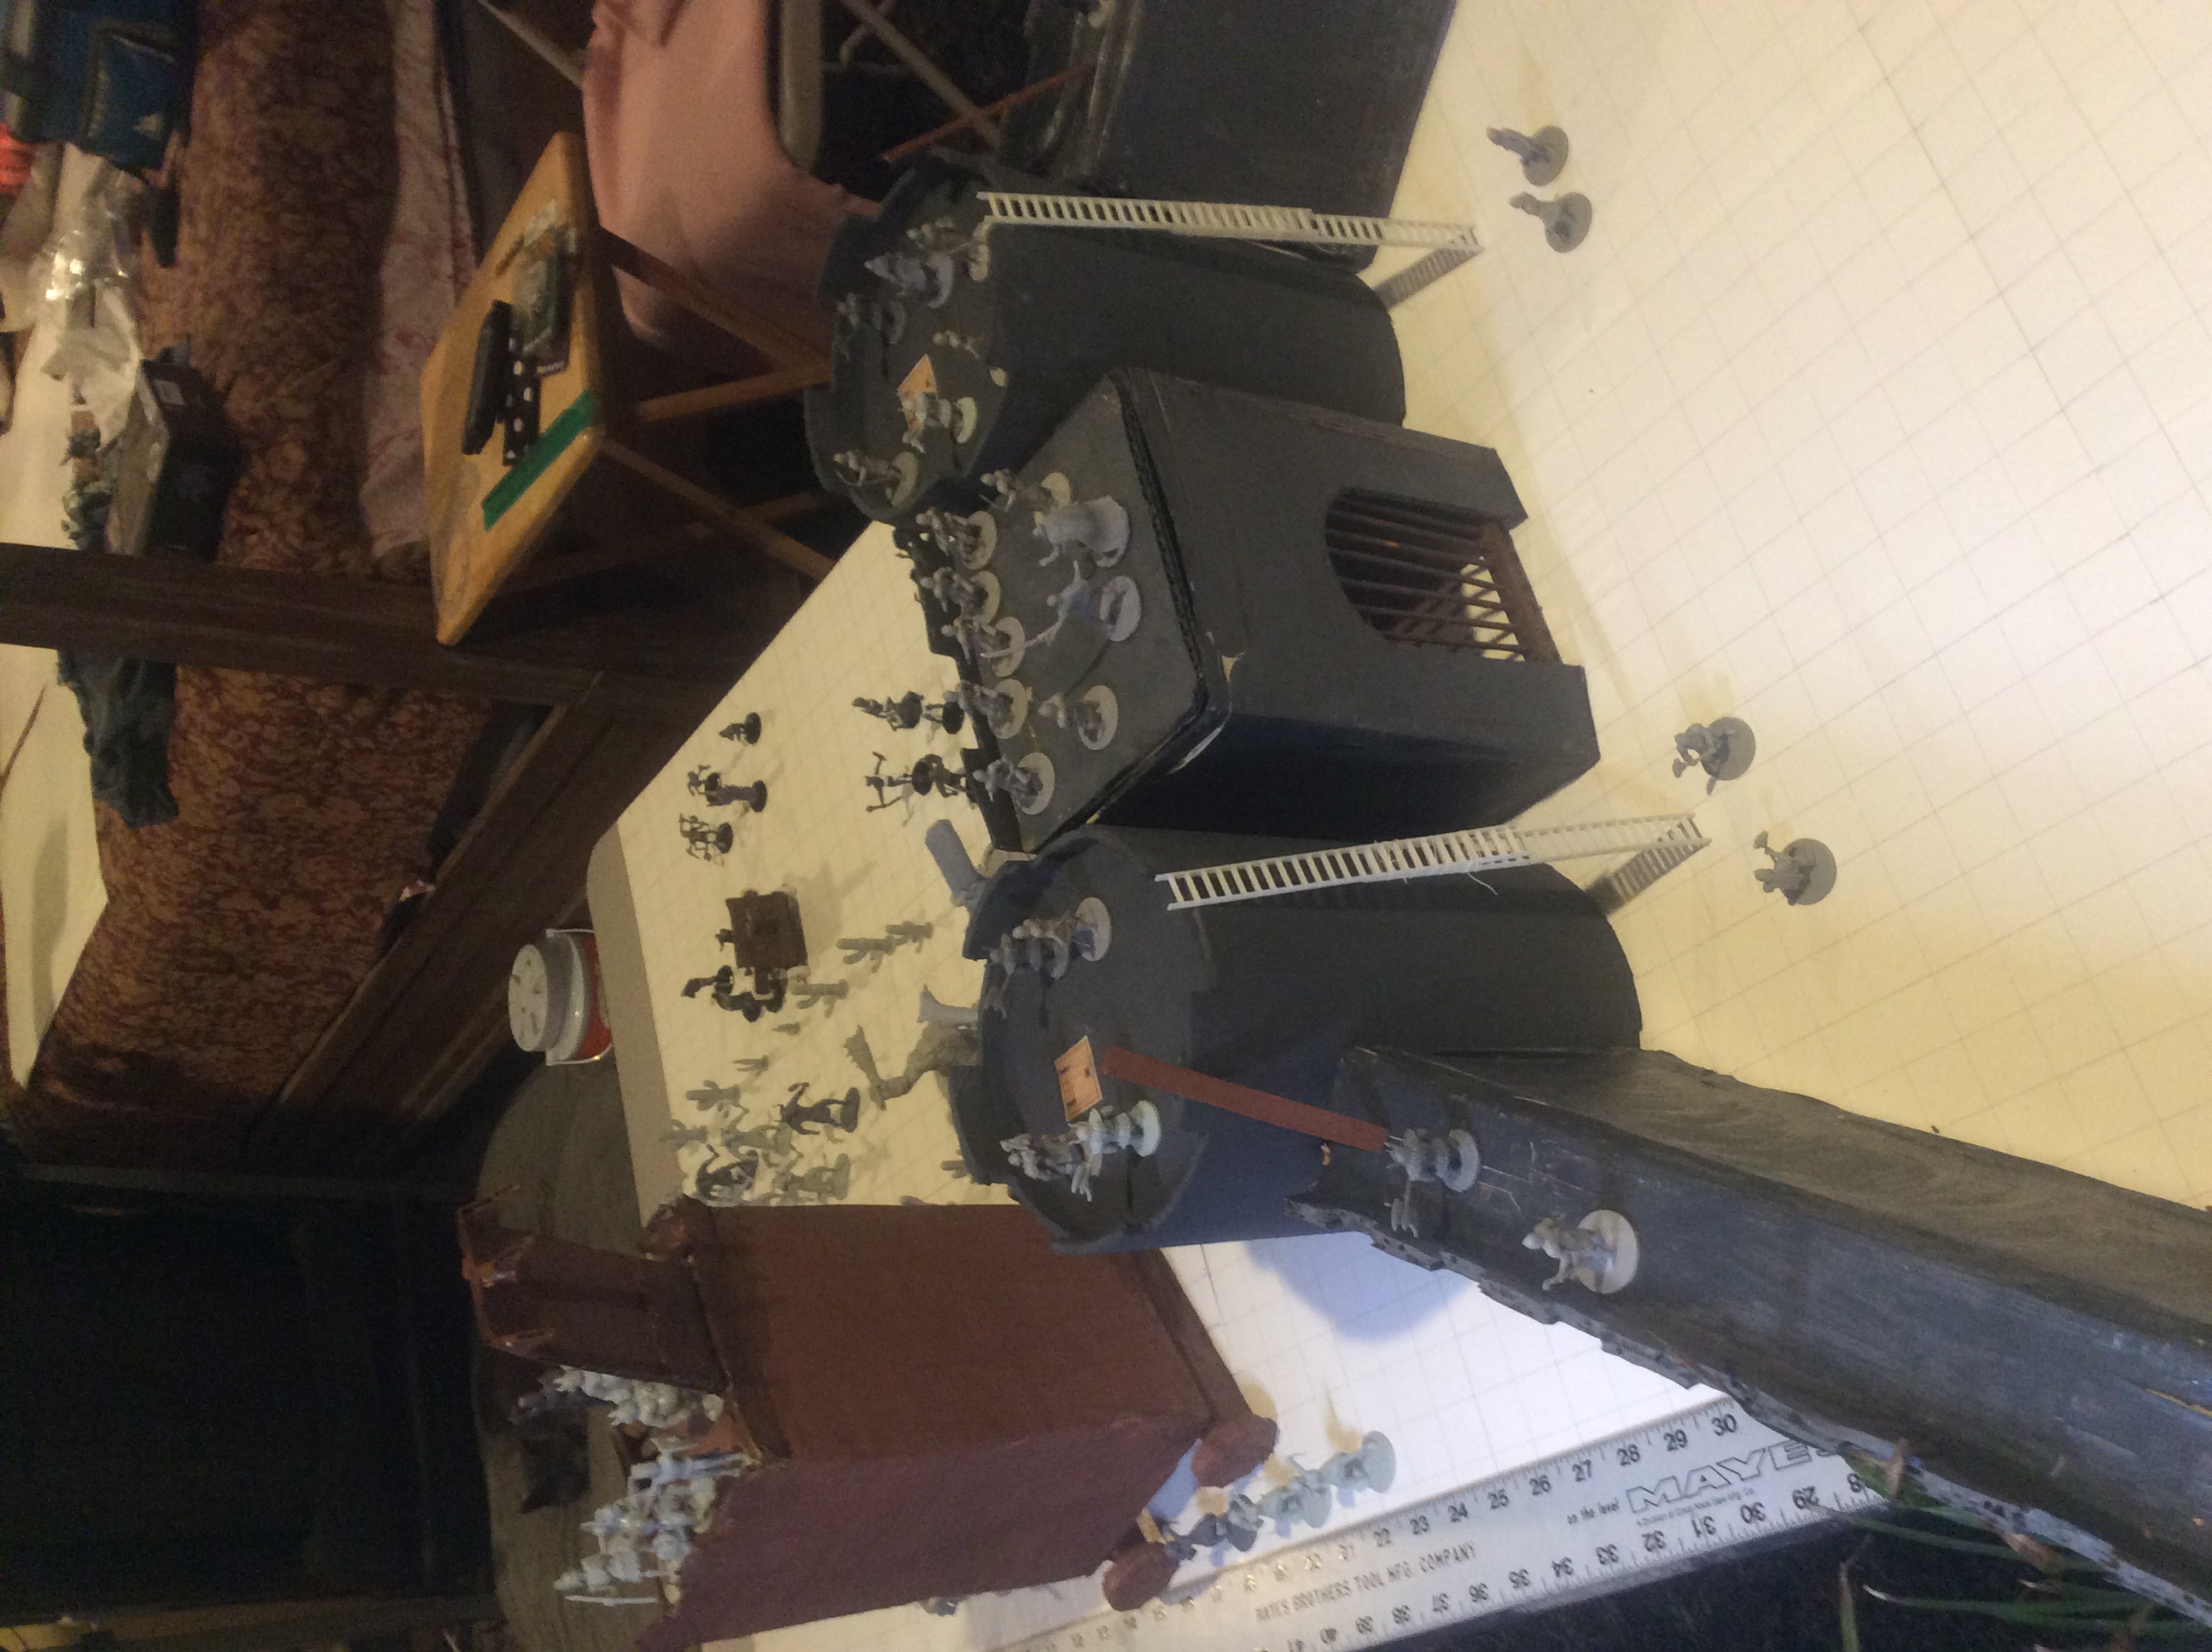
through the wall at Apperton's Arch. The lava continues to flow down the middle of Moja Hamlet, where it destroys many
buildings. The lava continues to flow until it meets Surgebuilt lake and disappears into the water with a plume of
steam. The whole river of lava can be seen from the top of the broken wall. The last row shows the enemy, after waiting
for the fires to die down, forcing their way through the broken gate and the perpetual flames in what is left of Tower 9.

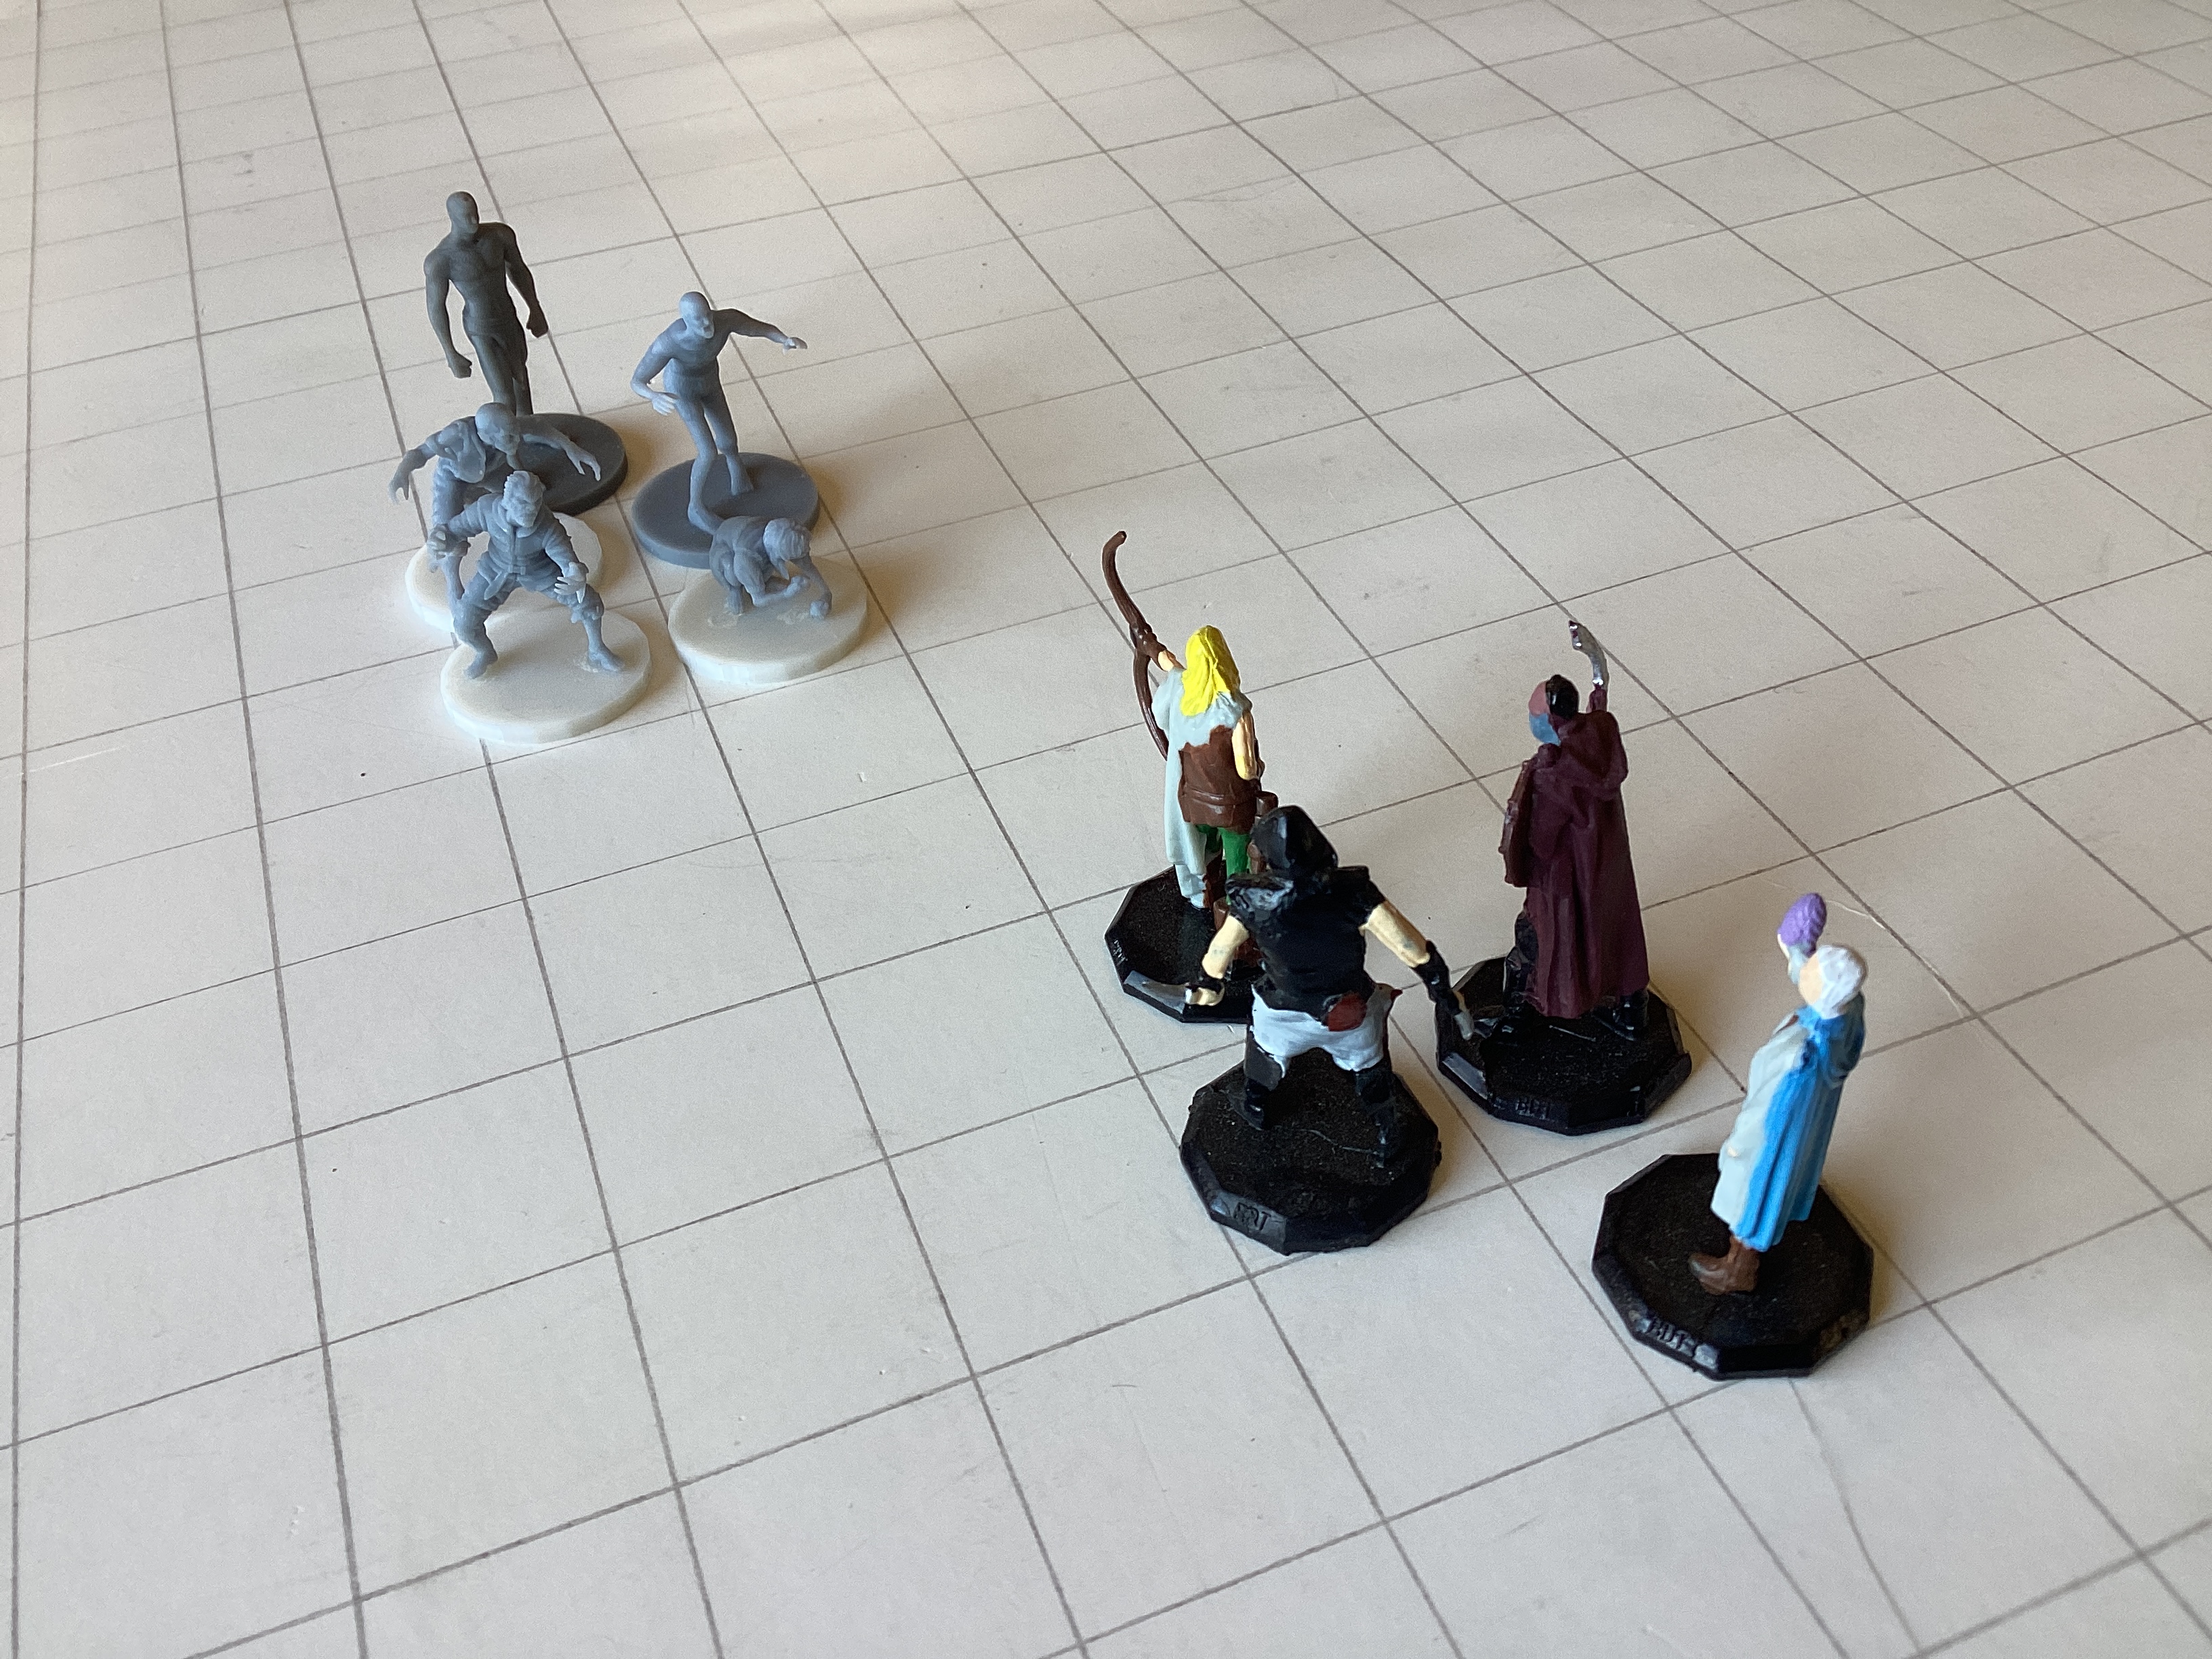
The first encounter couldnt be easier. Wherever the PCs happen to be they will encounter one less goblin
zombie than the total number of PCs, but there will be body parts, for example, 3 crawling hands that join the goblin
zombies in attacking the PCs. This should be a medium encounter (in most cases). The goal of the DM being
to use the low level goblin zombies to both train the PCs and guide them through combat encounters for experience.
Designed to use XP points, this campaign can be adopted to use milestones instead: this first level would be
complete when PCs deliver the load to Tower 9. The first attack by goblin zombies
provides a mindless enemy intent on fulfilling their orders to kill all humanoids on sight.
When Tower 2
falls, hobgoblins, bugbears, and goblins, not to mention hordes of other mercenary creatrues, enter the fray and
present opportunities to role play your way out of combat. So what follows is a little bit of advice for the DM.
As a DM, you must understand the relationship between the goblinoids. Goblins are the slaves of thier
hobgoblin warlords who serve the giants. With cursing, threats, and whips, hobgoblins force goblins to attack
enemies in close melee combat. If you need to visualize it, think about the Persian attack on the Spartan forces
at Thermopylae, slaves whipped from behind to charge and attack the enemy. As soon as those initial attacks are
over, most cowardly goblins disengage and flee out into the darkness, away from the war and their evil masters.
They have no problem attacking humans they encounter along the way, as long as they can ambush from cover and flee
immediately. Roleplaying a goblin is roleplaying a sniveling coward.
Hobgoblins are the tacticians who
will know and use advanced military tactics, like hit and run, flanking, and using cover to range attack followed by
groups advancing for hand to hand combat. As far as roleplay, hobgoblins are snarling soldiers. They will
retreat rather than surrender, but they will always take prisoners and relish the idea of conquered enemies.
Mercenares are everywhere and can be any race so roleplay opportunities are only limited to your imagination.
The bugbears have been commanded by the Fire Giant to guard the Hill Giants on penalty of death, so,at first, it won't
be too likely they will be encountered anywhere except around the Hill Giants. After the war, only a few of each
type of goblinoids survive, so that survivors from all three races will be hired as mercenaries by either the Lamia
or the Dragon.

An issue for low level PCs that pick human, halfling, or dragonborn as a race will be the darkness. I like to assign low level PCs simple
duties: gather the wounded, put out fires, help to maintain supply lines, so it might be that they will be
wandering out in the open, where torch light is bright for 20 feet (4 squares) and dim for another 20 feet
(4 squares, 8 total), but goblins have darkvision up to 60 feet (12 squares). So those first few crossbolt shots
can be deadly. The other races should be able to see in the darkness out to 60 feet as if it were dim light,
so they'll have a better chance at not being ambushed, but, remember DM, these mean, nasty, little goblins will
ambush and then flee, over and over again.
Other issues will be decided by what the PCs are doing and how they react. For example, the goblin zombies enter the fortress
through a magical portal. All undead have orders to destroy soldiers of Goldenshield but to be nuetral toward other
creatures, including hobgoblins, bugbears, and goblins. Goblin zombies are first, but as the number of dead
humans increases, Khalita begins to raise crawling hands and zombies, skeltons and shadows, ghouls and spectors, ghasts and
will-o-wisps, mummies, flameskulls, banshees, and ghosts. Until finally she awakens the wraith and his wight knights.
Undead are a constant terror not only because they are fierce fighters but also because of their unending numbers, the goblin zombies
and crawling hands are only the first wave of the unending attacks of the undead.

The goblins, once inside, hide in the
darkness, in the darkest holes, in noiseless spots, behind what ever cover they can find and ambush anyone coming along.
If the PCs are assigned guard duty for a hamlet, warehouse, or something else, the tables will be turned and
they might be able to get the drop on goblins running around.
Thamiar's First Intervention
For a set of adventures: The party must save 3 places in danger from a river a lava that will destroy all living
things with fire but leave the buildings perilously intact. There is a time limit set on each place that starts at
the morning after the battle. Before the sun rises, and in the midst of the battle, a high ranking NPC will introduce
the PCs to Thamiar the Guardian Naga. Thamiar explains who he is and why his existence must remain a secret.
Thamiar further explains that he has broken his secrecy because of the volcano and the terrible intentions of the enemy.
Thamiar has cast Clairvoyance and spied upon the enemy. He has learned that this master of raising undead will
cause terrible zombie creatures to terrorize the fortress, unless the PCs can intervene. These zombie creatures will
be a mix of undead and elemental. These abominations must not be allowed to come to pass. The first infestation
will be the fire zombies, caused as a result of the volcano and the river of lava. The second infestation will be the
water zombies, caused during the fire newt invasion of the lakeside settlements. The third infestation will be the earth
zombies, caused as a result of the kruthik infestation. And the last infestation will be the air zombies, caused when Khalista
aligns herself with the desert storms.
At this time, the first infestation begins when a river of lava flows north from
the volcano that was Tower 9 at the crawling pace of 1 foot per second. This river of lava is unstoppable and will
envelope the King's Church, the Gaol, and finally Moja Village. The garrisons inside these places will be trapped
by the enemies attacking forces as Rhael the Fire Giant approaches with the river of lava. The PCs will
have to find a way to rescue the garrisons in each place before the lava arrives. If not, the garrisons will be trapped,
killed, and then raised as
fire zombies.
Setting:
Tower 9, the Front Gate, and Tower 1, are assaulted by 3 siege towers but beat back all three
attacks. However, sappers manage to dig out a good size cave under Tower 9 and betrayal and necromantic magic
cause lava and fire to begin to super heat it until Tower 9 is consumed and collapses in on itself so that only thing that
remains is a ring of stones. Bubbling magma fills the remnants of Tower 9 and spills out in a river of lava that
runs north at 1 foot per second. Rhael and his body guard move with the lava but his goblin forces are scattered
so he has no immediate army to command. However, Khalista is near. At each place, jackals will surround the area and
let no one escape until the lava envelopes them and they burn. If the jackals are challenged they will morph
into jacklweres and they will number up to 40.
Thamiar's First Intervention
If your party has followed orders, they will most likely have survived. Arrows and bolts fly through
the air, men and undead fight inside the fortress, men and goblins fight on the walls Trebuchets and mangonels throw
boulders high and far, and fires light up the night sky.
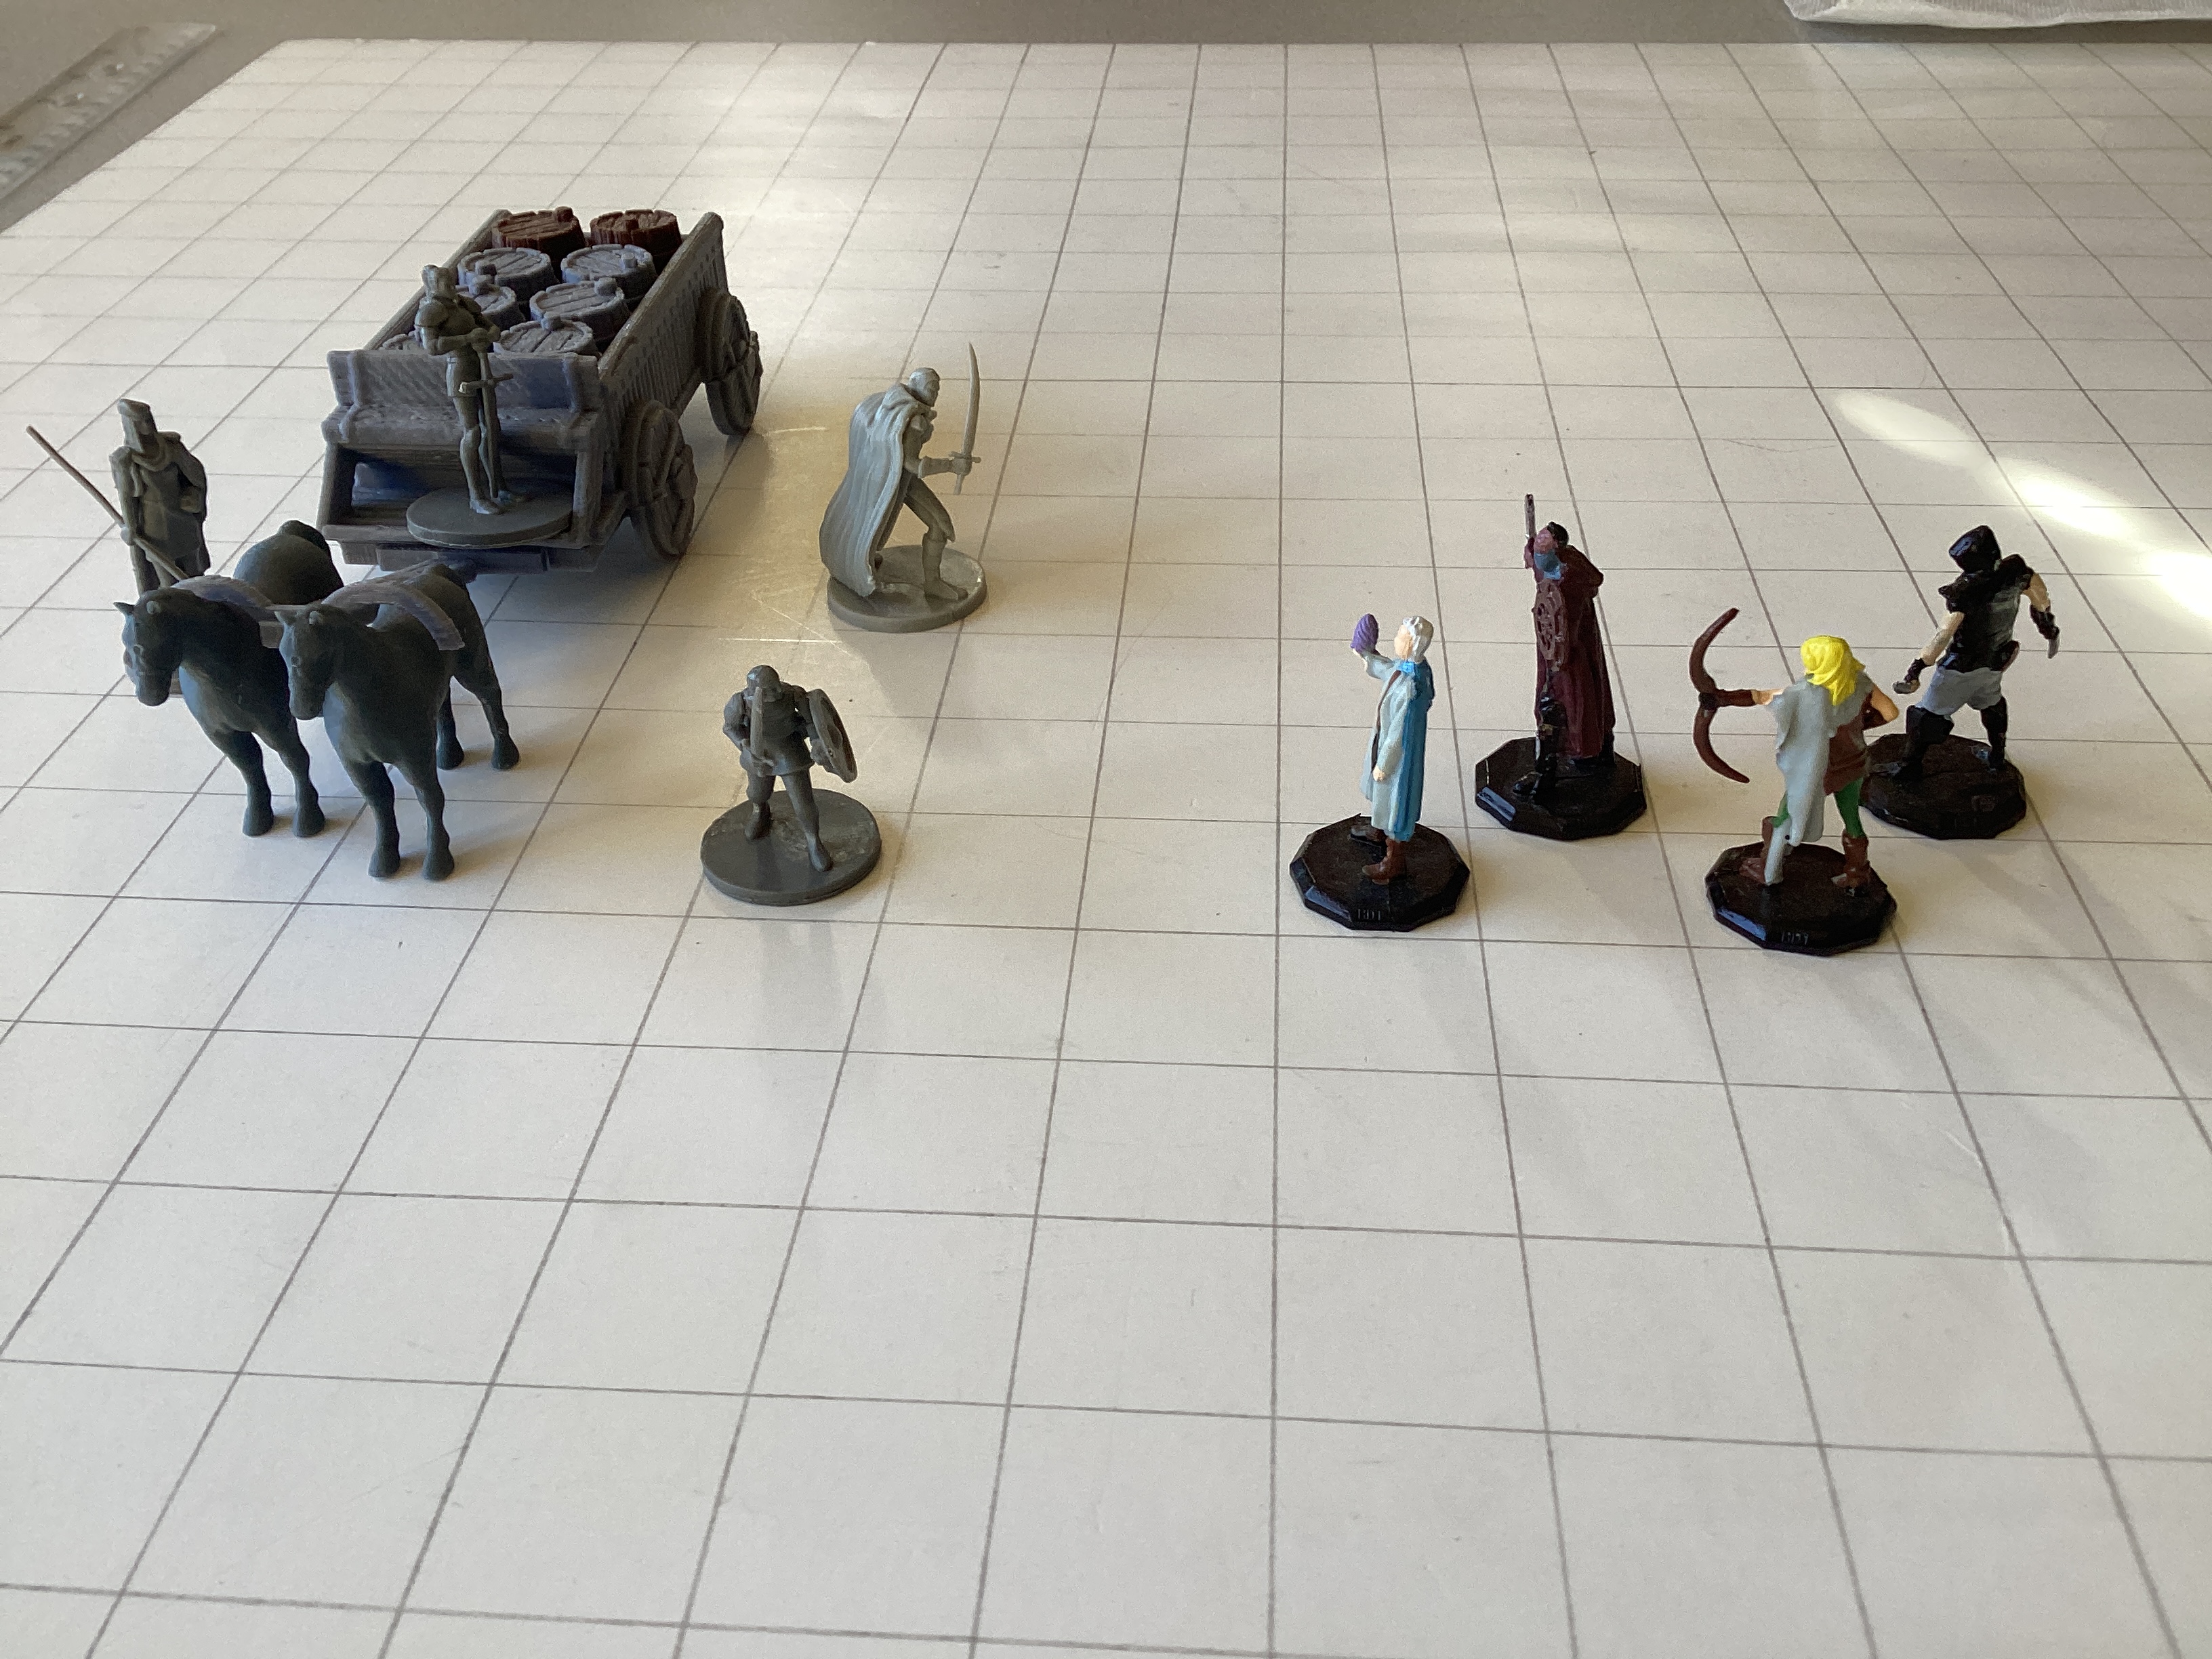
As Messengers
You are hurriedly greeted by
Corporal Weaver who points to where you will unload
your supplies. You must lead the horses to a clearing 100 yards away from the base of Tower 9 where many men unload the
wagon for you. You will not wait long until Corporal Weaver leads you to Thamiar.
As Soldiers
The garrisons from Tower 2, Tower 3, and Tower 4 have been moved to ambush positions at Palm Tree Lane by Major
Naviaam, leaving only a squad left for the defense of each tower. The garrisons from Tower 6, 7, and 8 will have to endure
multiple goblinoid and mercenary attacks. The garrisons at the Keep and Library will hold out against undead attacks until
the jackalweres return and overcome them. The Rear Gate is under attack by both a dragon and an army of kobolds. The
cavalry has retreated north by order of the same Major Naviaam. It will be your commander that will lead you to meet
Thamiar.
Development
The criers scream out,
"Tower 2 has been torn down! Tower 2 has been torn down! The fortress has been
breeched! The enemy is in the fort! To arms! To arms! All messengers! All suppliers! All
healers! Arm yourselves! The enemy is in the fortress! The enemy is in the fortress!"
You are led to a hidden location of wonder, amazement, and astonishment. In fright and awe you encounter a guardian naga.
He casts Calm Emotions and charms your party. His simple request is that you sit and listen for 10 minutes.
At the end of the time, he has cast Geas and your party is compelled to fulfill his requests. He commands you to rescue
the garrisons at the King's Church, the Gaol, and Moja Village before a river of lava consumes them. In 1 1/4 hours
after sunrise, the King's Church will be consumed. Another 1 hour later, the river of lava will reach the Gaol and
consume it. And finally, 7 minutes after the lava surrounds the Gaol, it flows down to Moja village and begins to
fill the east side streets, houses, shops, and yards. The lava will fill the entire east side of the village and begin
to flow north again in just under a half an hour. So all this occurs in 3 hours. Any delay and the entire garrison
can be turned into
fire zombies.
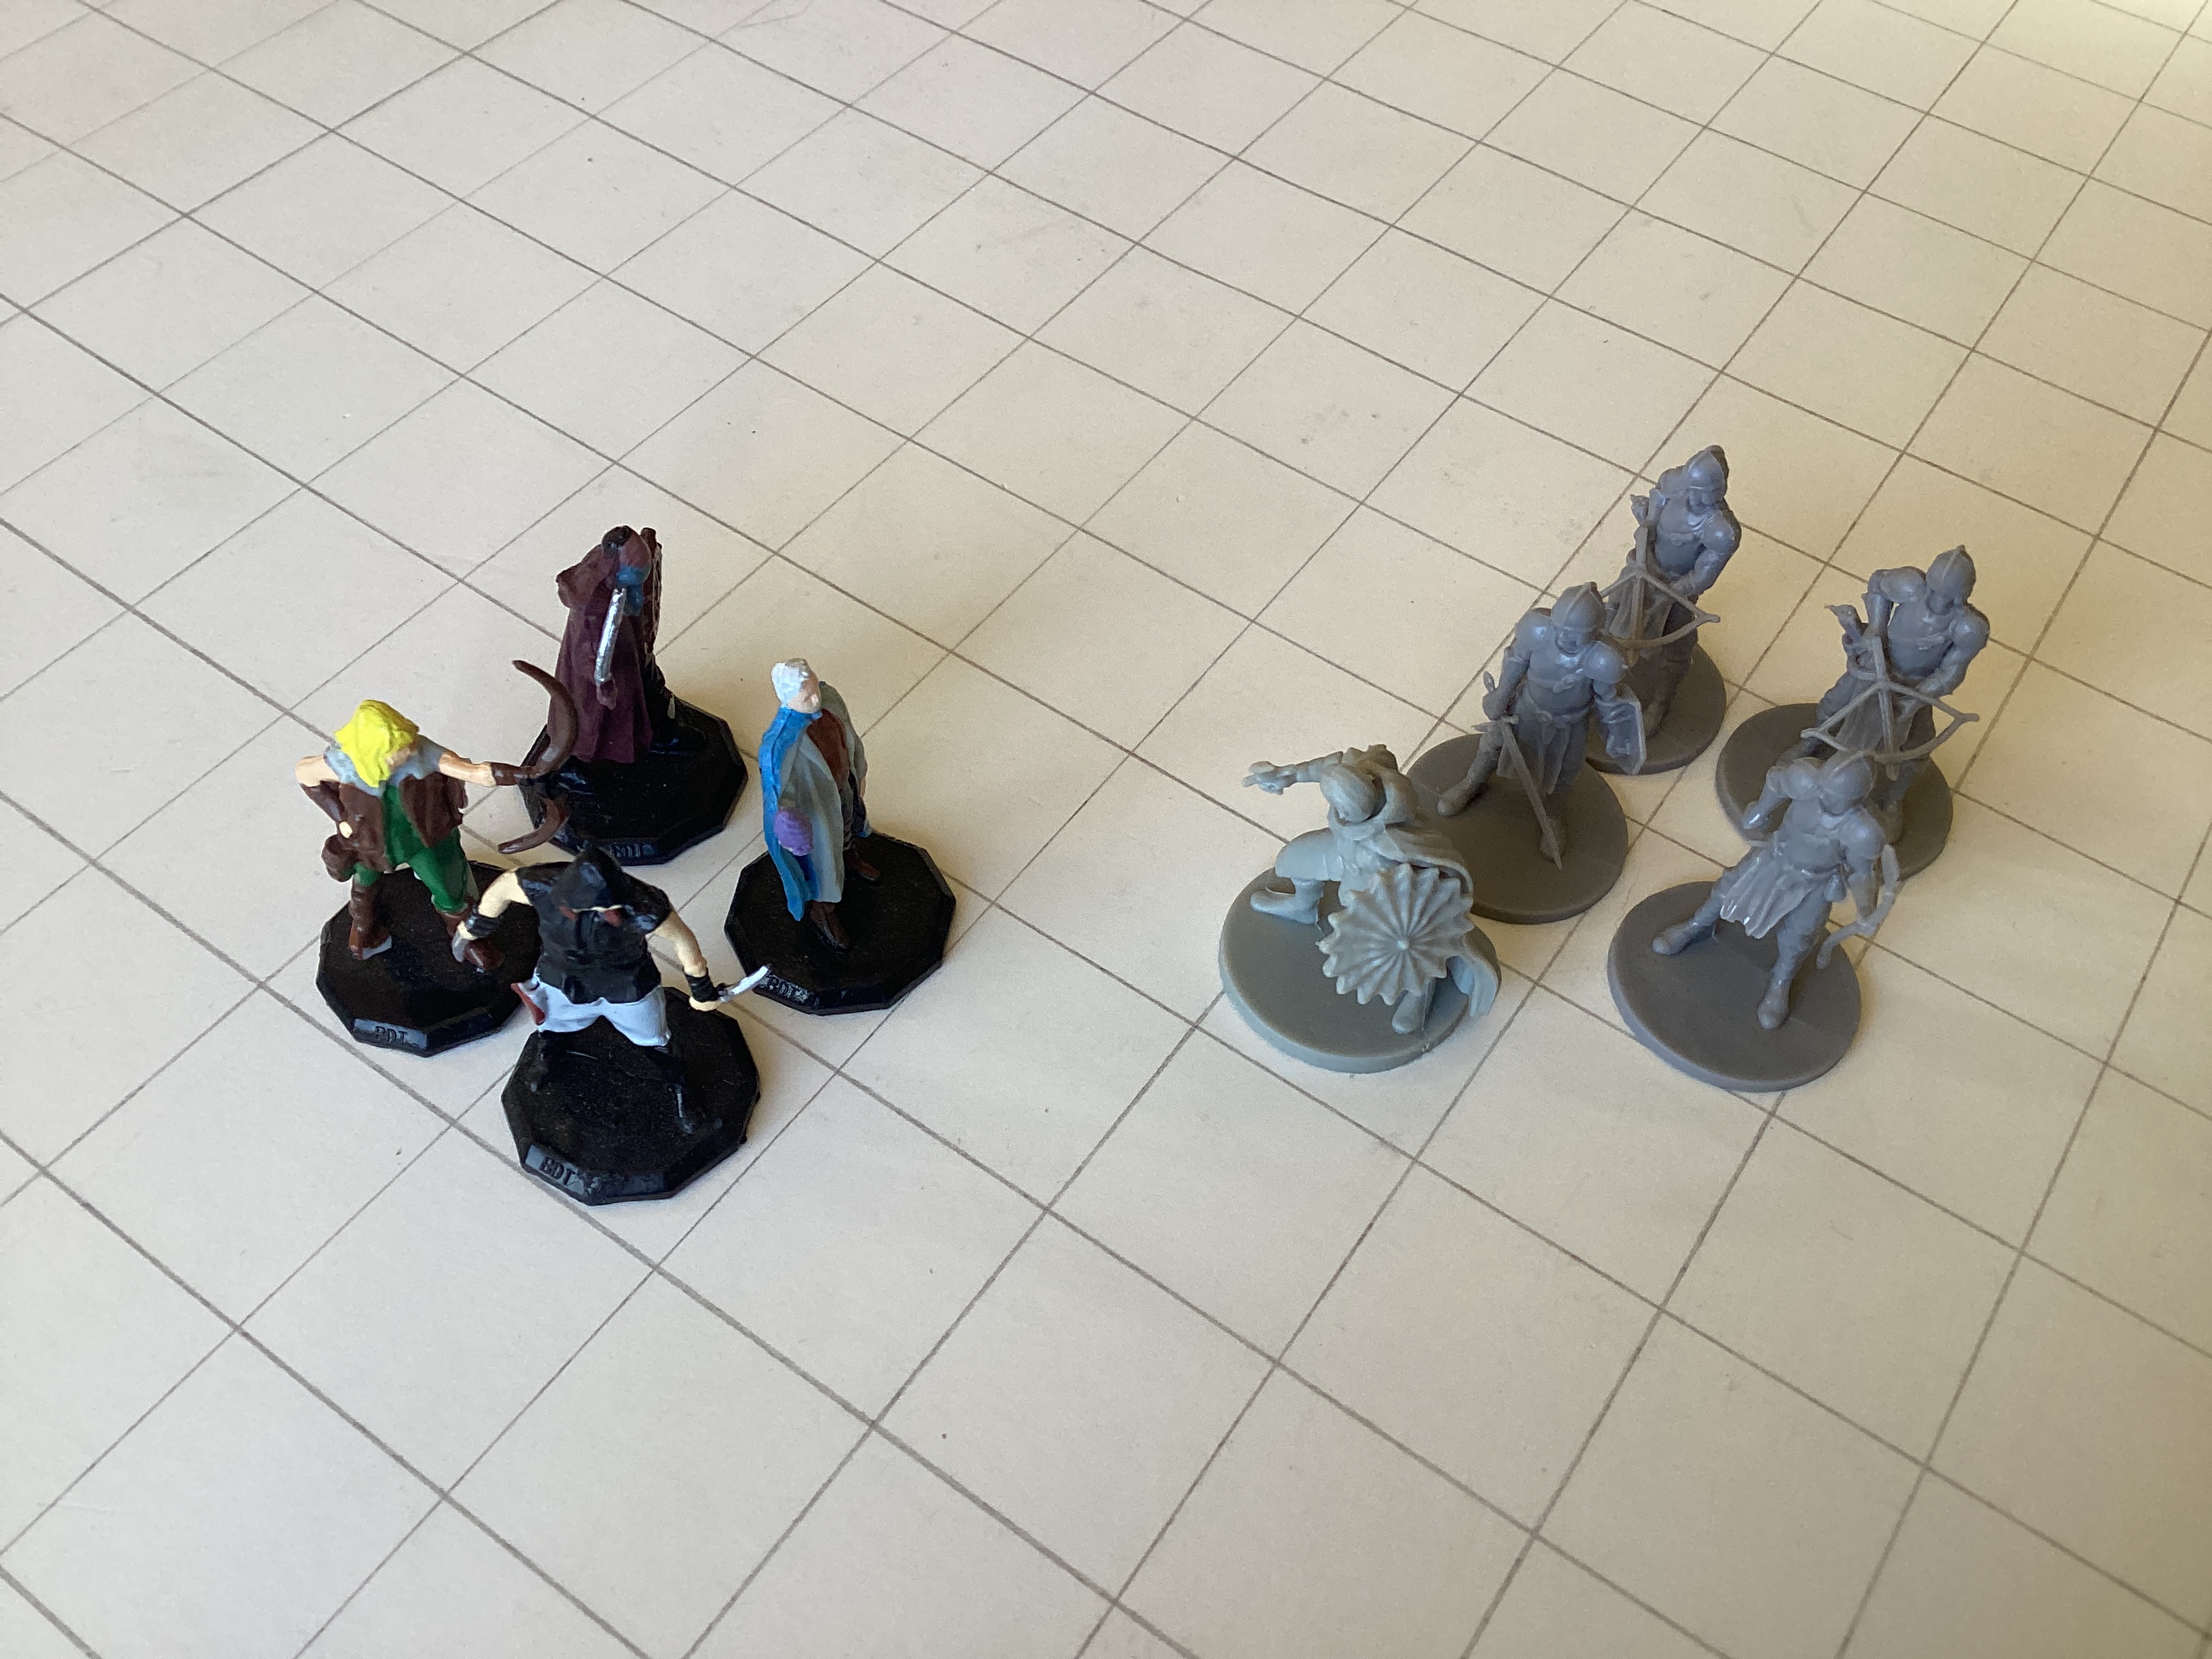
Hazards
Some wandering goblins ambush your party, one for each PC, the goblins will attack but will immediately
flee if any resistance is given. Worse than the goblins are the crawling hands that creep along in the darkness.
Khalista has been at work and body parts are moving on their own. If your party isn't careful, your adventure
will end even before it begins. Your party must fight through the goblin ambush, survive the spider like hands,
and get to the destination before time is up. Once your party has arrived it will discover that the garrison is
trapped by a circle of jackals. The river of lava with the fire giant is approaching slowly but they cannot escape.
Stealth and deception are best in this scenario, because the jackals are on edge and easily distracted. This should
allow clever characters to leave their tanks to make random noises far away causing the jackal guard to run off on wild goose
chases. The stealthy members of your party can then sneak in and guide members of the trapped garrison out. However,
if the jackals are confronted directly, they morph into jackweres that outnumber your party at least 7 to 1.
Consequences
If you do not rescue the trapped garrison,the lava and the fire giant will reach their location. As brave as they are,
they are no match for the fire giant, his personal guard, and the burning river of lava they travel on, and all of them there will
die. Khalista will cast her animate dead spells. The resulting monsters that rise up to trouble the dark of night are
Fire Zombies a terrible breed of undead that haunts the long night of the attack on Kahar.
There are 52 soldiers at risk of being turned into fire zombies that are garrisoned at the Keep. Another 24 soldiers
garrison at the Gaol, and finally, 14 brave soldiers under Sir Galente protect Moja village. I like when the PCs are able
to rescue a majority of the soldiers and only a few suffer the terrible consequences of becoming fire zombies.
The Treachery at Tower 2 occurs simultaneously with the Fall of the Front Gate
The first great treachery occurs at the same time the Fire Giant assaults Tower 9, Tower 1, and the Front Gate. Some of the magicians from
The Wizard's Brigade, once loyal subjects of the Kingdom of Goldenshield, betray their government and begin to destroy the west
towers with magic. The Lieutenant of Tower 2 dies in his attempt to avenge the treachery. As soon as the dust settles, goblinioids and other
attackers force their way over the debris and into the fortress. Among them is Zhohlei, a yuanti pure blood,
a mercenary hired by the Fire Giant to join his attack. Her unique talent is that she can control desert snakes.
As the PCs return to Braek's Munitions Dump, they find the whole place under attack. A friendly NPC guides the PCs to safety,
but Zhohlei finds the PCs and has her snakes attack.
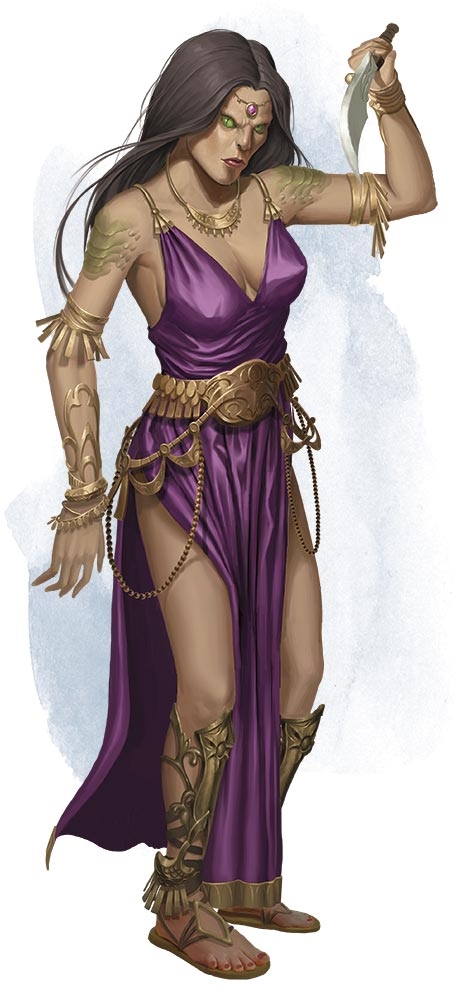
Zhohlei the Mercenary
Snakes in the Darkness
Darkness covers everything. The sound of battle is all around you, any way you turn will lead you into danger.
Roll for initiative, battle goblins, hobgoblins, zombies and skeletons, one on one, or in groups, but stay alive. A fire team,
under Sergeant Dusak from Tower 1, spots your party, heads you off, and leads you to safety (Area 1). Sergeant Dusak
leads you to a strategically placed area that Goldenshield warriors have secured, and is a safe place to heal and rest. Once
your party is secure, he tells his men to get a quick rest and gives you the following news: "Tower 9 has burnt
down to the ground and a river of lava has run north all the way to the oasis. The Front Gate House was torn down
by the Fire Giant and the enemy forced their way into the fortress. Tower 1 survived but was abandoned during the
fires. The Fire Giant followed the river of lava and diverted it until it destroyed the King's Church. Though the
soldiers there fought as best they could, all of them were lost. The Fire Giant is currently following the river of lava north.
Intelligence tells us that in less than a half an hour he will confront an understrengthed company at Apperton's Arch.
All available soldiers are urged to convene at Apperton's Arch before this happens! And we must hurry! Time is short!
There is worse news to the west! Traitors have broken Tower 2! Tower 2 is down! Lt. Hubbard has been slain by
traitors! The traitors were last reported heading north west. Tower 3 is in peril! Traitors have turned to the enemy!
Duvior the necromancer from the Wizards Brigade has led his servants to Tower 2 and, by using spell scrolls, they have destroyed the tower
with magic. Curse them! Once the goblinoids learned the fortress was breached, they rushed up and over the rubble and entered.
This surging band of goblinoids broke off and attacked us here. We will mop up this band! You rest here, wait for us to
finish off this band, and then come help with the wounded!"
Sergeant Dusak is eager to return to the
fighting and bids you wait under cover of dark until the worst of the fighting is over and then return to help evacuate the wounded.
As you wait in the darkness for word to arrive, a lone woman appears in front of you. At any other time you would welcome her
and call out for her to join you, but on this dark night of horrors, you can only stare at her dark silhouette and fear some hidden menace
or power. And with good reason, for without warning, poisonous snakes attack your party, 3 for each of you, and if you survive that
assault, you look and see that the mysterious woman still stands watching you. Before you can react, a second assault of snakes,
this time flying snakes, attacks your party. If you survive this assault as well, you will look up, and see that the mysterious,
shadowy woman has dissappeared.
The Raiding Band
In the initial assault, hobgoblins are assigned 4 goblins a piece, and drive them forward with whips and threats.
This method is effective in making the goblins work at high efficiency for extended periods of time. Thier tactics are
still hit and run gorrilla tactics, but, with hobgoblin commanders, they will rarely abandon the field. Goblin ambush, fire, move, and
hide, tactics work in tandem with other Raiding Bands. Goblins will cover their flanks, and they will cover their tactical retreats.
These are not yet the mindless goblin attacks where they fire wildly and then run away, these are tactical Raiding Bands.
Development
After the first night is over, the goblins will retreat back to the mounds and trenches and hide there away from the sun
and the devestatingly bright light that it brings. The hobgoblins coalese together and will eventually build a war camp
right in the midst of the west mounds and trenches. They will still bullly the goblins into submission, but will be more
lienient towards them then they were under the fire giants leadership. In other words, goblin encounters after the first day
will be typical ambush techniques, where they outnumber their opponents but still flee when things turn against them. When
encountered while foraging or scouting, goblins will typically fire wildly and flee for someplace to hide.
The Fall of the Front Gate Encounters
The enemy is inside the fortress. Some goblins escape thier hobgoblin overlords and flee from the battle.
Inside the fortress, these goblins will either continuouly flee from one location to another, or they will hunker down in a single location
and ambush anyone or anything that approaches them. Raiding Bands, a hobgoblin leading 4 goblins, are dispatched to round up all
these goblin deserters, and when PCs encounter them they might have goblin deserters in custody. Worse yet, Khalista has
has been active out in the battlefield and has been raising undead servants and giving them commands to kill all soldiers of Goldenshield.
Because of the brutality of the battle, she has only been raising body parts as of now, so the PCs are very likely to encounter
the hands, legs and arms, feet, or even the heads of zombie goblins and/or zombie hobgoblins anywhere inside the fortress.
As the PCs move from location to location inside the fortress, they are more likely to encounter others wandering inside the
fortress. If PCs use cover and stealth to avoid encounters, have each PC attempt a DC 10 Dexterity (Stealth) check. For
every 2 individual checks that fail the PCs have one encounter on the way to their destination. Roll a d8, on a 5 above, roll
a d6 on the Enemy Encounter table, but on a 4 or less roll a d4 on the Friendly Enounter Table. If the PCs don't use cover
and stealth (e.g. - they are using a horse and carriage), roll a d8 for every 100 feet they travel, if the roll is 4 or less, they
don't attract any attention or roll a 1d4 on the Friendly Encounter Table. But if the d8 roll is 5 or above, roll a d6 on the
Enemy Encounter table.
Fall of the Front Gate
Synopsis
1. The Dark Crusades begin, goblinoids dig trenches and build mounds nearly all night.
2. The First Betrayal occurs and Tower 2, Tower 3, and Tower 4 are torn down by magic. The goblins enter the fortress.
3. Sappers dig under Tower 9 and some of the magicians enter the sapper cave with their servants.
4. Tower 1, the Front Gate House, and Tower 9 are assaulted by multiple enemy siege engines.
5. Tower 9 falls in on itself in fiery ruin, billows like a volcano, causing a river of lava to spill out and run north to Surgebuilt Lake.
6. The Front Gate house is destroyed and Tower 1 is infiltrated and many of the soldiers are killed in the battle.
7. Tower 1 is abandoned for a time.
8. Khalista hides in Tower 1, removes her ethmoid bone, and waits.
9. Khalista appoints Oztirix the Abjurer to be in charge of Tower 1.
10. Tower 1 becomes a bastion for the undead with magical wards that protect it during the day and a den of absolute terror at night.
c. The River of Lava
2nd Lieutenant Reese descends to the lowest level of Tower 9 to discover it is heating up to its melting point. She orders her soldiers
to gather on the walls and abandon Tower 9. Some gather inside the fortress inbetween the base of the east wall and the officer quarters.
They do not wait long until Tower 9 begins to waver, bulge, and then finally collapse in a volcanic explosion of smoke, ash, dust, and fire.
In only a little while a river of lava will run out of the ring of stones that was Tower 9 and head north all the way to Surgebuilt lake.
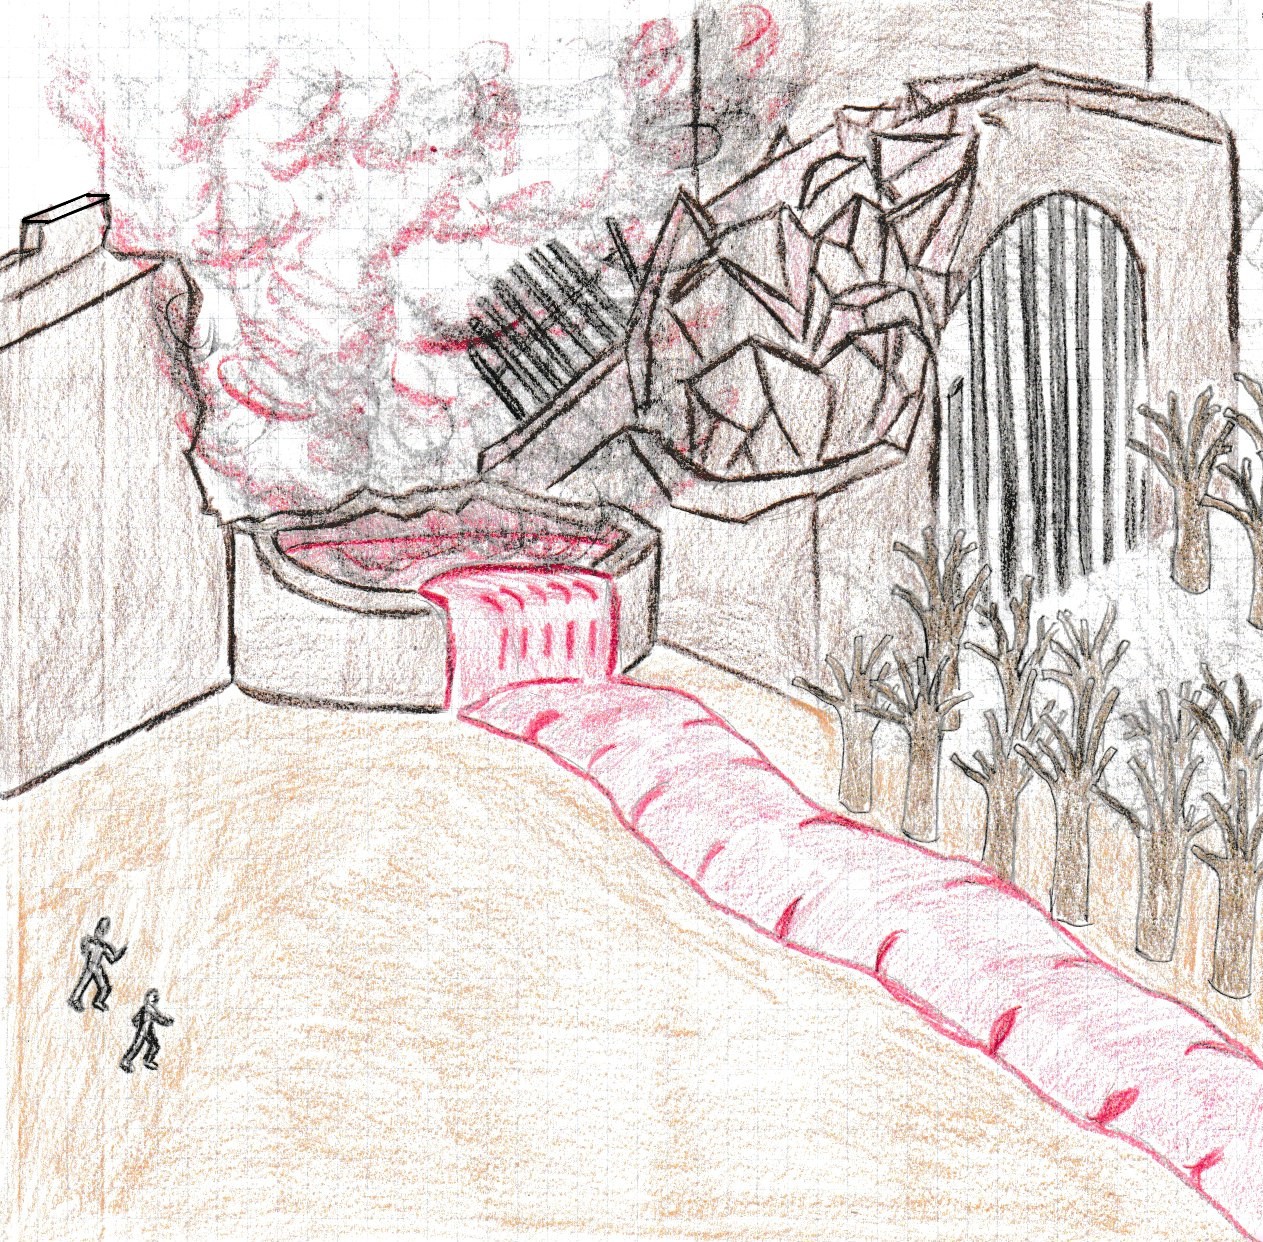
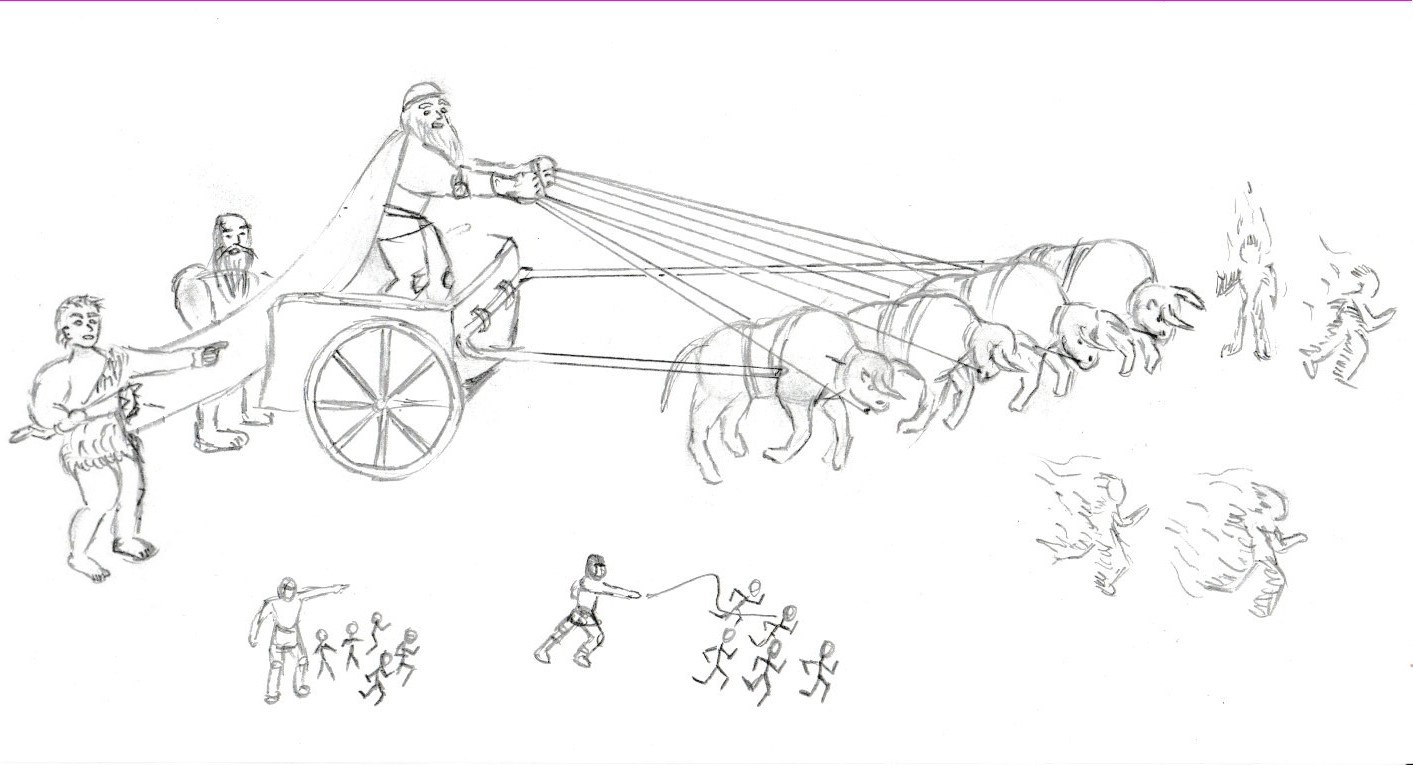
Rhael delights in the volcanic surprise. He jumps on top of the ruined Tower 9 and begins hammering on the Front Gate House, softened
by the intense heat, until it collapses in ruin. Rhael's 4 fire elementals join him in this destruction. His fire gorgan pull his chariot
up on top of the blazing stump of a tower just as a river of lava spills out. Rhael and his body guard will stay on or near the river of
lava as it flows north. Rhael's 2 hill giants are unable to stand the heat of the volcano that was Tower 9 nor the heat from the river of lava,
so they follow the goblins north to enter the fortress where Tower 2 has been destroyed. Always following the 2 hill giants are a half a pack
of bugbears that have been ordered to guard them above all else.
Rhael is disappointed when the river of lava is forced east after it
runs into the raised curb of the Great Circle, so he takes his fire gorgans and fire elementals up ahead, where he spots the King's Church,
digs a trench across the road, and turns the river of lava directly into the path of the King's Church. The platoon of Goldenshield defenders
fight bravely to protect the King's Church but have no chance against the intense heat of the lava river and the creatures of fire, death, and
ash. The lava surrounds and penetrates the interior of the King's Church turning it into a vision of fiery hell. After Rhael and
his body guard continue following the river of lava as it goes north, Khalista comes among the burnt dead and raises them into undead monstrosities.
The River of Lava Encounters
This is a deadly encounter. The Fire Giant Rhael is guarded by 4 fire elementals, and 12 hell hounds, obediant to his every command.
Pulling his chariot are 4 fire gorgans that will also obey him. He is not an easy foe to defeat.
| The River of Lava Foes |
|---|
| Enemy | CR | Amount |
|---|
| Fire Giant | 9 (5000XP) | 1 |
| Fire Elemental | 5 (1800XP) | 4 |
| Hell Hound | 3 (700XP) | 12 |
| Fire Gorgan | 6 (2300XP) | 4 |
| Total XP: | 29,800 | |
|---|
d. The Defense of the Keep
The Fire Giant seperates from his hill giants and the goblinoids. He follows the
river of lava with his body guard and hell hounds, while his fire gorgons pull his chariot along behind. He is
disappointed when the lava turns east, so he rushes ahead and digs a trench that will force the river of lava to turn north into the path of
the King's Church. The platoon of Goldenshield soldiers garrisoned there do not stand a chance. Afterward, Rhael continued to follow
the river of lava north with his goal being to reunite with the northern force of goblinoids that attacked the Rear Gate.
On the west
side of the King's Circle, the 52 soldiers stationed at the King's Library are the first to know that the goblins are not the only enemy on
attacking the fortress Kahar. In the morning hours as the sun illuminates the nights destruction, scores of jackalweres and jackals descend upon
the King's Library, and almost all the defenders there fall to thier terrible Sleep Gaze, a magical ability that causes theier victim to fall
unconscious. In thier assaults, the jackalweres rush the defenders, outnumbering them 7 to 1. Only a couple of Goldenshield
soldiers escaped to warn the platoon garrisoned at the keep.
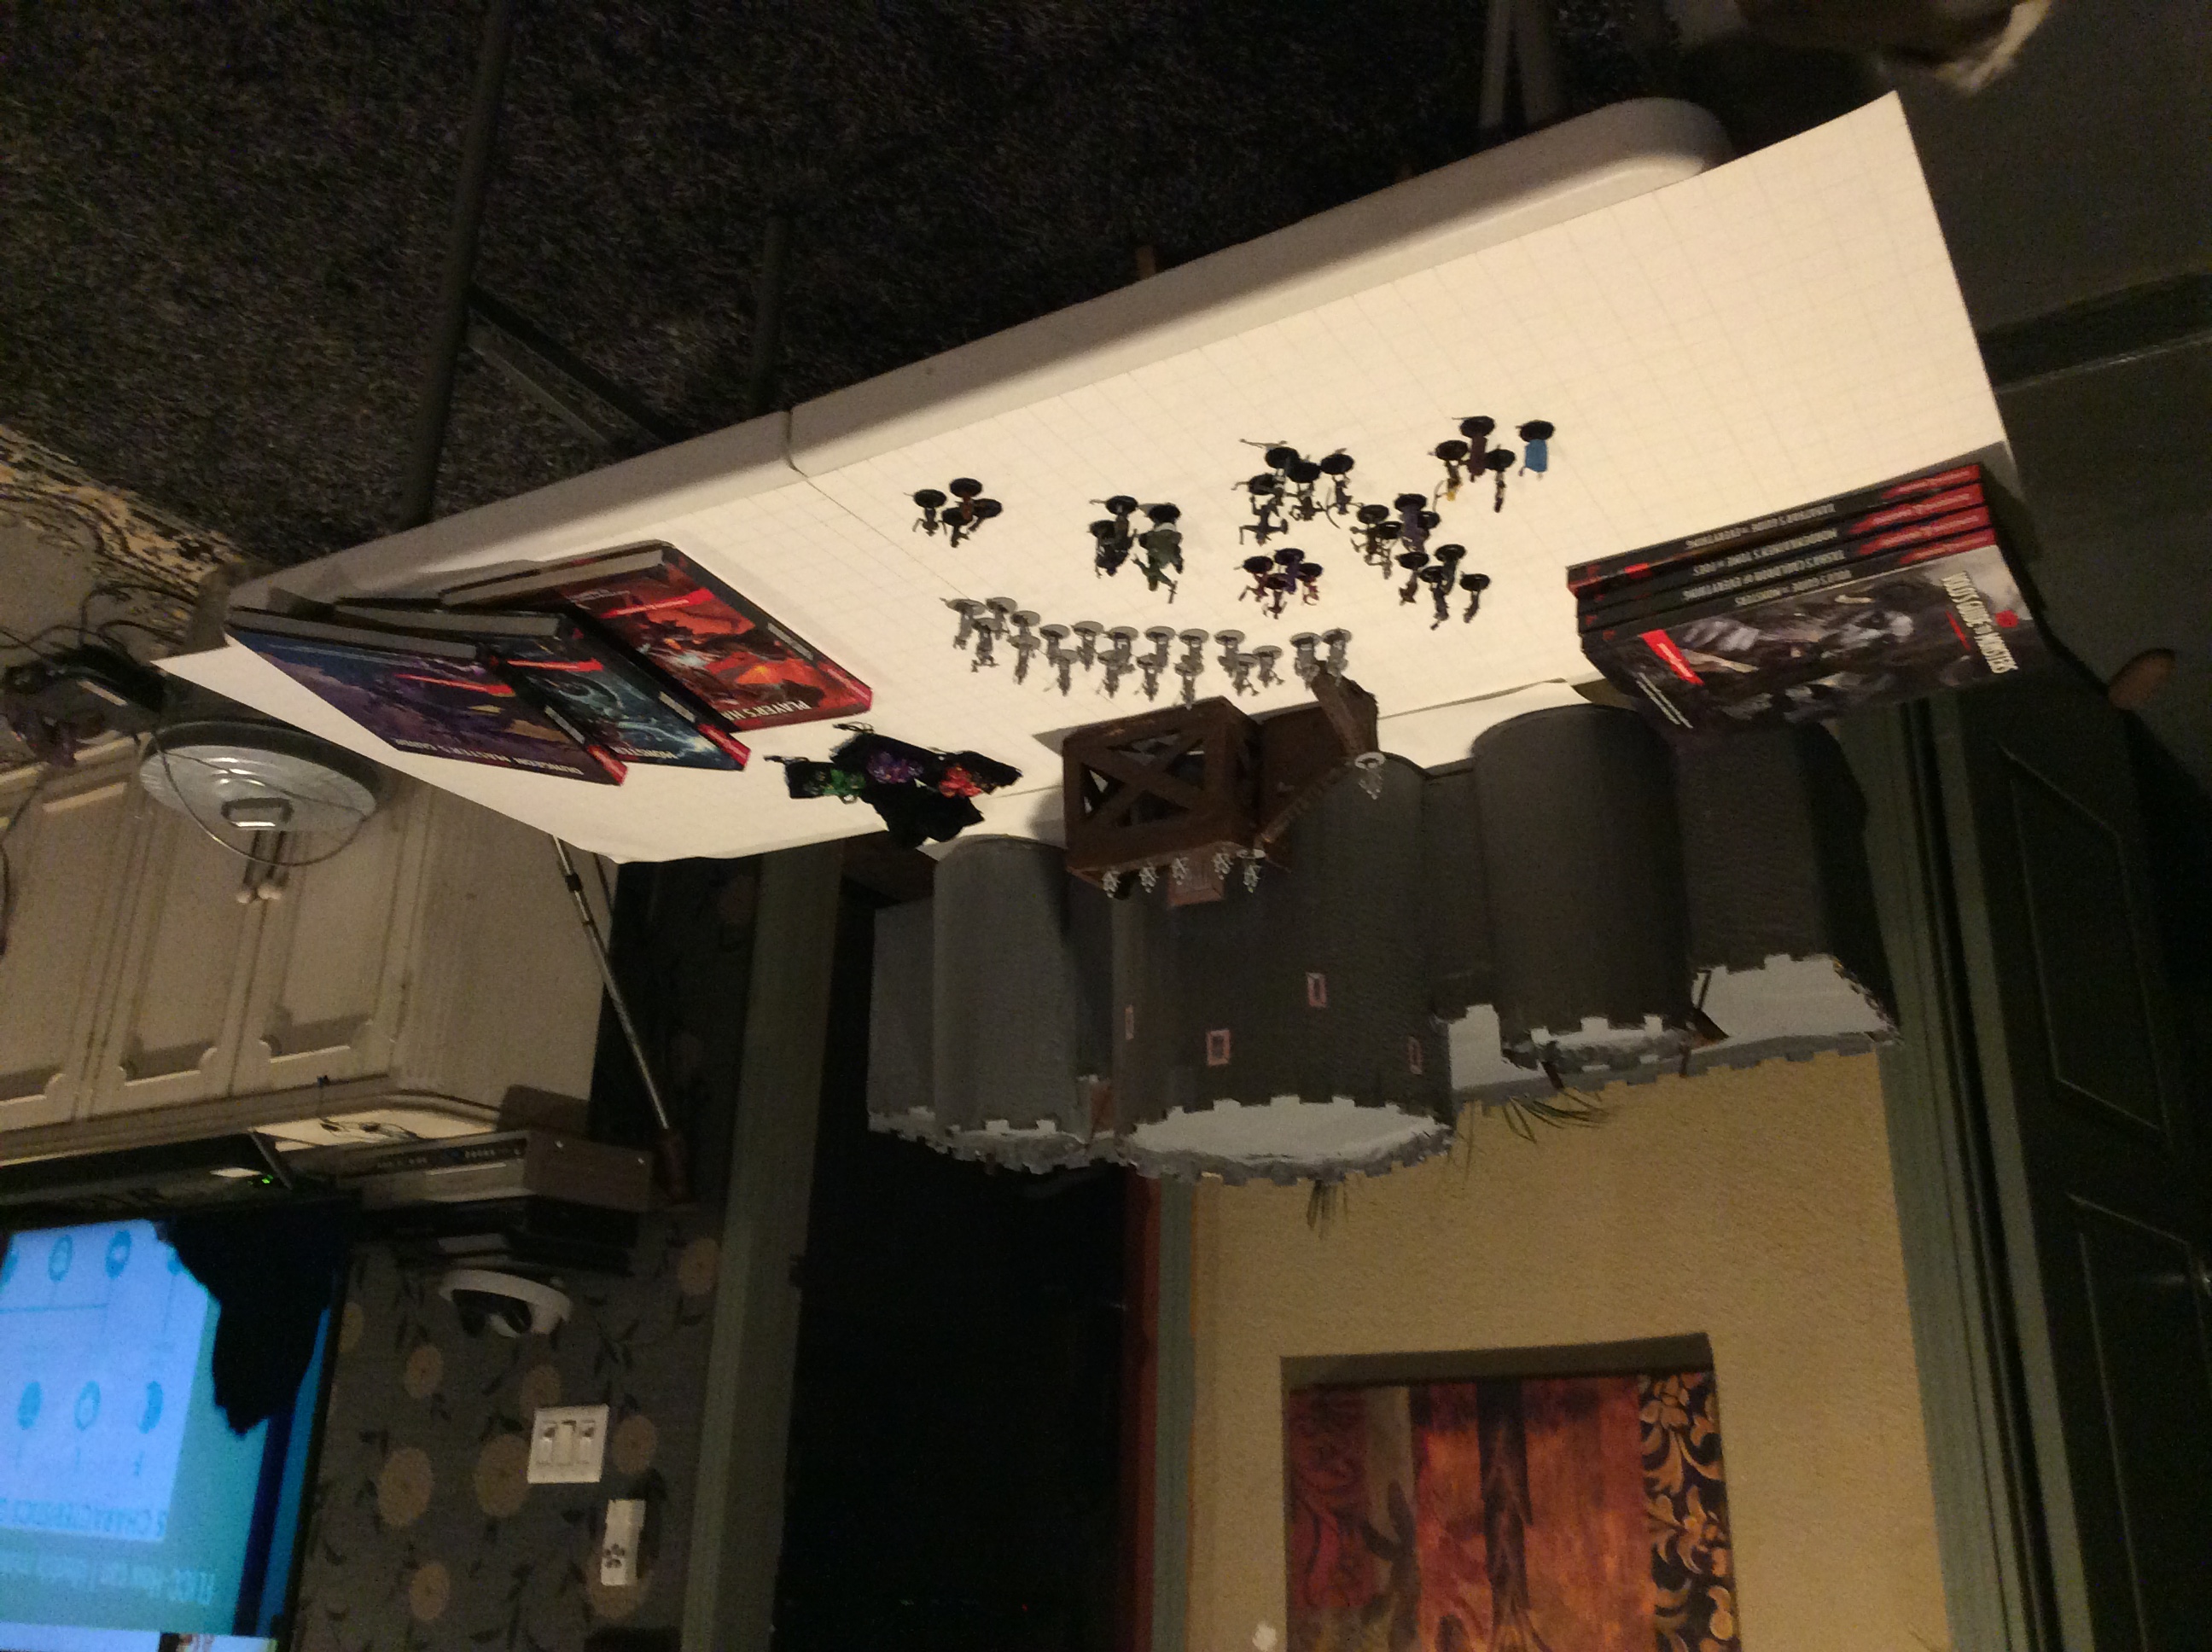
Hard fighting and heavy losses happened to the Goldenshield soldiers stationed at the Keep. They had a slight bit of warning because
a couple of survivors from the King's Library raced ahead of the jackweres and jackals and arrved at the Keep minutes before the assault.
As brave as they fought, the soldiers of Goldenshield could not help but be more concerned about a menace lurking just beyond the fighting
that broke their spirit. It was later learned that Khalista and her minions cast spells of fear and menace that brought the defenders of
the keep to their knees.

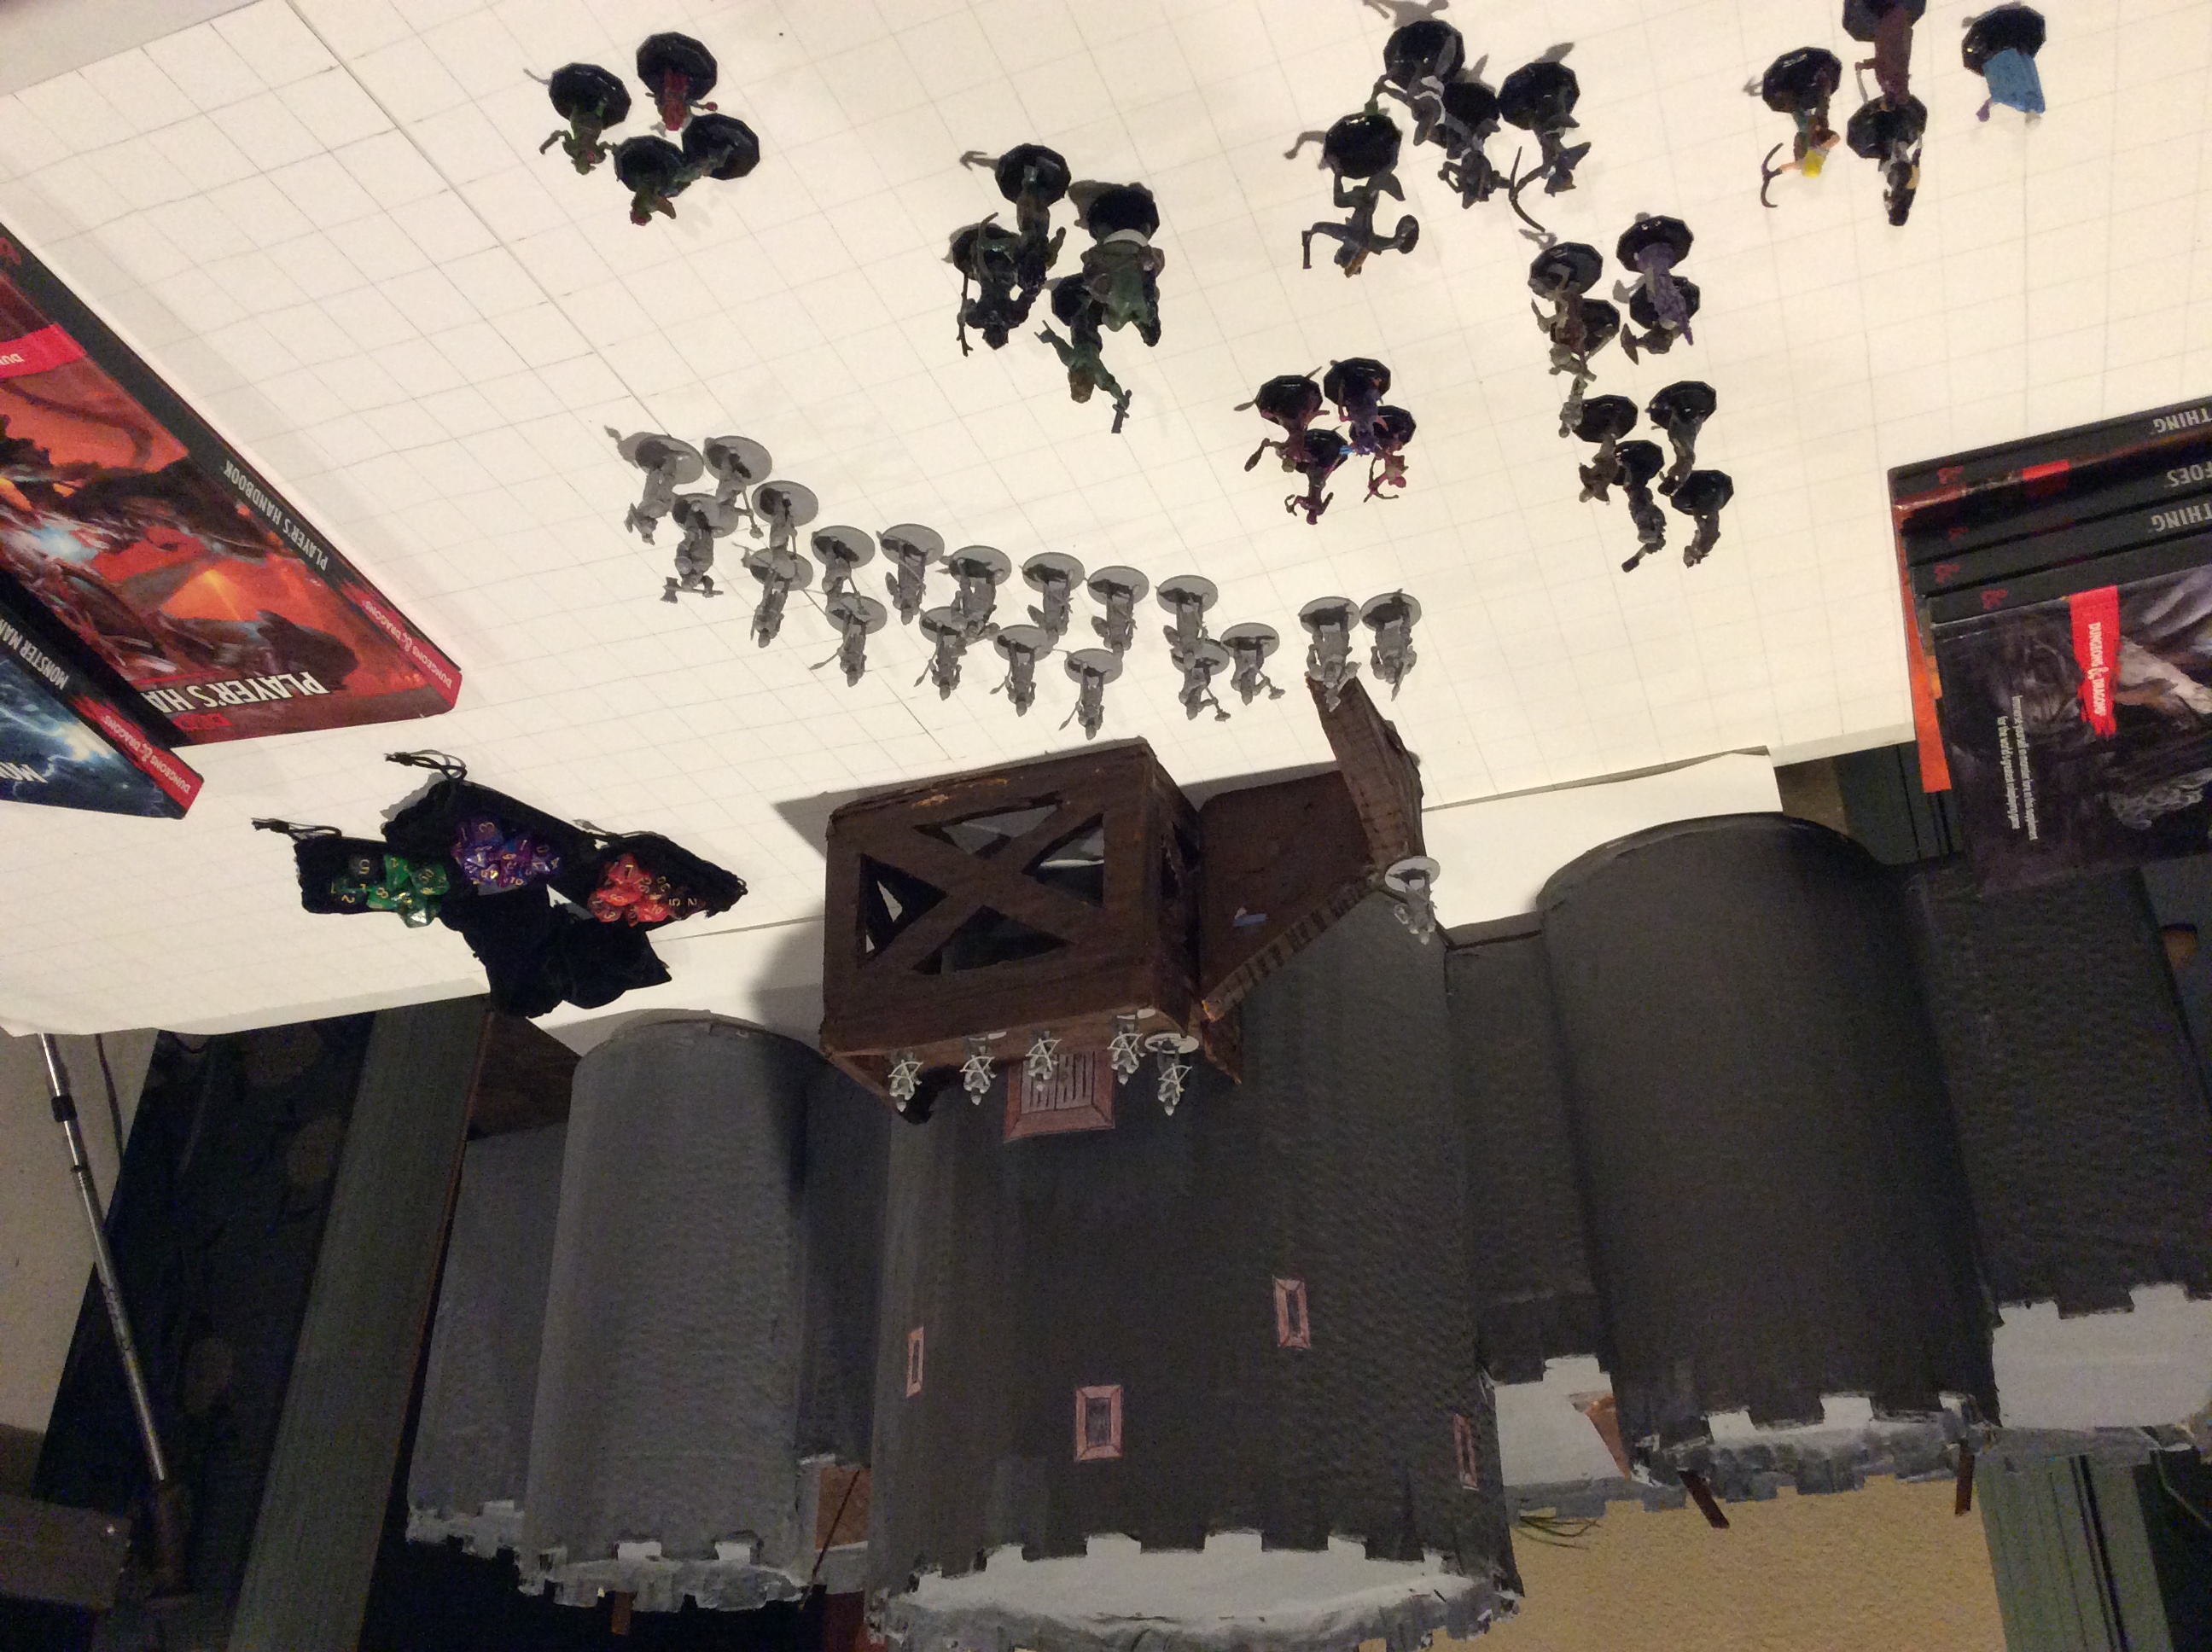
The jackalweres take the Library rather easily, but the fight for the keep takes several hours and the Goldenshield warriors are
able to conduct an organized retreat all the way to Apperton's Arch. Khalista will use the King's Library as her liar and turn it
into a brothel of perverted desires fulfilled. The jackalweres sieze the Keep as their own and use it as a liar and jackal den.
A river of lava protects them from attack on the east. Not only will Tower 1 will become inhabitated with evil dead things that will protect them
from the south but also Tower 9 has become a volcano that belches out toxic fumes and spews out a river of lava that runs all the way through
Apperton's Arch and protects them from the north. The only opening is in the west wear the rubble of stones in the broken wall that used
to be Tower 2 allow access. But the approach to the rubble is either through goblin infested mounds and trenches or a 60' climb up a steep
cliff.
Khalista attracts all sorts of characters to her domain at the Library. The rich and powerful, the wicked and cruel, the
angry and debased, they seek her realm to fulfill a need inside themselves that they cannont understand. And she, allows them to find
pleasure in decadence and then she kills and eats them.
Scavengers among the dead
Darkness pervades everything and in the soft desert wind small yips, growls, hisses and howls can be heard, until finally,
you see the small dog like creatures in deep shadow. Only the sounds of the pack of jackals among the dead
will reach your ears and then you will hear men
screaming. If you go to look, you will find wounded soldiers of Goldenshield on the battlefield.
But you're too late, the pack of jackals has surrounded your party and numbers 10 per each of you, plus the old jackal and his
matriarch and thier 5 jackal bodyguard. Use your skills, wits, wisdom, and knowledge to fight your way out of this one.
Events that occur before the Defense of the Keep
I. The Fall of the Front Gate
Tower 9 glows red with heat, falls in on itself, and then billows smoke, ash, and fire just like a volcano. The Fire Giant
jumps on top of the Front Gate House and dismantles the east side. A river of lava flows out from the ring of stones that was
Tower 9 and runs north all the way to Surgebuilt Lake.
II. The Treachery at Tower 2
Tower 2 has fallen. Traitors from the Wizard's Brigade have used magic and Tower 2 has fallen.
The enemy is loose inside the fortress. Goblins and hobgoblins, undead or alive, roam about pillaging as they go
many of them mounted on giant scorpians or giant lizards. The west most hamlets have been overrun and many of the dead will become
monstronsities when Khalista returns. Anyone entering the King's Circle will come underattack by a swarm of jackals.
As the PCs move from location to location inside the fortress, they are very likely to encounter others wandering inside the
fortress. If PCs use cover and stealth to avoid encounters, have each PC attempt a DC 10 Dexterity (Stealth) check. For
every 2 individual checks that fail the PCs have one encounter on the way to their destination. Roll a d8, on a 5 above, roll
a d6 on the Enemy Encounter table, but on a 4 or less roll a d4 on the Friendly Enounter Table. If the PCs don't use cover
and stealth (e.g. - they are using a horse and carriage), roll a d8 for every 100 feet they travel, if the roll is 4 or less, they
don't attract any attention, but if the roll is 5 or above, reroll the d8, on a 5 above, roll a d6 on the Enemy Encounter table,
but on a 4 or less roll a d4 on the Friendly Enounter Table to see who the PCs meet:
Random Encounters inside the Fortress Kahar but north of Apperton's Arch
Encounters at the Defense of the Keep
This encounter is deadly. Jackalweres surround everything, running around in groups of 4 accompanied by 12 jackals. Mercenaries cover the flanks,
usually divided into 16 groups of 8.
| Enemy | CR | Amount |
|---|
| Jackalwere | 1/2 | 4 to 1 |
| Mercenaries | 1/2 | up to 8 |
| Jackal | 0 | 12 to 1 |
e. The Ruining of Aperton's Arch
A river of lava from Tower 9 destroys the King's Church and The Gaol
The Fire giant watches Tower 9 collapse in on itself and spew up fire and smoke just like a volcano. He climbs
on top of the blazing ring of stones and smashes the east side of the Front Gate House
and pulls the burning pieces apart and feeds the debris into the inferno that was Tower 9. In a few of the original
runs, it was Rhael and his servant Deformia Bellcrossia, a chain devil, who dismantle the gate house and stand guard
as the fire burns down low enough for the gobliniods to pass, so never feel like you are limited in your assortment of
bad guys.
Earlier, before Tower 9 melts into a volcano, Rhael's goblinoid forces rush inside the fortress when news
reaches them that Tower 2 is down and there is a way into the fortress. They will only have about an hour before they
will flee the coming daylight, but in that hour they find 1000's of refugees hiding from war on the High Plains, and a great
slaughter occurs. When the sun rises and Tower 9 goes up like a volcano and Rhael jumps into the lava and fire with his
body guard, then his two hill giants, Rulos and Eclith, are accosted by two brave monks, soldiers of Goldenshield, and the Hill
Giant Chase begins.
But Rhael goes both mad with fury and recognizes his danger that his foes are far stronger than
any intelligence has revealed. With goblinoid forces alone, he cannot beat the soldiers defending the fortress Kahar.
Rhael abandons the campaign and takes his body guard, hell hounds, and chariot into the lava that spews out of the
ring of stones that used to be Tower 9. He follows the river of lava north until it bends east at the base of The
Great Circle. Disappointed, Rhael races ahead of the lava to the monuments and statues that surround the King's Church.
He both digs a ditch and builds a dam to force the lava to head directly into the King's Church. The 25 soldiers of
Goldenshield defending the King's Church die heroically. The river of lava continues on to the north side of the
Great Circle, where the lava pools and finally jumps over the top of the curbs and runs north on the other side towards the Gaol.
Rhael and his body guards are attacked by the soldiers of The Carcer, but he resists them and pushes them back, even knocking
down the Tower of Carcer. Rhael follows the river of lava north thinking he can reunite with his forces that have entered
the fortress. Before the lava arrives, a revolt in the Gaol occurs. Sympathetic guards release the helpless prisoners
against the wishes of the warden. A breif power struggle occurs but most of the prisoners escape. The lava engulfs
the Gaol.
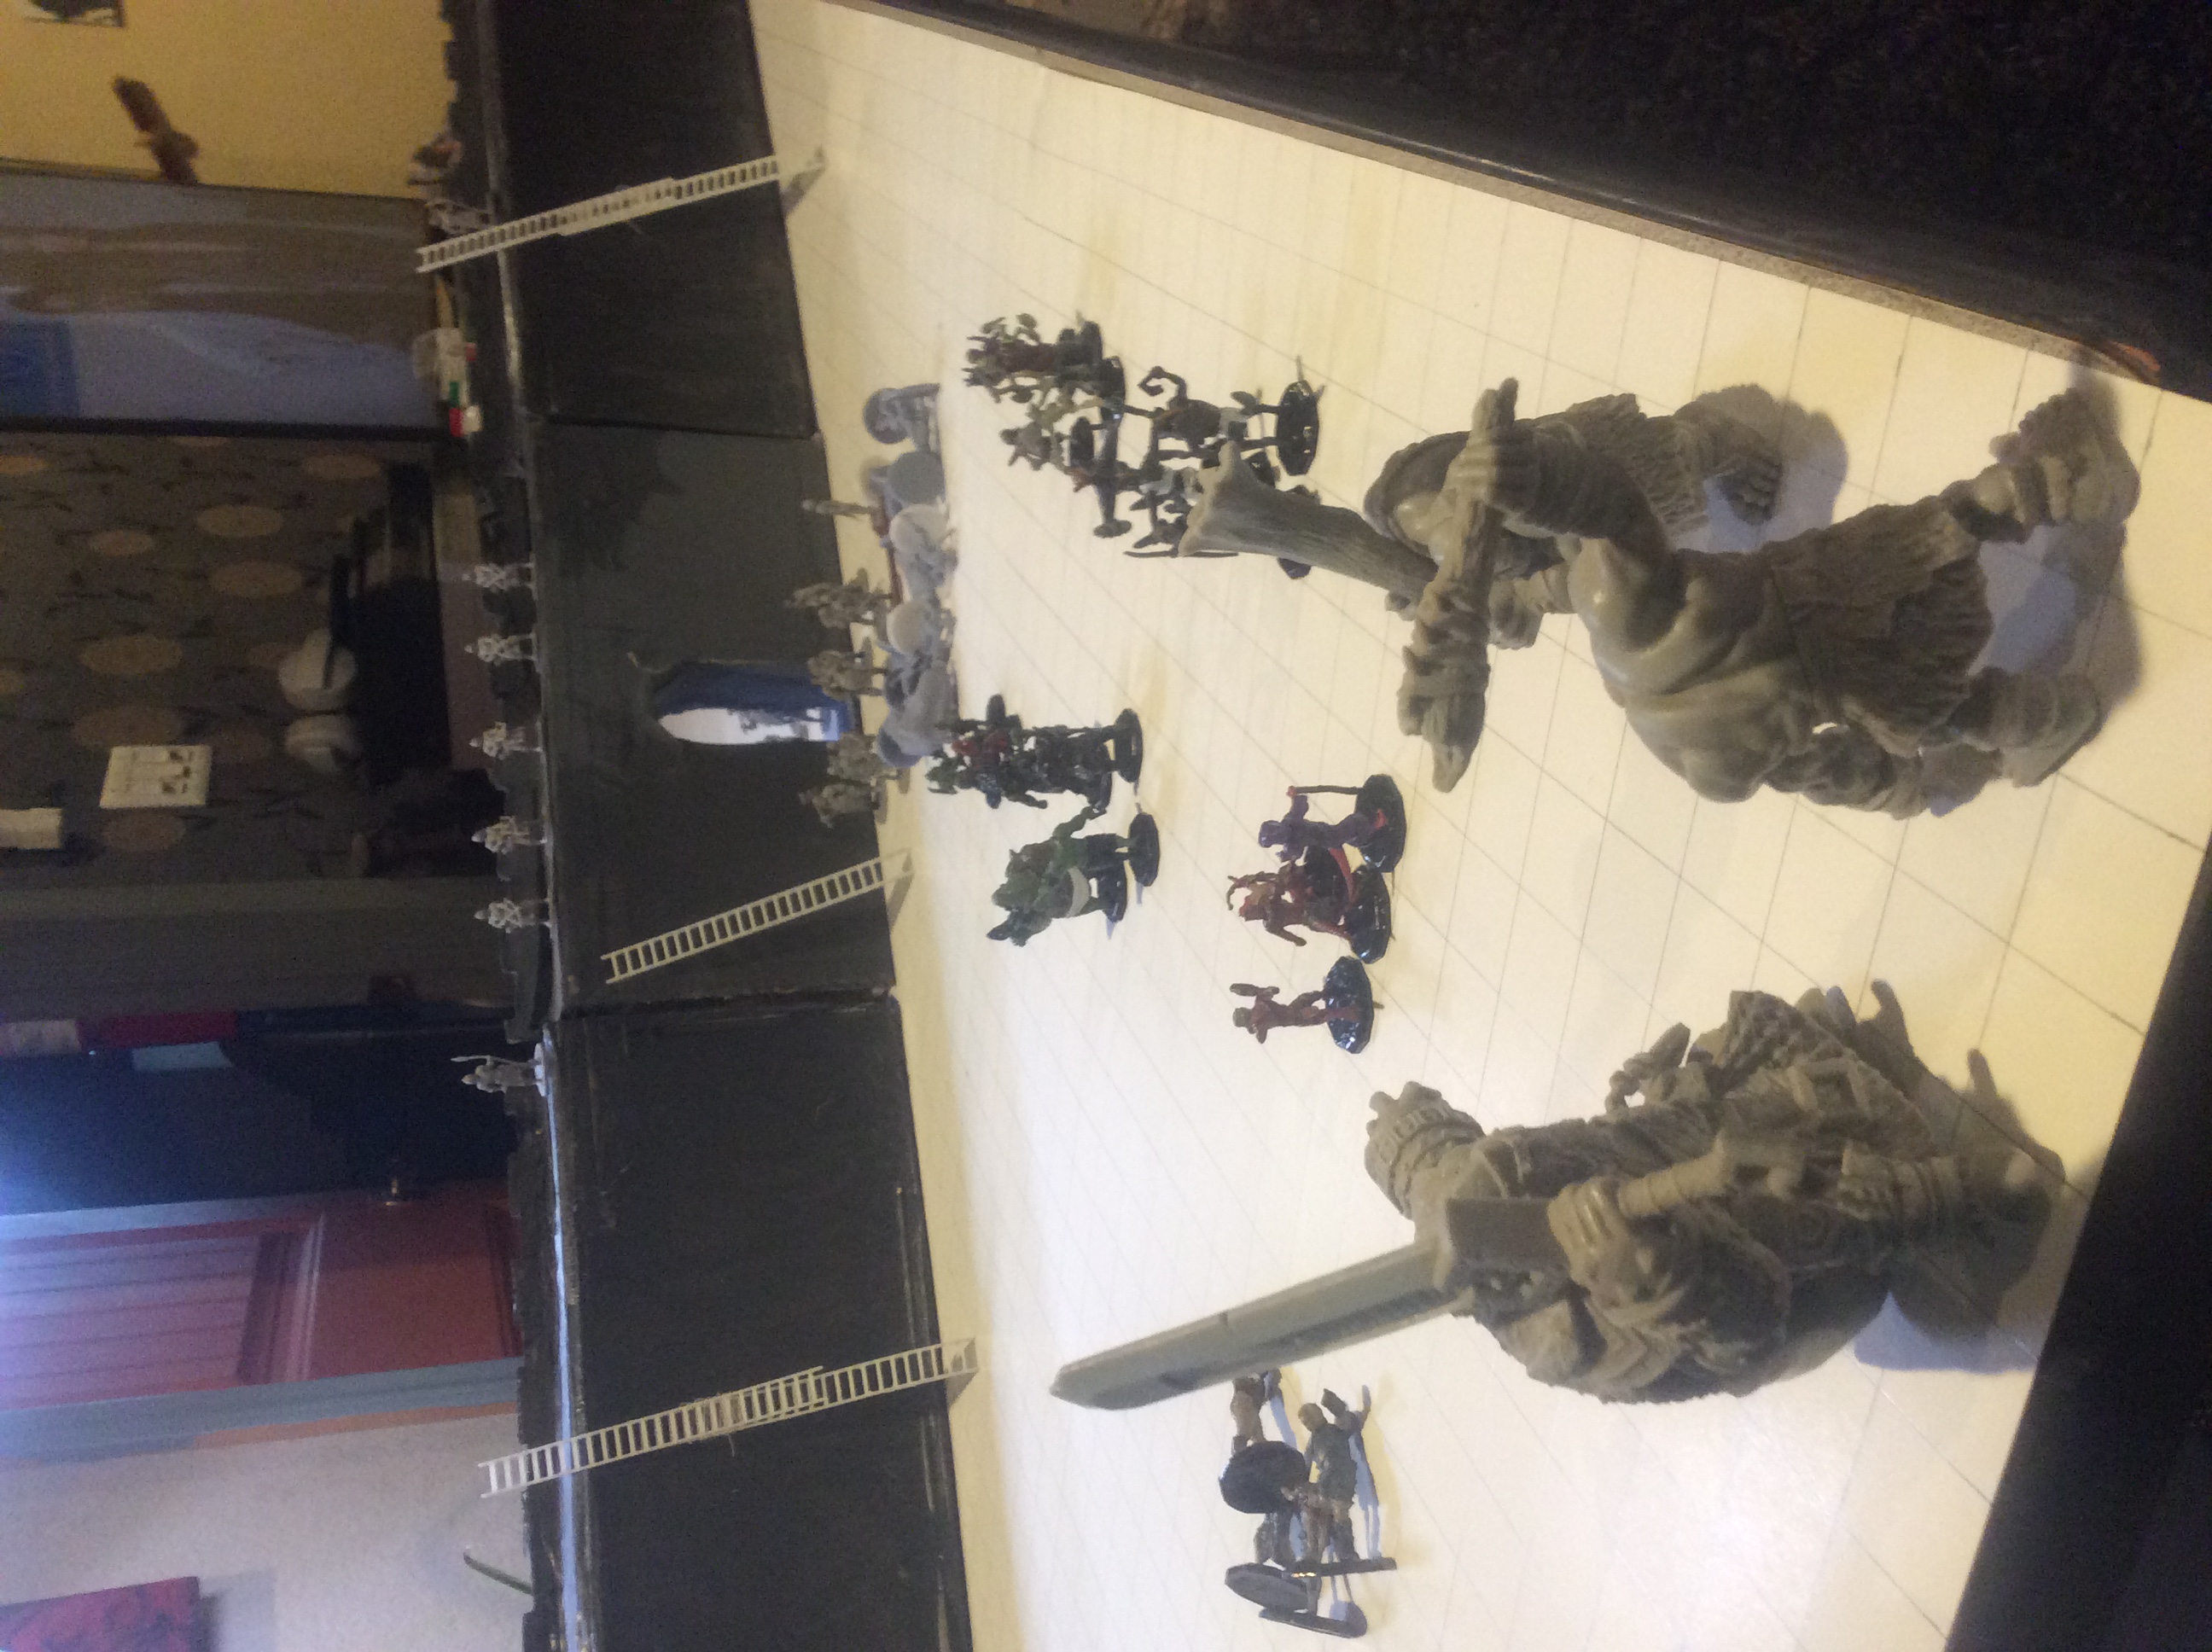
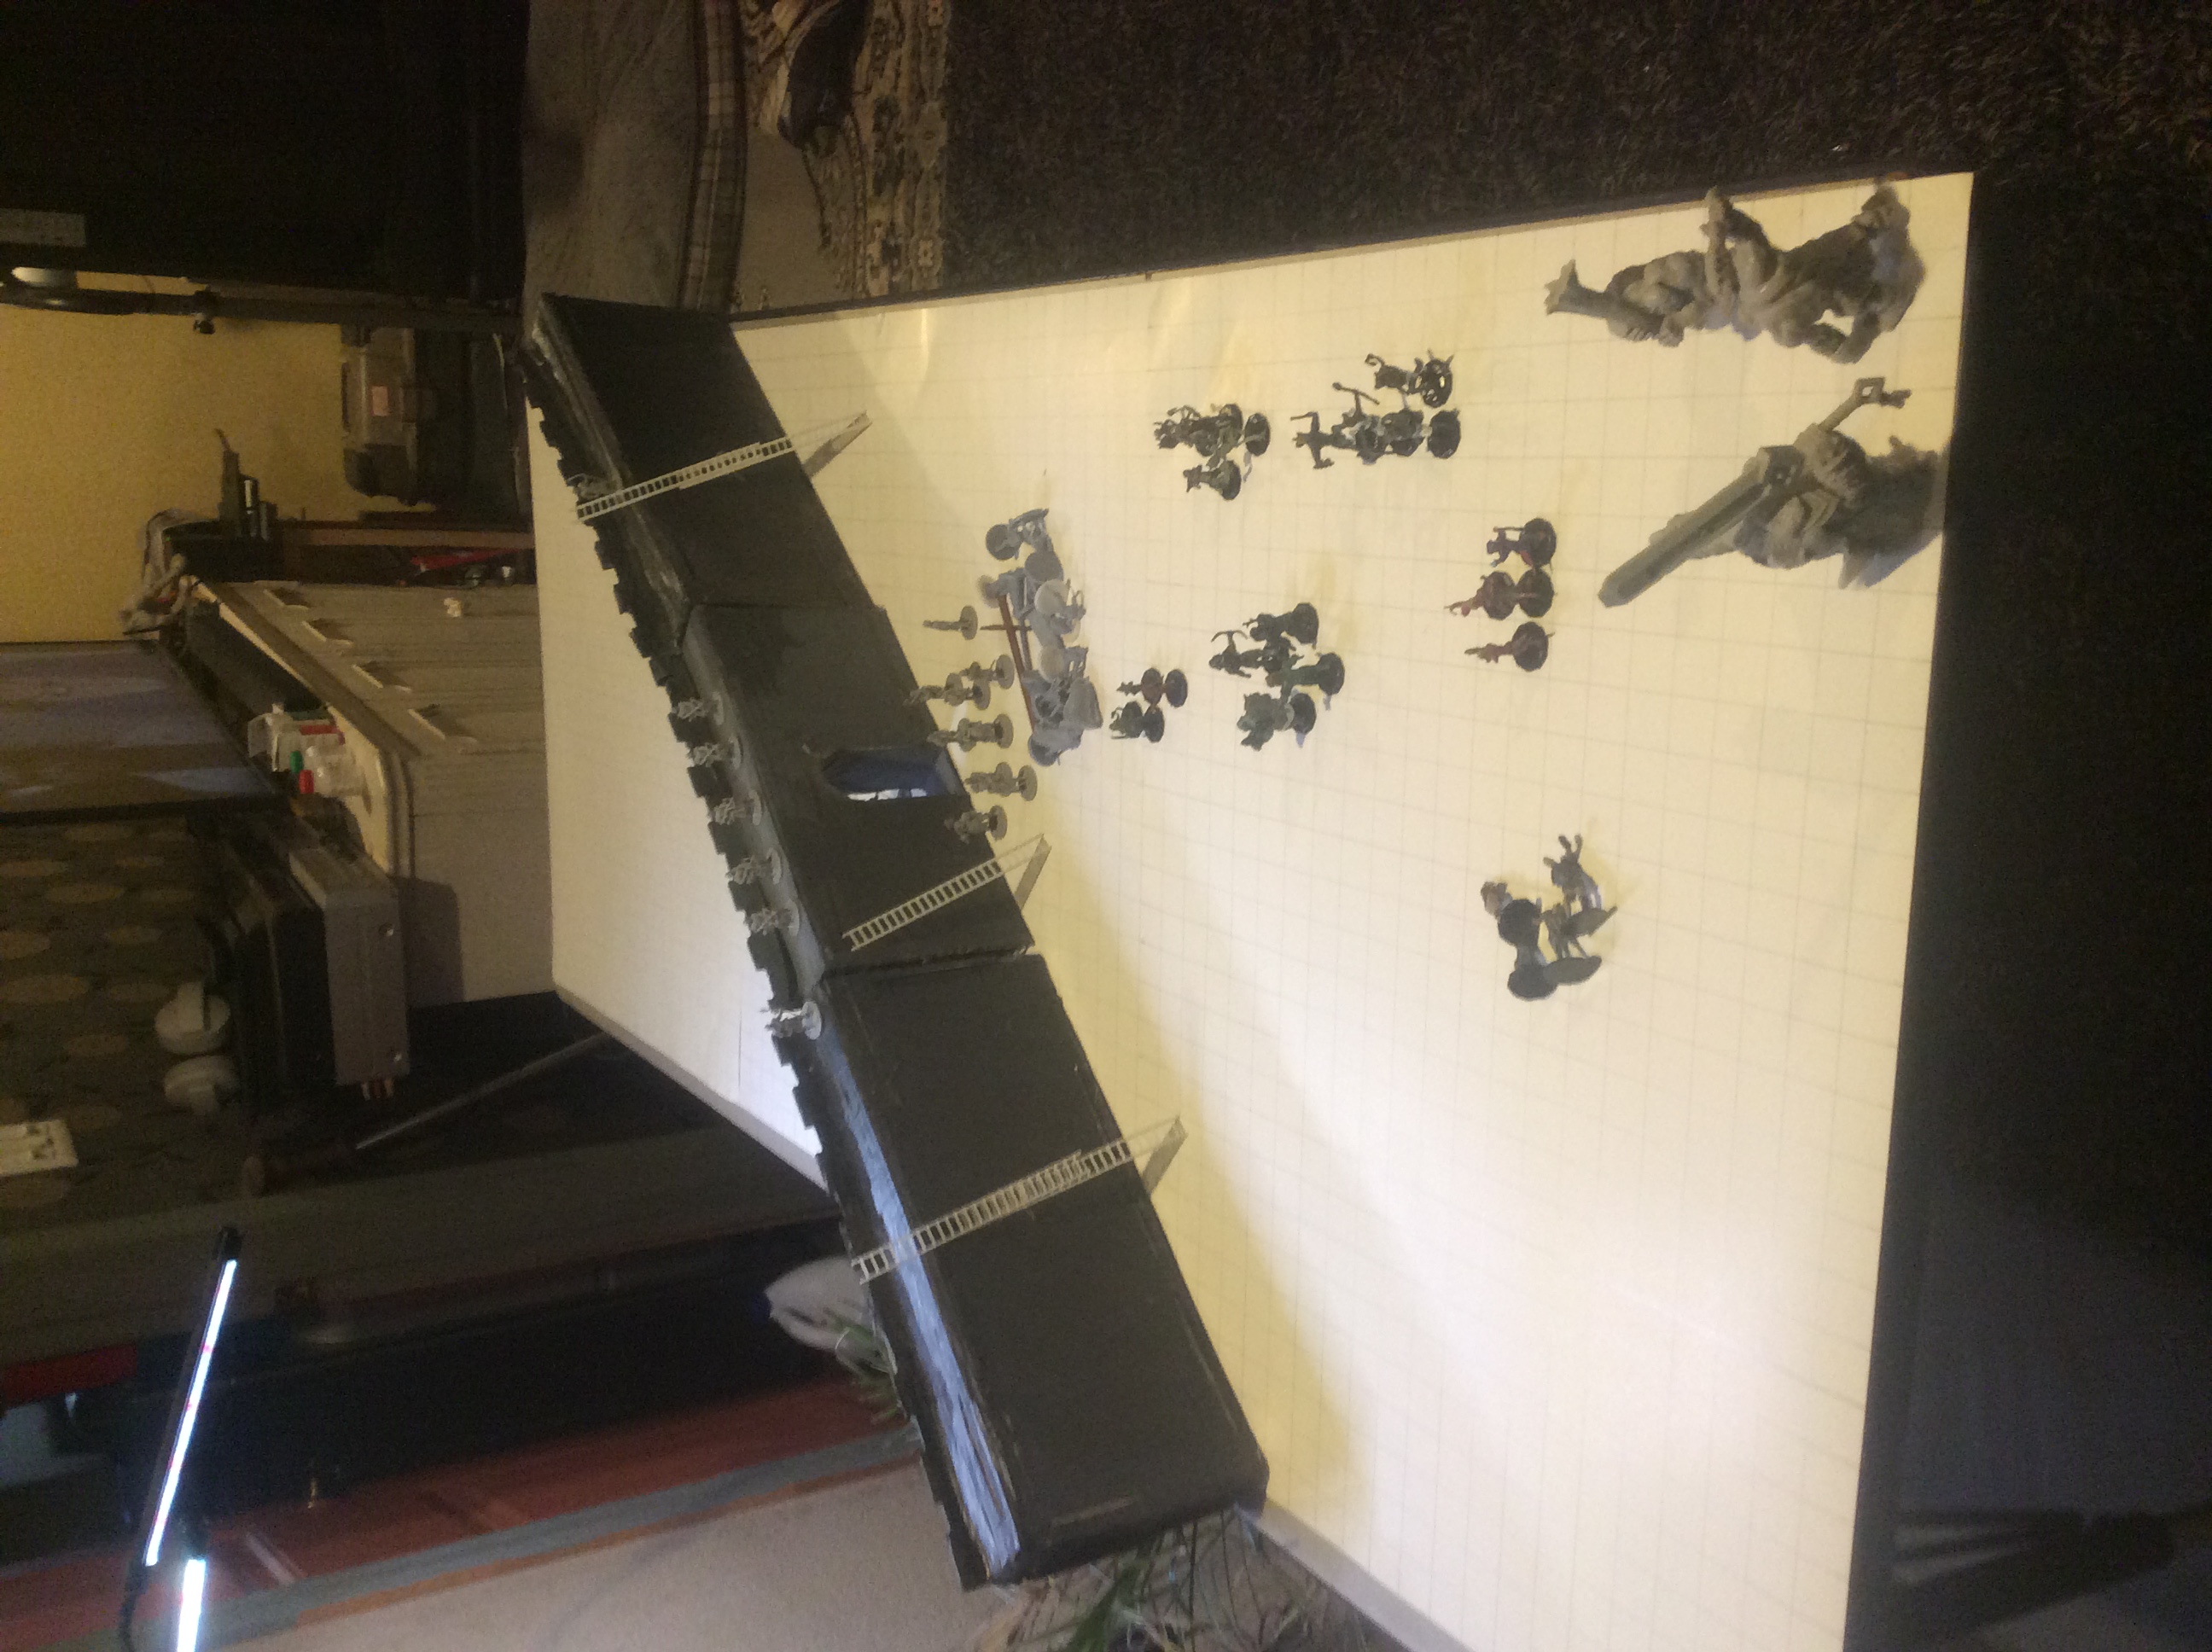
As the lava flows through the Arch, no one seems able to stop the fire giant on his river of lava.
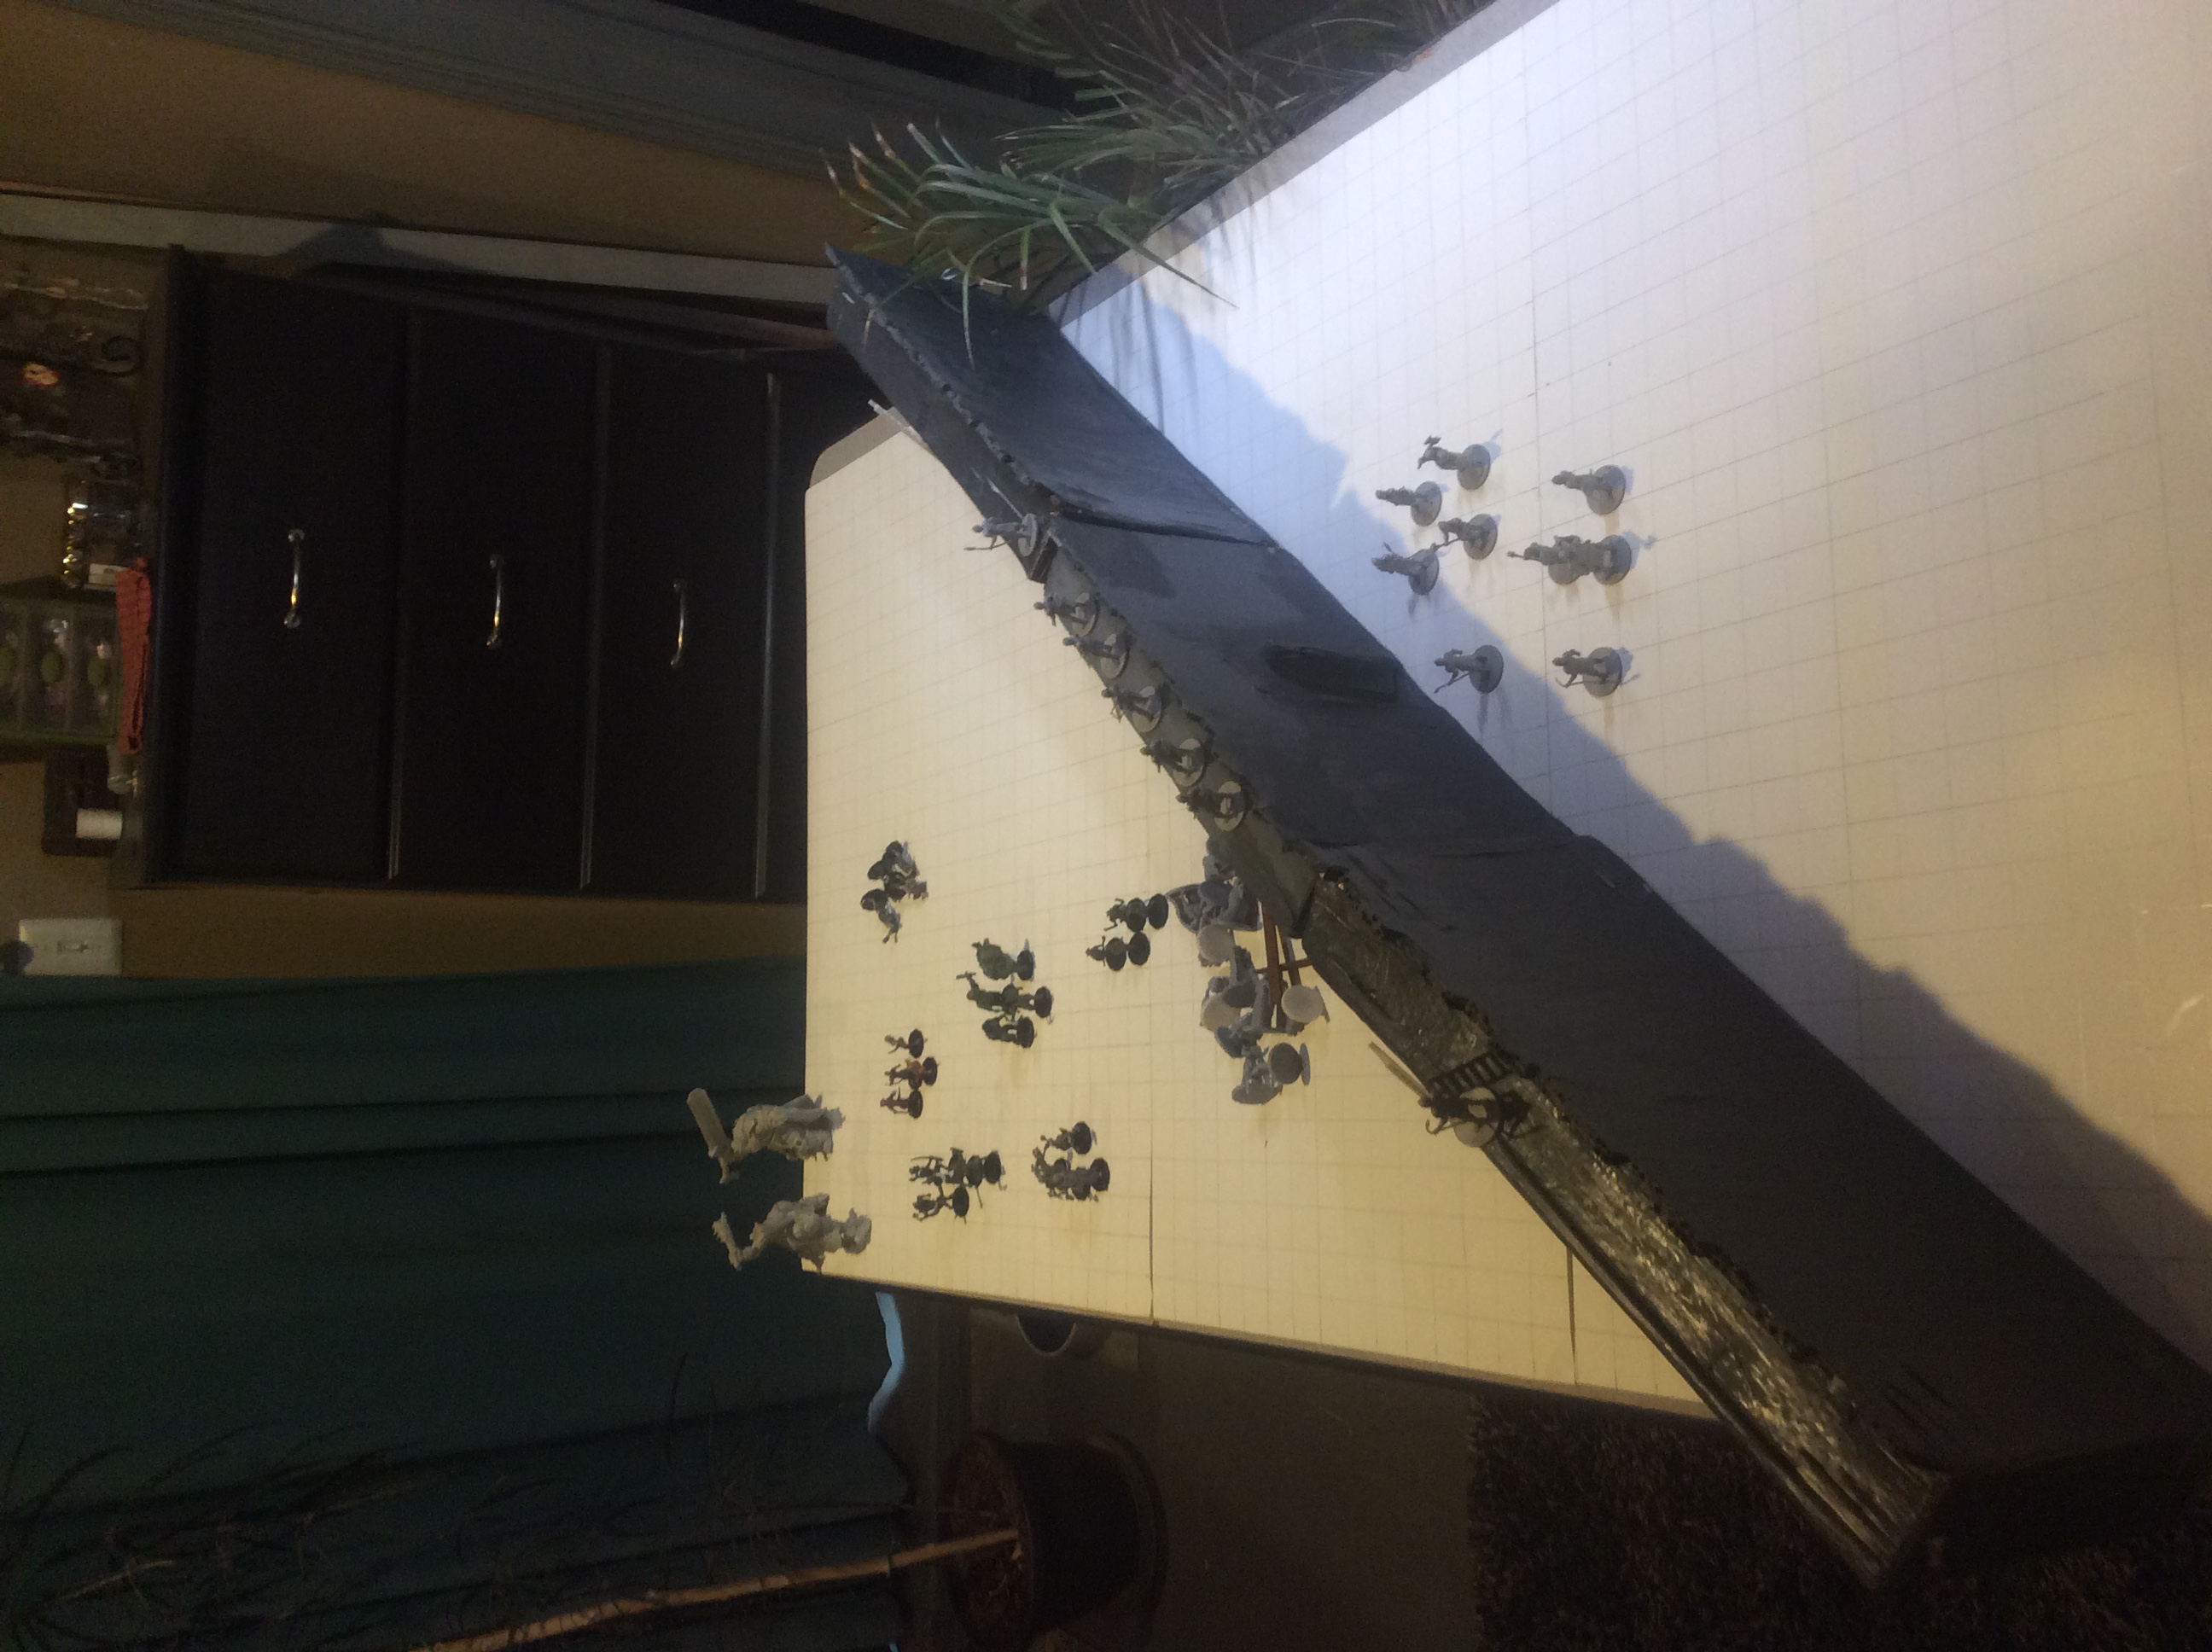
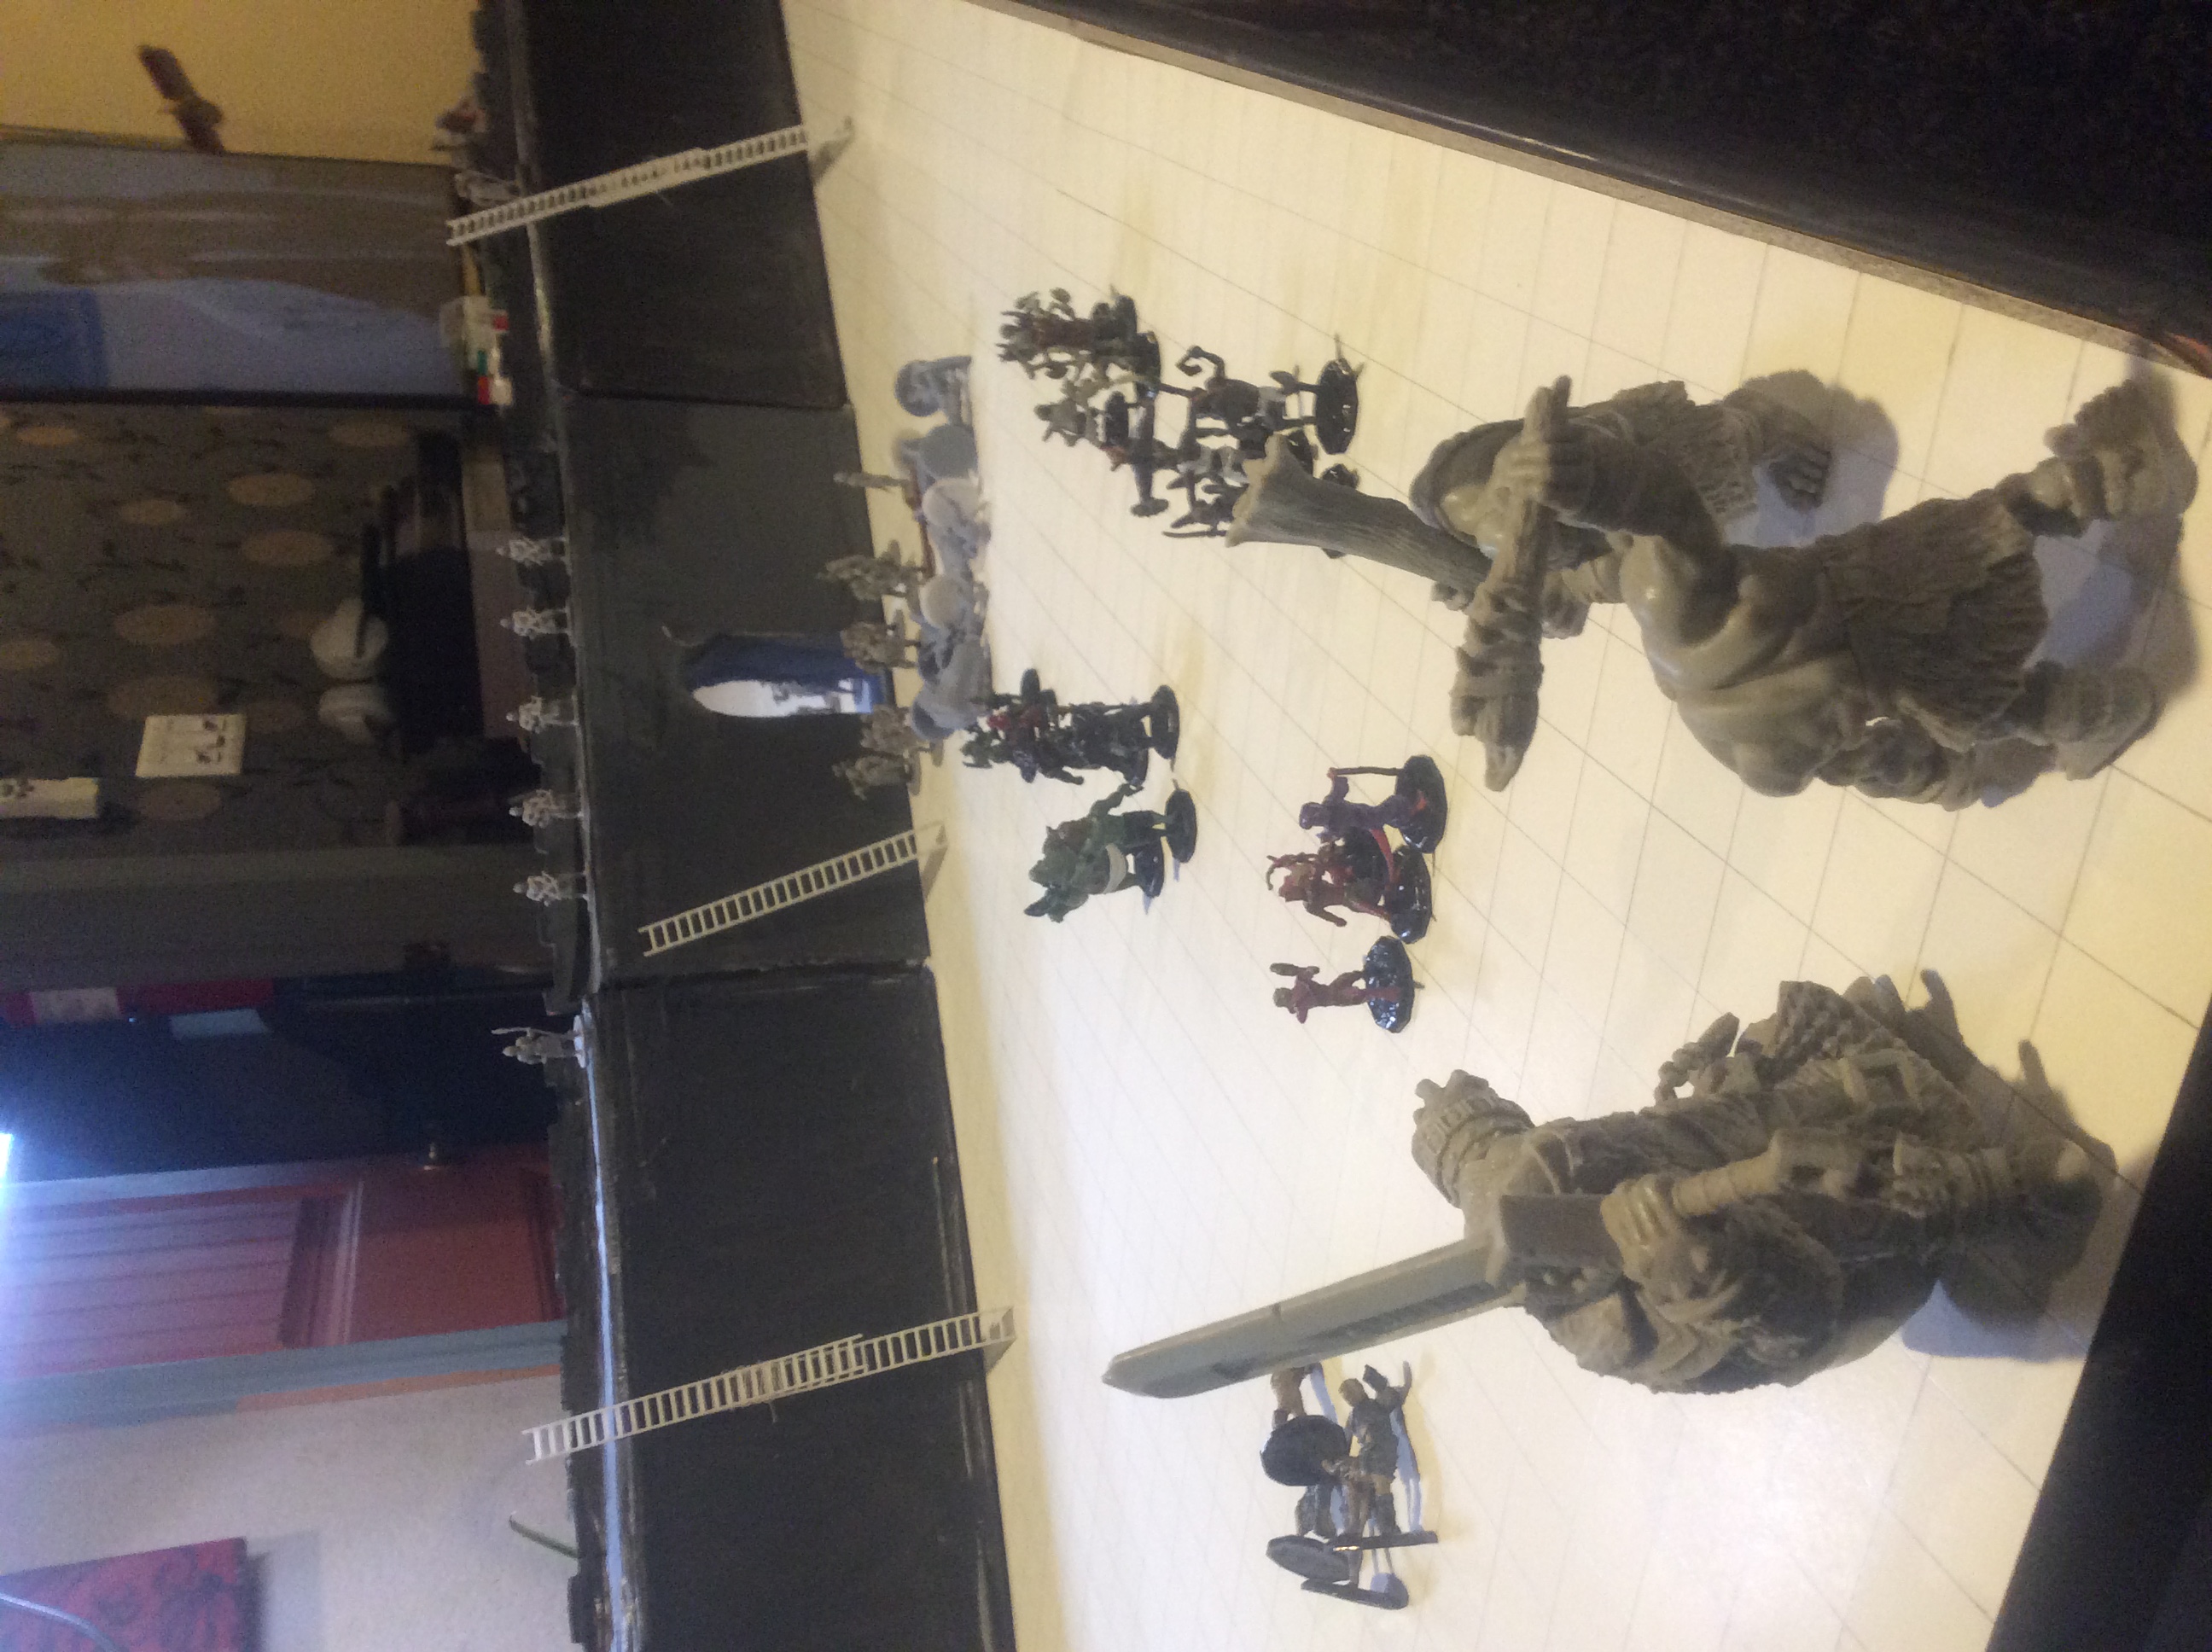
Captain Naviiam and the King's soldiers give way as the Fire Giant Rhael approaches.
The Black Locust Thicket
and the Tunnel under the Trees
The fire giant, on his chariot, follows the river of lava north with his body guards and hell hounds. He will
witness the river of lava pass next to the Black Locust Thicket and set it blazing on fire. He will witness the river of lava pass
through Apperton's Arch ruining it forever. He will not witness the surprise and confusion, nor the scattering of his body guard and
hell hounds, when he disappears.
Rhael the fire giant has been teleported against his will to the top of the Gaol.
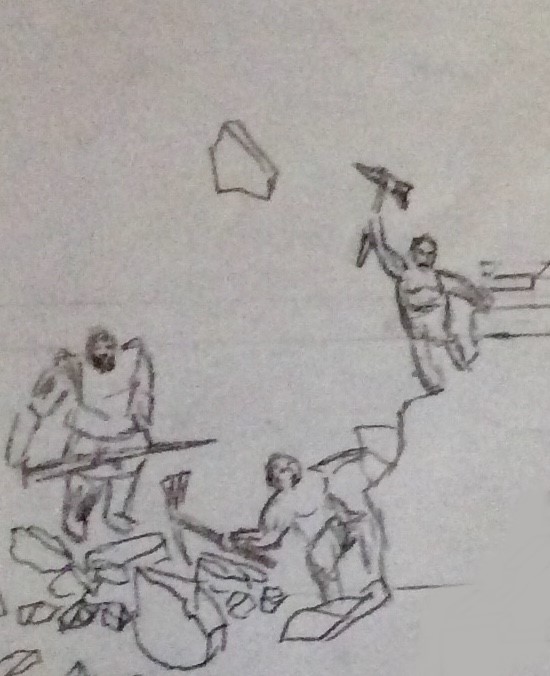
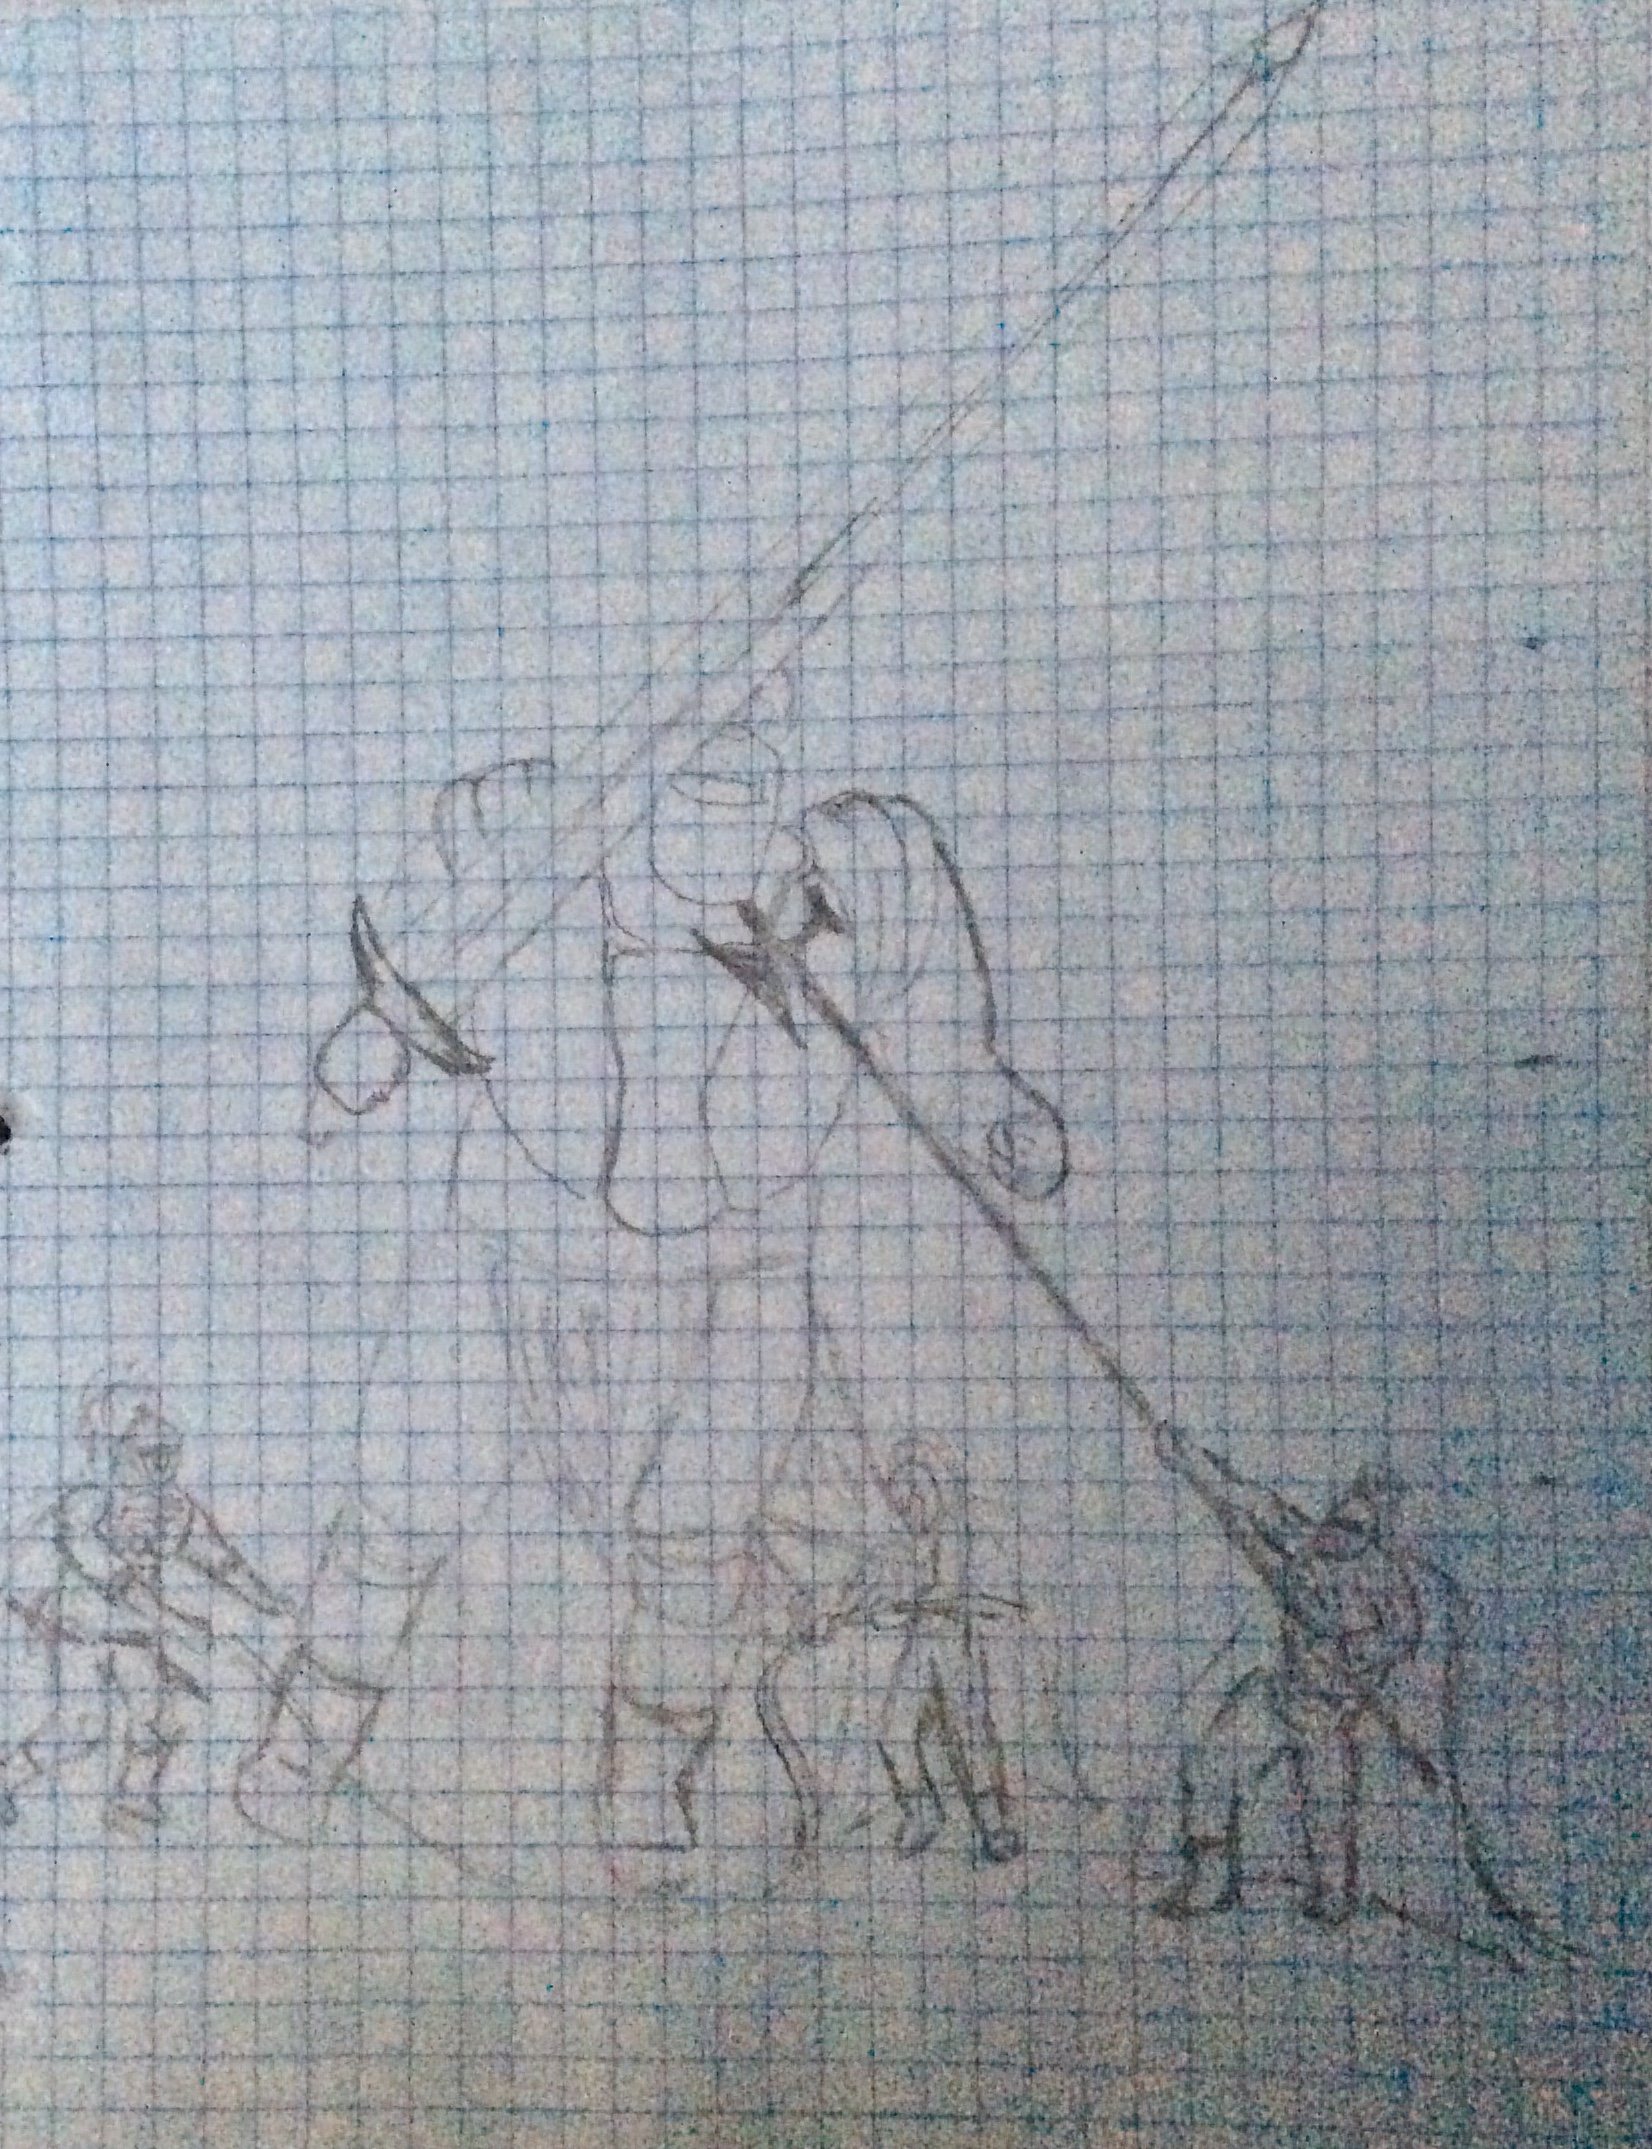
Awakening as if from a dream, the fire giant stares into the eyes of the dwarf lord Ahmed Ahmandi and the elf Lady Nazerati Nazeri.
The Ruining of Apperton's Arch Encounters
The enemy has penetrated the fortress and the lava has flowed through Apperton's Arch. New's will soon spread that Tower 2 has
fallen and Tower 3, and Tower 4 have been torn down. The last dispatch from command is to evacuate to the east towers. There the
defenders of Kahar will regroup and make plans to hold out against the invasion. As a result, friendly encounters will be
rare (11 or 12 on a d12) but enemy encounters, without using stealth, are a given (if PCs move with stealth they will make a Dexterity
(Stealth) check contested by the Wisdom (Perception) check of the enemy). The roads are wide open and most enemies can
see in the dark so that PCs might be seen as in dim light or lightly obscured, but much of the desert landscape is covered in scrub brush
in many dry ravines and gullies that provide 1/4, 1/2, and full cover. Wise PCs travel through the rough terrain between
the hamlets to increase the odds of sneaking by the enemy.
f. The Battle at Palm Tree Lane
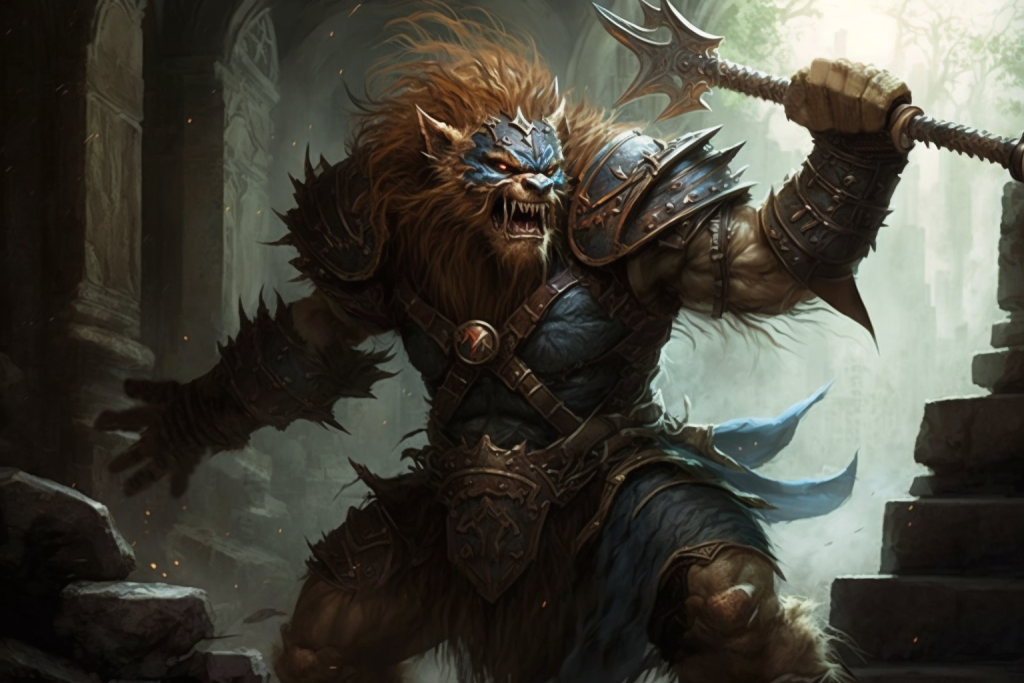
A Bugbear ready for battle.
Tower 2 is destroyed by some of the magicians. As the sun rises, Tower 9 collapses into a volcano. The fire giant and
his body guard can pass over the volcano and walk on the spewing lava, but not the goblinoids nor the hill giants. So
they head off to the northwest to enter the fortress where Tower 2 is no longer standing.
Major Navaaim sees his chance and develops a plan to seperate the bugbear bodyguards from the hill giants. His 2
fastest soldiers will tease and anger the hill giants and get them to chase them faster than the goblinoids can run, and
when there is a large enough gap, a platoon of soldiers will scatter the bugbear bodyguard. This whole episode becomes
The Hill Giant Chase.
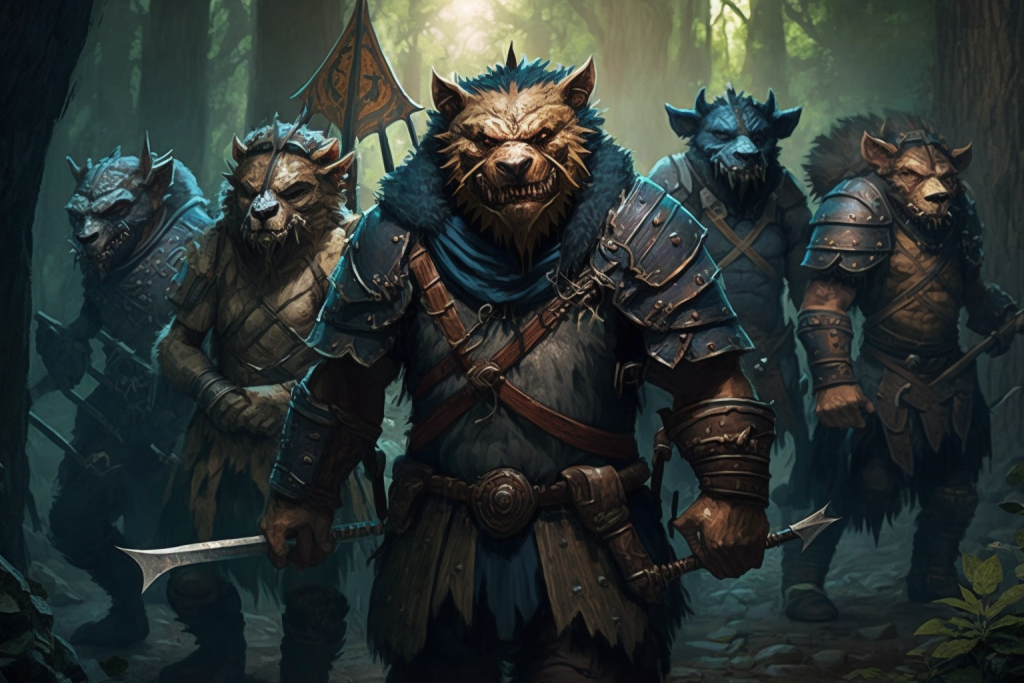
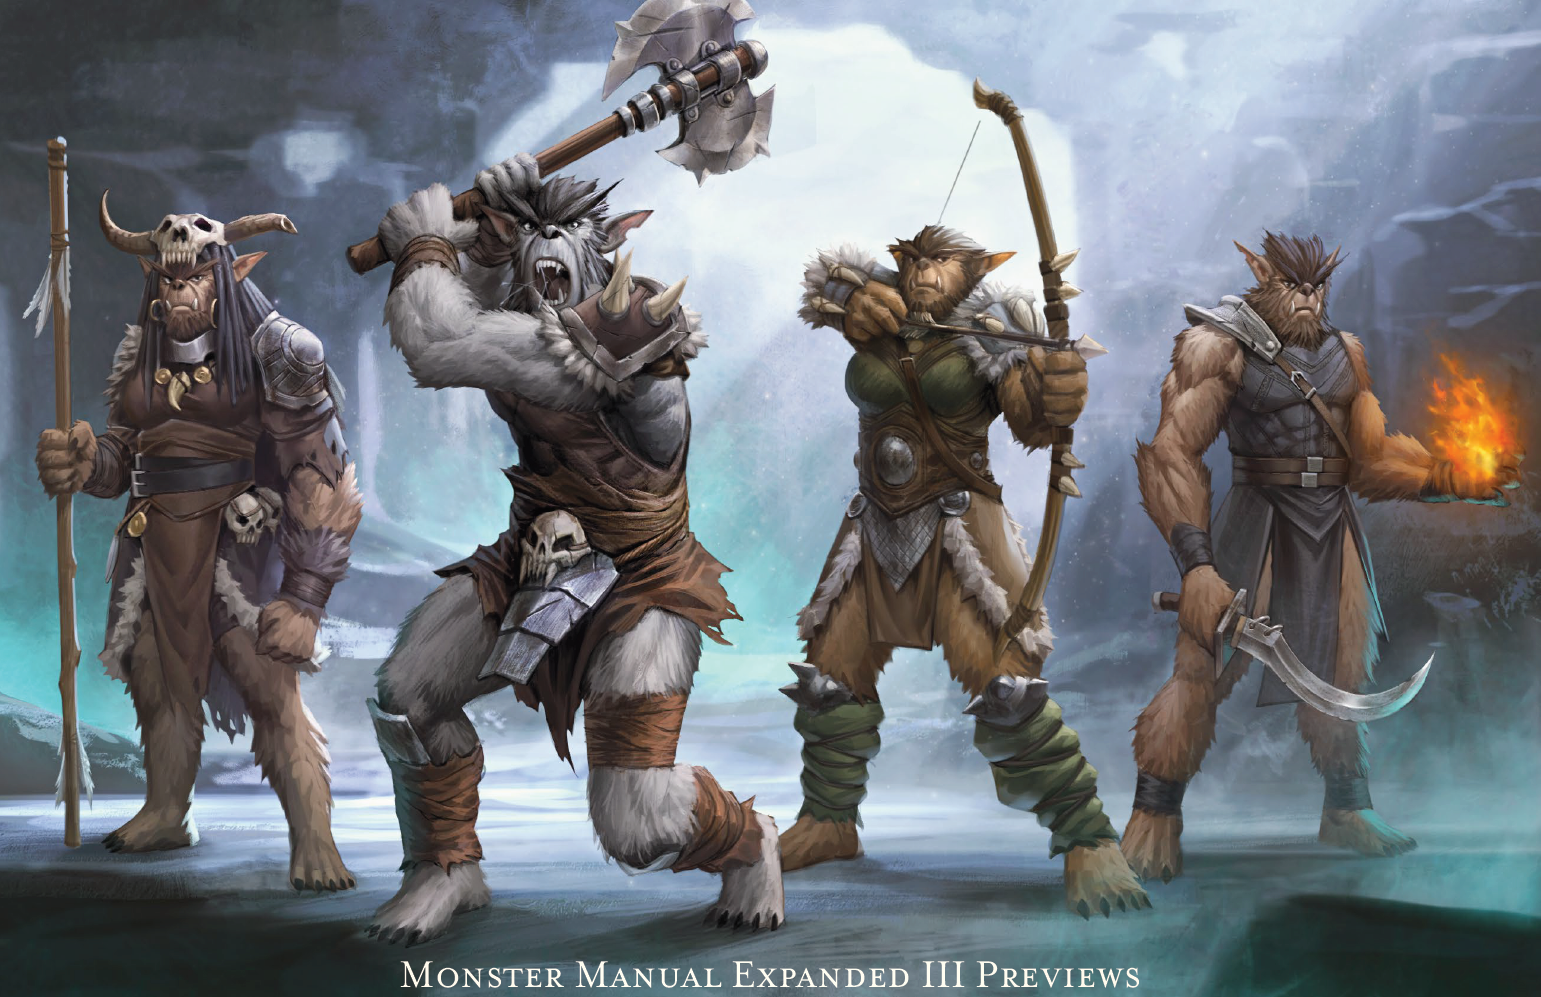

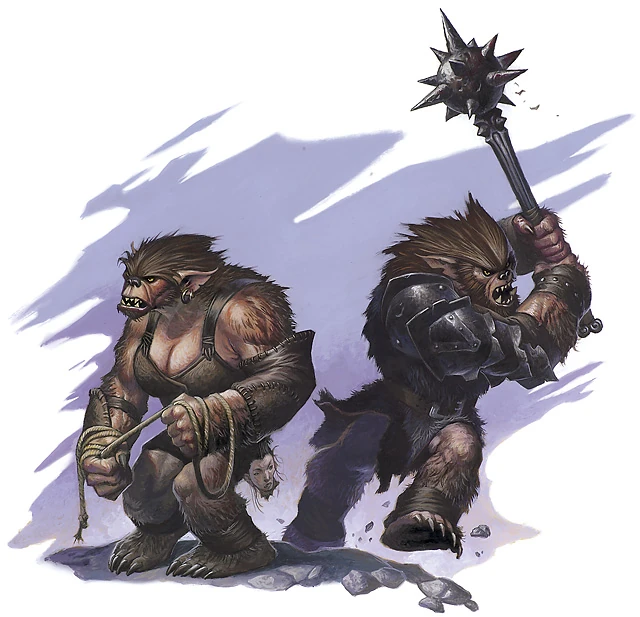
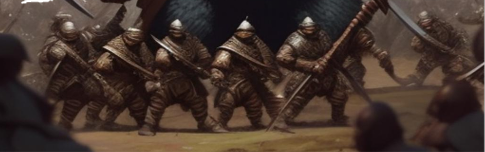
The hill giants are almost too fast for the runners and nearly catch them. But the rest of the plan goes off
without problems. The hill giants enter the fortress at the fallen tower way ahead of the bugbears. The runners
do not give up but continue to harrass the hill giants until they give chase again and the platoon will have nearly
seven minutes to prepare before they engage the bugbears. They wait until the hill giants enter the Palm Tree Forest
and are lucky that the bugbears have follow the hill giants east but the goblins move north towards the High Plains.
38 soldiers of Goldenshield array themselves in a wedge formation with shield and spear ready and 100 bugbears collide right
into them at full speed. Their crossbows devestate the front lines of the bugbear charge but do not slow the bugbears
down. The sheild wall holds and the spears kill and wound even more bugbears but, eventually, the shield wall breaks and
the soldiers line is run over. With amazing agility, precision, and speed, the Lieutenant reforms a wedge of shielded
and spear wielding Goldenshield soldiers, all wounded and bleeding, and challenges the victorious bugbears again. The bugbears,
full of rage and fury, turn and accept the challenge and charge, even at close range, into the spear and shield line.
The shield wall holds and the bugbear charge falters, and then reforms, charges again, and the shield wall finally collapses. Brave
soldiers of Goldensheild battle sword to sword and hand to hand against their superior enemies, but none will survive.
From the pack of bugbears only 22 remain.
The Battle at Palm Tree Lane Encounters
100 bugbears vs 38 soldiers of Goldenshield. This is a deadly encounter (CR 1 x 100) for any party of 4 under level 14.
But there are 2 serious heroes amoung the soldiers of Goldenshield that use Leadership and Rally abilities that buff the lower level
soldiers. Though none of the Goldenshield soldiers survive, only 22 bugbears remain. So an 8th level, party of 4 could
take them on.
| Enemies at the Battle of Palm Tree Lane |
|---|
| Enemy | CR | Amount |
|---|
| Bugbear | 1 (200XP) | 22 |
| Total XP: | 4400 |
|---|
g. The Death of the Giants
Stopping the Wizard's Brigade
Here, then, is the end of the Fire Giant and his two Hill giants. There is no dishonor to their end for they were
overmatched from the beginning. The Fire Giant's name is Rhael. Rhael, along with 4 others, won the honor of attacking the
north kingdoms because of his martial prowess. Rhael is an irascible tyrant who bullies and forces his will on everyone
and everything around him, but he is sharp enough to take advantage of opportunities as they arise. Rhael is one of five
fire giants given the honor of attacking the northern kingdom. The other four will attack Goldenshield capital, Kabur,
Kazan, and Girahiem. Rhael is selected to attack the fortress Kahar at the center of Hamakhaave. Each fire giant
is given a gang of goblinoids (100 bugbears, 100 hobgoblins, 800 goblins) and enough wealth to equip, transport, feed, and
hire mercenaries to complement their attack force.
Rhael the Fire Giant and his two Hill Giants would have been slain
on the outside of the walls if not for treachery. Some of the Wizard's Brigade, victims of their own avarice, are oredered
to destroy the towers. It is something for which they have been preparing for over a decade and they wipe out Tower 2,
Tower 3, and Tower 4 in under 3 hours. When the sun rises, they find themselves face to face with Lady Nazeri and Lord
Ahmandi, and those left of this part of the Wizard's Brigade flee to Barracks A.
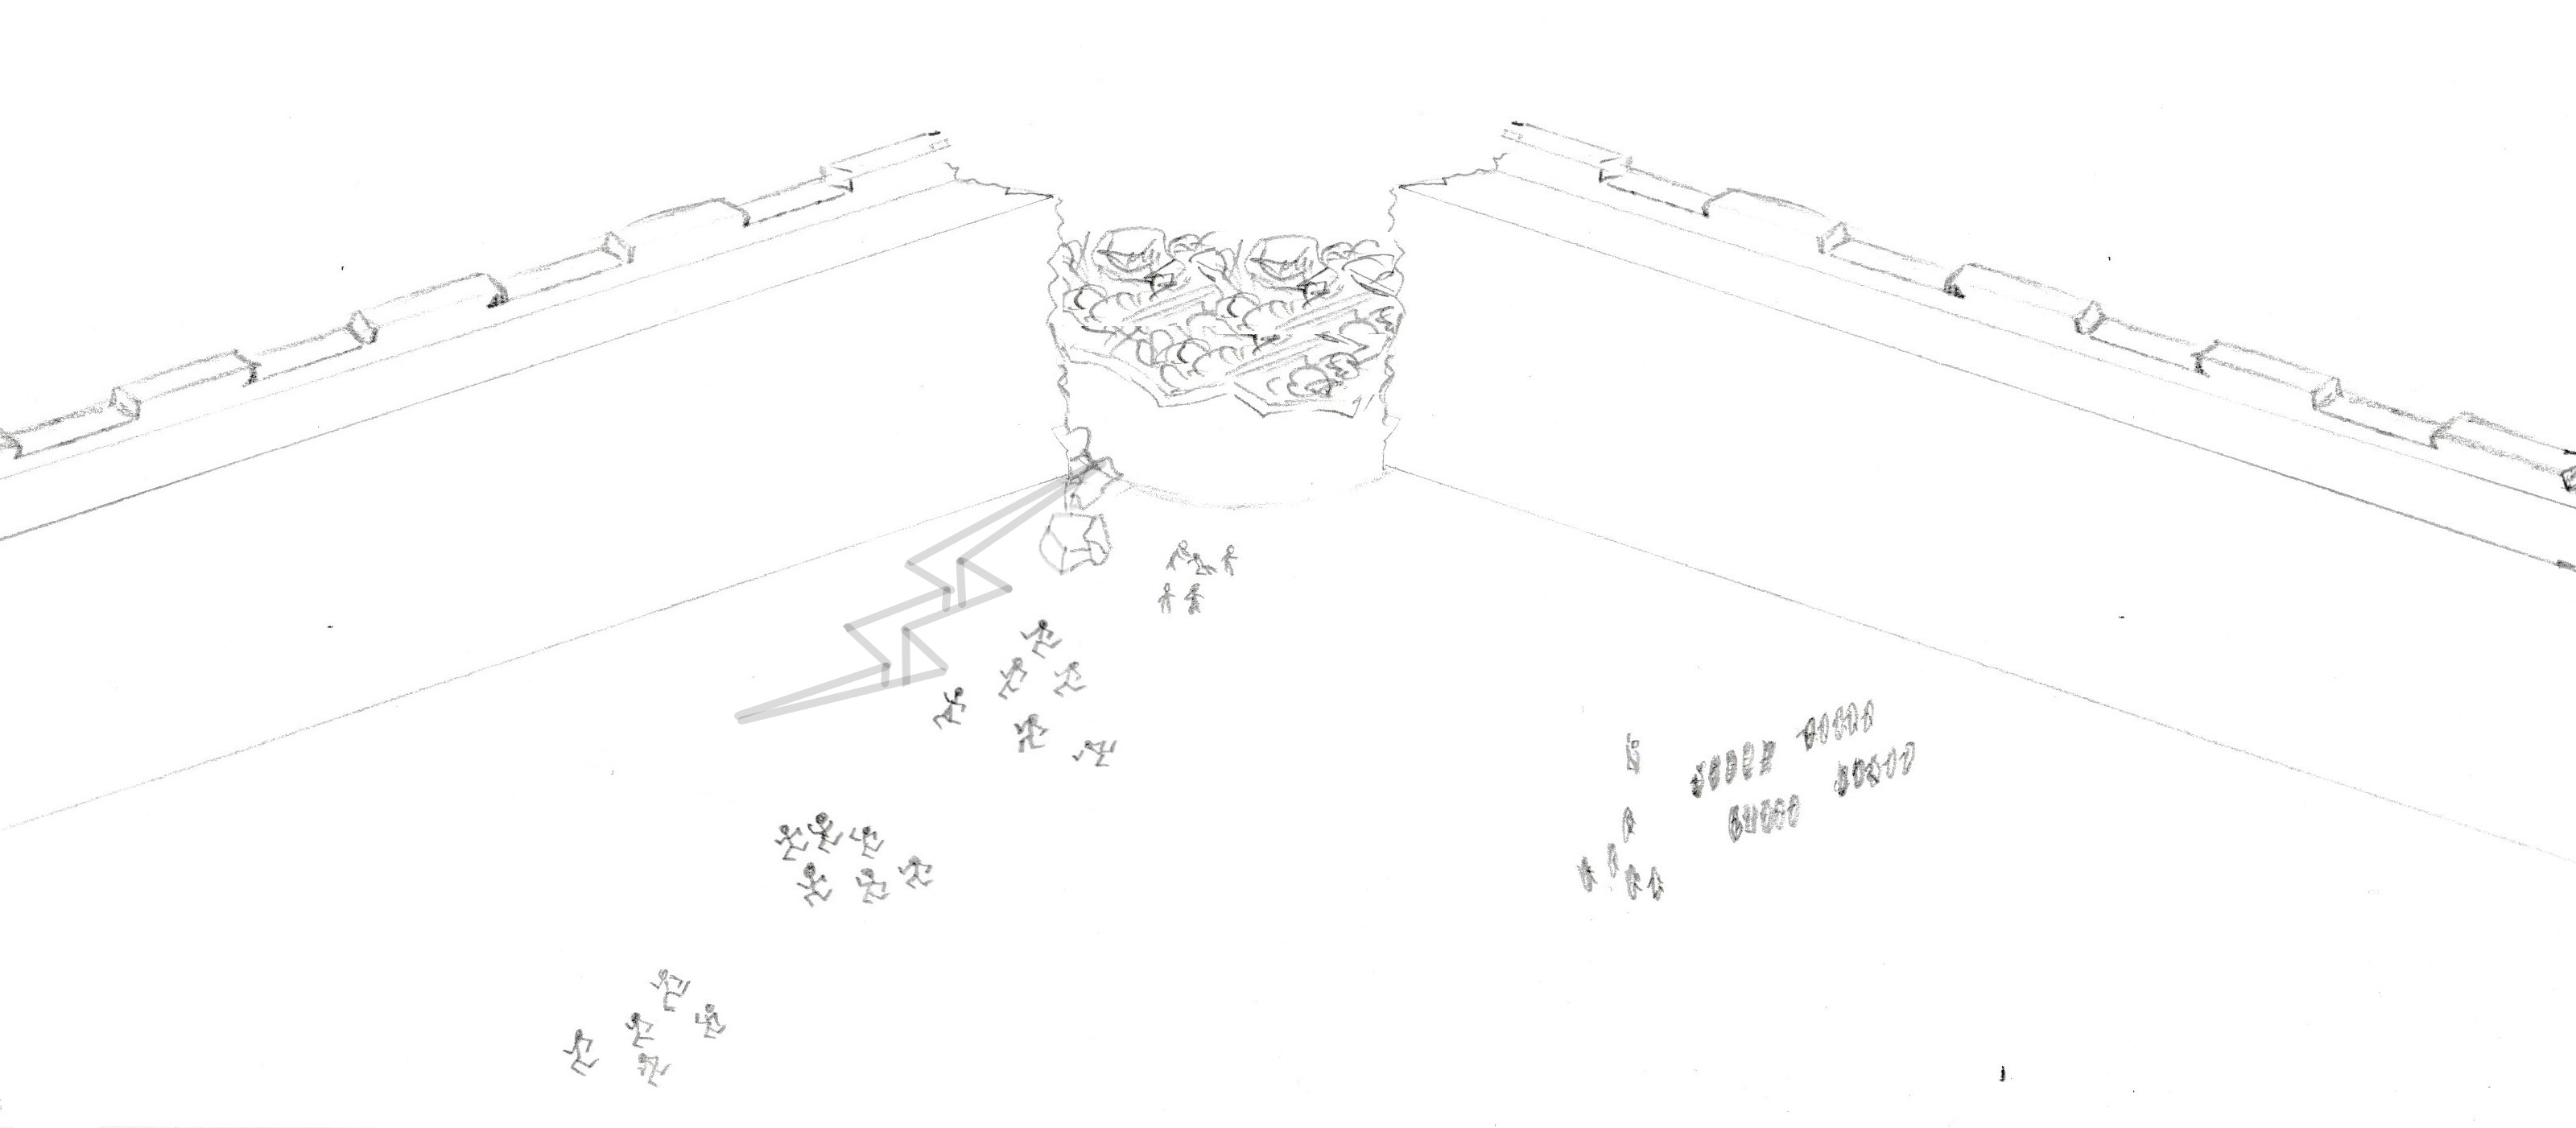
The Fields of Clematis near the Fountains of Palm Tree Lane
Two monks, soldiers of Goldenshield, running the longest 3 miles of their lives, arrive at the Fountains of Palm Tree Lane
with the 2 Hill Giants hot on their tails. Waiting there are Lady Nazeri and Lord Ahmandi, whose magic dominates the Hill
Giants into putting on thin frail necklaces of the flowering vine. But when the Necklaces of Clematis are around the Hill
Giants necks, the Hill Giants are rendered deaf, dumb, blind, and feeble. The Hill Giants stumble into the fountains and,
unable to remove the magic necklaces, they will surely drown unless someone rescues them.
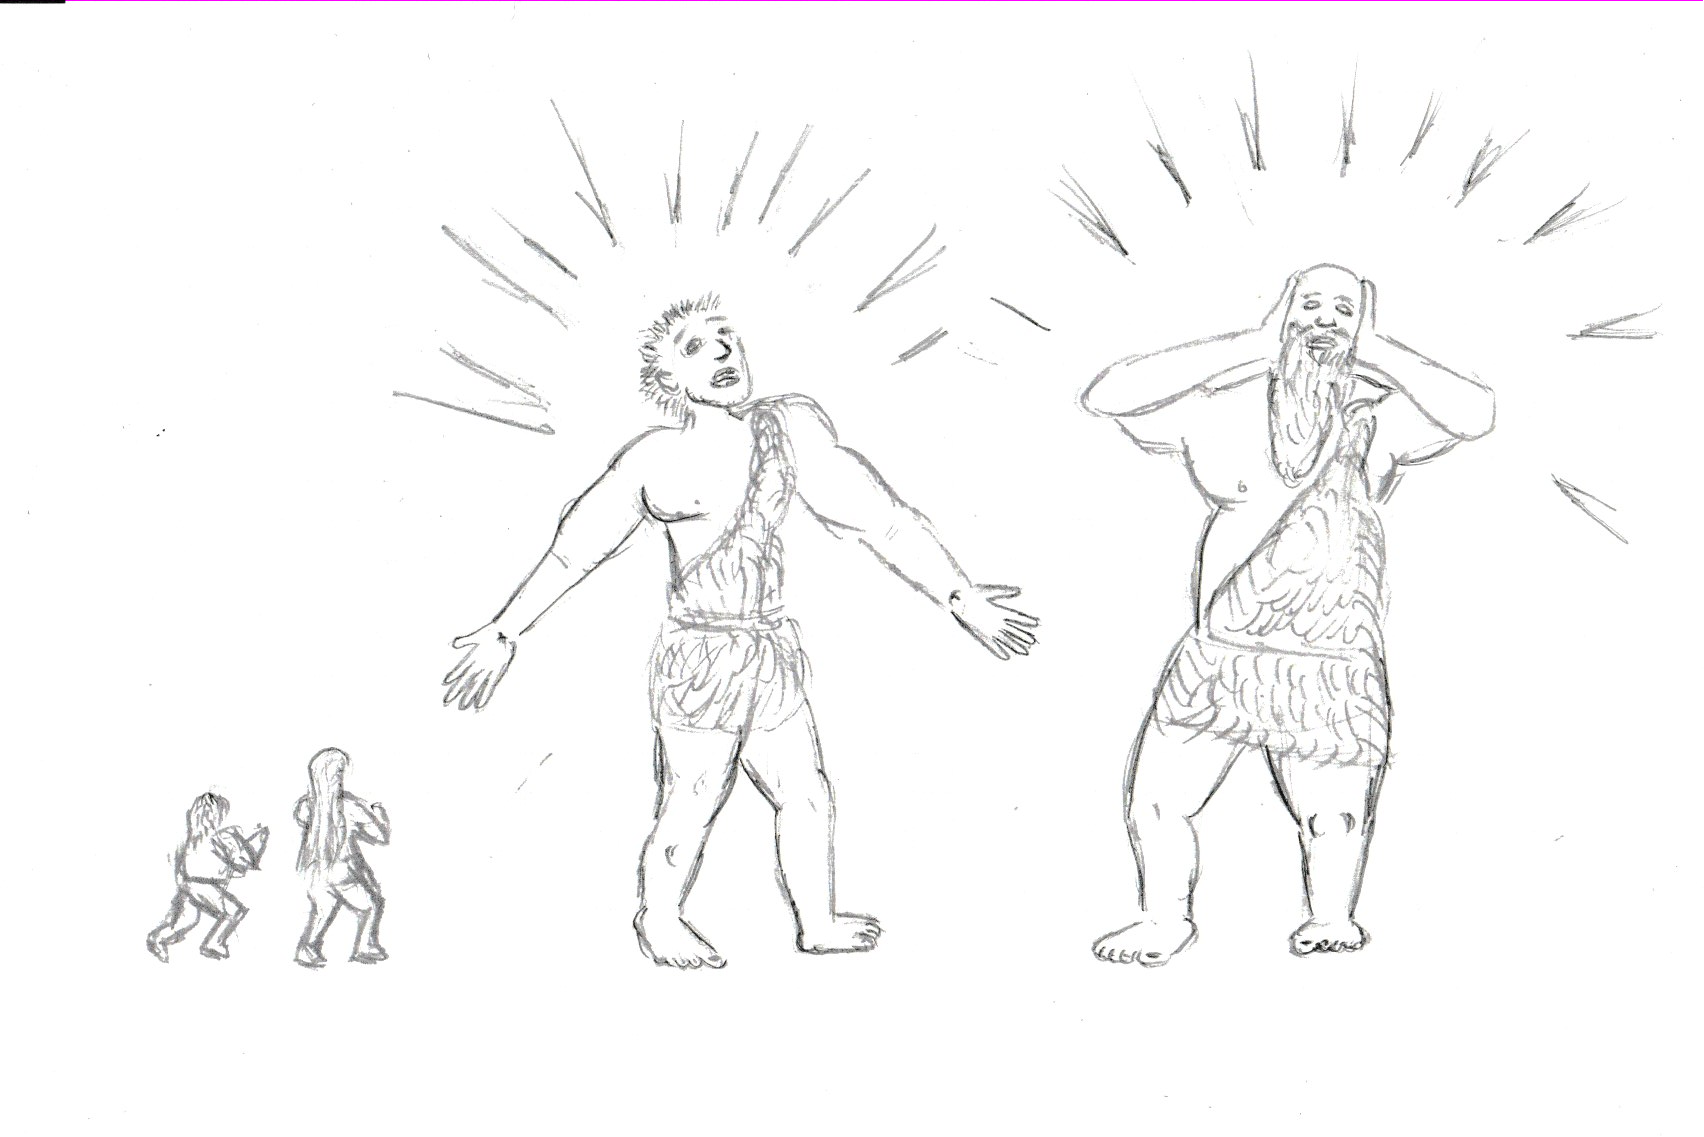
The Roof of the Gaol
On the roof of the Gaol are the elf Lady Nazerati Nazeri, the dwarf Lord Fahred Ahmandi, and Rhael the Fire Giant. The
Lord and Lady act quickly and use deep and powerful magic. Rhael the fire giant is eveloped in an enormous globe of ice and rendered
incapacitated. Inside the globe of ice, he will not age, will not need food or water, and cannot escape. But that is not all, though
he is vanquished inside a globe of ice on top of a prison consumed by a river of lava, Rhael can be freed by any determined adventurers.
The Lord and the Lady have accounted for this event with the magic in the globe of ice. If someone breaks the globe of ice that imprisons
Rhael the fire giant, he will be free but a frost giant will be created that is the very antithesis of Rhael. And they will be pitted
one against the other, the frost giant on the westside of the river of lava, and the fire giant on the east side.
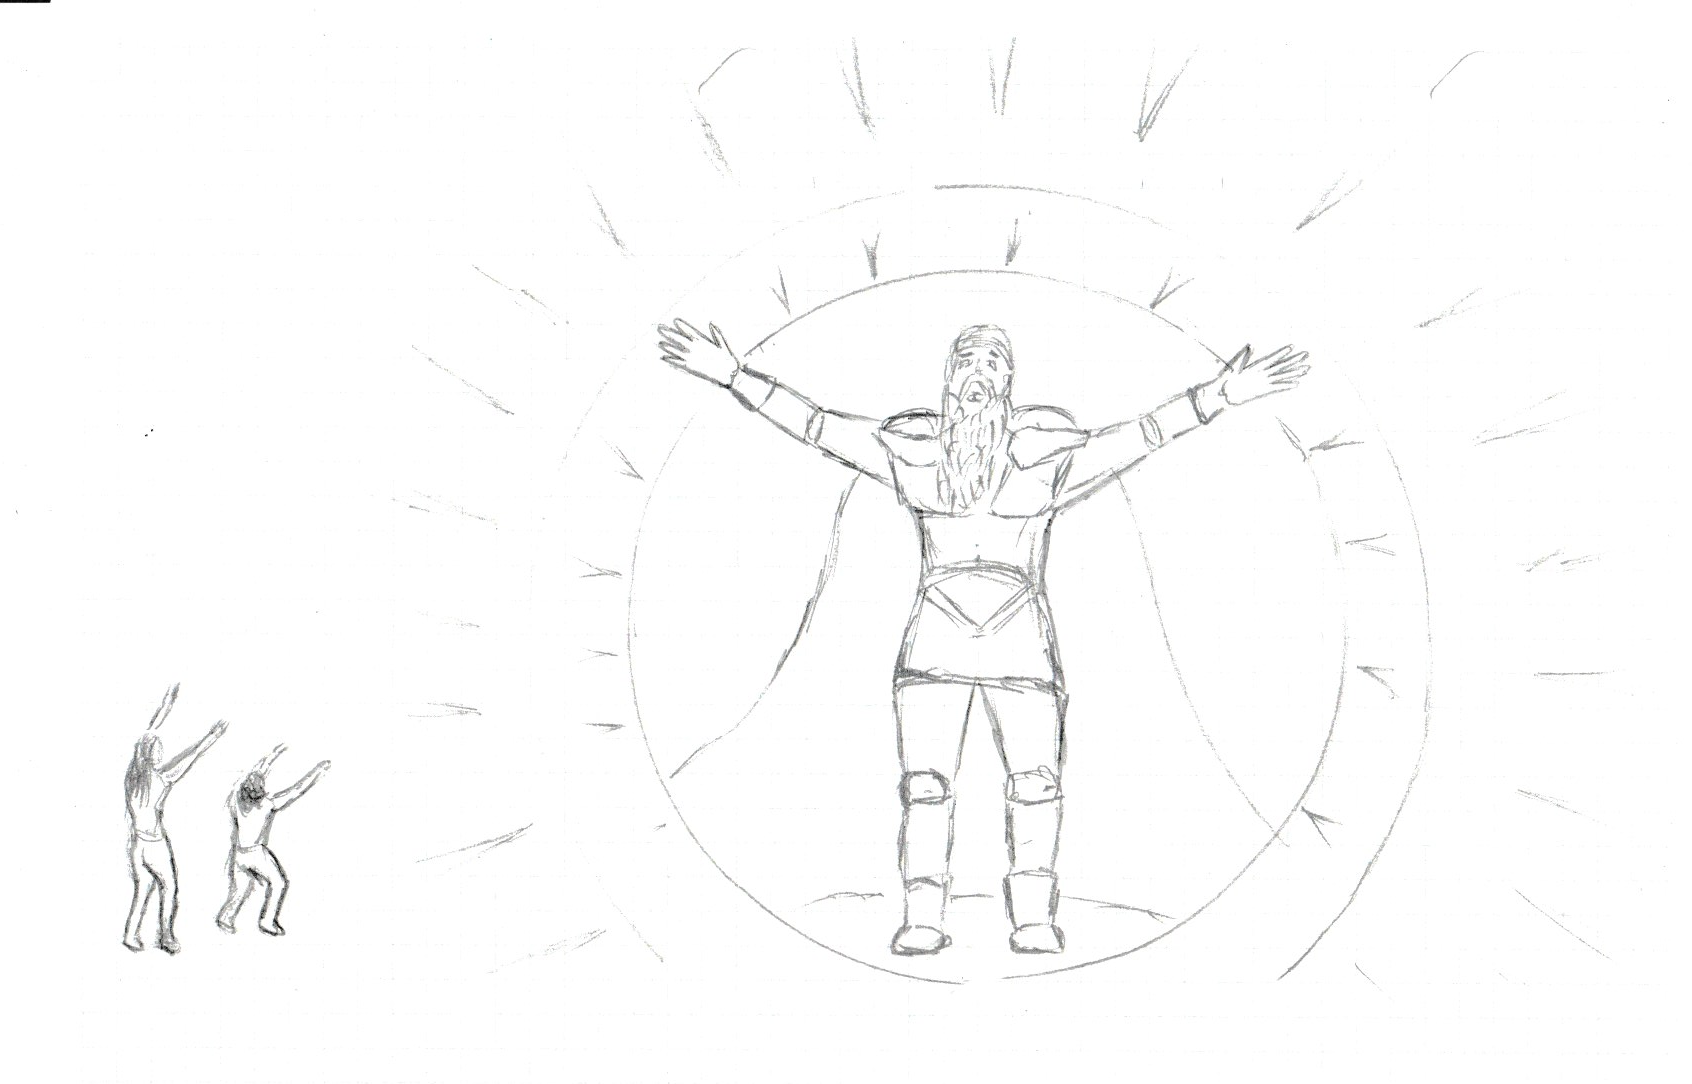
Splitting the Cypress Tree Tunnels
When the Lord and Lady set the magic of the ice globe in motion, it has a terrible effect on the 4 dryads that live in the
Cyrpress Tree Tunnel copses. Both the north copse and the south copse split into two. The east sides become areas
of dead and burning trees, perpetually smoldering in endless ashes. The west sides become areas of dead trees covered in
ice and snow and swallowed in freezing air at all times. The 4 dryads are split also. All of them become evil and wicked.
Saratani and Sumu become Fire Dryads, while Tauni and Ugonjwa become Frost Dryads. They war against each other continually, and
they torture and kill any trespassers that they find. Inbetween, the misty, smokey, broken tree path is littered with zombies,
skeletons, and ghosts.

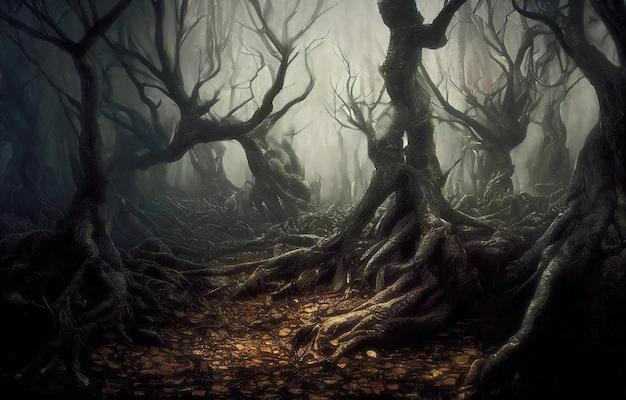


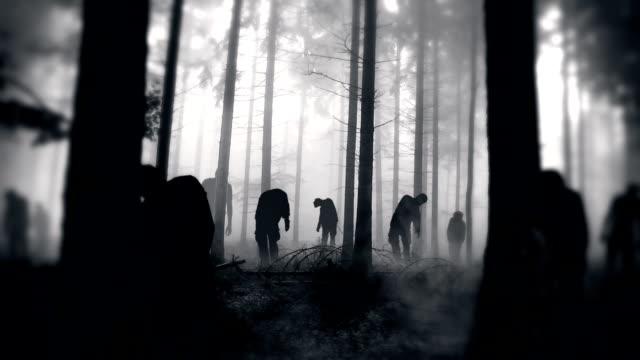

The Death of the Giant Encounters
Although the enemies are a deadly encounter, both the Lady Nazeri and Lord Ahmandi each have 25 knights and veterens at their call.
So this encounter might actually be quite the spectacle to behold.
Evacuate to the East Towers
The fortress is broken, groups of men run by yelling warnings to retreat, lightninglights up the northern sky, while fire lights up
the southern sky. Among the retreating soldiers, a courier calls out to you, holds a satchel full of letters and tells you:
"Retreat! Retreat to the east Towers! Do not stop, do not give up, the east Towers still stand! We swore to the Lady of Kahar
that we would deliver these notices and get every last survivor to evacuate to the east Towers!"
With that the courier shoves one of the letters into your hands and heads off to find other survivors.
It is up to you. Will you evacuate to the east towers? Honor and reward are sure to follow, but the first step is, as always, up to you.
ii. The Queen of the Desert
The God Wars
Khalista the Lamia is a high ranking General in the demonic armies with jacakalwere servants deep in the nine hells.
1. The God Wars occur and throw her world in turmoil, she grabs 3 servants and flees through as many portals as she can.
2. She arrives on Lophator in The Whirlpool of Danube and is overcome by its power.
3. She awakes on the shores of The Aljana River far, far away with only 1 servant.
4. Shaken by the power she felt, she flees south across the endless Hamakhaave Desert.
5. She finds jackals and settles in the Ruins of Sakala.
6. Khalista the Lamia becomes rich and makes quite a name for herself: "Queen of the Desert".
The Necromancer
A dark and stormy night brings Prysm, an evil necromancer, who is, clearly, Khalista's superior.
1. Khalista is trained in the arts of necromancy by Prysm.
2. She receives Prysm's Ethmoid Bone - with it she can command Mummys, Wraiths, Wights, and ghasts, but at a high price,
once a month, she must remove the bone for one full day or her head will explode.
3. Khalista the Lamia crosses the endless Hamakhaave desert with 100 jackalweres and arrives in the Red Rock Mountains
in the 192nd year of the Kingdom of Goldenshield.
4. She is supposed to sieze the fortress Kahar after the Fire Giant leads goblinoids in an attack.
5. She witnesses the total defeat of the Fire Giant, the two Hill Giants, and 1000 goblinioids.
The 32 Year Wait
Khalista the Lamia retreats south to the Red Rock Mountains where she dwells in an ancient abandoned temple for 32 years to await the next
Dark Crusade.
1. She attacks and kills the herds on the High Plains just to prove she can enter the fortress
2. She kidnaps the wife of the Chancellor of the Realm, kills her and enslaves her ghost.
3. Her servants raid surrounding villages and take people as slaves.
4. She uses the ghost to control the Chancellor to stop retalliation.
5. The Paladin and Clerics, Knights and Heroes of the Realm, move against her servants and defeat them.
6. Her spies infiltrate Kahar fortress.
7. Using her cunning, persuasion, and magic, she learns who the Paladin and Clerics are, and how to defeat them.
The Victims and the Traitors
In the decades that pass, Khalista excercises her skills as a liar, a thief, an infiltrator, and an instigator.
1. Terebo follows Khalista's instructions to the letter and infiltrates Kahar.
2. He sows distrust and enmity between the Healers (Paladin and Clerics) and the Mages (Wizards, Sorcerers, etc.).
3. Khalista commands the Hags of Arroyo Kifo to desecrate the Shrine of Peotor, sacred to the Paladin and Clerics.
4. Not only do the Hags fulfill Khalista's desires, but also, they lay the blame on innocents
5. In retalliation, the Paladin Lord leads his Holy Knights against the alleged offenders, but instead
they kill many innocents.
6. Khalista is a cruel enemy and humiliates and belittles the Paladin by revealing to them that they have killed innocents.
The Paladin fall and disappear from Kahar.
7. Using the ghost of his wife to control him, Khalista demands that the Chancellor outlaw clerics and paladin, which
he does.
8. Terebo, Khalista's servant, splits the Mages into 3 different groups all working against each other.
9. Though the Chancellor has paid bribes of spell scrolls and such, he grows weary of being under Khalista's
control. He and his 2 loyal servants rebel against her geas spell and come under attack by the hags. For almost 4 years,
they hide away in the Wizard's Tower, leaving the administration of Kahar to the other 2 factions of mages.
10. Khalista makes secret deals with the other 2 factions of mages.
11. Khalista summons Deepa and Anoop, fire magmin, to finalize her plan to infiltrate the Elemental Plane of Fire.
a. The Sapper Cave
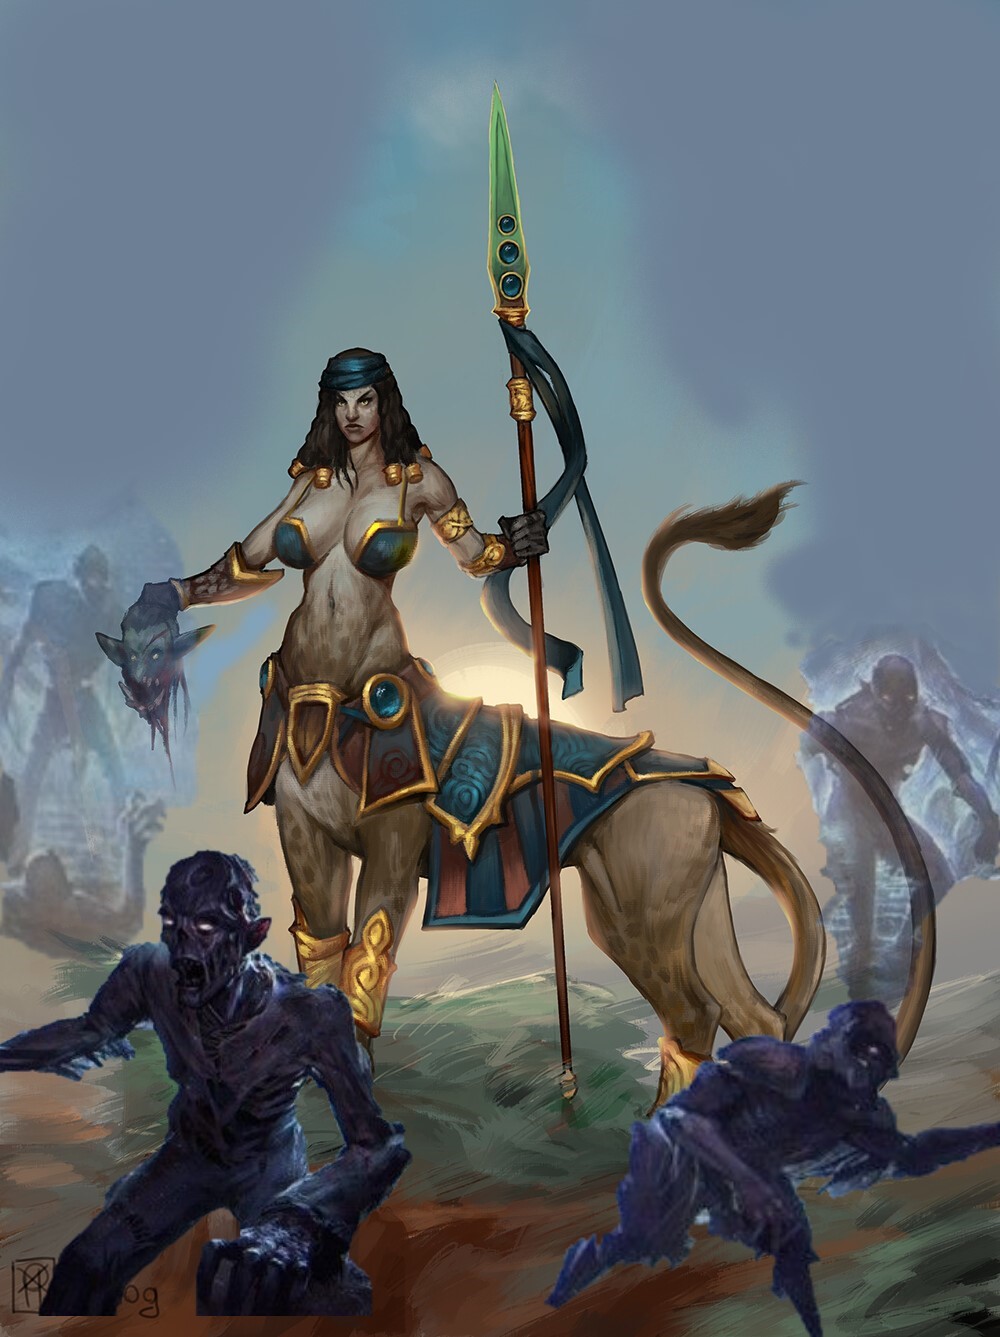
Khalista raises the undead
Khalista uses magic to subjugate a hobgoblin commander. Zardoz, the hobgoblin commander she chose, gathers goblins, ogres, and a
battering ram and leads them up the King's Ramp, veers off to the east, and collides it at the base of Tower 9. Zardoz
commands the goblins to dig a deep hold at the base of Tower 9. In only a few hours, the goblins have dug 10' deep, and it is
Zardoz himself that breaks through the brick wall to allow the goblins to dig a cave under Tower 9. Two priests and two magicians
arrive just as the goblinoids complete the sapper cave.
Four of the magicians from the Wizard's Brigade secretly meet up with Khalista outside the fortress walls, only 200 feet
south of the sapper hole at Tower 9. They run to the sapper hole and climb down the ropes and ladders and enter the cave.
A. Azabine reads a Gate Spell scroll and opens a gate to the Elemental Plane of Fire
B. Nuro reads a Reverse Gravity Spell scroll and gravity reverses inside the sapper cave except a 5' path leading to the gate.
Oztirix the Abjurer is under secret orders from Khalista:
C. He has been reading and finishes the spell scroll
Imprisonment. He shrinks Azabine and Nuro down to 1" and traps them inside an 8" diameter diamond.
Now Oztirix takes his servants and enters the gate to elemental plane of fire. If Oztirix has tricked the PCs into doing his bidding,
the PCs are his servants. They will:
1. Enter the Gate to the Elemental Plane of Fire.
2. Carry the Stone Table to the Basalt and Granite
Island located on the Sea of Fire
3. Leave the Statue Shelf on the Basalt and Granite Island and place the 8"diamter diamond
on the table. They gather as many obsidian orbs as possible to take back
4. Return through the Gate back to the Material
Plane with obsidian stones before Tower 9 collapses
Whether or not he can enlist the PCs, he will begin a ceremony by reading a spell scroll of Imprisonment. One round later, he has Azabine the
conjurer and Nuro the transmuter jump into the sapper cave and read their spell scrolls. They cast Gate and Reverse Gravity as far back into the sapper
cave as they can and watch in horror as fire and lava pour out of the gate and begin to fill the ceiling in a great hissing, fiery pool. Though they try
to scramble out of the sapper cave, they are trapped. But before the lava can engulf them, Oztirix completes his spell and traps both Azabine
and Nuro inside a fist sized diamond. Both the Gate spell and the Reverse gravity spell are caught in a state of perpetual animation.
It is only a matter of time before the lava will consume all of Tower 9 and cause it to collapse filling all of the sapper cave with molten lava.
It is at this time that Oztirix leads his team into the gate. If they are PCs, then he protects them with Potions of Fire Resistance.
He leaves the fist sized diamond, containing both Azabine and Nuro, on top of the
Stone Table in a sheltered part of the Island of Basalt and Granite, that is in the middle of The Sea of Fire near the Azer Fortress which is
below the City of Brass.
They just make it back through the gate and out of the sapper hole just as Tower 9 collapses and fills the sapper hole with lava.
A river of lava pours out of a ring of stones in what is left of Tower 9 and runs north. The sapper hole will eventuall hollow out again but
the floor walls and roof of the sapper cave will ever after be lava and fire. The only safe spot in the sapper cave will be the path to the gate.
The river of lava will become the fire giants safe place, the birth place of fire zombies, and a breeding place for strange and
exotic creatures that thrive and multiply in the intense heat and steam.
(See "The River of Fire")
b. The Fire at Tower 9
Khalista sends a team into the sapper cave below Tower 9. A conjuror reads a Gate spell scroll, while a transmuter
reads a Reverse Gravity spell scroll. Meanwhile a priest, intent on betraying them both, reads an Imprisonment spell scroll and
captures both magicians inside a magic jewel. The Gate spell works and a portal to the Elemental Plane of Fire opens
in the back of the sapper cave. Fire and flames come pouring out of the gate like lava. The Reverse Gravity spell
works and the stream of fire, flame, and lava pours out the gate but turns up directly into Tower 9. In less than 2 hours,
Tower 9 collapes in on itself and lava pours out of the left over ring of stones and runs north like a river.
c. Retreat to Tower 1
Khalista wisely withdraws to recover her strength. She will inhabit Tower 1 for over 2 hours.
d. The Fire Snake Eggs
e. The Kruthik Eggs
f. The Fire Newts
Having lost a battle against a stronger tribe, Packnet Toterouch leads his tribe of Firenewts east down The
King's Road. Once he arrives at Kahar, his tribe is in dire need of water and he capitulates at once
to Khalista's servants but finds he is well rewarded. The Queen of the Desert gives him The Lush Valley
for his tribe to dwell, provided he protects the area and patrols The King's Road during the hot desert day, allowing
only merchants access to Kahar, and attacking all military patrols. His tribe, protected from the deadly
Kruthik in the east by the river of lava, revel in the steamy delta where the river of lava meets Surgebuilt Lake.
g. The Planting of the Gulthias Tree
iii. The Coming of Zamj Pustinjski
An Exiled Prince
The blue dragons of Jagged Rock Drop wage war against each other, with half of them supporting the usurper
Wade, and the other half staying loyal to the fallen King Arcilus. The son of Arcilus goes into hiding, far
into the south, deep into the Hamakhaave Desert. There he establishes a lair and eeks out a meager existance
awaiting word from his kin on when he might return to Desolation. He is spotted by Thamiar the Guardian Naga
with the Stone of Seeing and Speaking and falls victim to a suggestion: to fly south, farther south than he might
ever have flown for any reason at all. There, 400 miles north of Kahar, Thamiar the Naga uses the magic of geas
to force the dragon to establish a second lair here, and then Thamiar commands the young blue dragon to forget the
entire encounter. Thus the stage is set, the future has changed, the Lamia will not overcome the soldiers of Goldenshield
with an army of undead because the dragon's kobold army is attacking from the north so she must divert her undead army
to deal with the kobold attack.
The Shrine of Lophator
Known as a Wonder of the World, the Shrine of Lophator dominates the northern fortress. Pilgrims
near and far travel the desert just to get a glimpse of the 72' tall statue. Situated 420' southeast of
the Rear Gate, the Shrine of Lophator sits in the middle of 4 jutting sandstone spires that used to be one.
The sculpted work of art features the goddess Lophator with a child clinging to her knees that represents
mankind clutching mother earth. No one knows who built it or how long it has been in place but it is
older than the oldest written accounts that they have.
When Zmaj Pustinjski first lays his eyes on
Kahar from high above, he is overcome by the sheer wealth of the people of the land and his greed is kindled
to desire. But as he spies the great Shrine of Lophator his jealousy overcomes his secrecy. He returns
north to gather his army and bids his time until his army is near enough to stirke. When it is, Zmaj
lands on the sandstone spires and blasts the place with his lightning breath, killing 4 and wounding 18.
He issues his ultimatum that he will return to claim all this land for himself in 2 weeks, and then he
flies off back to the north. Being a punctual creature of his word, Zmaj returns exactly 2 weeks to
the minute and finds great statue is gone. Feeling betrayed, he destroys the ground where it used to be
by burrowing a great hole, 100' in diameter and 30' deep. He then burrows a tunnel to the northwest
and begins to create his lair.
The Shrine of Lophator
a. A Crooked Path to the Rear Gate
The Scorpian Riders
Twelve troops of kobolds, each troop 200 soldiers strong, move south toward Hamakhaave. Each troop rides
20 giant scorpions, 20 giant lizards, and 10 giant snakes. They do the majority of their traveling south during
the night, carrying many tents and canopies, to shade them from the deadly desert sun from which they
quail. Nevertheless, on the last march just before they reach the Rear Gate of Kahar, they do brave the sun and
march during the day, under animal hides and in the shade of their giant scorpions and giant lizards. They arrive
many hours early and have plenty of time to sleep, rest, and even dig a well for a dwelling in the hills north of the
Rear Gate. When the night falls, they will begin their mission of stealth.
b. The Sand Pits
Sneakiing out into the open to dig a hole
Kobolds sneakily begin digging holes in the areas north of the Rear Gate. Even in the dark of night, they are
not completely disregarded by the fortress defenders, as reports are sent to command that "lizards are digging in the drylands
north of the Rear Gate".
c. The Razing of the West
Zmaj Pustjinski smashes up from under the West Building, through several floors, and makes a spectacular mess when he
blasts out of the top of the building.
d. The Taking of the Rear Gate
Zmaj yells, "Yield to me mastery of these two buildings and this tower gate, and I will spare all your lives!"
Captain Grant replies, "I will yield to you only if you yield to me first." Through clever cajolery the Captain
not only arranges for the evacuation of what remains of her garrison, but also extracts a promise from the dragon for
aid when it is needed. She also declares the museum sancrosanct and the dragon agrees not to touch it.
e. The Key to the Armory
f. The Haunted Hole
Almost as soon as Zmaj Pustinjski is freed, Hollowlife, wraith servant
of Khalista the Lamia, begins attacking him with an undead army. These attacks are quick bursts of
multiple assaults difficult for the defenders to predict. More importantly, Hollowlife has his undead hordes
ambush any kobold patrol caught outside the liar entrance or the Rear Gate. These actions are enough
to stem the invasion of the growing kobold army. However, with her undead army busy dealing with the new
threat, Khalista has no means at her disposal to deal with the resistance fighters holding out in the last
three surviving Towers.
The Entrance to the Lair of
Zamj Pustinjski
g. The Silver Plated Swords
Setting the PCs on a course
The survivors of Kahar, loyal to Goldenshield Kingdom, have gathered under the leadership of Thamiar the
Guardian Naga who calls all resistance fighters to the east Towers. Tower 6, Tower 7, and Tower 8, along with
the wall that connects them are all held secure. Thamiar the naga communicates with those he wishes by casting
Sending. In this way, he is able to instruct the leadership of the resistance (namely The Lady of Kahar) on how
to best defend the three Towers. Thamiar may not know about the PCs.
But the PCs meet an important
NPC who will report to them that the Wizard's Brigade, the Priest's Brigade, and the Warlord of
Braek's Munitions Dump have gone traitor, are responsible for the breaking of the walls and have caused the death
of 100s of Goldensheild soldiers. These rogue leaders still have a sizable following and are a real threat
to the Kingdom of Goldenshield. The Wizard's Brigade have siezed Barracks A, the Warlord and his BlackGuard
have set up in Barracks B, and the Priest's Brigade have taken Barracks C.
Adventure
A band of druids have brought
Pillars of Janae, eight stone pylons filled with the power to ward off any enemies. The druids set one pillar
at each Barracks and the forth pillar they set across from Barracks B and next to the oasis. Three of
the pillars are complete and now a shimmering protects the Barracks. Inside the shimmering a PC sees
as if in dim light and the ground is treated as difficult terrain plus all perception checks are made with
disadvantage. The druids, an ancient sect of magic users, are setting up the forth and final pillar.
If the druids succeed in erecting the last pillar, the pillars will link and create The Labrynth, an
impenetrable maze of 30' high 10' thick walls that encircle all four pillars. Destroying the pillars
is the only way to get rid of the Labrynth.
The PCs are instructed by this important
NPC to stop the druids from completing the
ceremony which activates the last pillar. If the PCs fail to stop the druids the Labrynth comes into being,
but if the PCs are successful in stopping the druids only the shimmering protects the Barracks. Immediately
following the encounter with the druids, the important
NPC returns and the PCs
are given new orders: capture or terminate the traitors. Unknown to anyone is that the order actually
comes from Khalista. She cast Major Image and attempts to mimic the
NPC without the PCs
catching on to the fact that they are being fooled.
B. Hamakhaave Desert
The Crossing
Khalista and her jackalweres travel from Defiant, the volcanic land of the Fire Giants, to Hamakhaave.
i. The Sakalan Occupation
Invasion, Control, and Possession
Khalista watches from afar as the goblinoids attack the fortress under the leadership of Rhael the Fire Giant.
As day breaks, although she herself must and will hide away in Tower 1, when the volcano blows, she sends her servant
Oztirix the Abjurer, with a jackalwere army, to invade the King's Library and The Keep. When she reemerges the next day,
she will claim the Library as her lair, and from there she will control the southwest territory of the fortress
a. The Haunting of Tower 1
Khalista stays in Tower 1 that first day, which marks its fall into evil. After that day, Oztirix
the Abjurer recieves a position of command under Khalista. He is awarded Tower 1.
During the
day, he will have up to 28 jackalweres at his disposal, but at night he can rest because terrible undead patrol
everywhere.
b. The Keep and The Library
Battle of Annihilation
Khalista's jackalweres sieze the damaged keep and the Library and kill or enslave everyone within.
c. The Kobold Incursion
News from the North
A great commotion causes Khalista to sieze her tampering and cast her scry spell. She sees the great hole
where the Shrine of Lophator used to be and soon her spies will inform her that an army of koblods is
attacking from the north. She knows the Rear Gate has been taken.
d. Awakening Ahmensara
The Canopic Jars
Khalista sacrifices some servants to awaken the Mummy Lord. She gathers the empty canopic jars and conceals them
when she hides in Tower 1.
ii. Wasteland Wizards
The Adventurer
In his youth, Lallenos Kisherite makes a name for himself as an established and trustworty magician. He earns
the nickname The Wizard.
a. Wizard and Snake
His appointment at Kahar
Lallennos Kisherite has a chance to stay poor but join Thamiar or to become rich and famous. He chooses fame.
He will become the Lord of Nne and be appointed Chancellor of Kahar 4 times. At the time of this adventure, he is
Chancellor and it is his 4th and final time.
b. Hunters of the Wadi
Pillars of Janae
The Desert Druids make themselves known and begin to raise the pillars that will create the Labyrinth.
Lallennos uses his position and authority to sieze the pillars and make The Royal Triagle possible. The Druids
hate Lallennos and have a grudge against Kahar forever after.
c. The Green Scorpion
Rescue
An encounter with a terrible enemy leaves Lallennos shaken and he hides away in his tower.
d. The Labyrinth
Sunrise
Lallennos commisions the druids to retrieve the pillars of Janae. Because he is very rich, they agree,
but they are still full of hatred and hold a grudge. So the Desert Druids plan to betray Lallennos after he
pays them. The Druids will pay the PCs to be thier guides and protection as they retrieve the pillars of Janae.
Last Chance
Before the druids are complete, the PCs could have one last chance to stop them. If not, then the
Labyrinth will be created when 2 pillars are set in 4 spots. Barracks A, B, and C, and the Wizard's Tower.
The Dwarf and the Fairies
Afterwards, if PCs want to get inside the Labyrinth, they will be confronted by a playful pixie and, depending
on how that encounter goes, they might either be shown the entrance to the Labyrinth by either the pixie or a dwarf
hunting and killing sprites.
C. The Dead Rise
The Undead Curse
Khalista uses her necromantic powers to raise scores of undead servants. She knows that when the sun
rises on the 18th day, she will have to hide away. She is prepared and has left her servants in charge.
But then, news of the kobold invasion comes to her ears. She panics and does the unthinkable. She
exposes the Mummy Lord's corpse and orders 4 of her servants to open the Canopic Jars. Her servants die
and the Mummy Lord assumes control of her undead servants, while Khalista hides in Tower 1.
i. The Mummy Lord Battle
Evil
Defying all attempts of the servants of Khalista to advise him, Amensara sees the blue dragon and wants him
as a pet for his own use. He gathers Khalista's undead servants and heads off for the dragon's lair.
a. The Porch and the Pile of Rocks
The Battle Begins
Amensara, with an undead army with him, attacks the brand new dragon lair
Traps
A multitudee of traps slows down the undead armies advance.
b. The Lightning Block Sentinels
Lightning Eye Beam
Four 12' high pillars with swiveling 4' diameter spheres on top, shoot Lightning Eye Beams out of small gems.
These beams decimate the undead until Amensara puts forth his power to stop them.
c. The Cimic
The Mirror
Set on top of a large pole is a dish like mirror that reflects the sunlight into the tunnel hole.
The Reflection on the Walls
Waiting for the undead army is the cimic, it devastates the low level monsters but flees when the
Mummy Lord arrives.
d. The Umber Hulk Tunnel
The Dark Corridor
Hiding and waiting for the undead are a couple of umber hulks.
ii. Dragon Lair Siege
Captured
The dragon's loyal servants are defeated and flee into the dragon lair. The dragon is overcome by the Mummy Lord,
captured and taken prisoner. In a profusion of overconfidence, the Mummy Lord enters the dragon's lair intent on
capturing or killing all the dragon's servants.
a. The First Lightning Chamber
Formidable Fortication
A lightninig elemental and a group of grells attack the undead intruders.
Brute Force
Amensara forces his way into the dragon's lair by sheer brute force, losing many of his undead
minions along the way. Most of the dragon's servants hide in secret places.
b. The Second Lightning Chamber
Hidden
The Passage way that leads to Zmaj's personal chamber defeats the Mummy Lord and all the enemy hosts go by the
hidden opening.
Formidable Fortication II
Nearly indistinguishable from the first lightning chamber, the elemental and a group of grells devestates
what is left of the Mummy Lord's army. Amansara survives but is wounded and alone.
c. The Varlet
Ambush
Amensara is waylaid by Ghilabi Mbaya and greatly damaged, even so, the Mummy Lord might have prevailed if
the heroes of Kahar had not shown up at exactly this time.
Amensara in Pieces
Amensara is hacked to pieces. The Conopic Jars hidden in Tower 1 magical refill with his vital organs.
The Mummy Lord can only be brought back to life if his corpse is reassembled and the ceremony of 4 sacrifices is performed again.
d. A Coward Retreats
The Humbling of Ghiliba Mbaya
Even with victory nearly in his grasp, courage fails the servant of the dragon and he falls on his knees and
surrenders to the heroes of Kahar. They nearly ignore him and leave the dragon's lair. His sword and his violin
are taken but left at the entrance to the dragon lair.
Zmaj returns
Even though Ghiliba Mbaya swore to the heroes of Kahar to gather all the kobolds and leave Kahar, he lied, and will
now try to hire someone (the PCs) to find and free the dragon. He not only has a dragon's hoard with which to pay, but
also he is in possesion of the 100 silver plated swords.
The Siege of the Dragon Lair
The wraith places undead surrounding the dragon lair and begins the long siege.
D. The Victims and the Traitors
The First
Kyrakis Braek was the first victim to fall to the lamia's schemes. He was befriended by her
servant Terebo, a jackalwere, and was brought to ruin during the Dark Crusades.
i. The Ecclesiastic Brigade
Devotion to Faith
The priests.
a. Kyrakis Braek
The Timid Healer
Kyrakis Braek is targeted by the minions of Khalista.
b. The Sculptor and the Gargoyles
The Swap Meet
Kyrakis Braek is tet.
The Stoned Carved Sculptures
Appreciating the rarity, Kyrakis Braek purchases two decorated stones and a gargoyle statue.
c. Banishment
Water Spells
Kyrakis Braek brings his acolytes and priests to the Tower where they have been well trained to extinguish
flames and fires by using Create Water spells.
d. Return to the Munitions Dump
The
Kyrakis Braek is
e. The Rebellion of Jaken Voth
The
Kyrakis Braek is
f. Barracks B
The
Kyrakis Braek is
ii. The Wizard's Brigade
The Magicians
The wizards.
a. Lallenlos Kisharite
The Ill-humored Magician
Lallenlos is .
b. Compulsive Avarice
Dark Thoughts
Lallenlos Kisharite is.
c. Inattentive Neglicgence
Bernard Hubbard
Suspecting something is off from the begining, Lieutenant.
d. Conflicting Division
Belinda Moran
Hours before her desperate stand against 100 charging bugbears, Lieutenant Belinda Moran is key
to the evacuation of Tower 3.
e. Penitent Contrition
The Desert Druid
The Lady of the Sands begins.
f. Barrack A
Flight to the Barracks
After their defeat at the hands of Lady Nazeri, the Wizard's Brigade flees to Barrack A.
iii. The Warlord of Braek's Munitions Dump
The Paladin
The Paladin.
a. Nicholas Quinn
The Faithful
Nicholas Quinn is an example of Lawful Good.
b. The Broken Vow
The Oath
Nicholas Quinn is .
c. The Black Guard
The Change
Nicholas Quinn and his paladin change .
d. The Queen's Command
The Expulsion
Nicholas Quinn is .
e. The Guardian of the Stone Door
The Stone Golem
Nicholas Quinn is .
f. Barracks C
The Tortured
Reft with guilt and shame the black guard take refuge inside Barracks C.
iv. The Druids of Koya Rion
The Wadi
The druids are led by.
a. Searc O'Conner
The Faithful
Nicholas Quinn is an example of Lawful Good.
b. Rescue
The Prison
The servants of Khalista free Searc O'Conner from the Hags of .
c. Desert Druids
The
.
d. Illusions
The
Nine .
e. The Pillars of Janae
The cost
sacrifices.
f. The Single Path
Maze or Labyrinth
The difference between a maze and a labyrinth is that a maze has multiple paths that may or may not
lead through the maze, while a labyrinth is typically one continous path. While technically a maze,
the appearence is that of a single path and it is, thus, a labyrinth.
E. The Patriots
Loyal to the Throne
Two Lords were here before the building of the King's Road. The Desert Dwarf Lord Fahred Ahmandi and
the elf desert druid Lady Nazerati Nazeri.
i. Safe Haven
Six
After the night of the war, there were only six safe havens left in what was once the fortress of Kahar.
a. The Hero in charge of High Plains Farm is Landyn Midha
Above the Cliff
above the cliff.
b. The Hero in charge of Chissum Ranch is Anderson Chissum
Above the Cliff
above the cliff.
c. The Hero in Charge of Braek's Munitions Dump is Jaken Voth
Meeting the Traitor
Kyrakis Braek is.
The Acolyte
Jaken Voth rebels against Lord Braek returning and controlling the Munitions Dump
d. The Hero in charge of the remaining Three Towers is Gabora Deville
Tower 6
With Saba Hamlet less than a 1/4 mile away, Tower 6 is able to secure a post on top of The Barren Knoll.
Tower 7
Using Nane Hamlet as a staging base, Goldenshield resistance fighters are able to gain back a great part
of the ground they lost, starting with the Dry Creek Bed.
Tower 8
Starting with The Fountains of Palm Tree Lane, the soldiers that gather at Tower 8 regain the lost ground
from Tower 8 and the wall to the river of lava.
g
e. The Hero in Charge of the Secret Garden is Lady Nazerati Nazeri
Mbili Hamlet
Long before the people of Goldenshield built the fortress and established Mbili Hamlet, the Secret Gardens
of Lady Nazerati Nazeri flourished. After the Dark Crusades, most of the Hamlet is lost to the enemy but
the Secret Gardens remain a secure haven for those loyal to Goldenshield Kingdom.
f. The Hero in charge of the Desert Castle is Lord Fahred Ahmandi
The Fortress of Lord Ahmandi
Though under constant attack from both goblins and the undead, and kobolds and the dragon, Tatu Hamlet
is never entirely overrun for very long. This is from the defense of the desert dwarves under their Lord.
The World
Some players are curious and will wonder where in the multiverse this place might be.
Lophator is a planet, that had a 4 billion year history, hosted life in a variety of forms and was
suddenly and violently ejected out of its sysyem. After nearly a million years of wandering as a rogue
planet, Lophator was captured by the gas giant Neyarvus circling the blue star Peotor in the galaxy Diathalatos.
In the west of the land, at the equator, is the land of Fortune and the Land of Blighted.
Press to return
Kel's Map
Fortune includes North and South Green Field Valley, the Viture plains, and the
mountains. The Land of Blighted includes the Hamakhaave Desert. Most of the
central desert is heavy sand and dunes, and, applicably, called The Sands of Hamakhaave.
In the north, the desert breaks up into hard packed clay, barren mountains, and sparse
vegatation.
Gia's Map
The Viture plains are endless flat and rolling grasslands bordered by two massive rivers, the Alsakina River
in the north and the Aljana River in south. Forty five miles south of the Aljana River, the green plains
end suddenly and the land drops two thousand feet in a series of rocky crags. At the foot of these impassible,
wastelandy, jagged cliff hills, the Hamakhaave desert stretches south for nearly fifteen hundred miles. As the
sand dunes begin to accumulate, barren rocky mountains litter the north of the Hamakhaave desert. As the land
droped to its lowest point, at 356 feet below sea level, men dug down and discovered water, alot of water, that spilled
out and began to fill the canyon to the north.
As inhospitible as the Land of Blighted was, it was the quickest route from the forest mountains of the Kingdom
of Goldenshield to the lush green plains of South Green Field Valley. So the Marquis of the Realm
took it upon himself to build:
The King's Road
Water Under Hamakhaave
Jagged Rock Drop
The two thousand foot fall from the Viture Plains to the Hamakhaave Desert
A view of a small part of the Jagged Rock Drop from the bottom looking up.
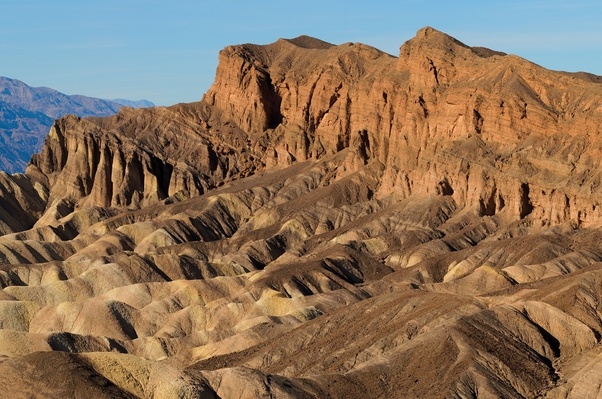
A view of Jagged Rock Drop from the east, just north of Desert Exit.
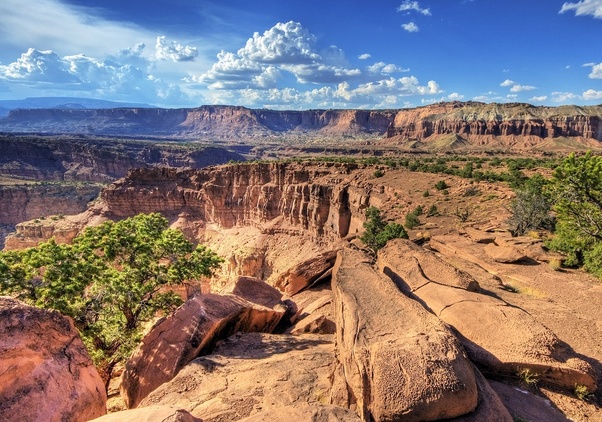
The edge of the Jagged Rock Drop and the Sands of Hamakhaave
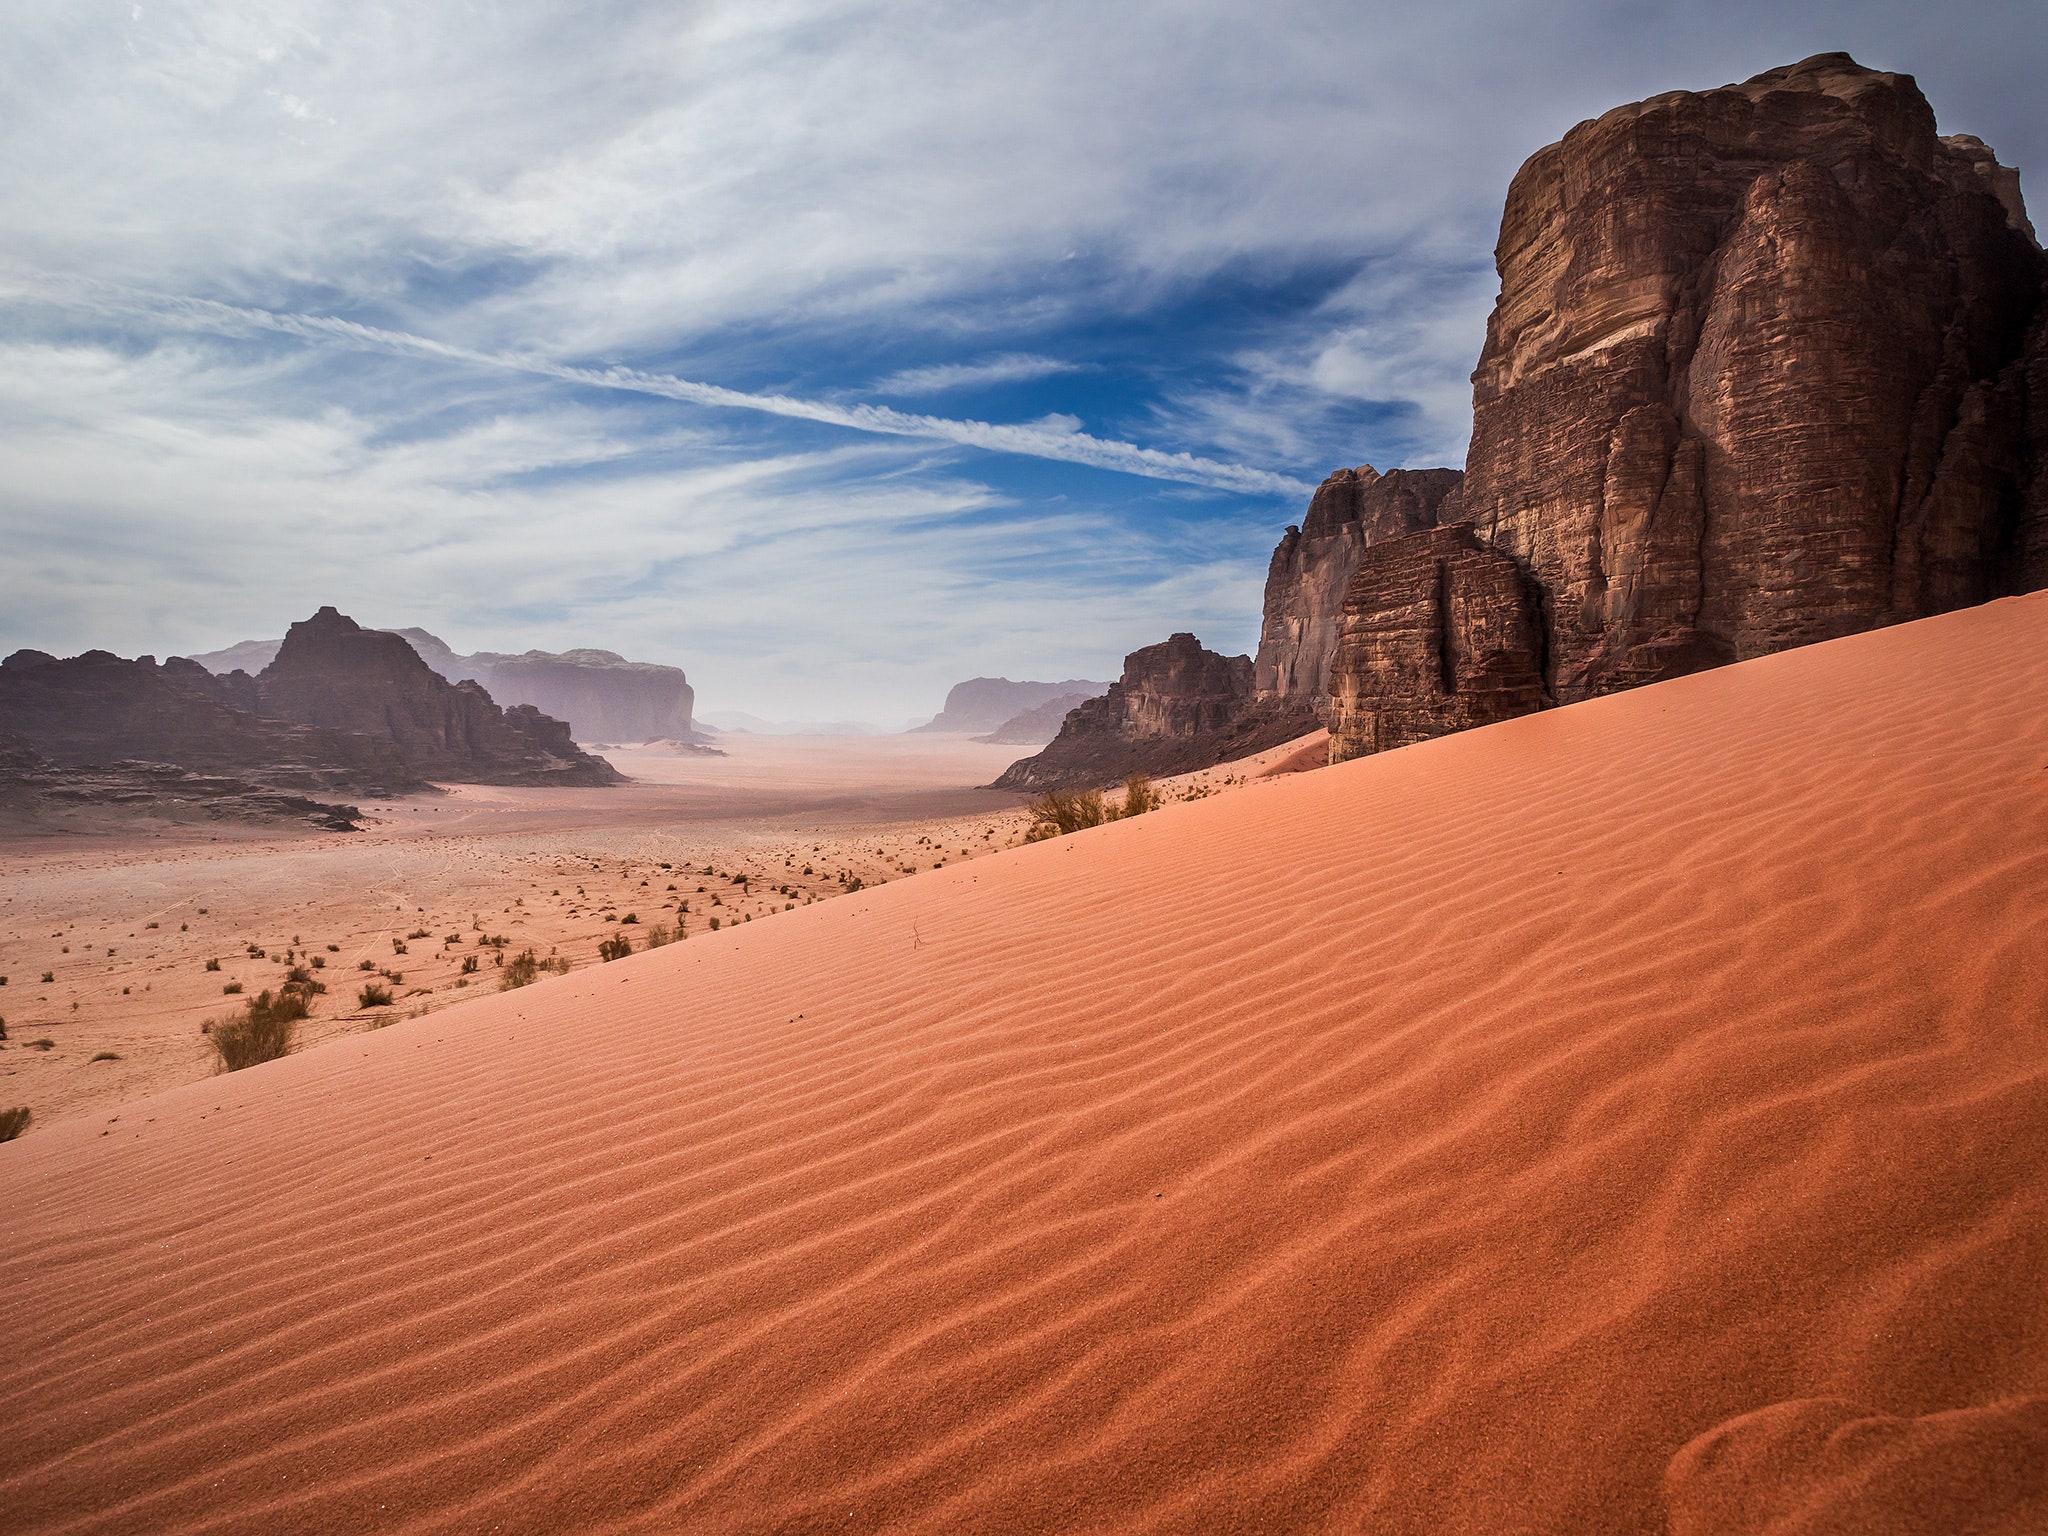
Putting the Maps together
You are visitor number: 3809

 in both the center and the eastern half of the continent Qaraton,
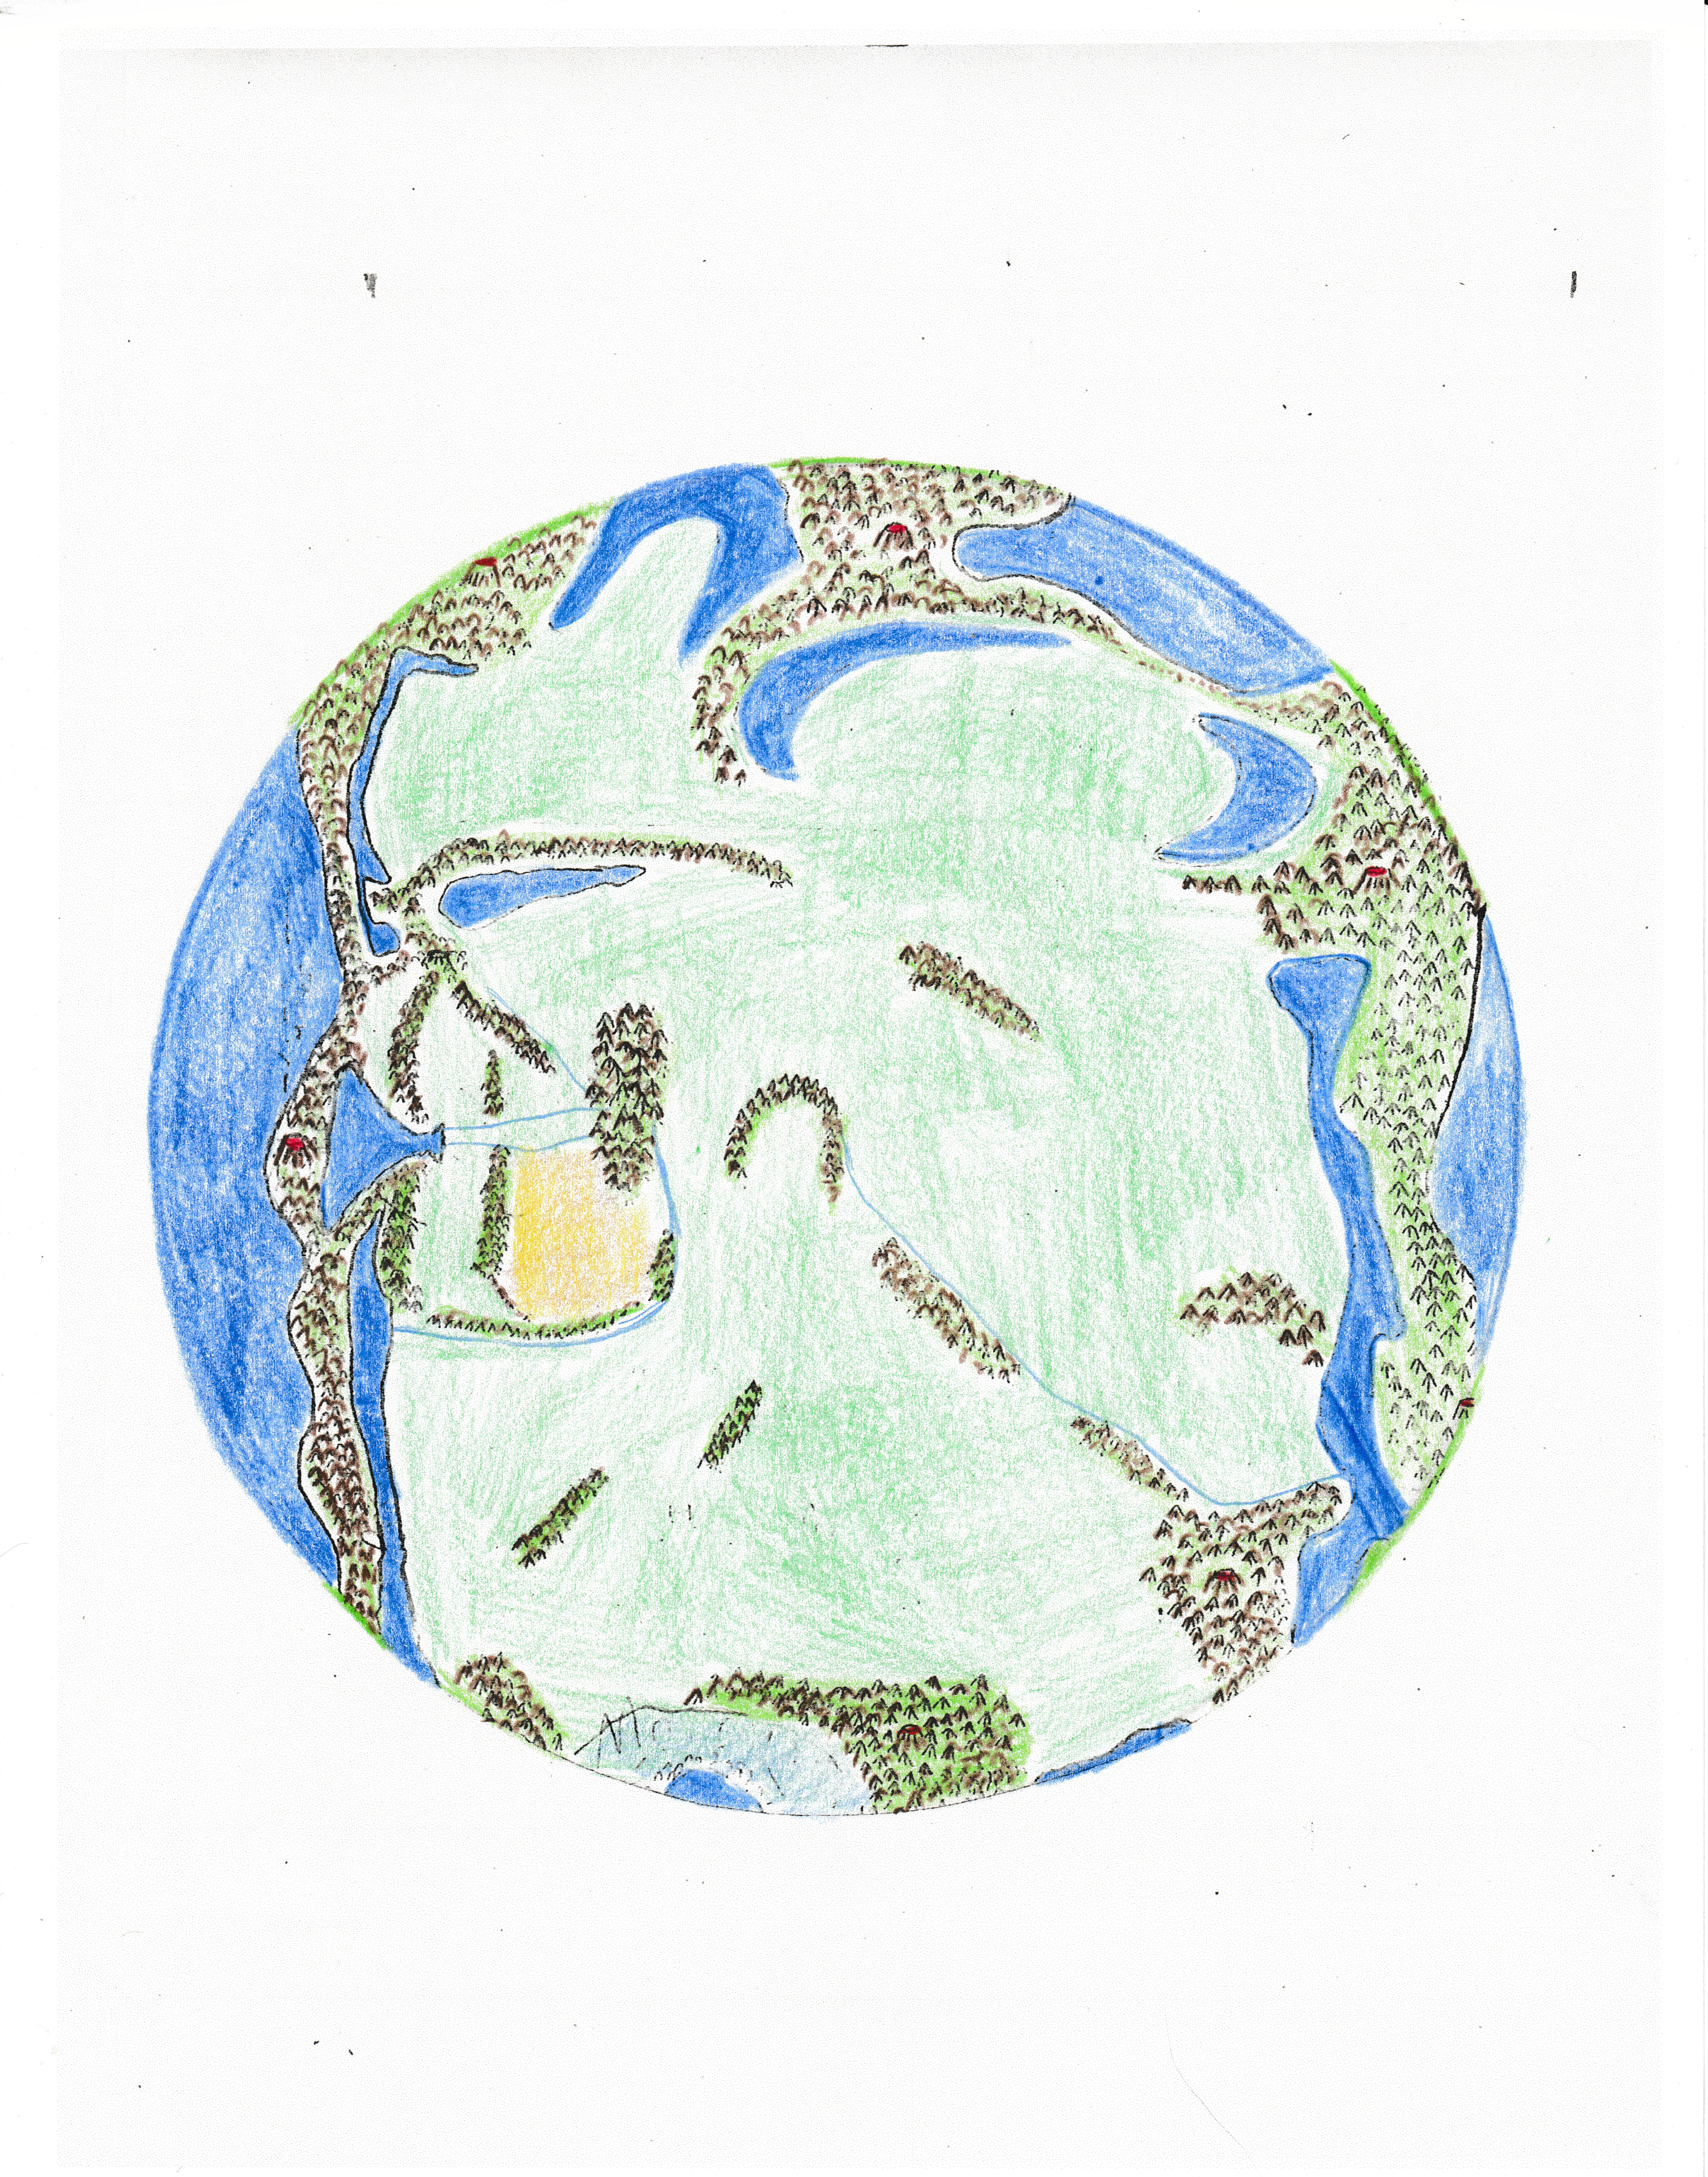 in the lands of Fortune and Blighted,
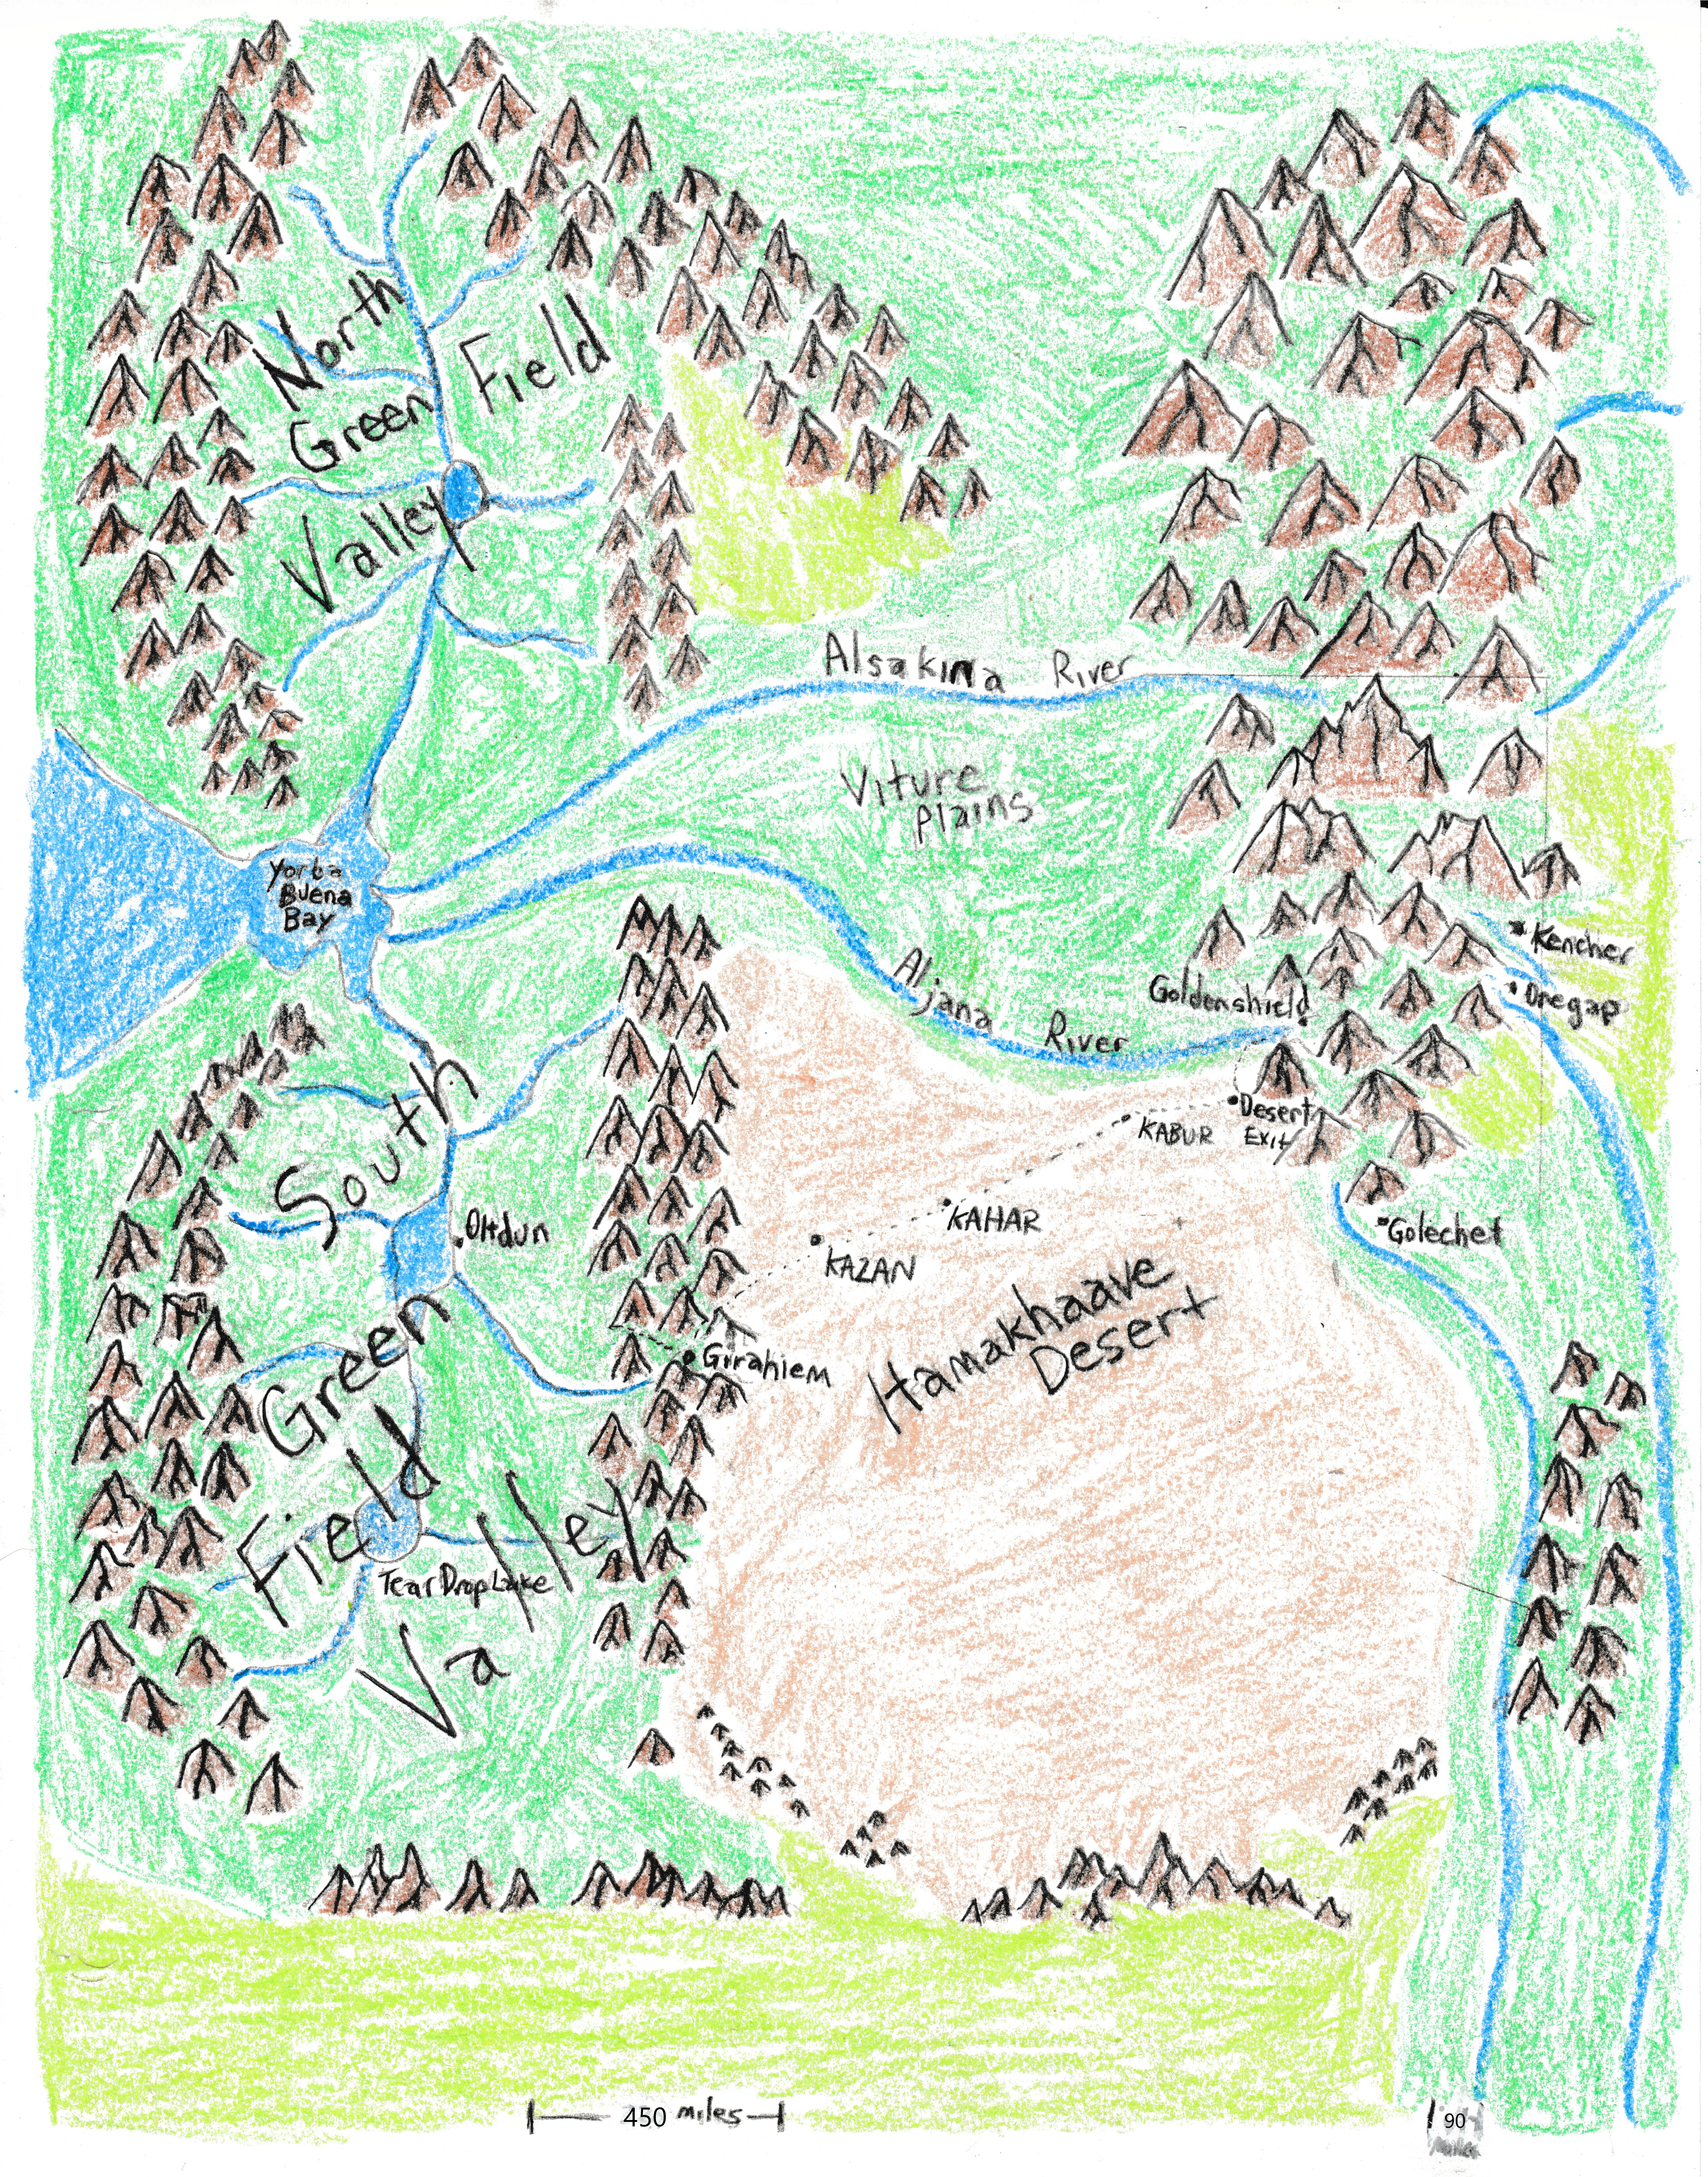 a vast realm of kingdoms, nations, and settlements surrounded by hostile combatants,
vicious opponents, and terrifying foes. The initial setting, where the characters begin, is set in the
the desert fortress of Kahar that guards the King's Road that spans the entire Hamakhaave desert. Kahar is one of three
desert fortresses that guard the King's Road that connects the bountiful land of South Green Field Valley to the forest
mountains of the Kingdom of Goldenshield ruled by the Paladin King.
a vast realm of kingdoms, nations, and settlements surrounded by hostile combatants,
vicious opponents, and terrifying foes. The initial setting, where the characters begin, is set in the
the desert fortress of Kahar that guards the King's Road that spans the entire Hamakhaave desert. Kahar is one of three
desert fortresses that guard the King's Road that connects the bountiful land of South Green Field Valley to the forest
mountains of the Kingdom of Goldenshield ruled by the Paladin King.